Learn how to easily make handprint Turkey art with your child’s hand and a little paint. This is a great Thanksgiving craft.
It’s always fun to do fall related crafts with the kids around Thanksgiving. And since finger painting and handprint art is always a classic, we are combining these two to create turkey handprint crafts.
Let’s get started with a few ways to make turkey hand art.
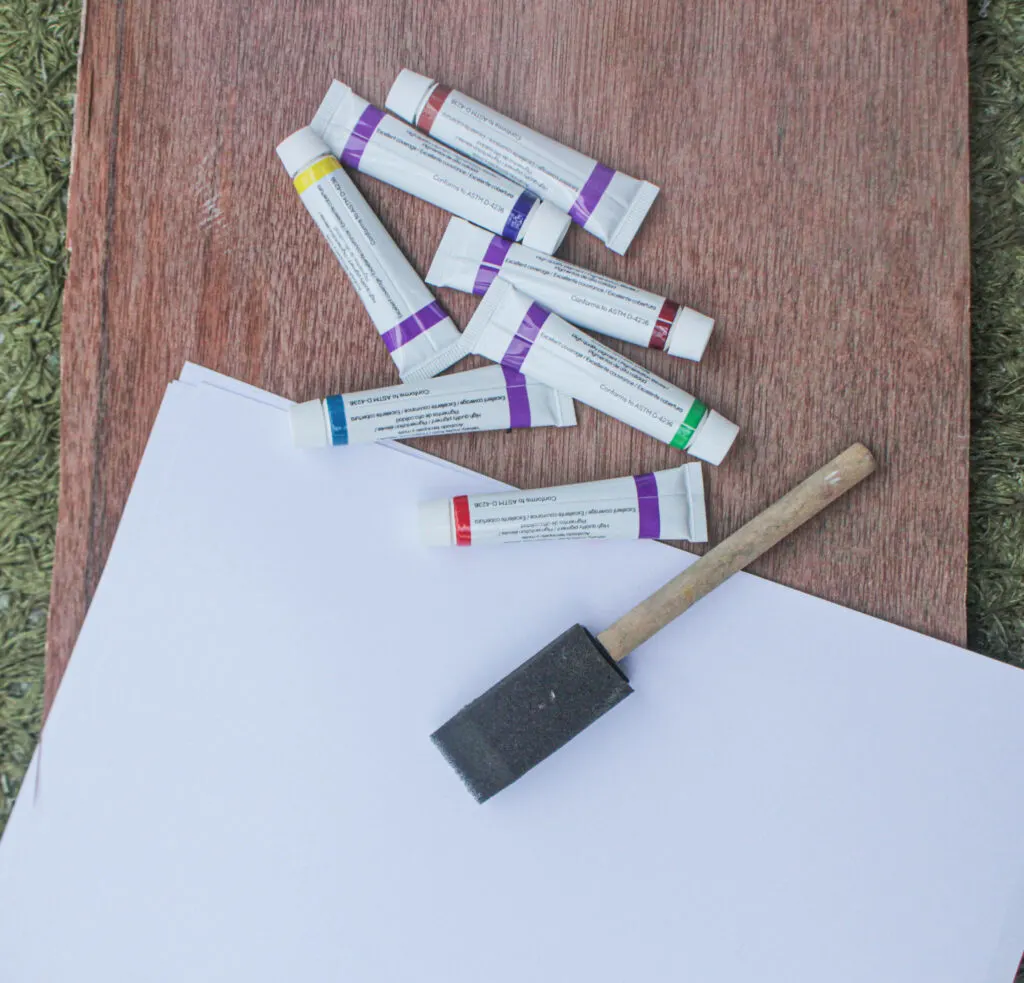
What you will need:
- Paper
- Paint (use either watercolor or body paint)
- A brush (paint brushes and sponge brushes both works fine)
- A jar of water
- Googly eyes (optional)
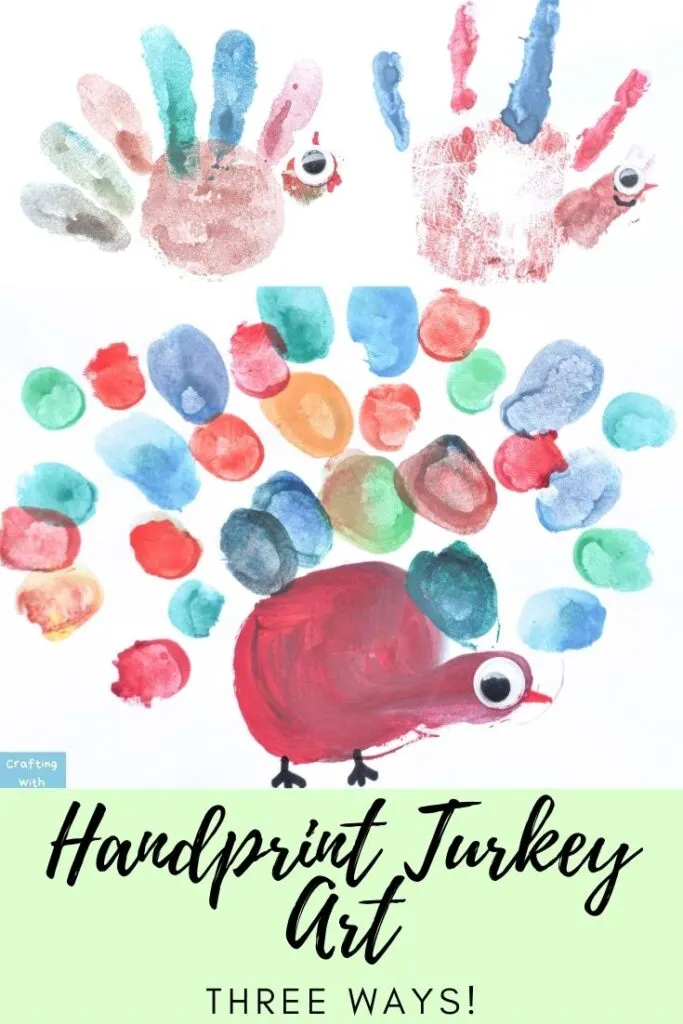
Three types of hand turkey art:
- One that is completely made from handprints
- One that is created using many thumbprints
- One that uses a sponge and a few handprints
How to make a Turkey handprint
Step 1:
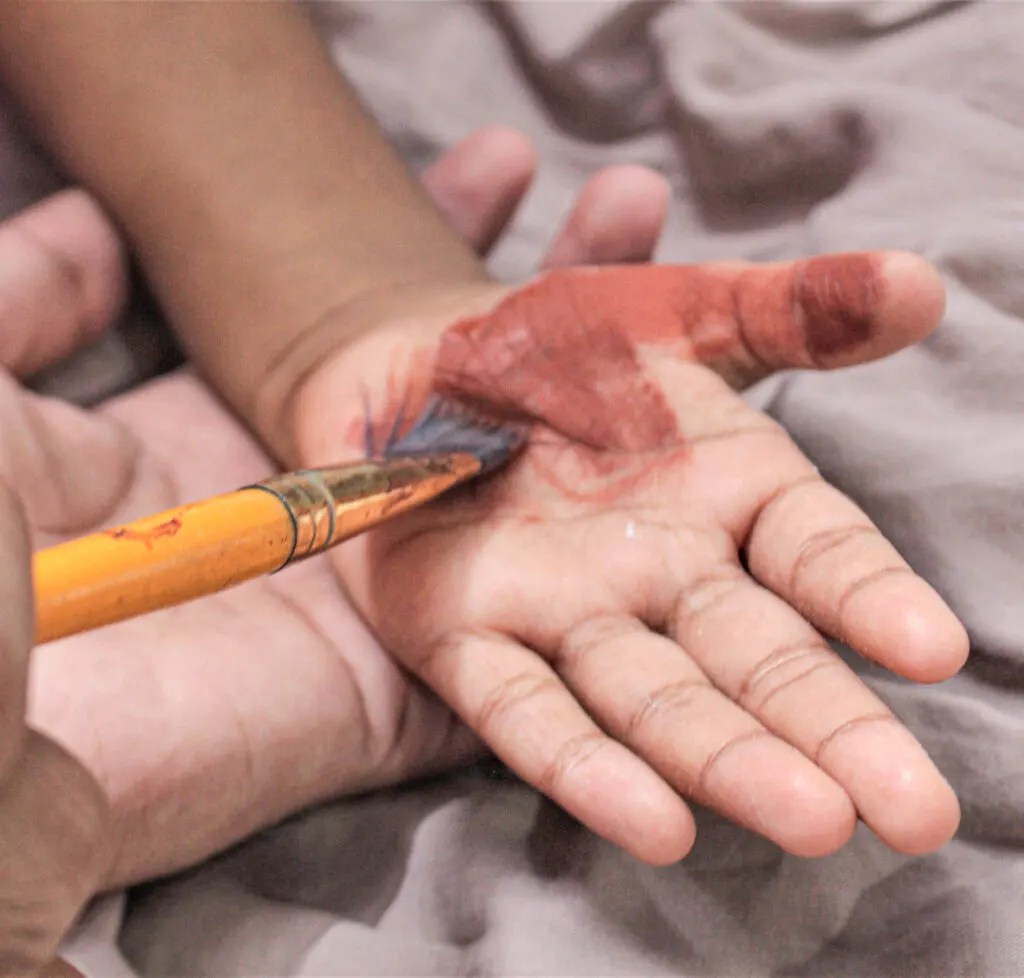
Dip the brush in water, apply a bit of the color and paint onto the palm and thumb. While you could use a regular brush for this step, using a sponge brush might be a better option as it prevents too much paint from getting onto the little hands.
Step 2:
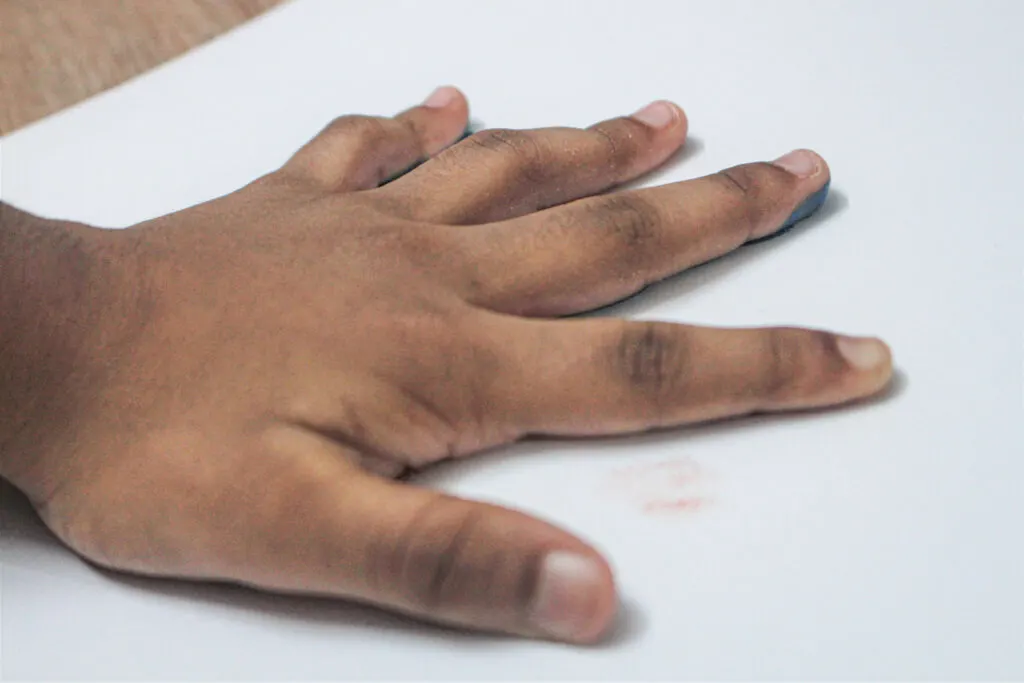
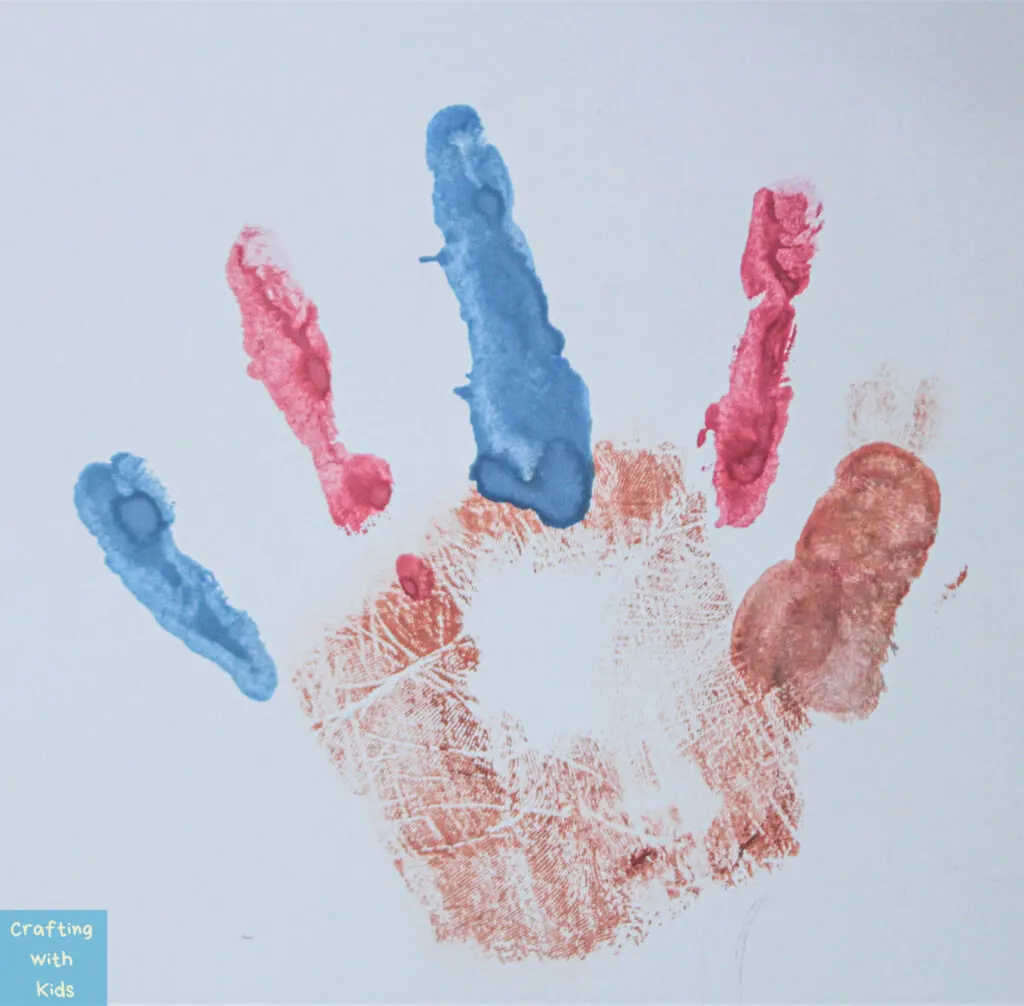
Press the palm onto the paper to make a print.
Step 3:
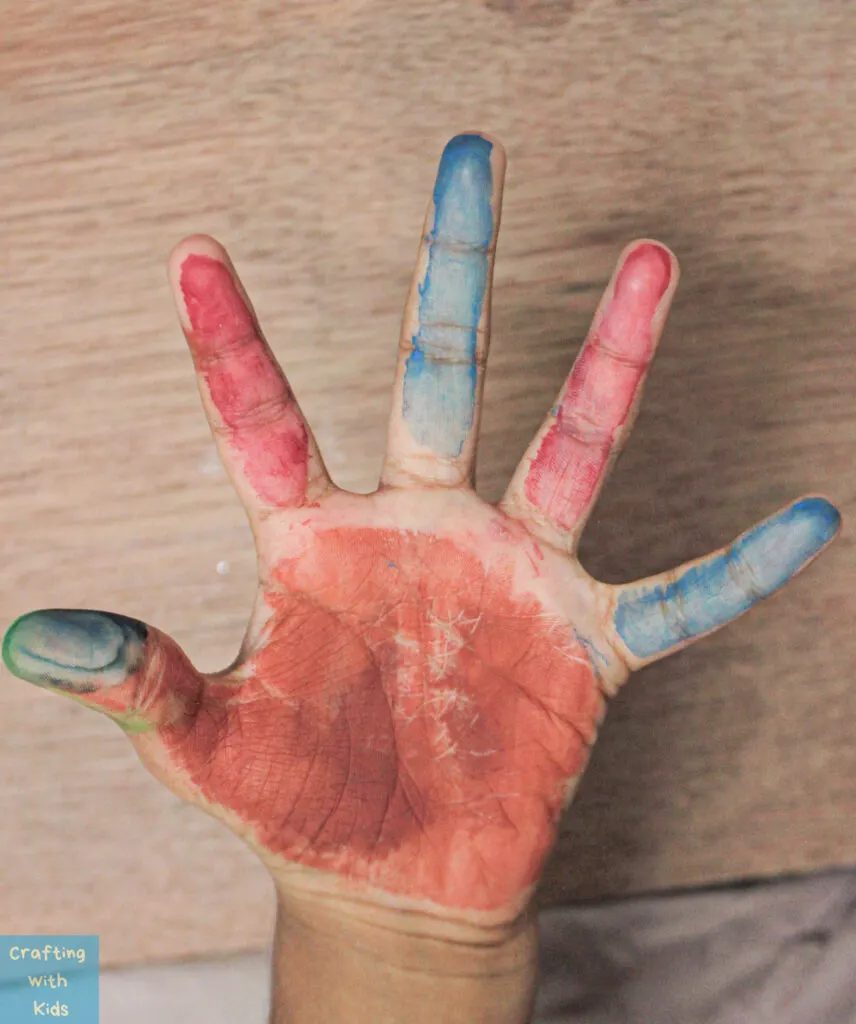
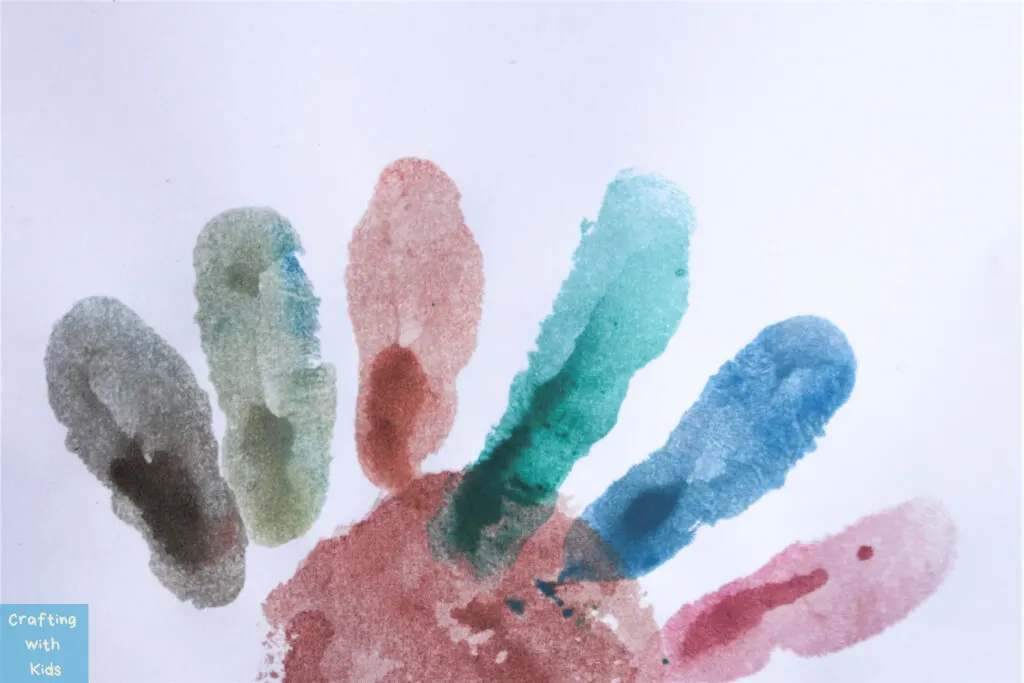
Paint different colors onto the four fingers. Go ahead and let the kids choose their favorite colors and paint it on themselves.
Step 4:
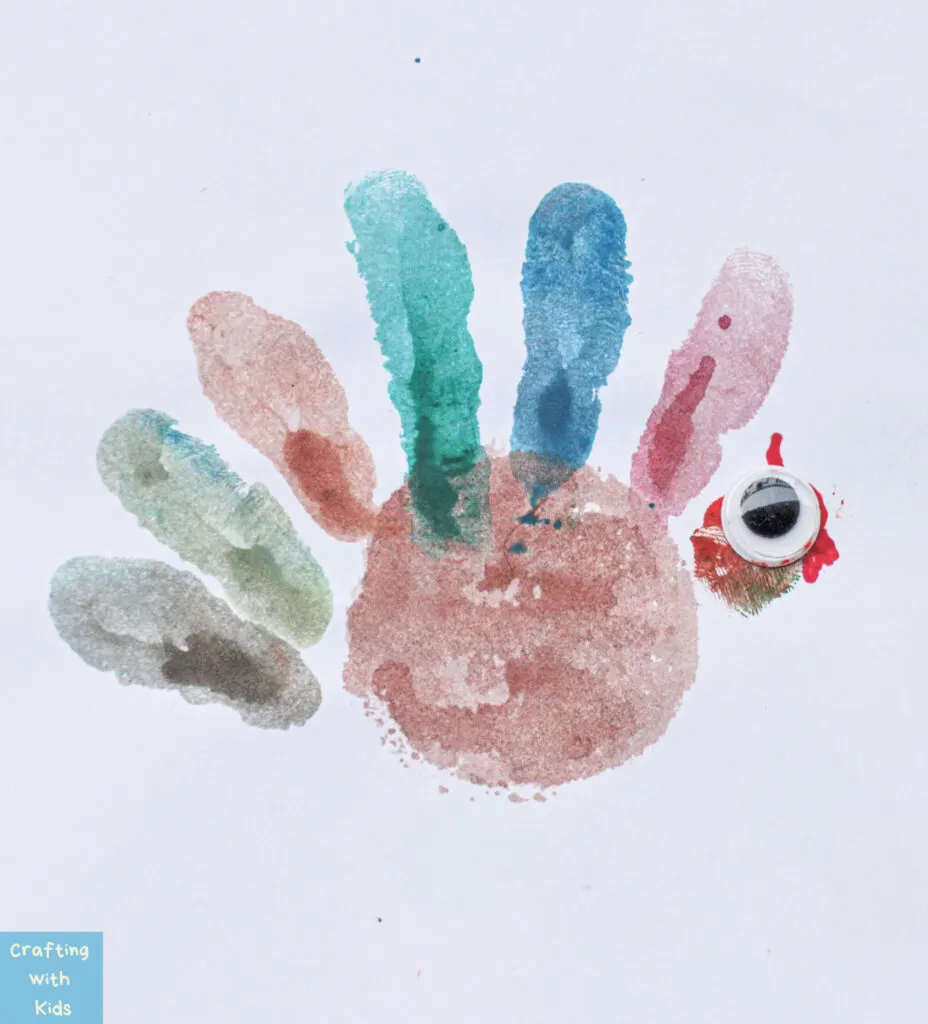
Press the fingers, above the palm print, onto the paper.
Step 5:
To finish it off, draw the beak and glue on googly eyes.
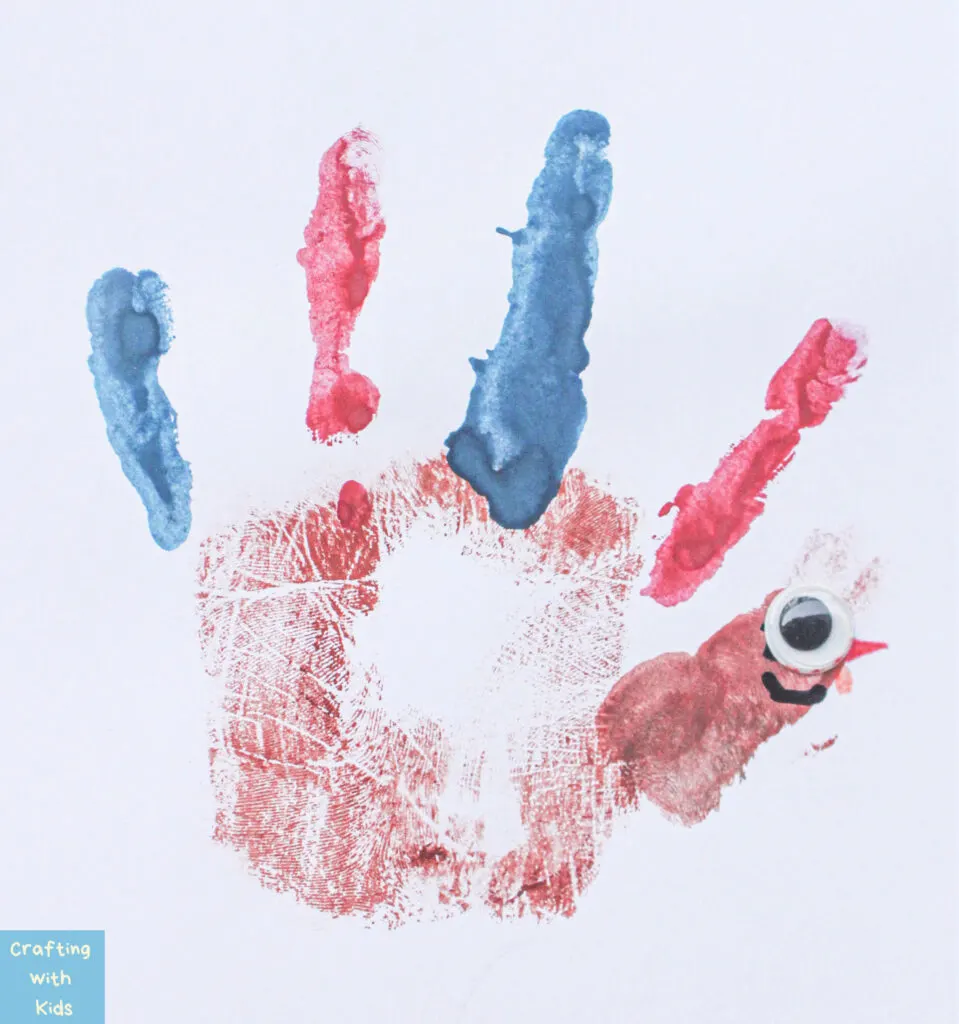
Isn’t it cute! This was such an easy way to create a Thanksgiving Turkey craft. Ready to see how to create one with thumbprints?
How to make a thumbprint Turkey art craft
Step 1:
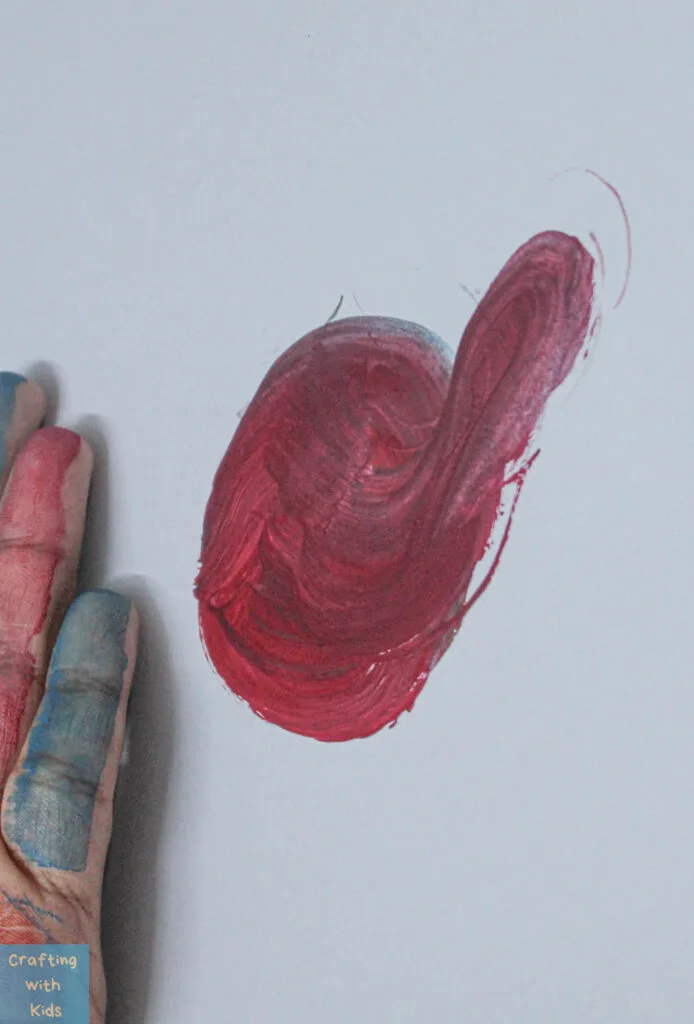
Using a paint brush, draw a rough body for the turkey.
Step 2:
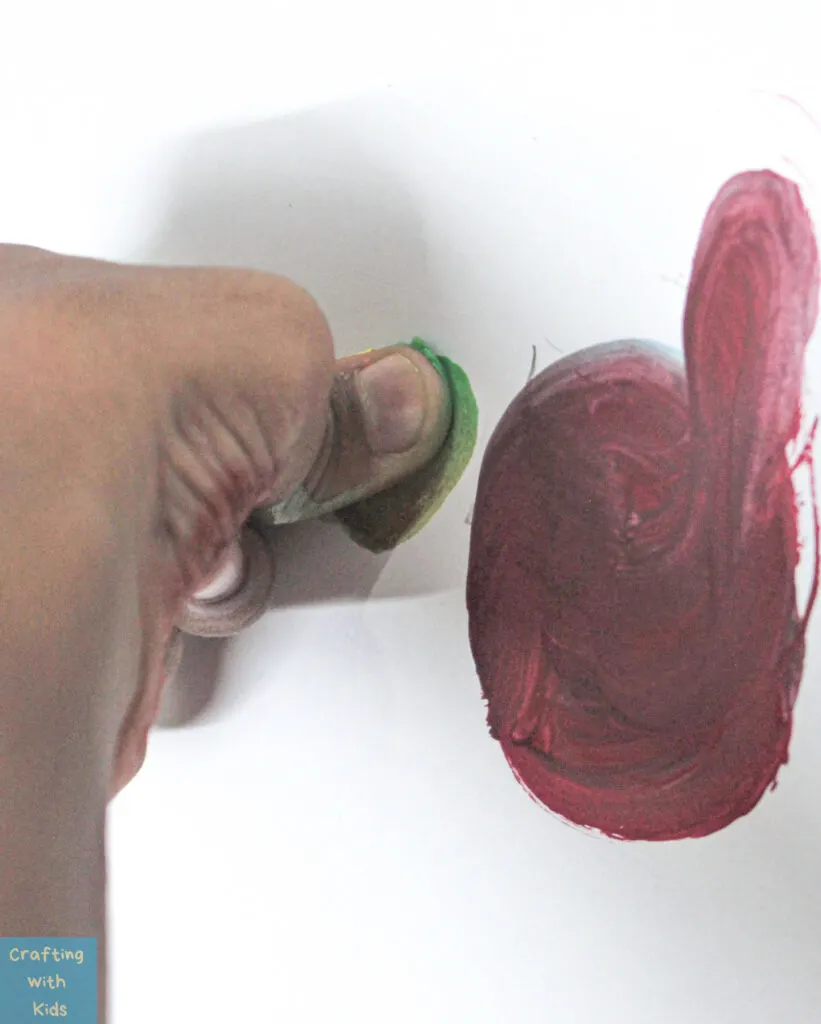
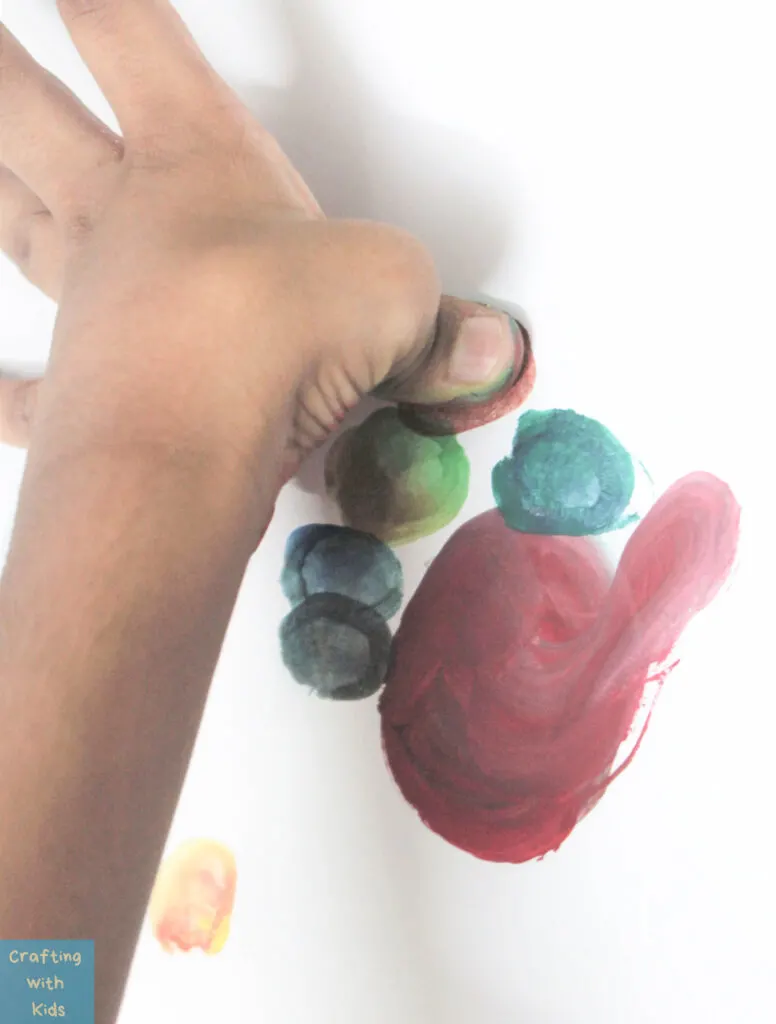
Dip the thumb onto any color of paint. You could also use a brush to apply paint onto the thumbs.
Step 3:
Press the painted thumb onto any side of the “body”.
Step 4:
Repeat step 2 and 3 with different colors and press onto different sides of the body to cover all around it.
Make sure to wipe the old paint off of the thumb before dipping in a new one.
Step 5:
Draw feet and add some googly eyes to finish off this colorful turkey art!
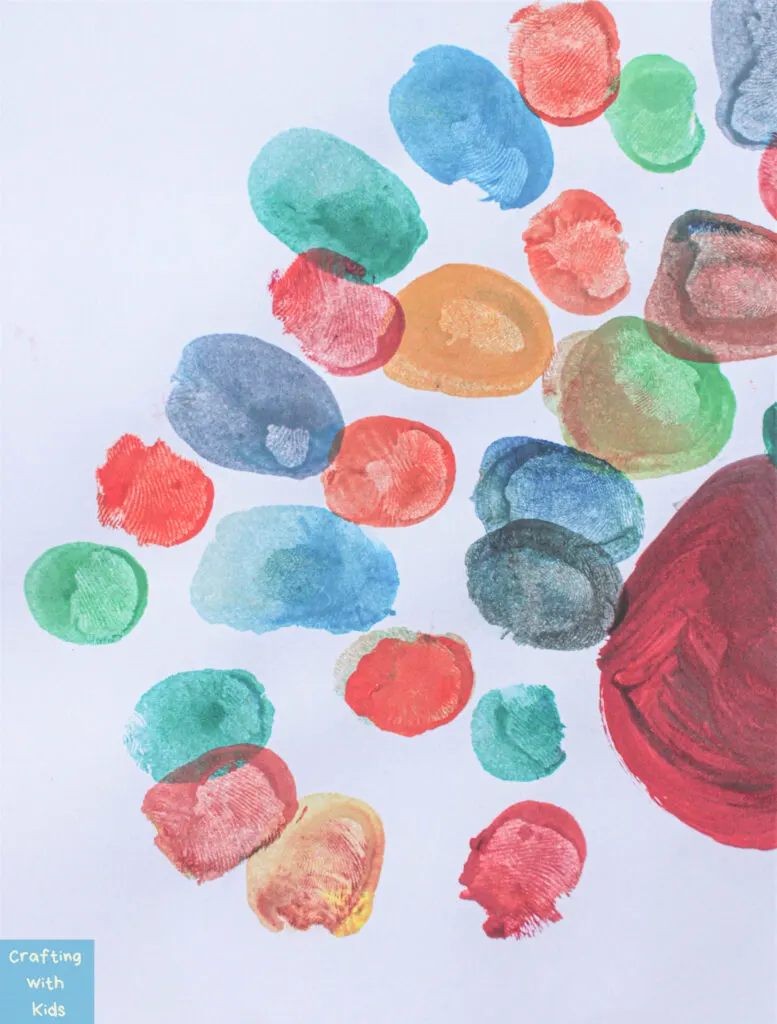
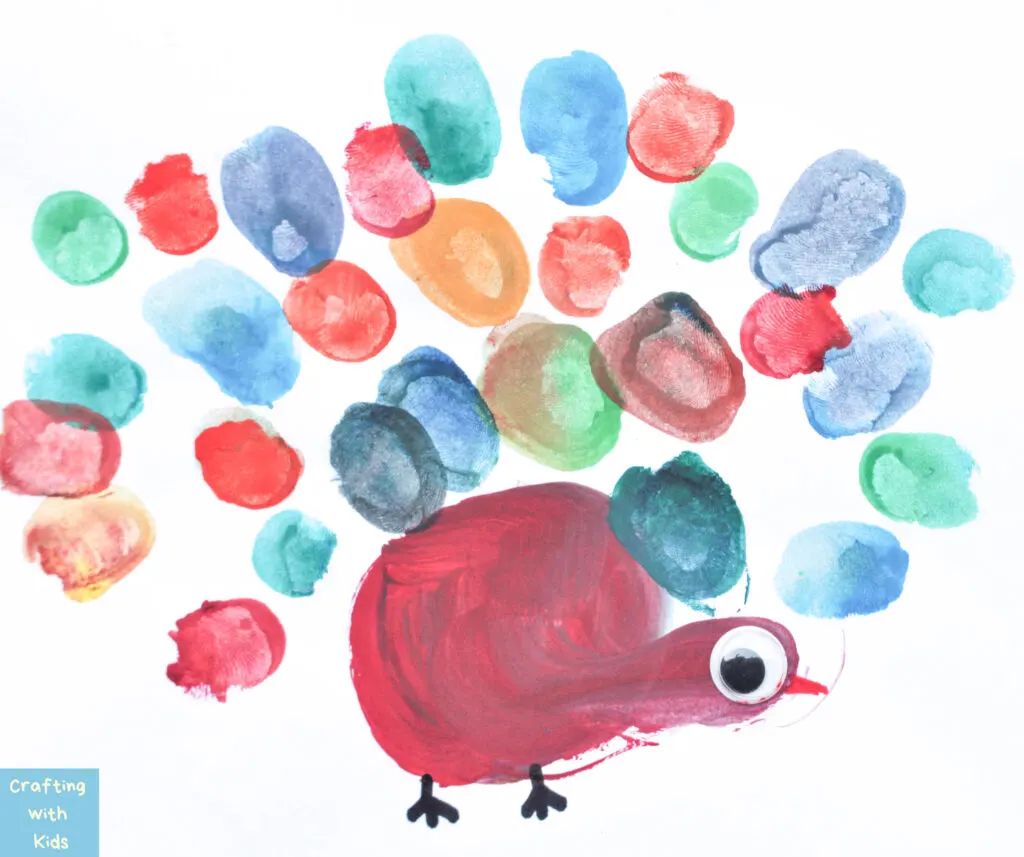
I think this one is my favorite! I love all the different colors you can create with simple thumbprints. You can even mix colors together by placing different color thumbprints over each other.
How to make a hand Turkey with a sponge and a few handprints
Step 1:
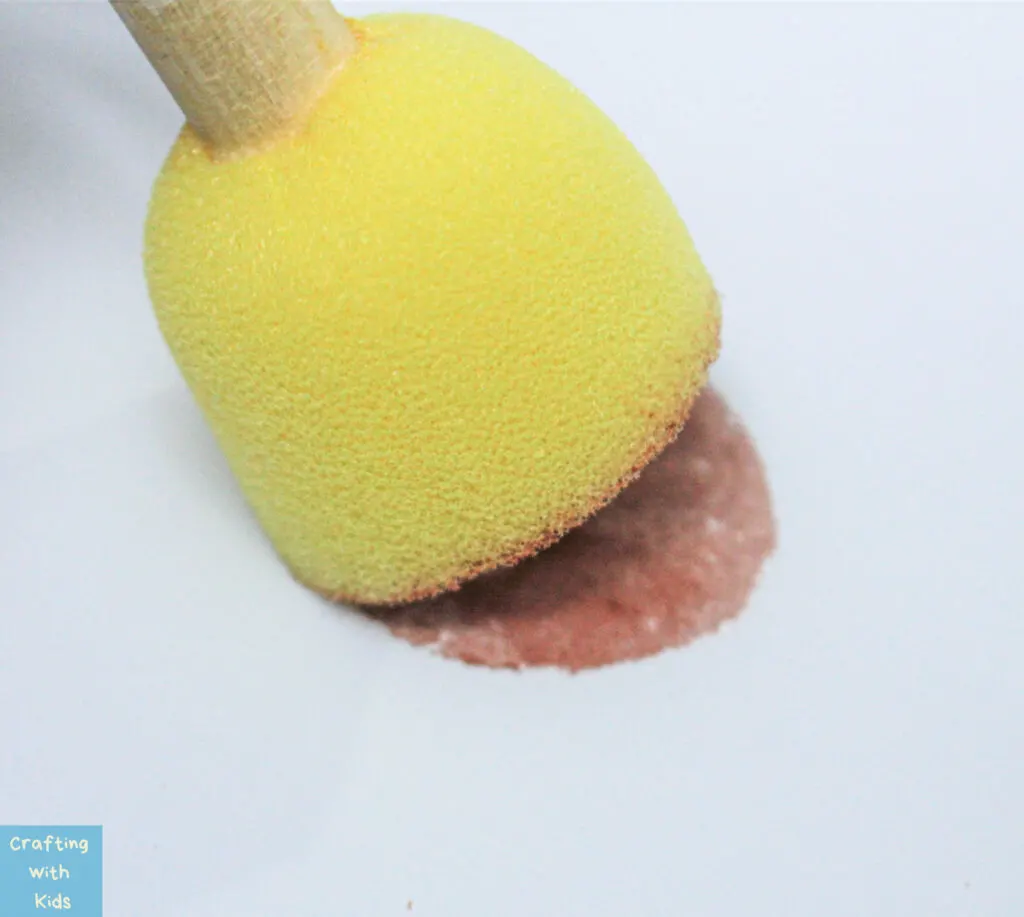
Dip a circular stamp brush onto a brown color and use it to create a circle onto the paper.
Step 2:
Dip the thumb onto the color used to paint the body and press it onto one side of the circular print.
Step 3:
Paint your kid’s index finger with their color of choice and press it onto the side of the circle, beside the thumb print.
Step 4:
Repeat the previous step, 3 to 4 more times, with different colors until the top of the circle is surrounded by these “feathers”.
Step 5:
Once again, finish it off by adding the eyes. You could also try adding a beak and feet for additional details.
Allow the paint to dry for all three of these turkey arts. Make sure to wash all paint off of the hands completely when the hand printing is done. Once dry, display them and watch the kids get excited at their artwork being hung up!
If you enjoyed this handprint art make sure not to miss our Halloween handprint crafts where we share three ways to create spooky handprint art.
As always, have fun with it. You will cherish those little handprints later on when they get bigger.
Happy Crafting friends!

Leave a comment