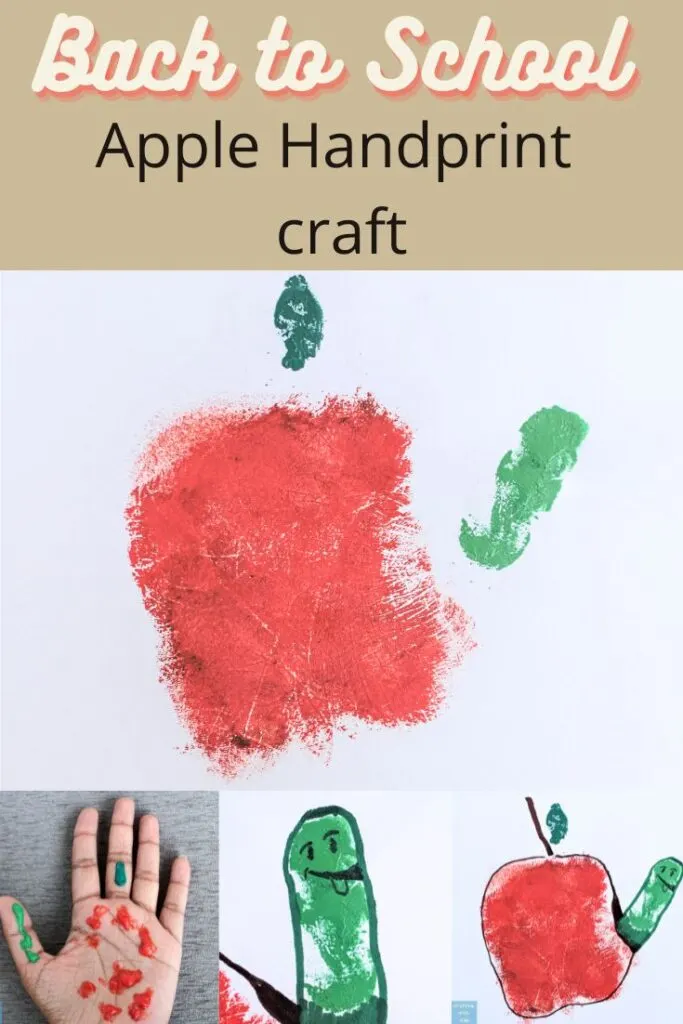
Learn how to make this apple handprint back to school preschool craft. Make this easy preschool back to school art with just paper, markers and paint.
With it being back to school season again, simpler crafts are much more preferred and handprint crafts take the lead in those! This craft uses the hand printing technique to make an apple with a surprise coming out of it! It can be a fun activity that gets kids excited for the upcoming school days. This is a great back to school craft for preschoolers.
Apple crafts are very popular back to school crafts. Speaking of apple crafts, check out this fun and exciting melted bead apple suncatcher craft tutorial that kids can proudly hang in the classroom or at home! Or check out more preschool activities at home where you will find loads more alphabet and learning activities.
Here is what you will need for this handprint apple craft:
- Paper of any kind
- Paints in red and green colors
- Markers
- Foam brush

Step 1:
Pick out the colors for your apple. We chose a bright red color for the apple itself and two different greens for the leaf and the worm.
Step 2:
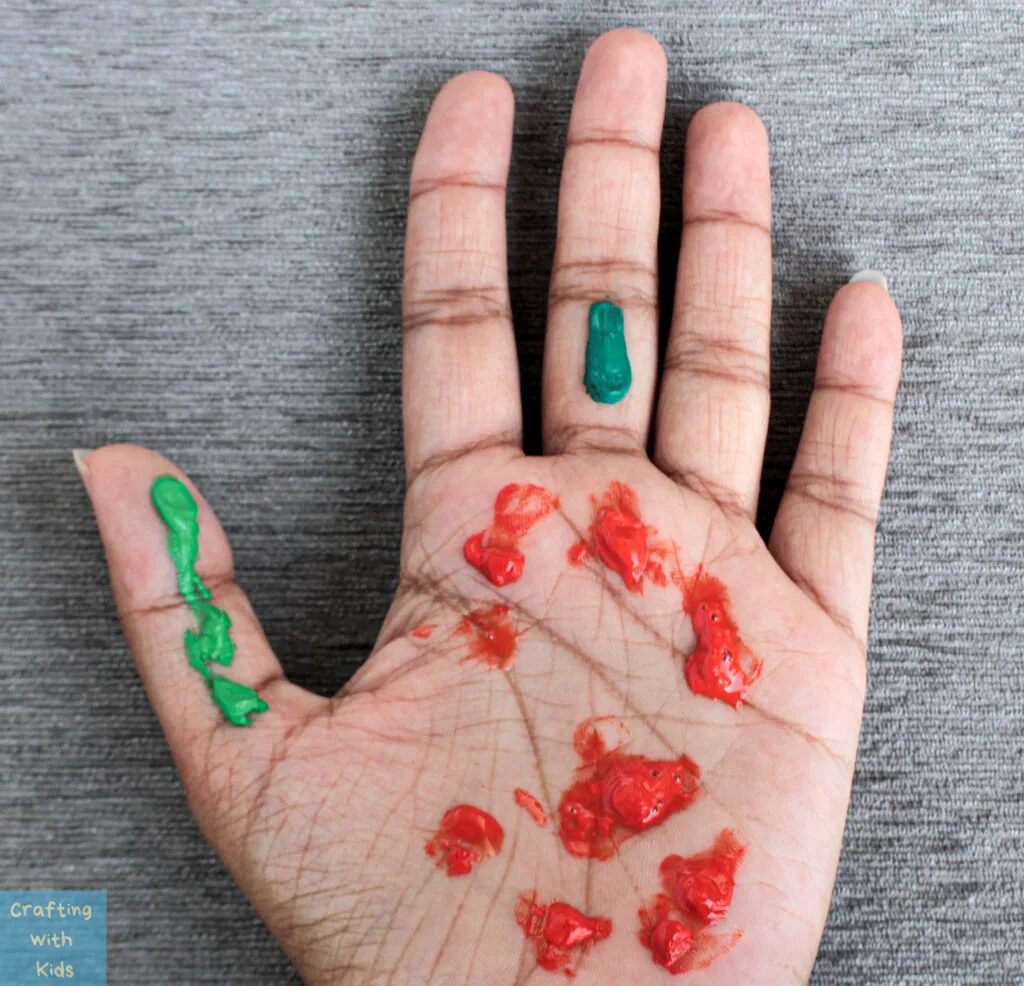
Push blobs of paint onto the hand, with the color of the apple on the palm and the colors for the worm and leaf on the thumb and middle finger accordingly. If you are feeling extra creative, try putting multiple colors onto the palm to try and create a gradient.
Step 3:
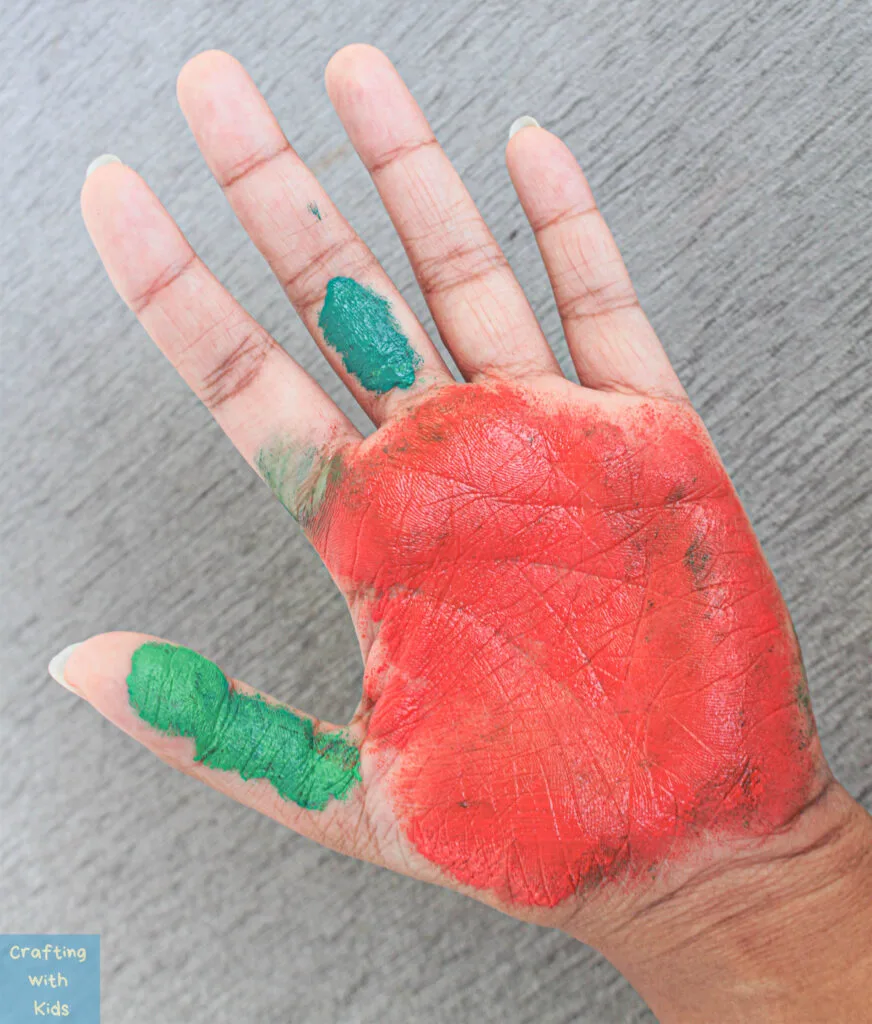
Take the foam brush and wet it with a little bit of water. Shake the excess water off and use this wet brush to spread the blobs of paint into a smooth layer on the hands. Try not to mix the colors on the fingers with the colors on the palm, but it is totally alright if a few smudges are created!
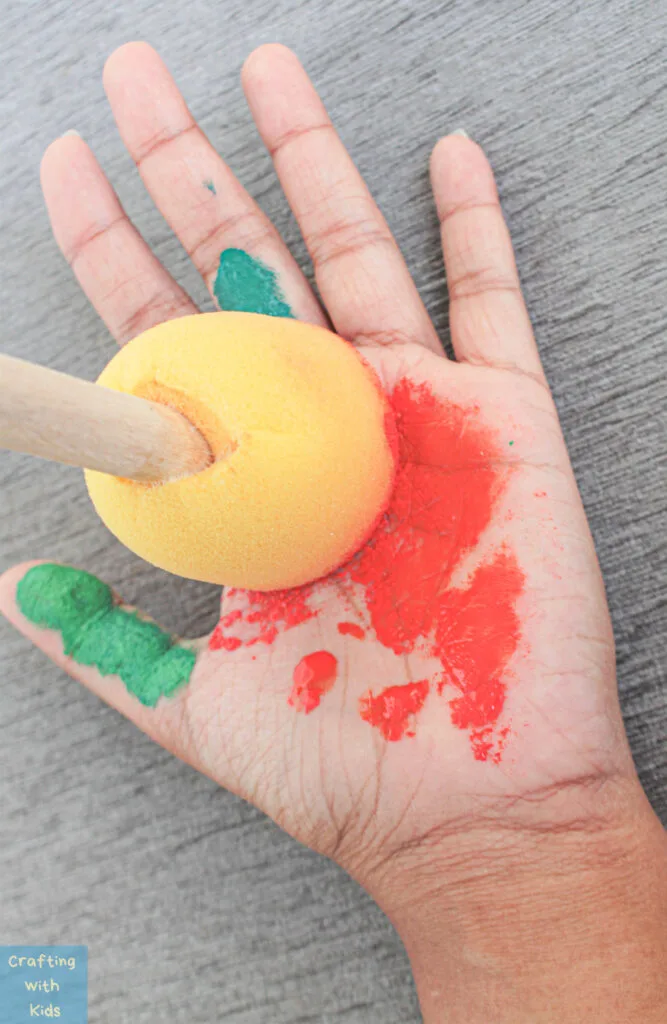
If you would like a cleaner look, have a bowl of water on the side, and clean the brush in the water before switching to a new color.
Step 4:
When the colors are spread into position, press the hand on top of the paper. You could also press on top of this hand with the clean hand, to get most of the color on the hands onto the page.
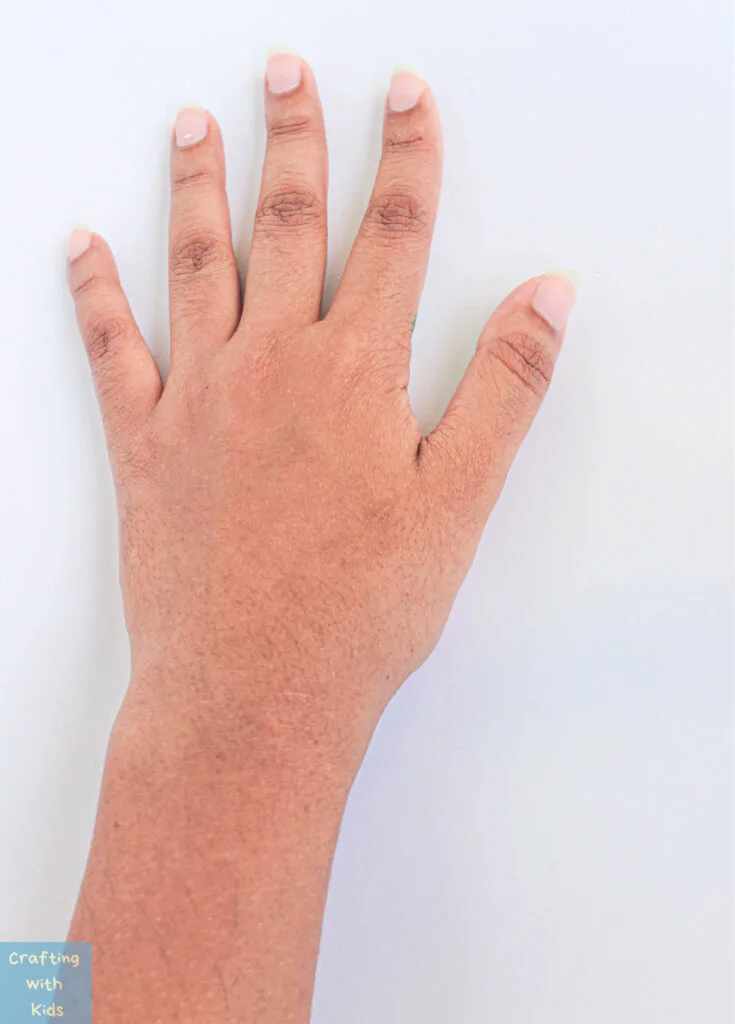
Since this is a handprint art piece, there are sure to be gaps in the color. If you want a more solid art piece, you can use the foam brush to even out the edges on the center on the paper.
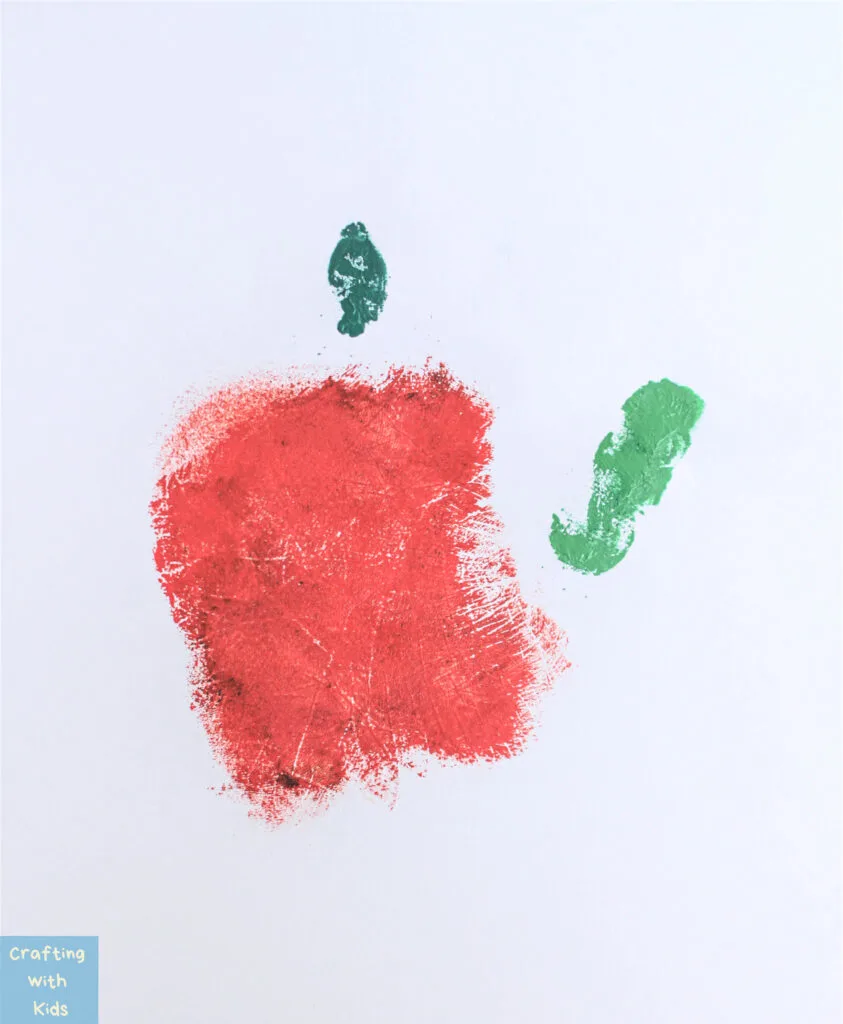
Step 5:
Once you get a print you like, it is time to take out the markers! This is the part that can give this art a more “put together” look.
Using a brown marker, draw the stem of the apple and also draw a face on the green worm. For additional details, outline the different parts to give more shape to them.
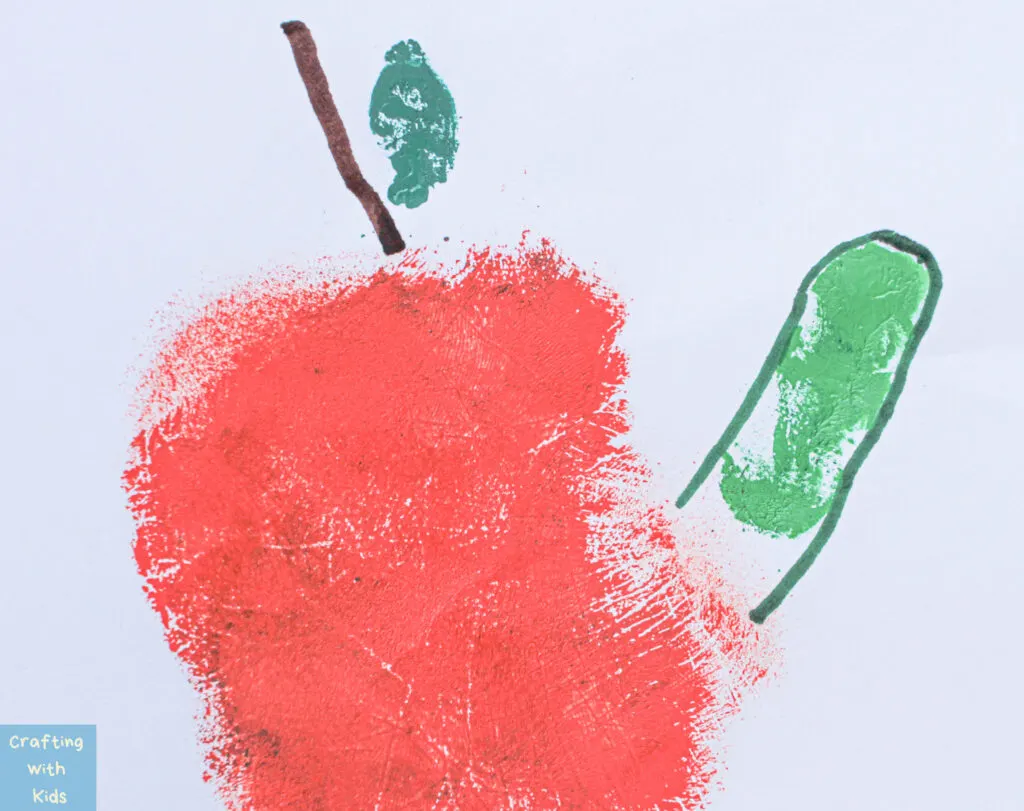
Let the paper dry to make sure none of the paint is going to spread.
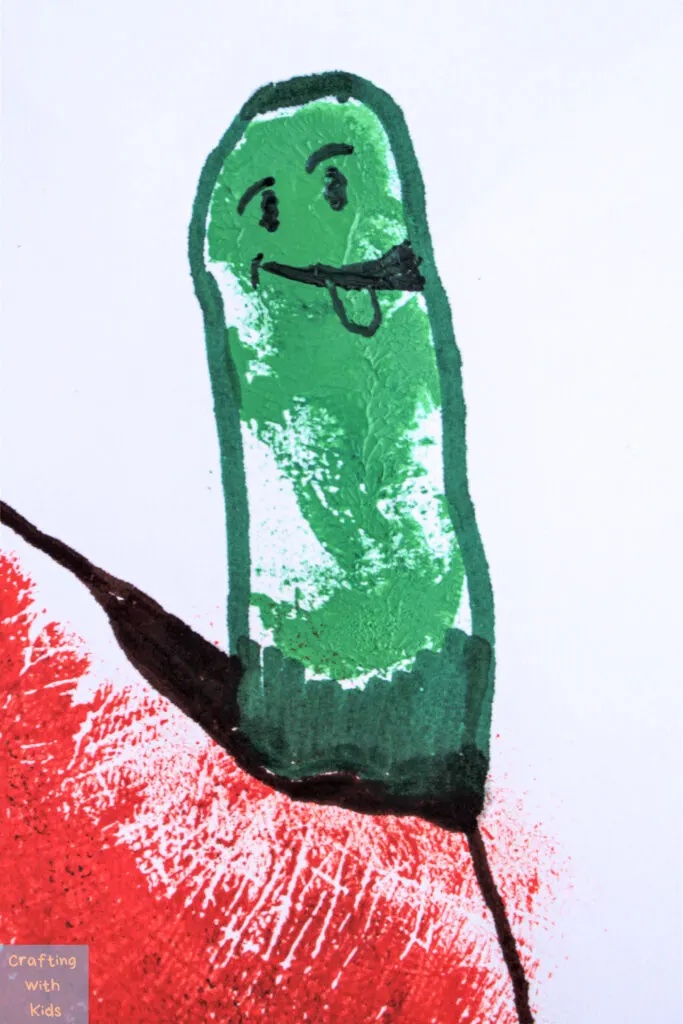
And that is it! A cute apple and worm craft with simple handprint.
Although this craft is best for preschoolers, it can be done with kids of all ages and can be made to use for different purposes. Hang it up on the fridge for younger kids or use it to make cards for teachers for older ones.
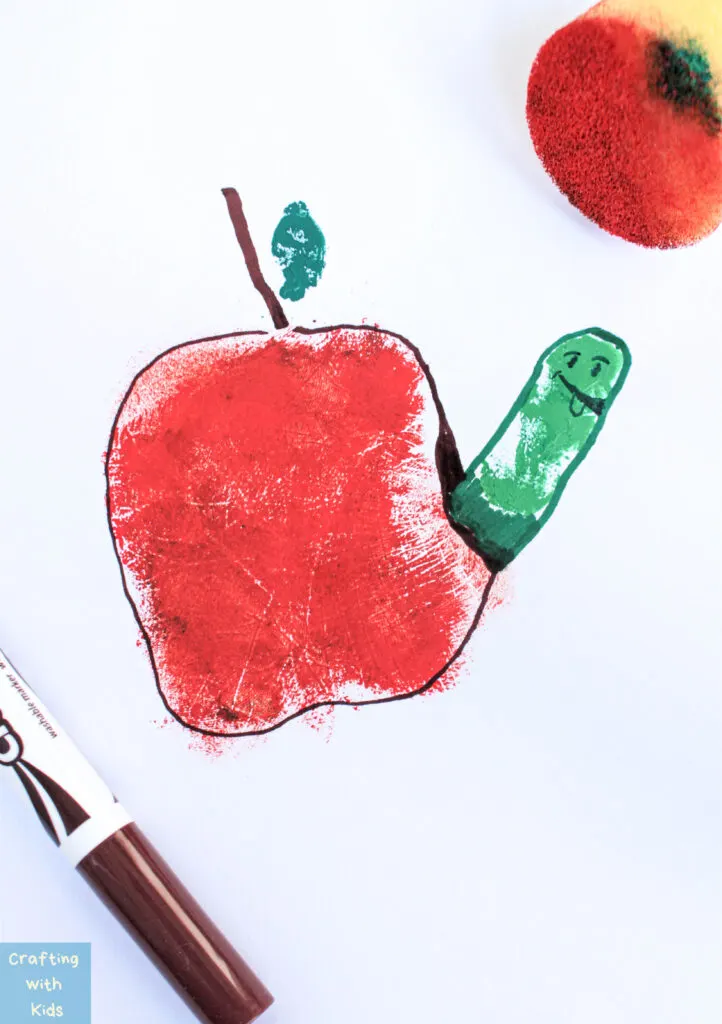
I hope you’ve found this super cute back to school craft inspiring if you’re a teacher or a mom or maybe both!
Leave a comment