
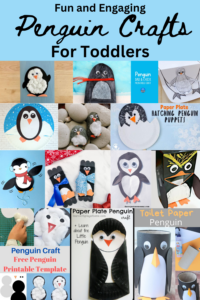
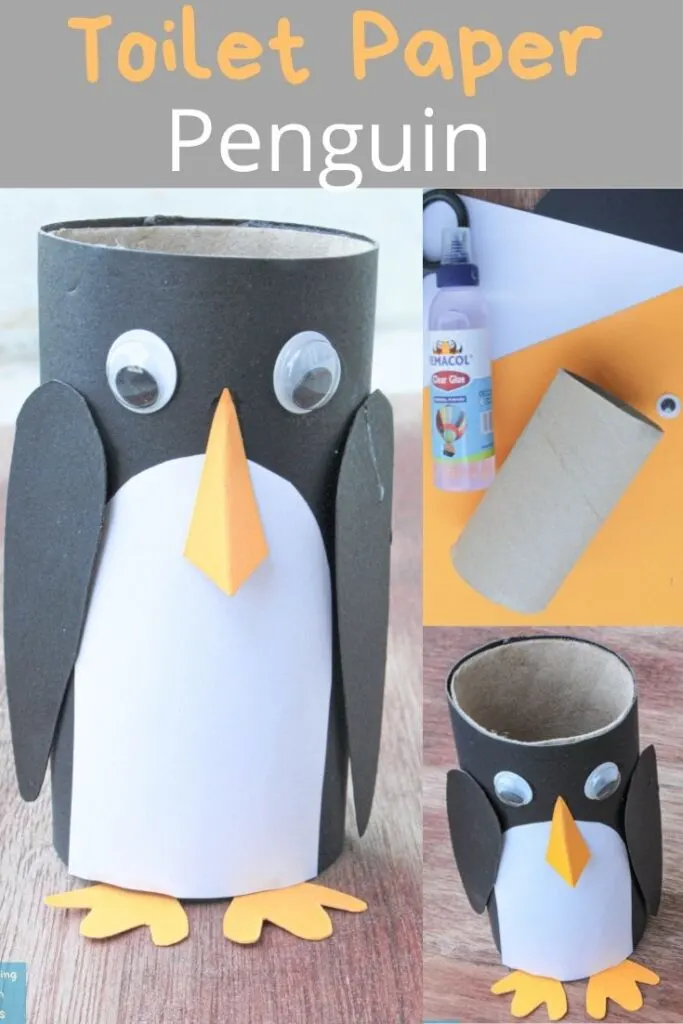
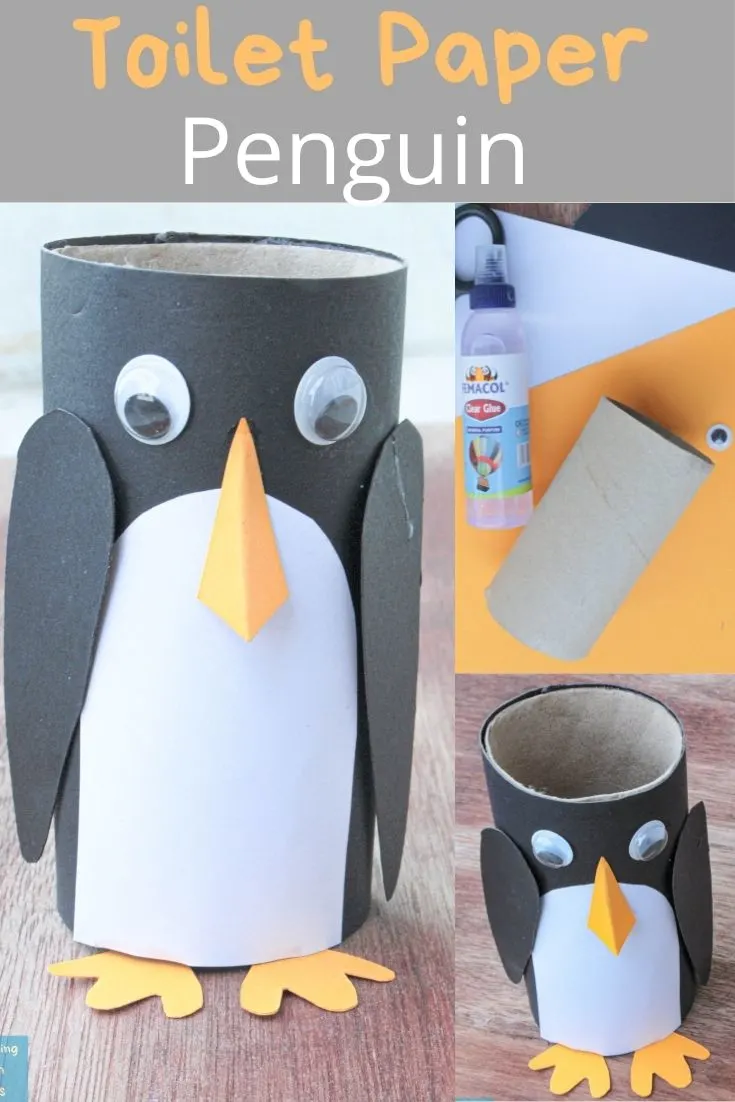
Learn how to make this toilet paper roll Penguin for an easy Winter craft for kids. This is such a simple and thrifty kid craft.
Penguin crafts are one of the staples of winter crafts and can be a nice diversion when you’ve already made way too many snowman crafts. Since we don’t get to see actual penguins too often, these cute animals always make for adorable pieces in whatever size or form they are. For this craft, we are going to make a penguin from a toilet paper roll.
Disclosure; this post contains affiliate links. As an Amazon Associate I earn from qualifying purchases. This disclosure statement refers to the rest of the Amazon links in this post. See more on my disclosure page.
I even rounded up 15 awesome Penguin crafts for Toddlers too.

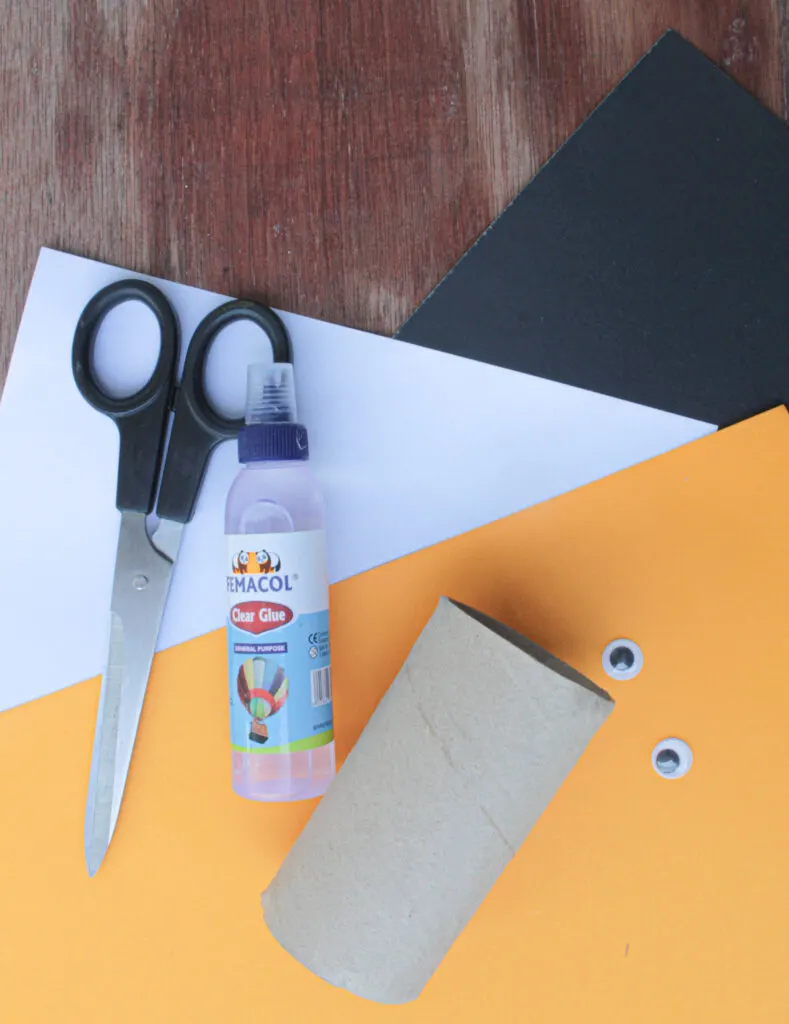
Here is what you will need:
- An empty toilet paper roll
- White paper
- Black colored paper
- Orange or yellow-colored paper
- Scissors
- Glue
- Googly eyes

How to make a Toilet Paper Roll Penguin Craft for kids
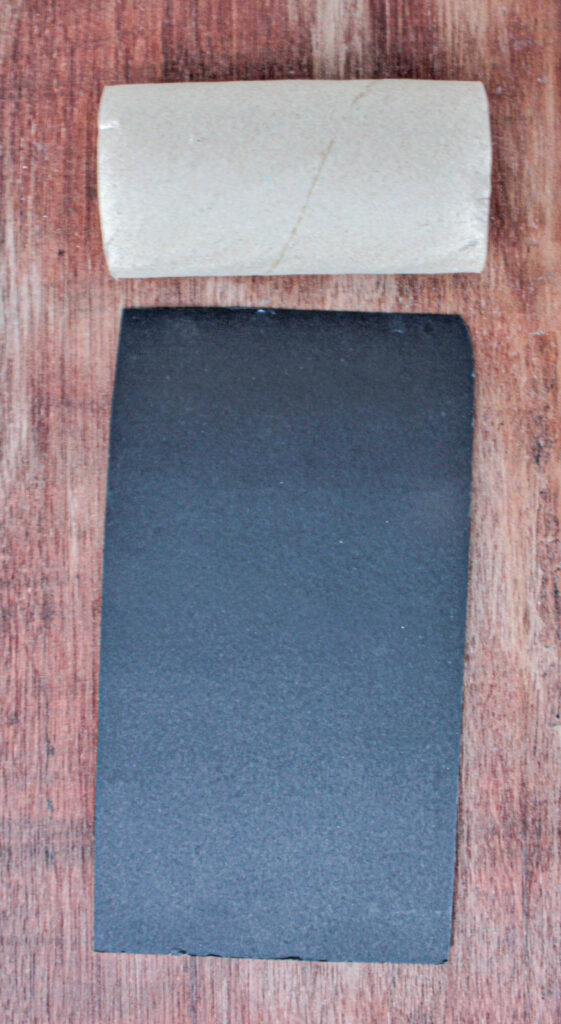
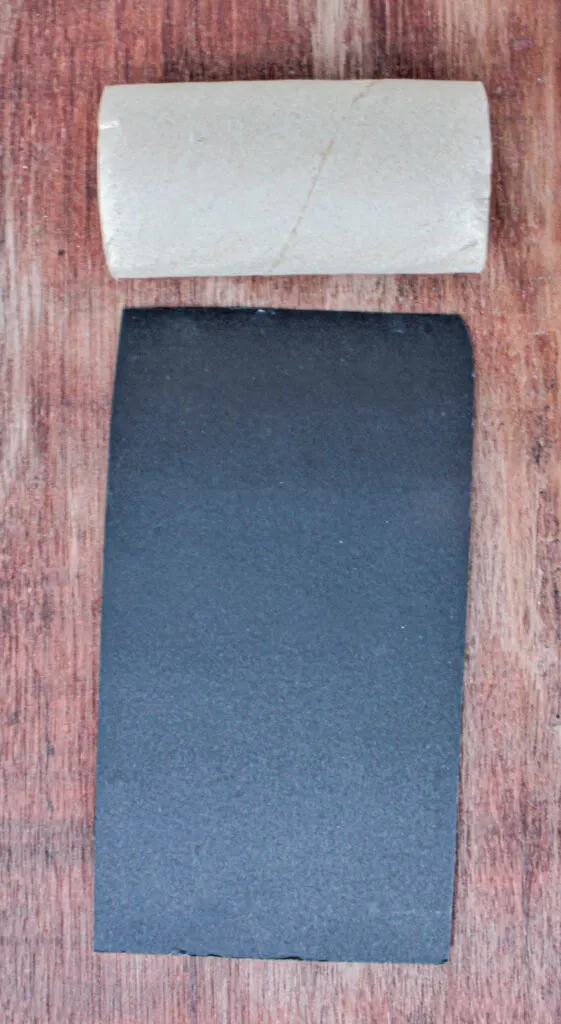
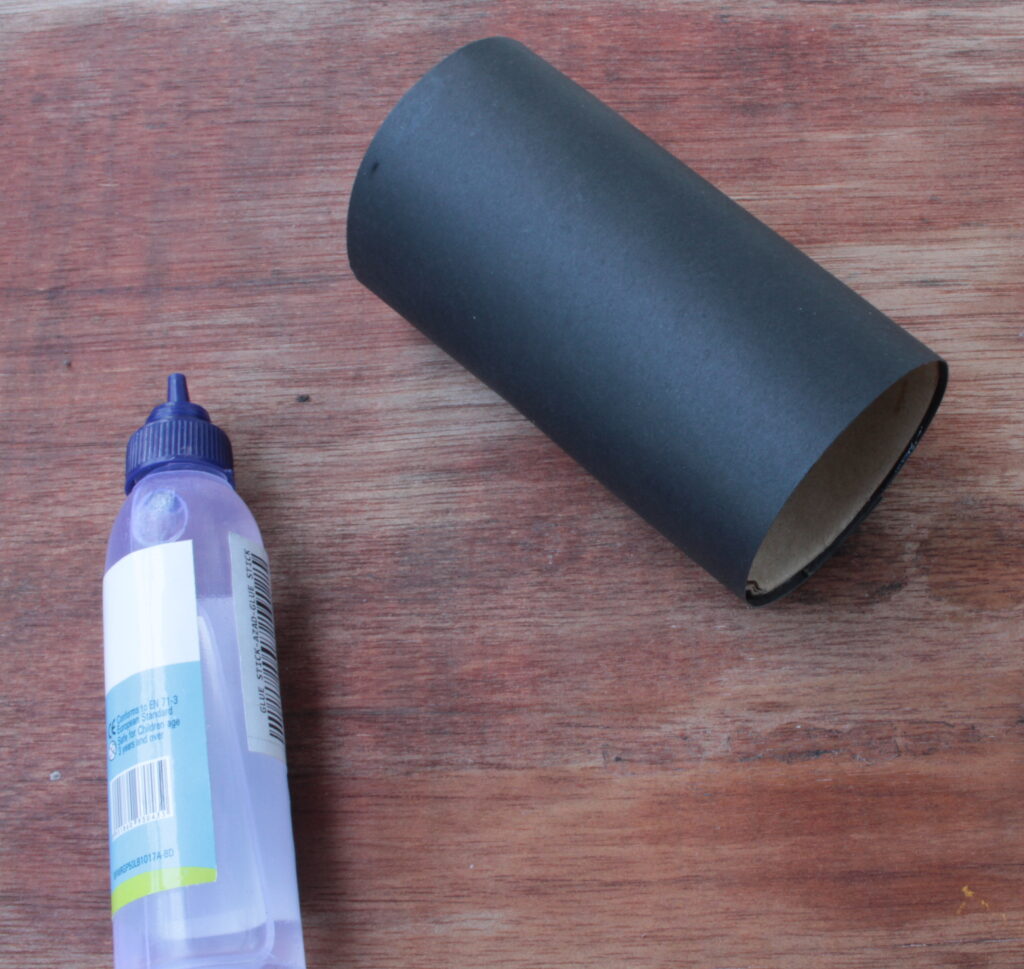
Step 1: First, take the black paper and from it cut out a rectangular strip with a width that is slightly larger than the height of the toilet paper roll. Make sure this piece is long enough to wrap around the outside of the toilet paper roll completely.
Step 2: Wrap this black rectangular piece around the toilet paper roll and glue it in place.

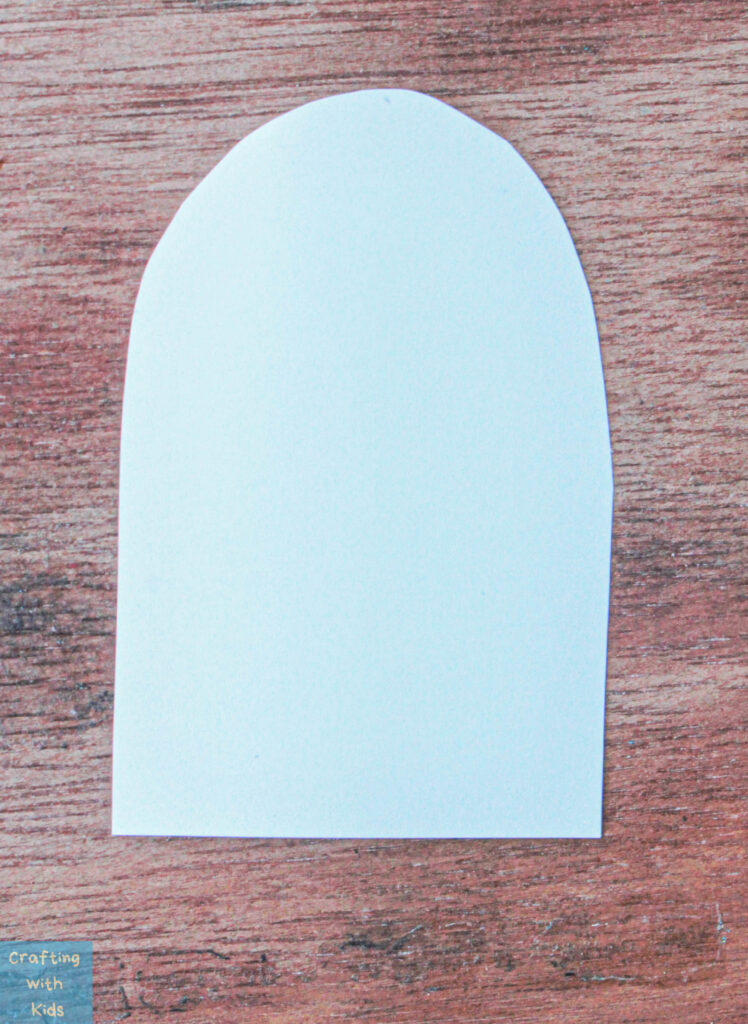
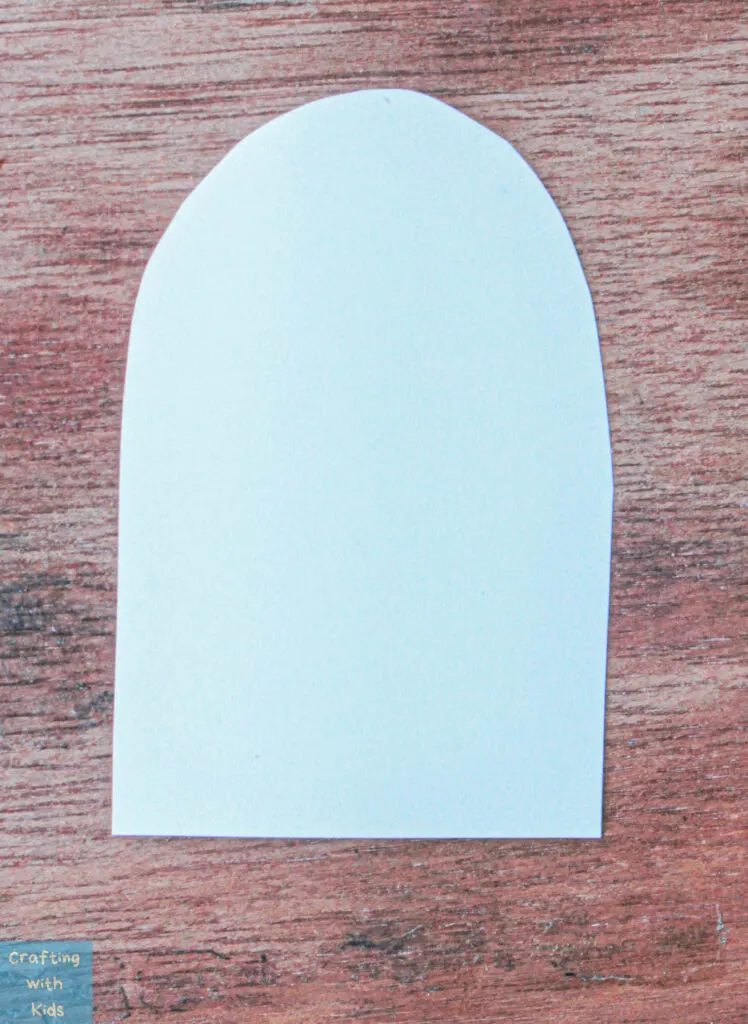
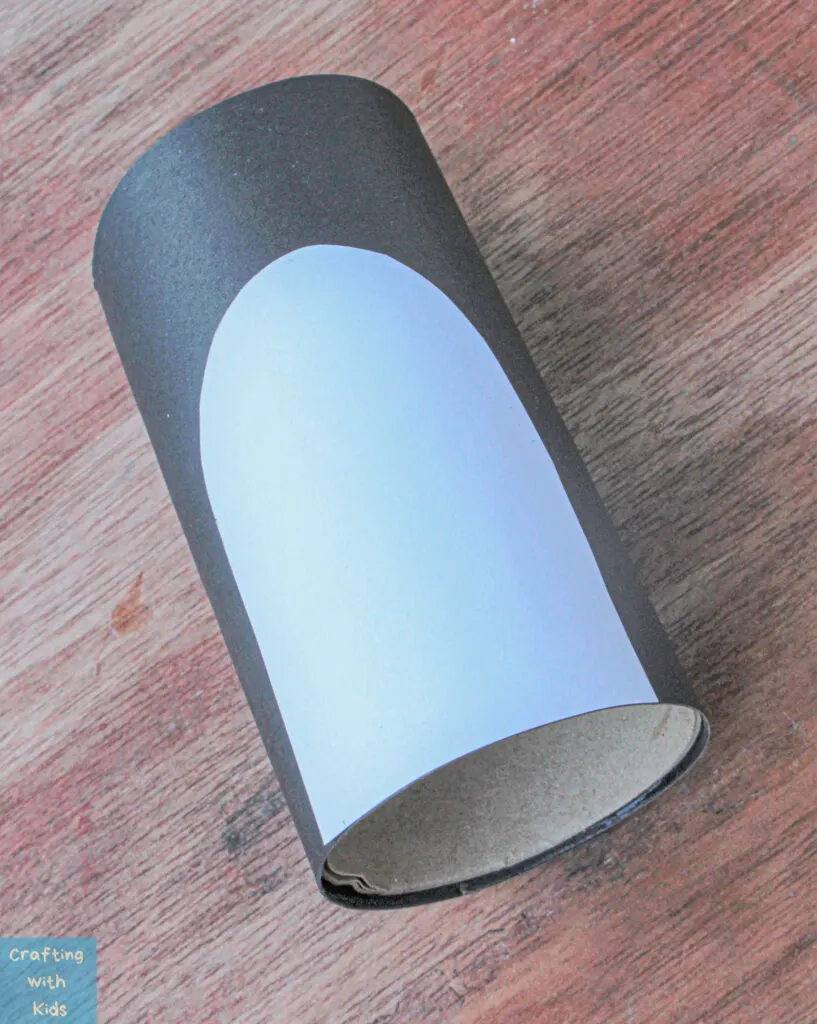
Step 3: From the white paper, cut a rectangle and then cut along one of the short edges to make it rounded.
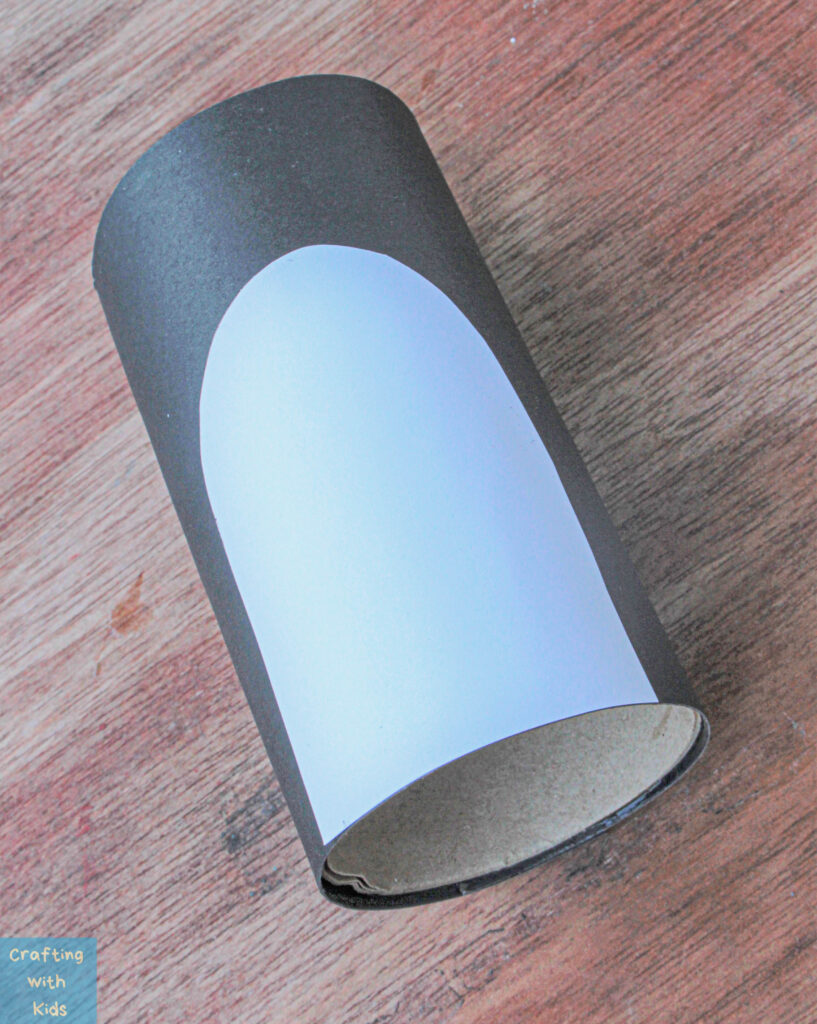
Step 4: Glue this white piece onto the toilet paper roll that is now covered in black paper. When sticking it in place, make sure that the short straight edge of the white piece is aligned with the bottom edge of the paper roll.
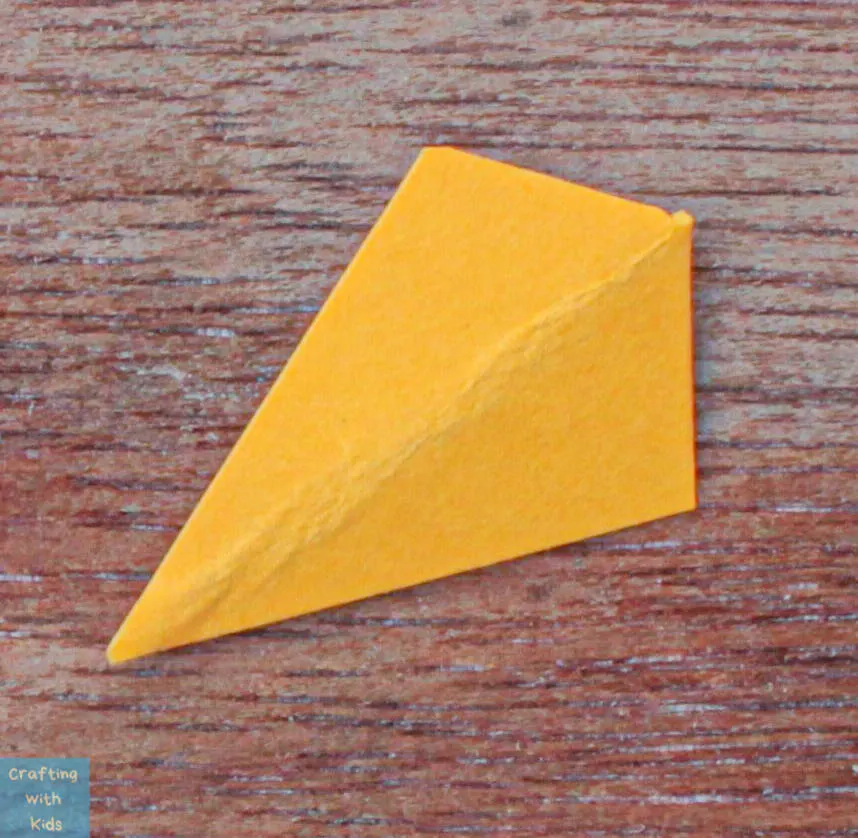
Step 5: Cut out a small diamond shape from the orange-colored paper and fold it in half along the longer side so that it forms a beak-like shape.

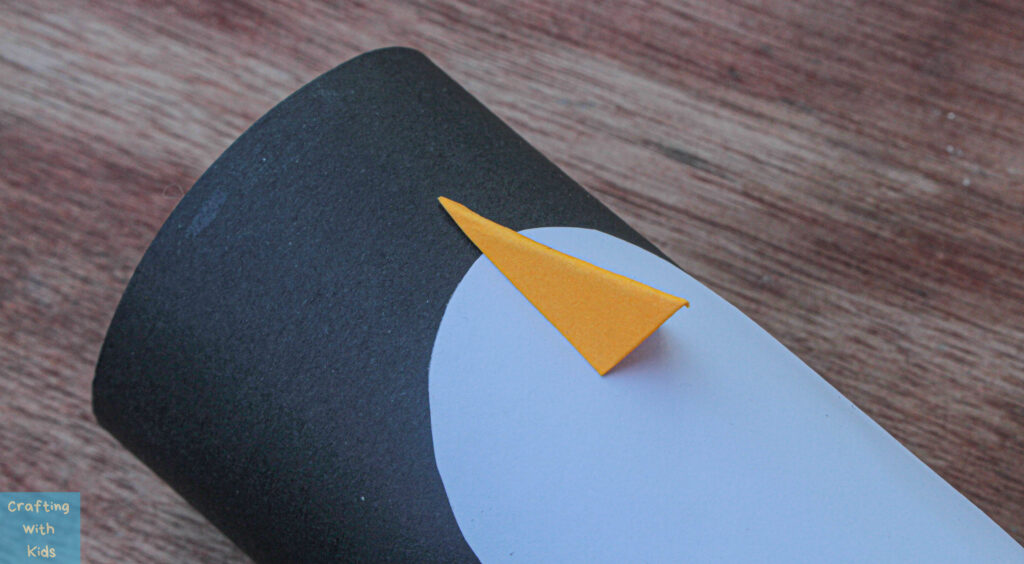
Step 6: Add glue to the top of this ‘beak’ and glue it onto the upper part of the white portion on the paper roll.

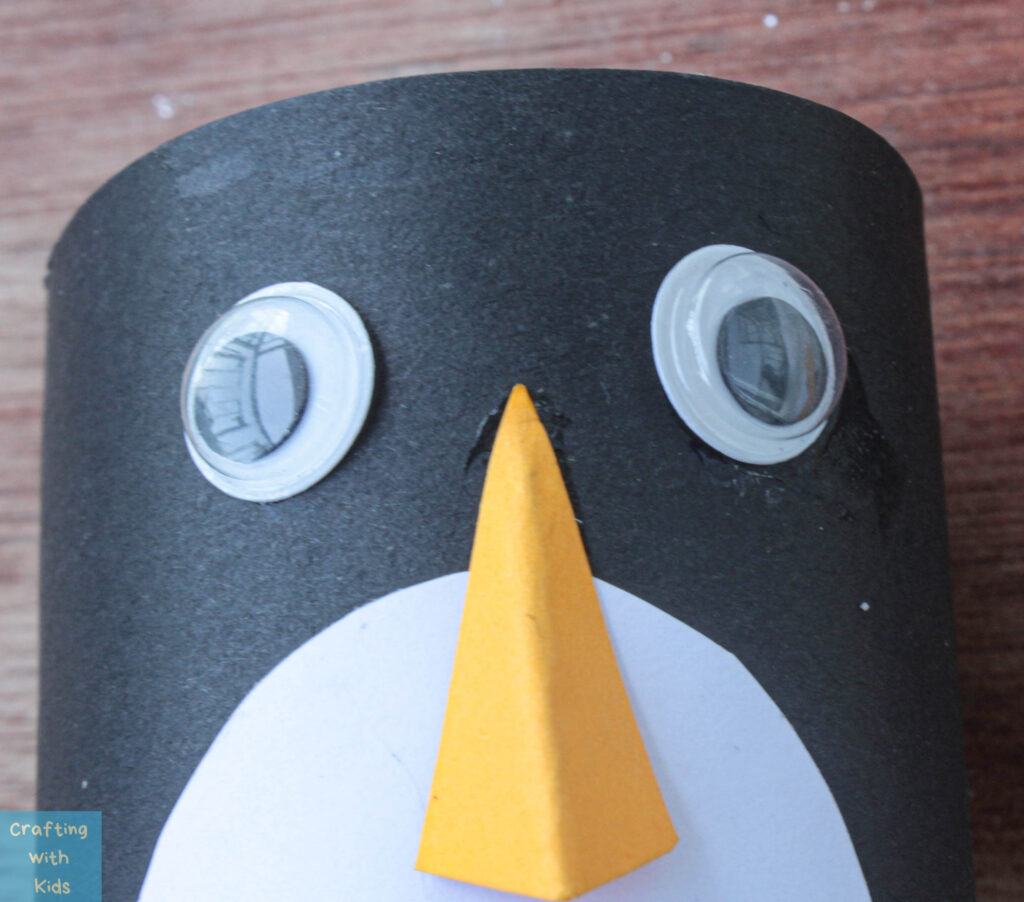
Step 7: Glue two googly eyes above the beak on both sides of it.

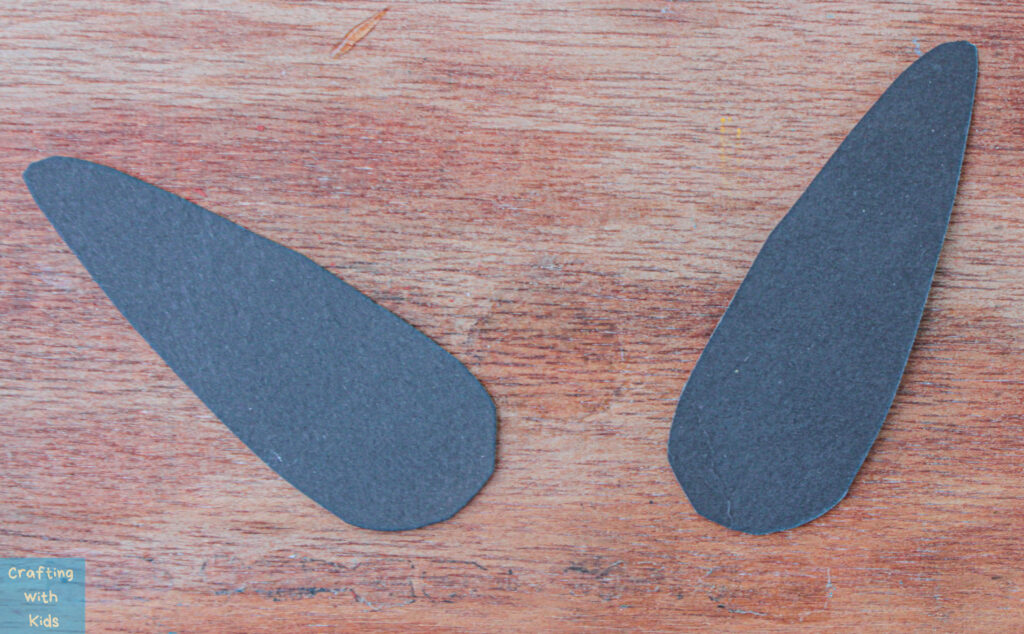
Step 8: For the flippers, cut out two long petal-like shapes from the black paper. Do not worry about being perfect with these shapes, whether it has sharp, straight, or rounded ends, they will still look great when put together. To make things easier, make sure these flippers are only slightly longer than half the height of the toilet paper roll.

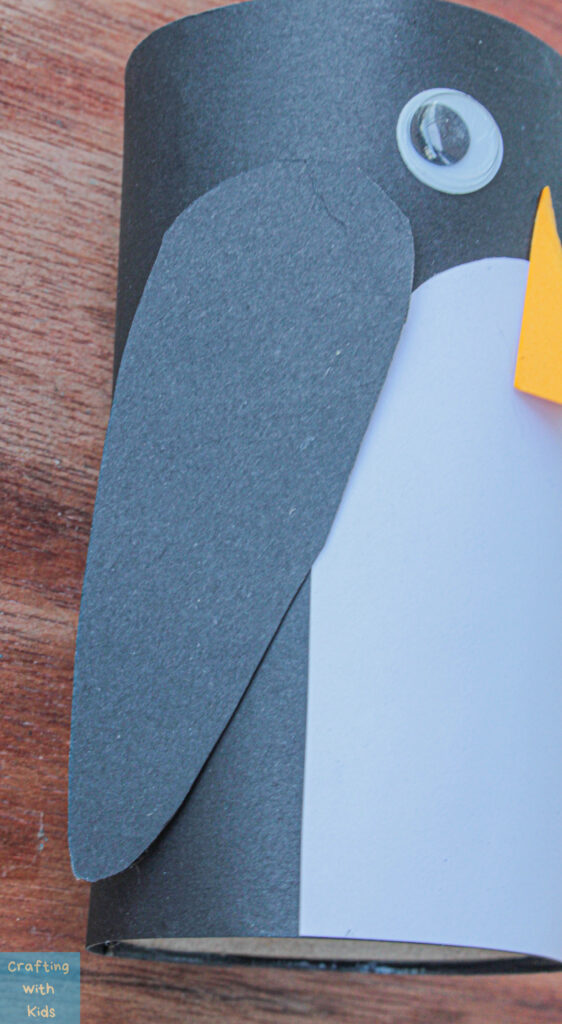
Step 9: Stick these in place by gluing the top of the “flippers” to the sides of the white portion of the paper roll.

Step 10: Cut out two feet shapes with a rectangular flap attached to them. Feel free to use either black or orange or yellow paper for this.

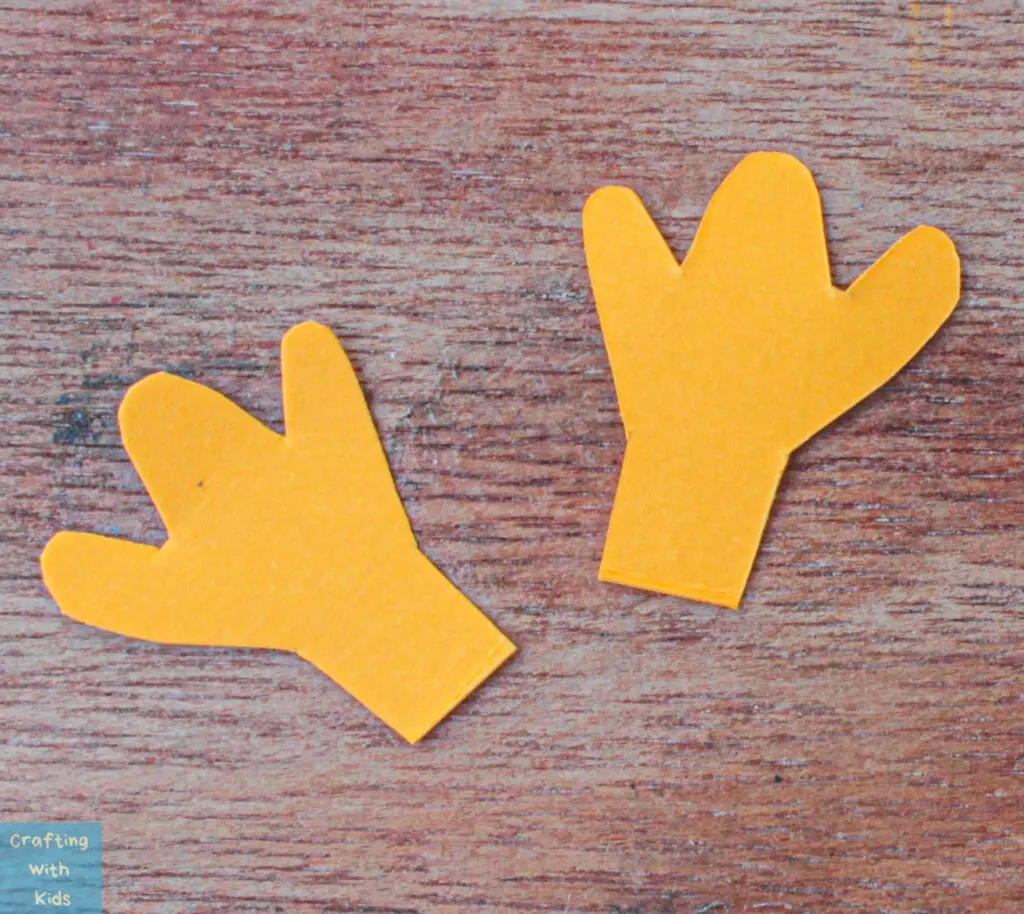
Step 11: Fold the flaps so that they are standing up as the “feet” part lays down flat. Put glue onto the inner part of these “flaps” and stick it to the inside of the toilet paper roll.


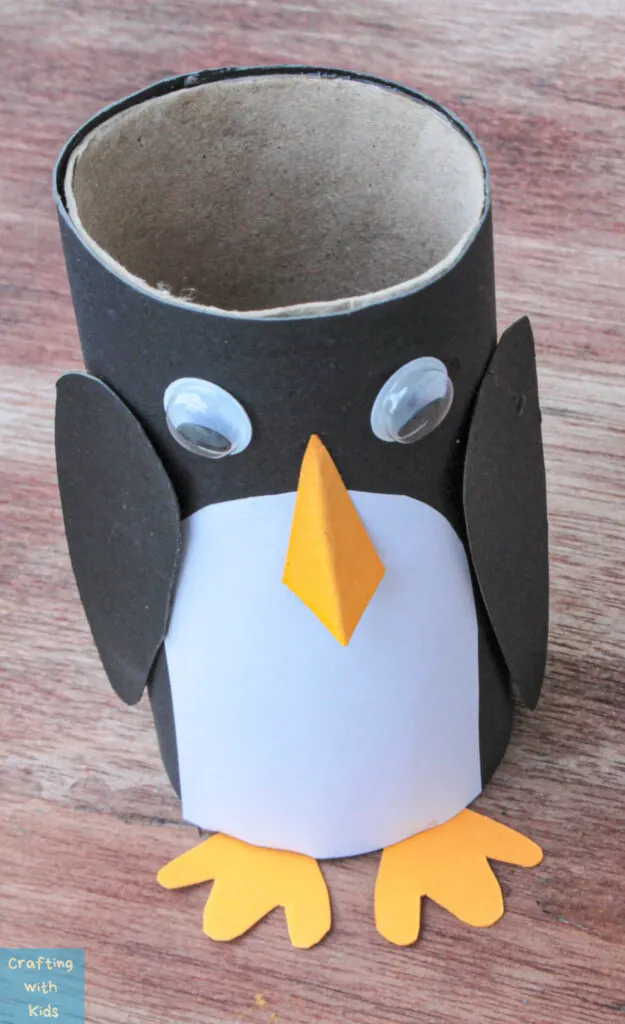
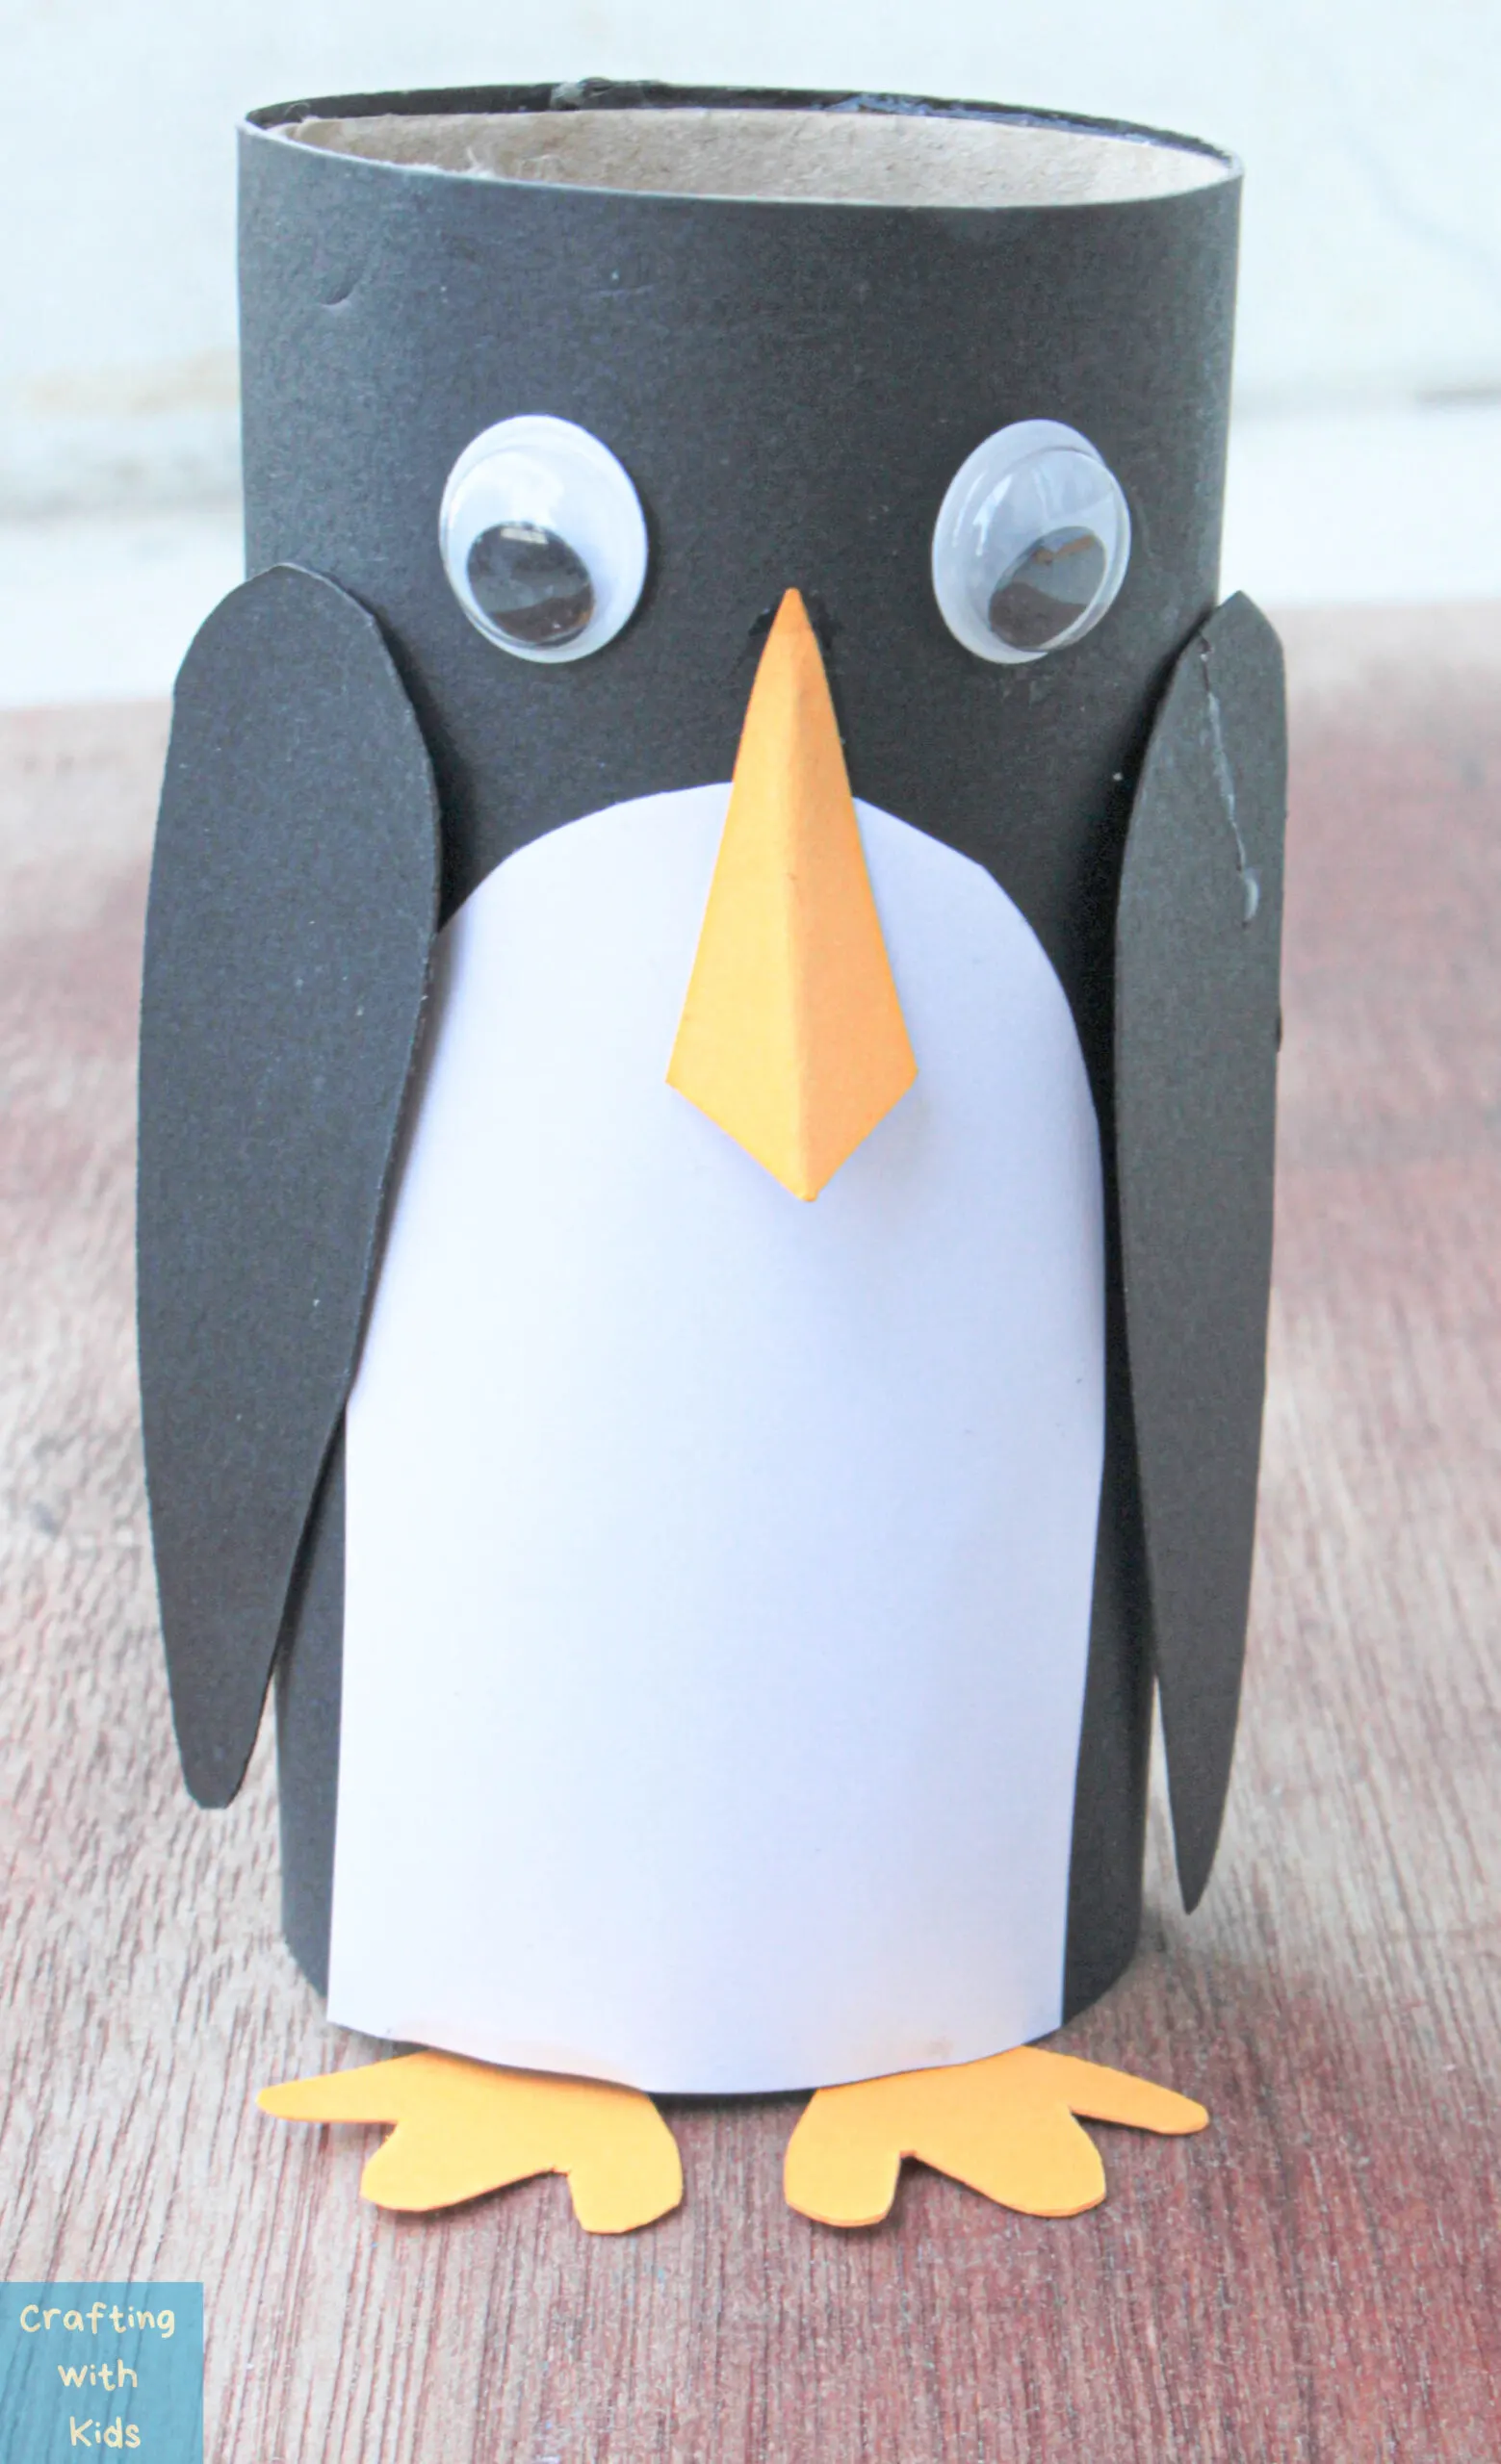
And now you have a cute little penguin of your own! You could always add additional accessorizing to the penguins to make them different from one another but the basic is just this simple. One way to make this even safer for the kids is by cutting the different pieces out in advance and leaving those for them to glue in place like puzzle pieces!


Toilet Paper Roll Penguin; Easy Winter Craft for Kids

Learn how to make this toilet paper roll Penguin for an easy Winter craft for kids. This is such a simple and thrifty kid craft.
Materials
- empty toilet paper roll
- White paper
- Black colored paper
- Orange or yellow-colored paper
- Glue
- Googly eyes
Tools
- scissors
Instructions
- Take the black paper and from it cut out a rectangular strip with a width that is slightly larger than the height of the toilet paper roll. Make sure this piece is long enough to wrap around the outside of the toilet paper roll completely.
- Wrap this black rectangular piece around the toilet paper roll and glue it in place.
- From the white paper, cut a rectangle and then cut along one of the short edges to make it rounded.
- Glue this white piece onto the toilet paper roll that is now covered in black paper. When sticking it in place, make sure that the short straight edge of the white piece is aligned with the bottom edge of the paper roll.
- Cut out a small diamond shape from the orange-colored paper and fold it in half along the longer side so that it forms a beak-like shape.
- Add glue to the top of this ‘beak’ and glue it onto the upper part of the white portion on the paper roll.
- Glue two googly eyes above the beak on both sides of it.
- For the flippers, cut out two long petal-like shapes from the black paper. Do not worry about being perfect with these shapes, whether it has sharp, straight, or rounded ends, they will still look great when put together. To make things easier, make sure these flippers are only slightly longer than half the height of the toilet paper roll.
- Stick these in place by gluing the top of the “flippers” to the sides of the white portion of the paper roll.
- Cut out two feet shapes with a rectangular flap attached to them. Feel free to use either black or orange or yellow paper for this.
- Fold the flaps so that they are standing up as the “feet” part lays down flat. Put glue onto the inner part of these “flaps” and stick it to the inside of the toilet paper roll.


Notes
One way to make this even safer for the kids is by cutting the different pieces out in advance and leaving those for them to glue in place like puzzle pieces!
Leave a comment