
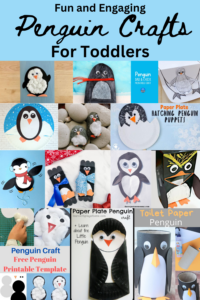
Let your kids create this cute penguin craft with a free penguin printable template. All you need is cotton balls, paper and a printer to create this easy winter craft. This is the perfect craft for Preschool aged kids.
Easy Penguin crafts are great winter crafts to keep your little kids busy during those cold months and work on their fine motor skills. What kid doesn’t love penguins? Not only will this let preschool children enjoy their craft time, but they will also be able to do most of the steps by themselves without needing too much assistance from an adult. This adorable penguin craft is also a great group activity or for the whole family. All you have to do is download the free penguin printable template, grab some toilet paper rolls and get to work! Side note; if you don’t have a color printer, using colored construction paper works well too! You can easily turn this into a paper plate penguin craft with just a few colored paper plates as well.
Don’t forget to check out more paper plate crafts while you’re here too and our list of 15 Penguin crafts for toddlers.

Here is what you will need for this fun penguin craft:
- The free penguin printable template (head to the bottom of the post to see it)
- A color printer
- Printing paper
- Blue colored paper or blue construction paper
- Scissors
- Glue stick
- Cotton balls
- Googly eyes (optional)
- Tissue paper instead of cotton balls (optional)

How to make a penguin craft from paper and cotton balls for preschoolers
Step 1:
From the blue colored paper, cut out a rectangle the size of the printing paper. If you don’t have colored paper, you can always use black paint to paint the base.
Step 2:
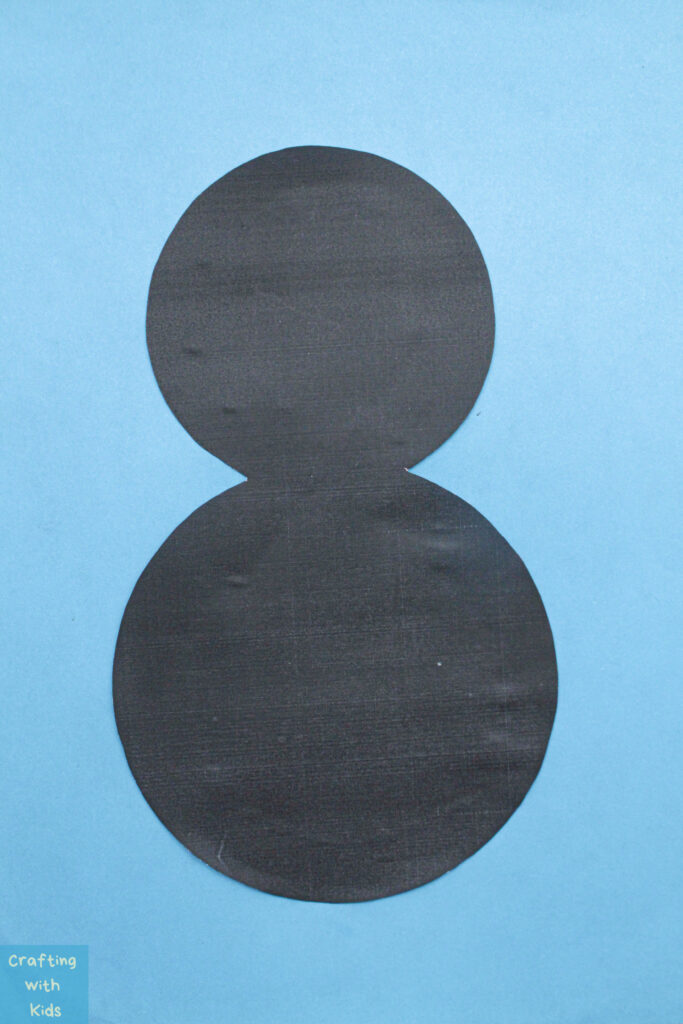
Download the template and print the pieces onto white paper using a color printer. If you don’t have a color printer, you can easily cut out the larger penguin shape out of black construction paper.
Step 3:
Using scissors, cut out the different pieces from the templates. Make sure to help the kids with this step to prevent any unwanted accidents.
Step 3:
Glue the black “body” portion onto the center of the blue rectangle that you cut out earlier.

Step 4:
Glue the orange “feet” pieces at the bottom of the black piece, onto the blue paper. Like I said earlier, if you don’t have a colored printer, grab some orange construction paper or even draw and color your own feet to paste onto the bottom of the penguin’s belly.

Step 5:
Apply glue onto one side of the grey “body” cutout. Be sure to put on the glue evenly and generously throughout the entire paper penguin craft.

Step 6:
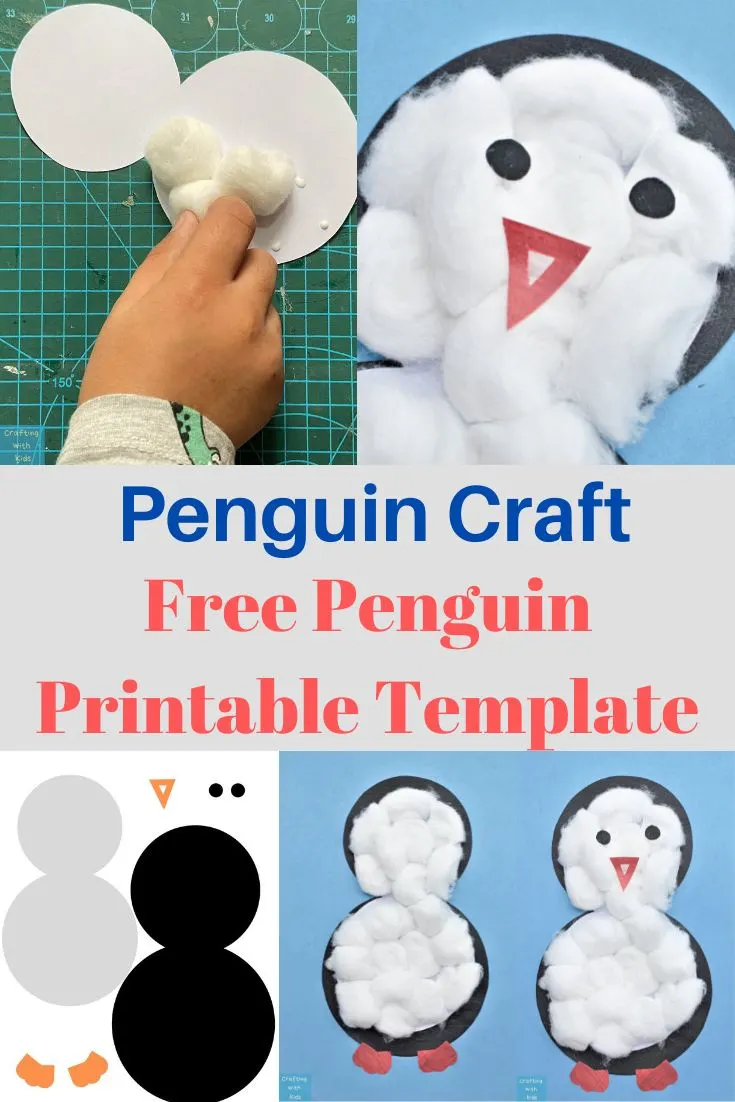
Place the cotton balls one by one onto the glued portion. Let the kids have fun and stick the cotton however they like and even if the paper underneath shows through. After all, this fun craft is all about letting your little ones craft on their own!
If the glue dries out just apply a little more as needed and carry on attaching the cotton balls on top.


Step 7:
Glue this assembled cotton and paper piece onto the black body, that is already stuck to the blue paper.


Step 8:
On the upper part of the cotton body, attach the black circle cutouts using the glue. You can also glue googly eyes instead of black circle cutouts for the little penguins eyes.

Step 9:
For the last step, glue the orange triangle under the glued black circles to make the orange beak (in this case it looks slightly red). To make it look like a beak make sure the triangle is pointing down.


And we’re done! This is a great way for your child to make their own simple craft with materials you probably have at home. These adorable penguins would be great to put up on the fridge around the winter season. After all, this simple project should be displayed right?
If you are looking for a handful of other cut and paste activities for Preschoolers, check out this awesome post with loads of ideas and free printable templates.

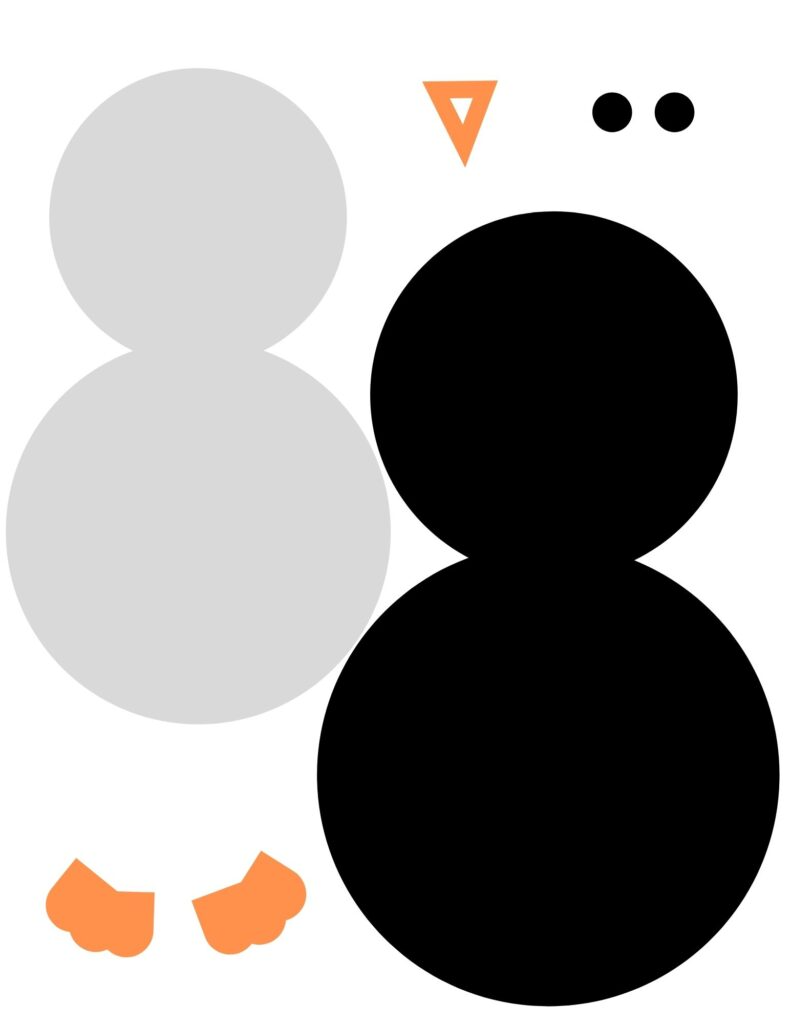
Printable Penguin Template
Either download the link above or use the image below to get your free penguin craft template for this cute winter craft.
I hope you’ve found this tutorial simple and easy.
Here are a few penguin winter crafts that you can try:
- Paper Plate Penguin: Use a paper plate to create a cute penguin face, and add construction paper wings and feet.
- Sock Penguin: Turn a black sock into a penguin by adding felt or fabric for the belly, eyes, and beak.
- Egg Carton Penguins: Cut and paint sections of an egg carton to make adorable penguin figures.
- Penguin Puppets: Create penguin puppets using black and white felt, googly eyes, and glue.
- Rock Penguins: Paint smooth rocks with black and white paint to resemble penguins.
These craft ideas are perfect for kids and can be a fun way to explore creativity and learn about penguins.
Preschool Penguin Craft with Free Penguin Printable Template

Let your kids create this preschool penguin craft with a free penguin printable template. All you need is cotton balls, paper and a printer to create this easy winter craft.
Materials
- The free penguin printable template
- Printing paper
- Blue colored paper
- Scissors
- Glue
- Cotton balls
Tools
- color printer
Instructions
- From the blue colored paper, cut out a rectangle the size of the printing paper.
- Download the template and print it onto white paper using a color printer. You could also print out multiple copies at once so that you can pop them out when needed in the future.
- Using scissors, cut out different pieces from the template.
- Glue the black “body” portion onto the center of the blue rectangle that you cut out earlier.
- Glue the orange “feet” pieces at the bottom of the black piece, onto the blue paper.
- Apply glue onto one side of the grey “body” cutout. Be sure to apply the glue evenly and generously throughout the entire piece.
- Place the cotton balls one by one onto the glued portion.
- Glue this assembled cotton and paper piece onto the black body that is already stuck to the blue paper.
- On the upper part of the cotton body, attach the black circle cutouts using the glue.
- Glue the orange triangle under the glued black circles. To make it look like a beak make sure the triangle is pointing down.
Notes
Let the kids have fun and stick the cotton however they like and even if the paper underneath shows through. After all, this craft is all about letting your little ones have fun and craft on their own!
Leave a comment