
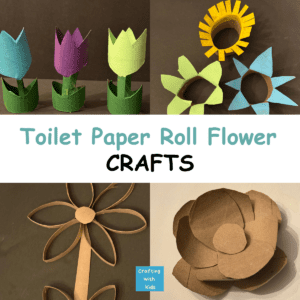
If you have a pile of toilet paper rolls sitting around, I have the perfect use for them: a toilet paper roll flower craft (or four!). This summer I really want to teach my kids about recycling in a more hands-on way. One way I’m introducing recycling with them is through upcycling. Upcycling is a great way to repurpose recyclables into something new!
Today I have some flower crafts for you to try. These are suitable for kids from four to forty! A couple you could even try with younger kids!
If you enjoy finding creative ways to use toilet paper rolls be sure to check out all of the toilet paper roll craft ideas we have to offer on our site.
We particularly love upcycling toilet paper rolls and other cardboard tubes from paper towels or wrapping paper too. They all have future uses and are a perfect tool for recycled crafting.
Instead of throwing away these materials, reusing them is a great lesson for kids about conservation and resourcefulness. For you it means low cost and low prep (my favorite kind of project!).
Keep a box or bag in the house to stash tubes so you will always have a supply on hand. I like to keep mine in the hallway closet so it’s out of sight, but easily accessible for everyone.
What Toilet Paper Roll Flower Crafts Are in This Post?
-
Toilet Paper Roll Tulips
-
Toilet Paper Roll Flower Wall Art
-
3-D Cardboard Tube Flowers
-
Toilet Paper Roll Flower Stamps
What You’ll Need for a Toilet Paper Roll Flower Craft
- Cardboard tubes
- Scissors
- Paper
- Paint
- Paintbrushes
- Straws or wooden skewers for stems
Project #1: Toilet Paper Roll Tulips
These tiny tulips will be able to stand on their own and are super sweet to make with little ones.
You will need:
- Toilet paper-sized cardboard tubes
- Scissors
- A pencil
- Paint and paintbrushes
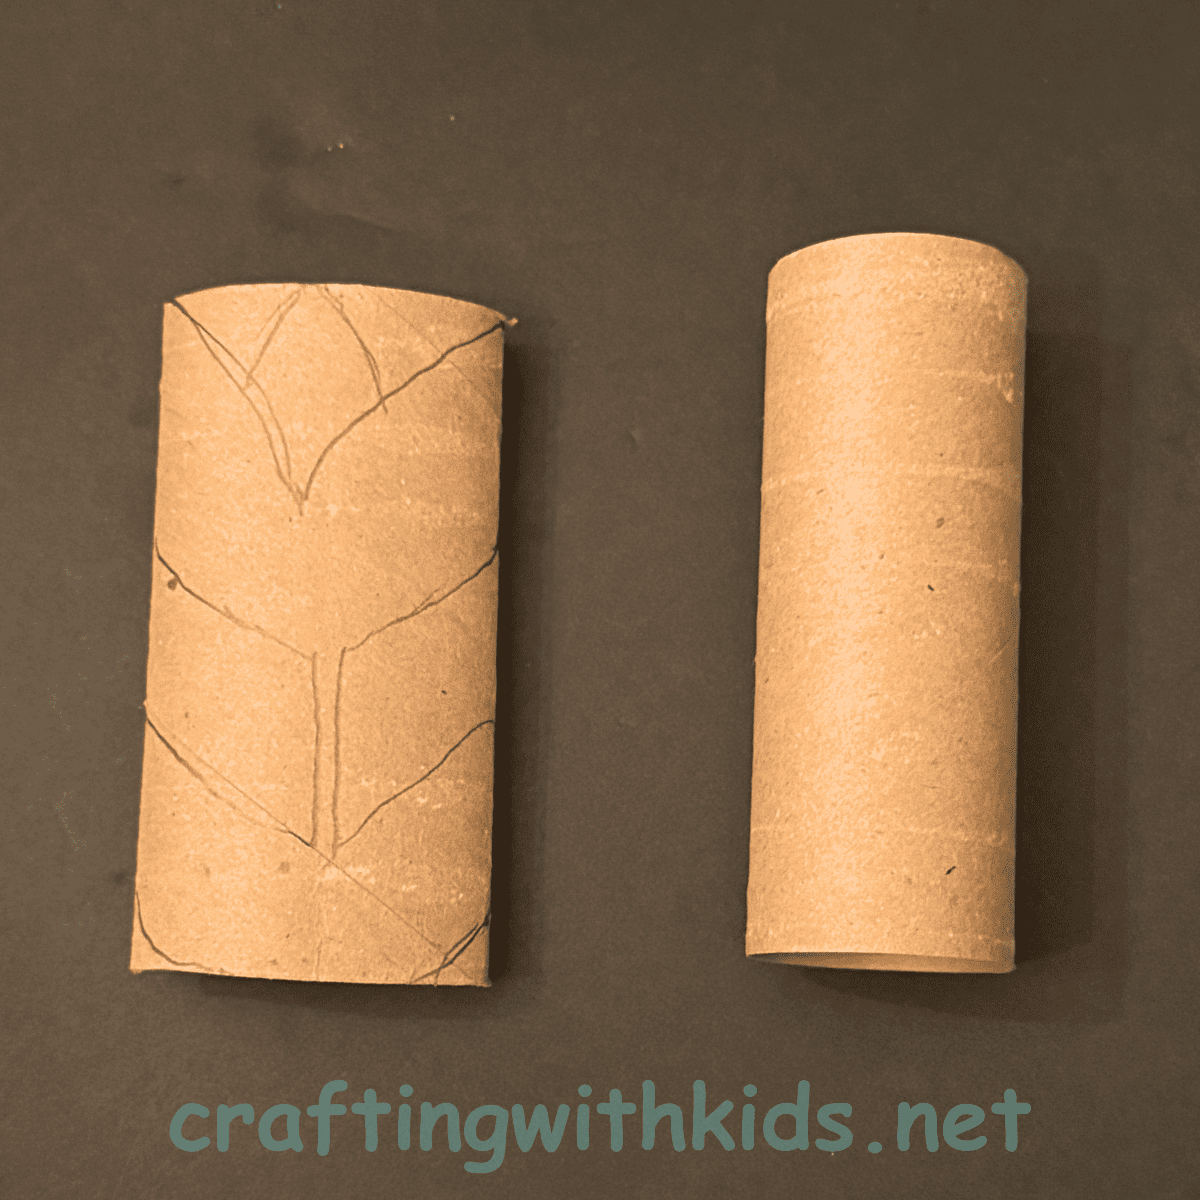
Step 1: Flatten your tube. Kids will love squishing it flat! This is a great fine motor moment for the kids to be sure their tubes are nice and flat.
Step 2: Trace a tulip and its stem and leaves onto the tube. Tulips have kind of pointy tops. I like to draw a “V” shape from the two top corners and then an upside down “V” shape for the center petal. Draw a “U” for the bottom of the flower, then two lines closer together near the center for the stem, and two leaves coming up from the bottom.
Step 3: Cut the flower out of the tube.
Step 4: Paint the flower, stem, and leaves on both sides of the tube. (This is a great time to talk to the kids about color mixing. If you provide only primary colors you can mix red and blue to make purple, or yellow and blue to make green. It’s a great spot for a mini lesson that is sure to stick because it’s tied to a real project. You can talk to them about how some colors are warm like the sun or sunset, but others are cool like the sky.)
Step 5: Once it’s dry, pop the tube back out and stand it up.
These make the cutest little window garden lined up next to each other.
Project #2: Toilet Paper Roll Flower Wall Art
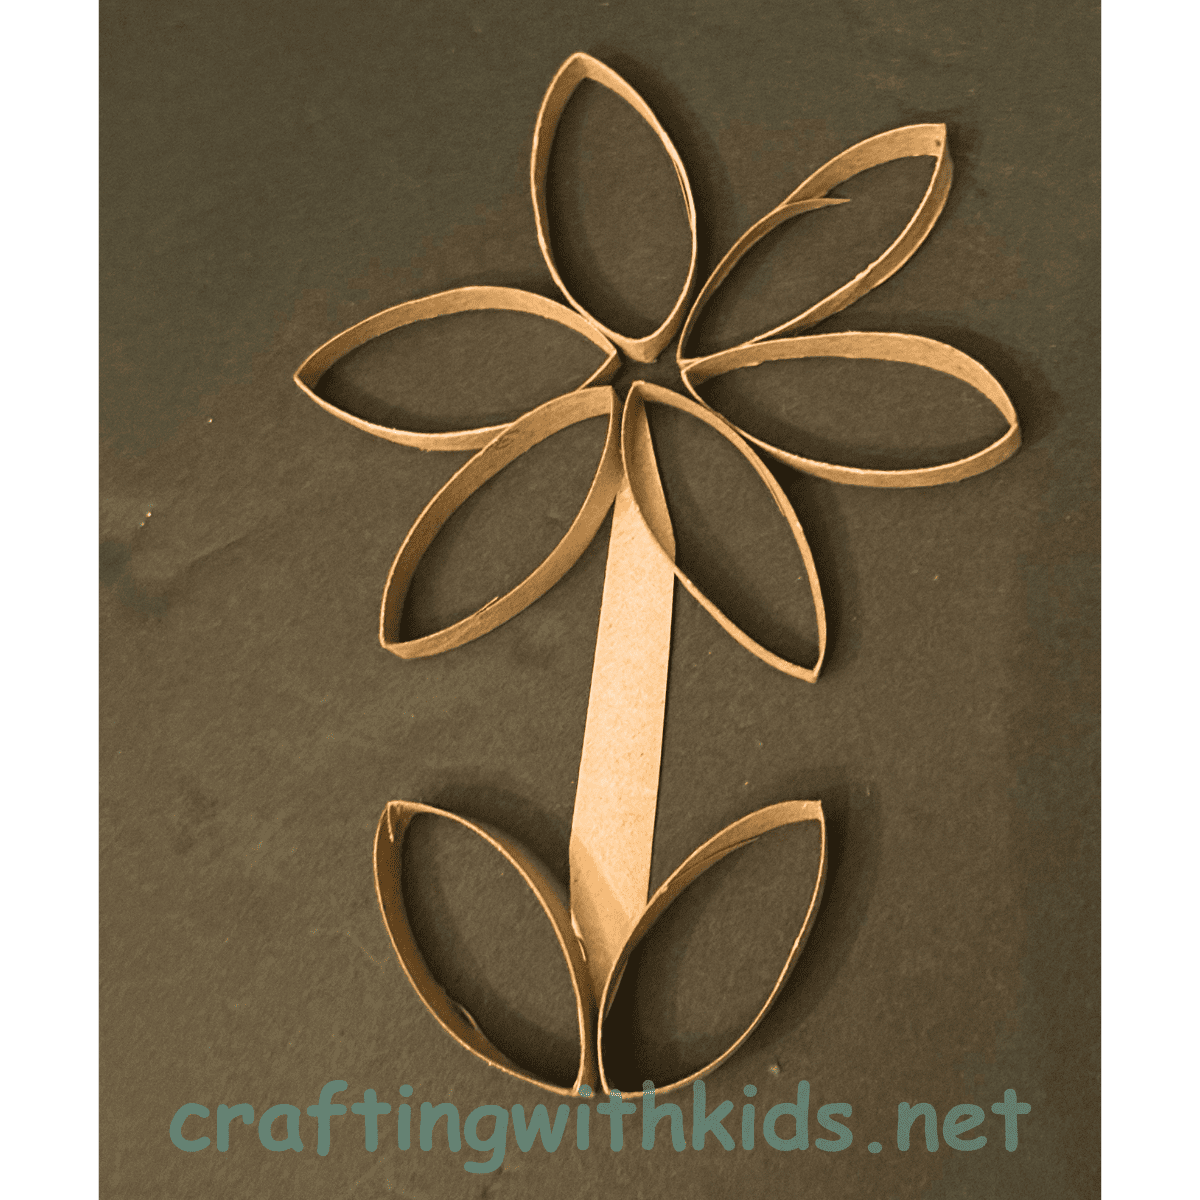
Cutting the tubes and then mounting them on paper or canvas makes for the prettiest display.
You will need:
- Tubes
- Scissors
- Paper or canvas
- Something to color with (either paints, markers, or crayons) and glue (this is a great project to make a glue sponge for dipping your pieces into: just put a damp sponge in a shallow reusable plastic container with a lid. Pour a bottle of glue over the sponge and let it soak in. The sponge will stay damp with the glue and is easy to dip pieces into to place on your art.)
Step 1: Prepare your base. Whether you are mounting your flower picture on paper or canvas, you will want to paint or color your background before you mount the flowers.
Step 2: Cut the cardboard tube into narrow strips along the length of the tube so you end up with little circles or ovals.
Step 3: Turn all of your strips on their edge so you can see them and then arrange your cut pieces into flowers, stems, and leaves. Play around with your design until you’re happy with the way it looks.
Step 4: Working piece by piece, glue the strips of cardboard tube into place.
This project can be as simple or as complex as you want! A simple flower for smaller kids or a whole garden with older kids! If you’re looking for a more complex craft, one of my favorites for the summer is this toilet paper roll wind chime.
Or, if you’re like me and planning for Fourth of July, try these toilet paper roll fireworks – another great way to use those leftover cardboard tubes!
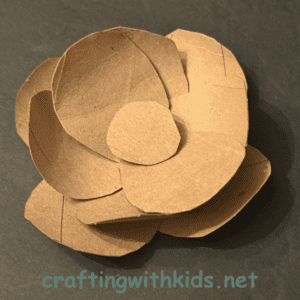
Project #3: 3-D Cardboard Tube Flowers
Making layered cardboard flowers is a great project for kids that are a little older and can handle tracing and scissors. You can do it with younger kids but you may want to help with the tracing and cutting and let them do any coloring and layering.
For this project you will need:
- Cardboard tubes
- Pencils
- Scissors
- Glue
- Wooden skewers
- Other decorative elements like crayons, markers, gems, or pompoms
Step 1: Squish your tubes flat.
Step 2: Trace petal shapes onto the cardboard. Make sure that you keep one of the folded edges intact. You are going to cut the petal keeping that one edge and cutting off the other so when you open it up, it will end up being two petals across from each other.
Step 3: Cut out all of your petals.
Step 4: If you want to paint the petals you would do it at this point. Let them dry. I like them the plain cardboard color too, so whatever works for your group will look amazing!
Step 5: Lay one petal down and put some glue right in the center. Put a second petal pair on top of that one but turn it slightly. Continue this, turning each time to make it look like fanned out petals. Put something heavy on them like a book to hold it together while the glue dries. (This step is a great little lesson in engineering. How can you make your flower balanced and looking like an actual flower?)
Step 6: Once it’s dry, curl the petals a little over your finger and add a gem or a pompom or a cardboard circle to make the center of the flower.
These are so cute. You could add a wooden skewer as a stem or even line several up in a small box so it looks like a planter. So many options for these pretty flowers.
Project #4: Toilet Paper Roll Flower Stamps
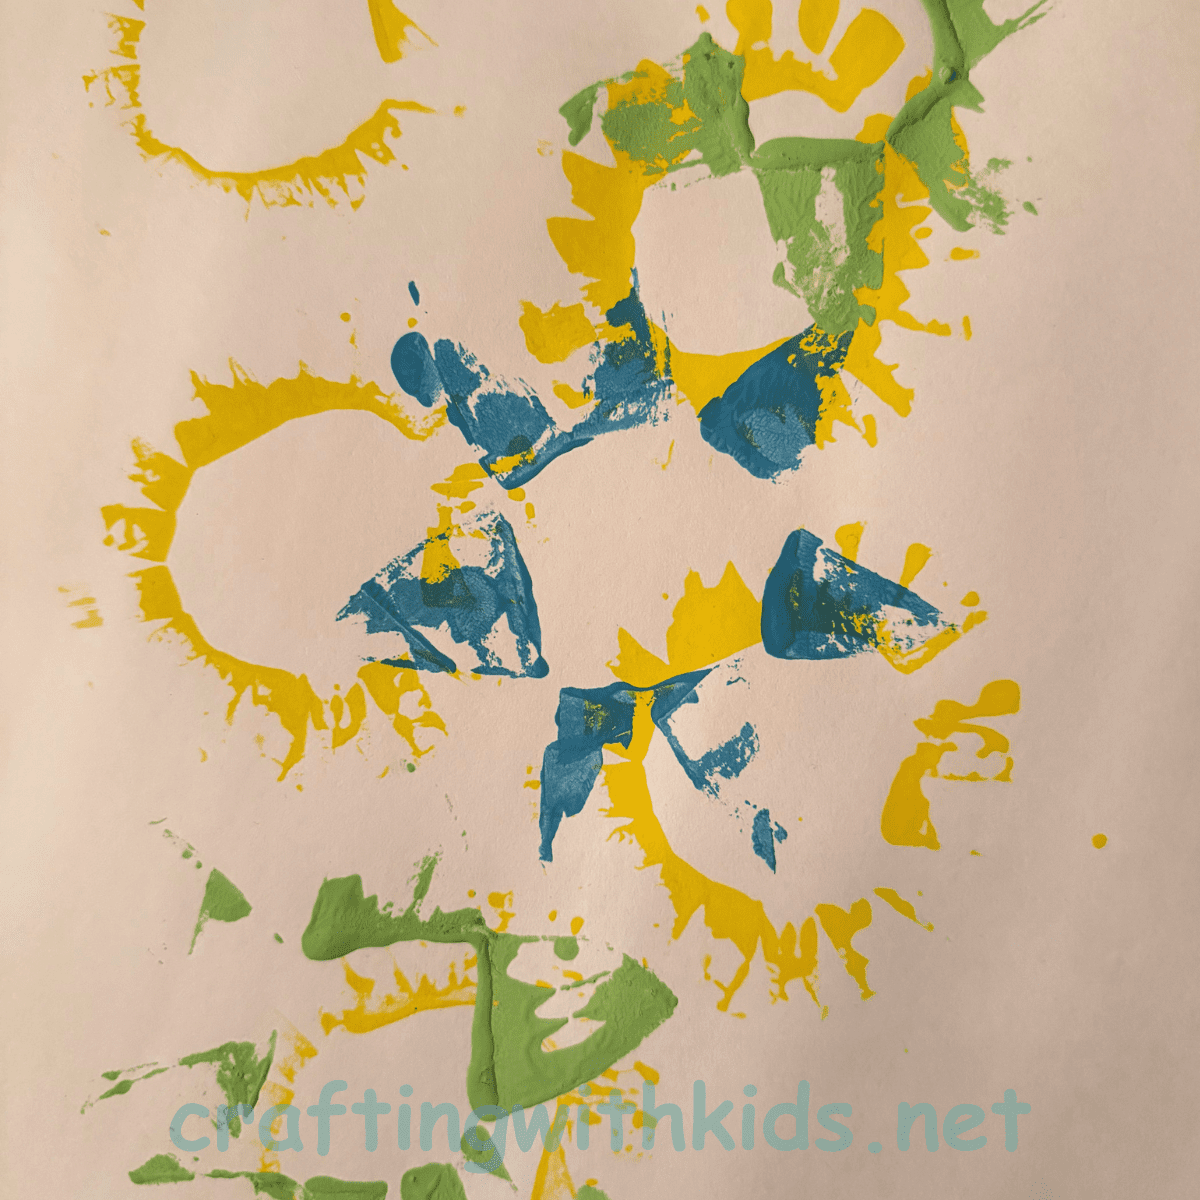
This is a great project for the younger kids. We are going to cut the tops of some toilet paper tubes to create some petals and then dip them in paint to stamp onto our art piece. For this project you will need several toilet paper tubes, some acrylic or tempera paints, and some art paper. Another simple one that the younger kids always seem to love is this bumblebee toilet paper roll craft.
Step 1: Cut the tops of some toilet paper tubes into flower petal shapes. They can be pointy, curved, or even just little strips. Once you’ve cut them, bend them outward.
Step 2: Holding the uncut end, dip the “petals” into a puddle of paint.
Step 3: Press the stamp onto your art paper.
Step 4: Continue the process with different stamps and colors until you’re happy with your artwork!
This is such a cute little project for the kids. They just love watching the flowers come to life on their paper.
Whether you’re making the simple stand up tulips or elaborate cardboard flowers you can’t argue the fact that the lowly toilet paper tube is an amazing craft staple, and who doesn’t love a little recycling project! I hope you will try these with your kids!
FAQ
What can you make with toilet paper rolls?
You can create crafts like flowers, animals, and decorations using toilet paper rolls.
How do you make a flower out of a toilet paper roll?
Cut, shape, and paint the roll into petal forms, then assemble into a flower.
Are toilet paper roll crafts safe for kids?
Yes, with supervision and child-safe scissors, they are safe and engaging.
What are easy spring crafts for kids?
Simple crafts like toilet paper roll flower crafts, paper flowers, and recycled flower projects are great spring activities.
Why use recycled materials for crafts?
Recycled crafts teach sustainability and reduce household waste creatively.
More Craft Ideas for Kids
Here are a few more craft ideas for kids that are super fun!