Learn how to make this simple toilet paper snowman for a fun winter craft. This is a great holiday kid craft for all ages.
Snowman making is an essential part of winter. If you want to make some sort of a snowman and don’t have real snow, why not try this toilet paper roll snowman craft? Of course, nothing can beat an actual snowman, but this handy winter snowman craft can be moved around, played with, or even displayed all around the house.
Here is what you will need:
- Empty toilet paper roll
- White paint
- Paintbrush
- Black marker or paint
- Black paper or felt
- Ribbon of choice
- Scissors
- Glue
- Black buttons (optional)
- Googly eyes (optional)
- Orange pompoms or foam balls

How to make a toilet paper snowman
Step 1:
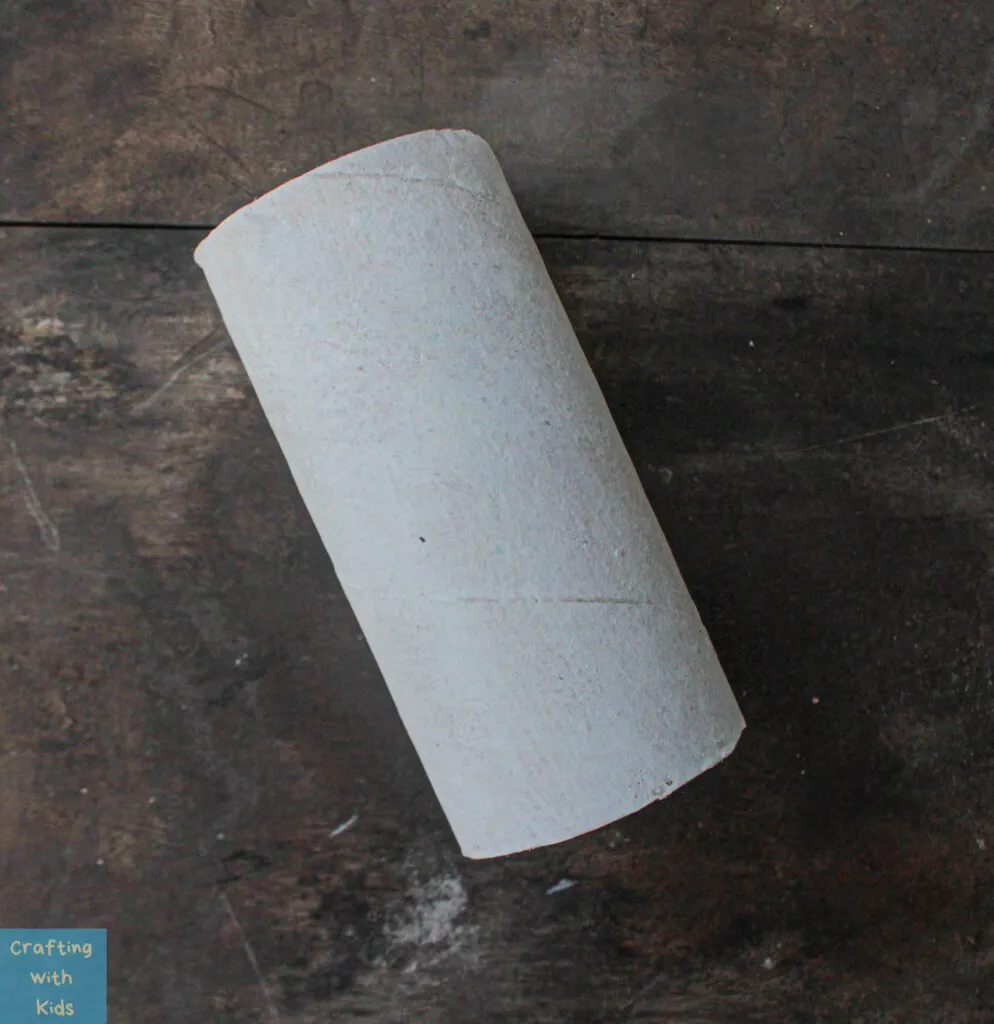
First, take the toilet paper roll and using the white paint and paintbrush, color it white.
Make sure that you have coated it with paint properly, so no brown patches are peeking through. Wait for it to dry.
Step 2:
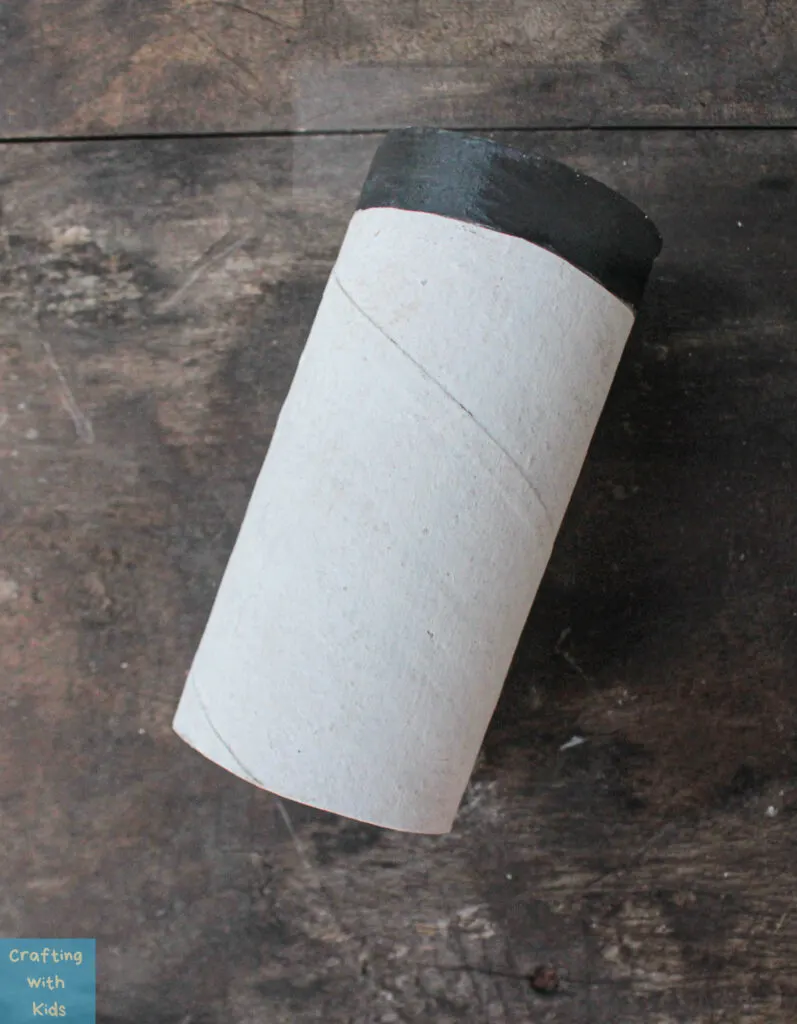
Using the black marker or paint, color about half an inch of the top of the paper roll black. While it might not be necessary to make the edges clean, try not to make the edge of the painted portion be too crooked.
Step 3:
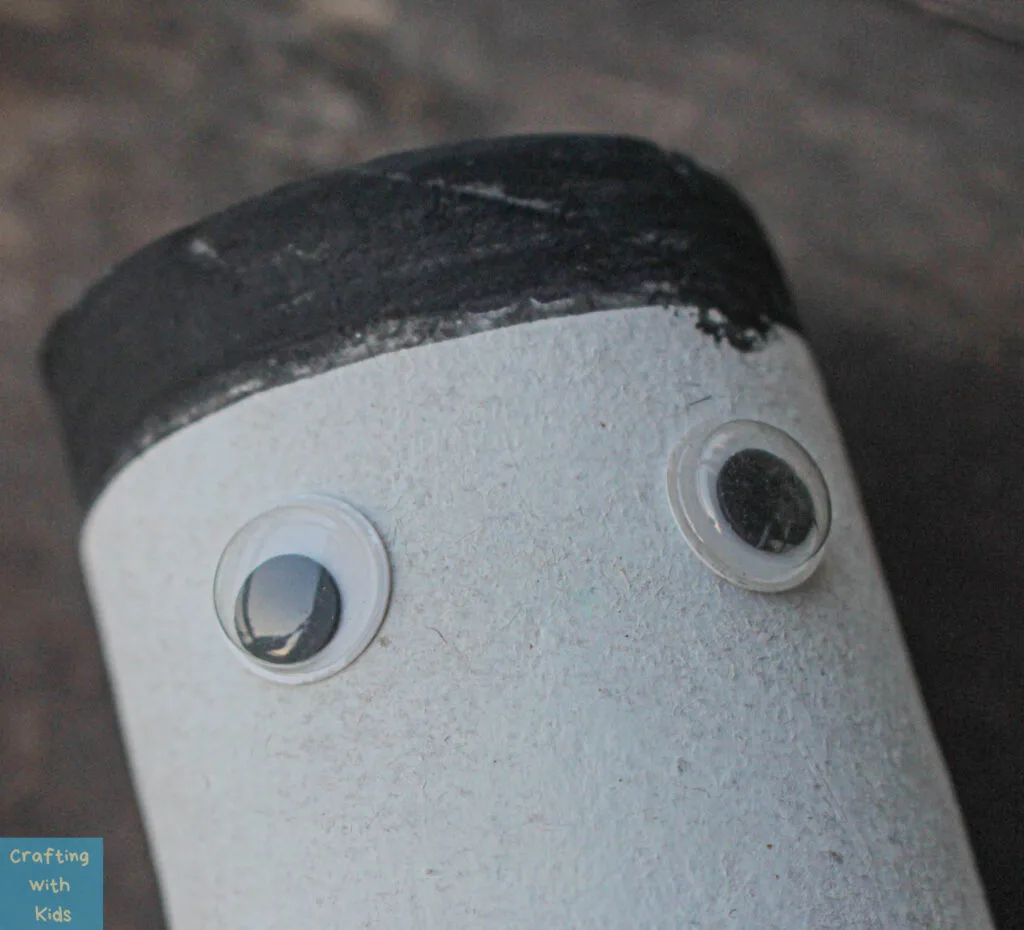
Glue the googly eyes onto the painted toilet paper roll, slightly below the black portion. If you don’t want to use googly eyes or do not have access to them, you could simply draw on the eyes with marker.
Step 4:
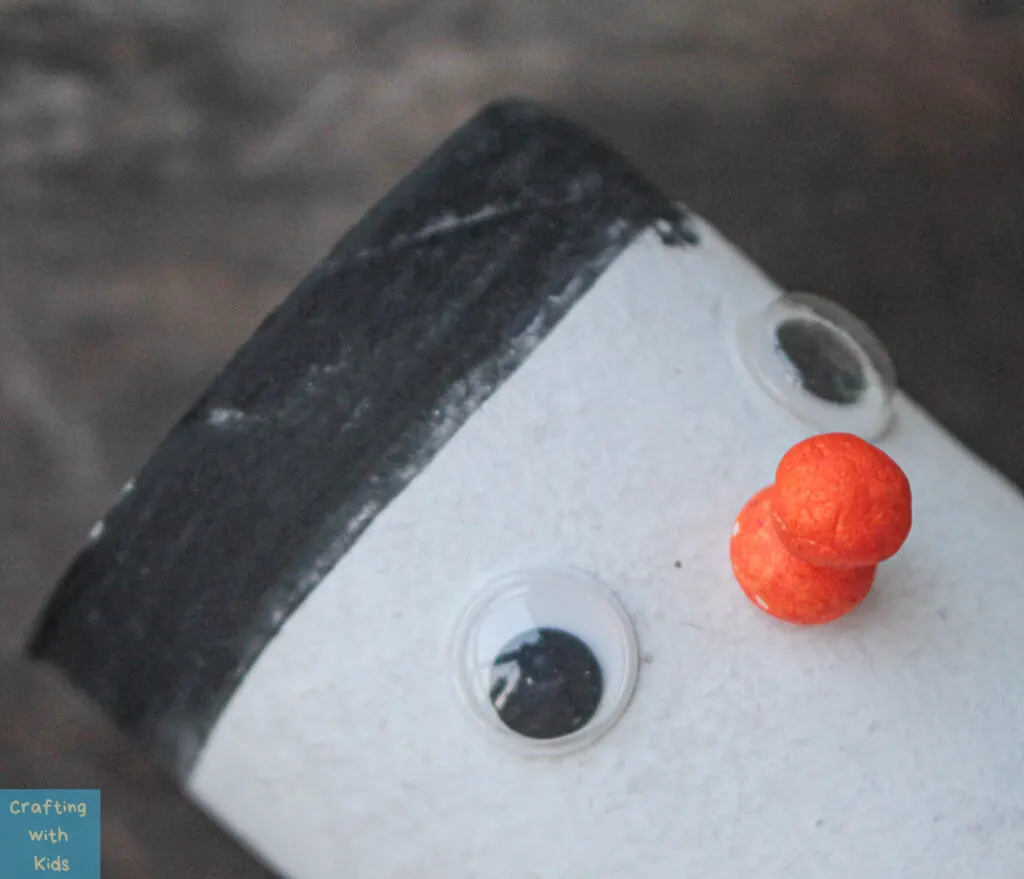
Take an orange pompom or foam ball and glue it below the eyes. Then take a smaller one of the same color and glue it on top of the previous one.
This will be the snowman’s nose.
Step 5:
For the buttons you could simply cut out circles from black paper or you could use actual black buttons or beads like we did here. Glue 3 to 4 of them in a straight line, leaving a small gap below the pompom nose.
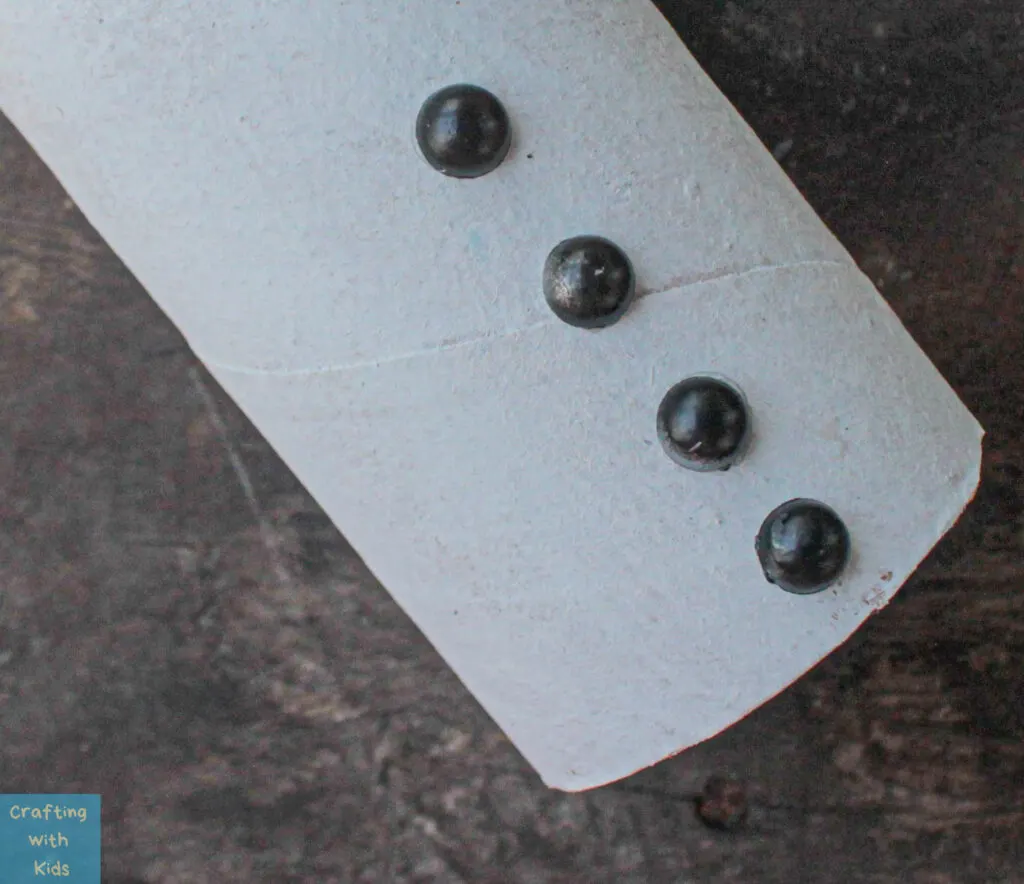
Step 6:
Using the marker, draw the mouth in the space between the nose and the buttons. You could try drawing a dotted line to make it look a little different.
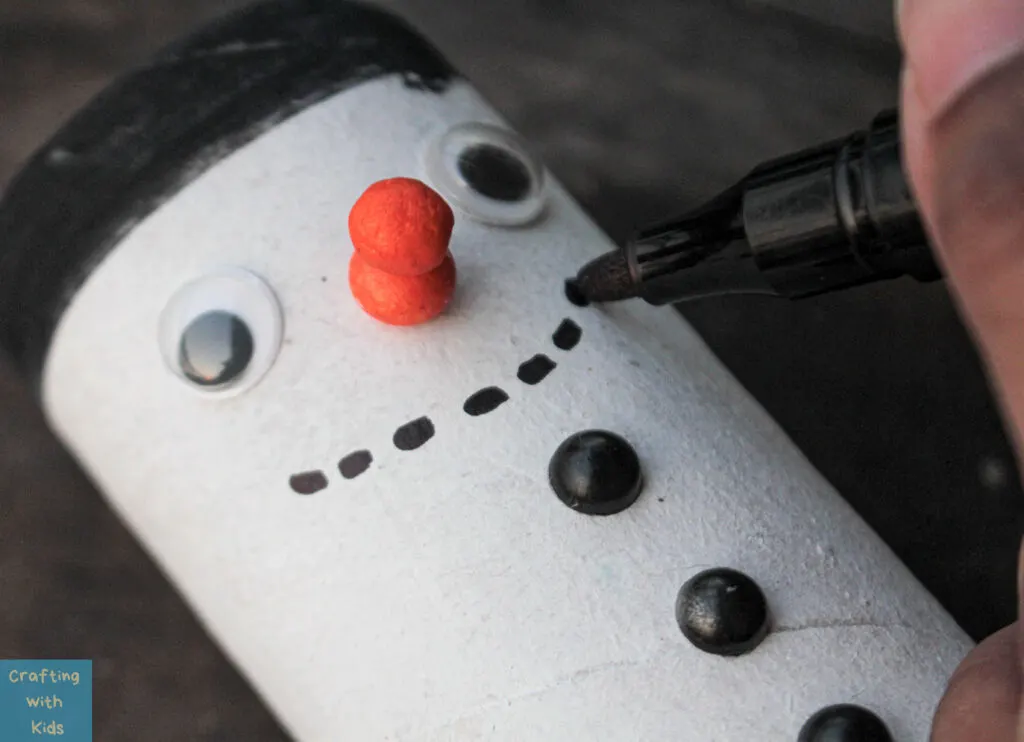
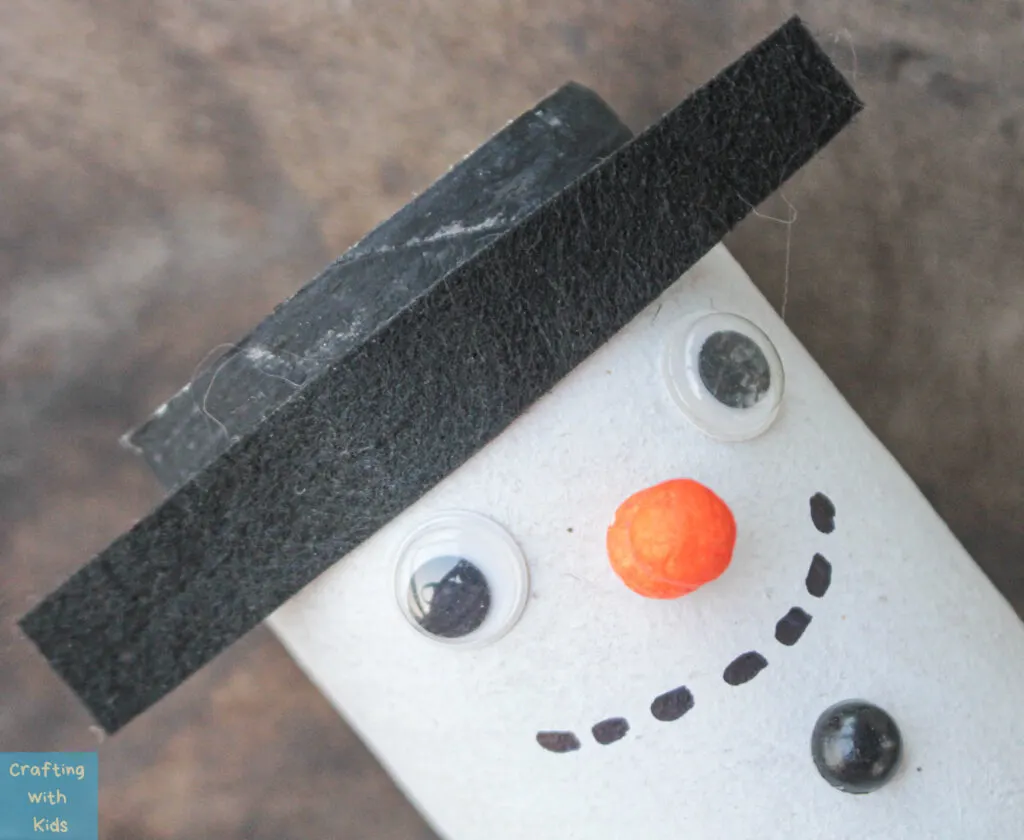
Step 7:
Cut a rectangular piece from the black paper and felt. Make sure it is not wider than the height of the black portion of the roll but make the length longer than the width of the toilet paper roll.
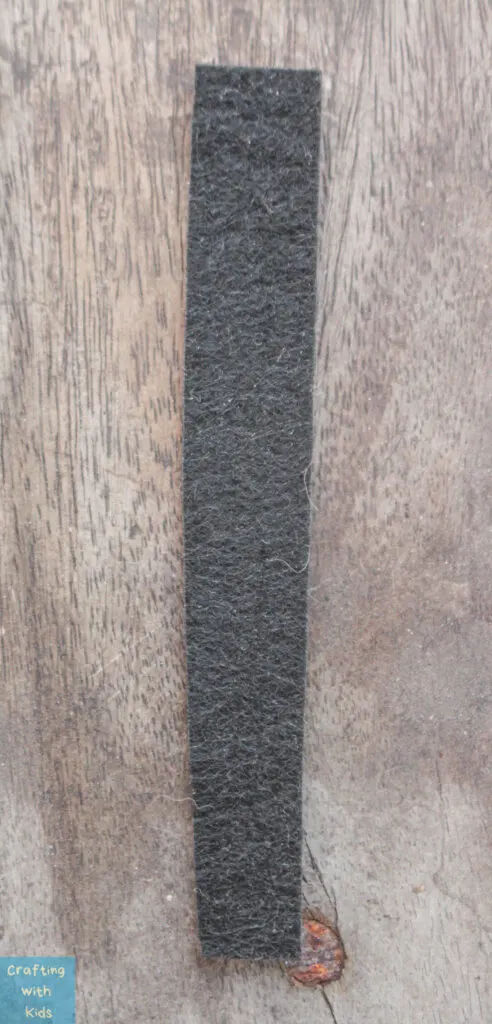
Glue this piece along the top of the paper tube.
Step 8:
For the snowman’s scarf, wrap the ribbon around the snowman and determine how long you want the ribbon to be. Cut it to the desired length. Once cut, wrap the ribbon around the “neck” and glue it in place.
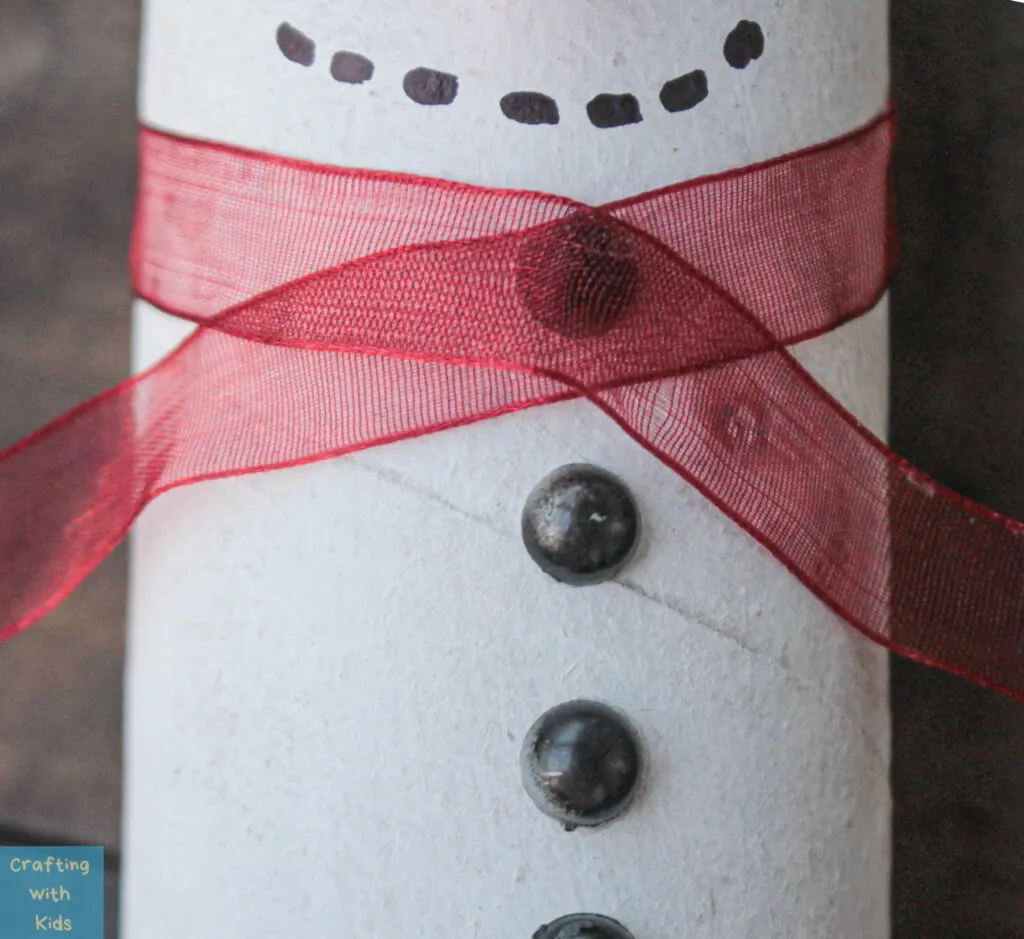
Now you have a snowman that will not melt! This can be used as a simple toy, decoration or even as puppets! Give your snowman its own touch by adding different ribbons and colorful buttons!
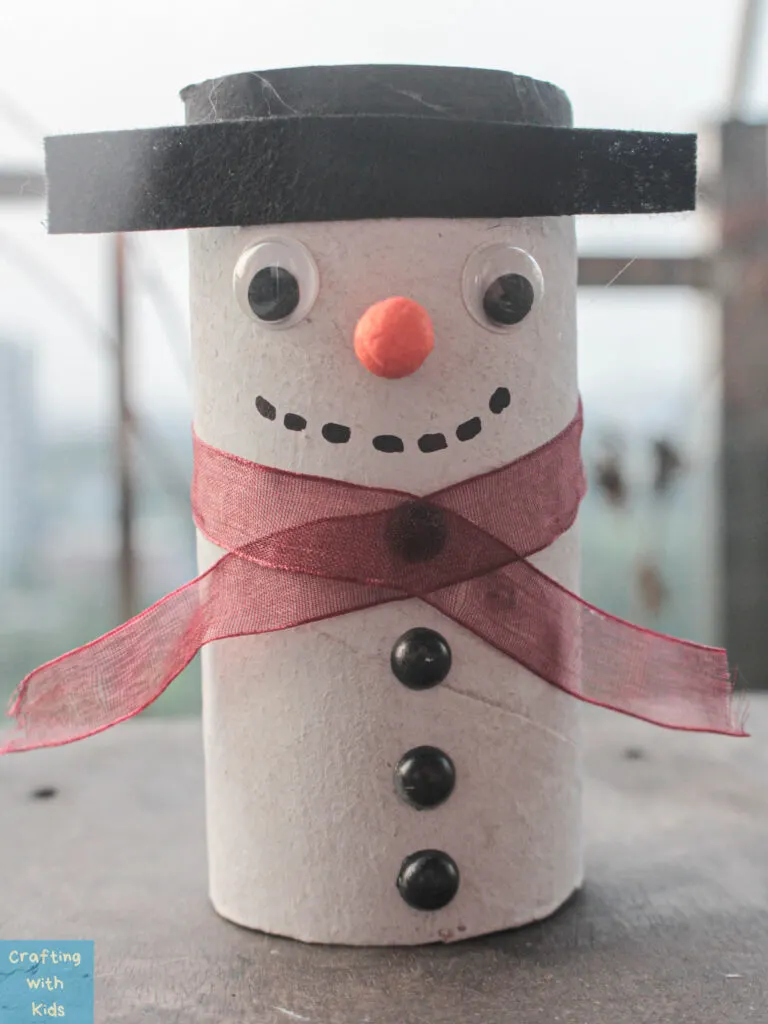
Isn’t he cute! Snowman crafts are the best because they can be used for holiday crafting or for those dreary winter months.
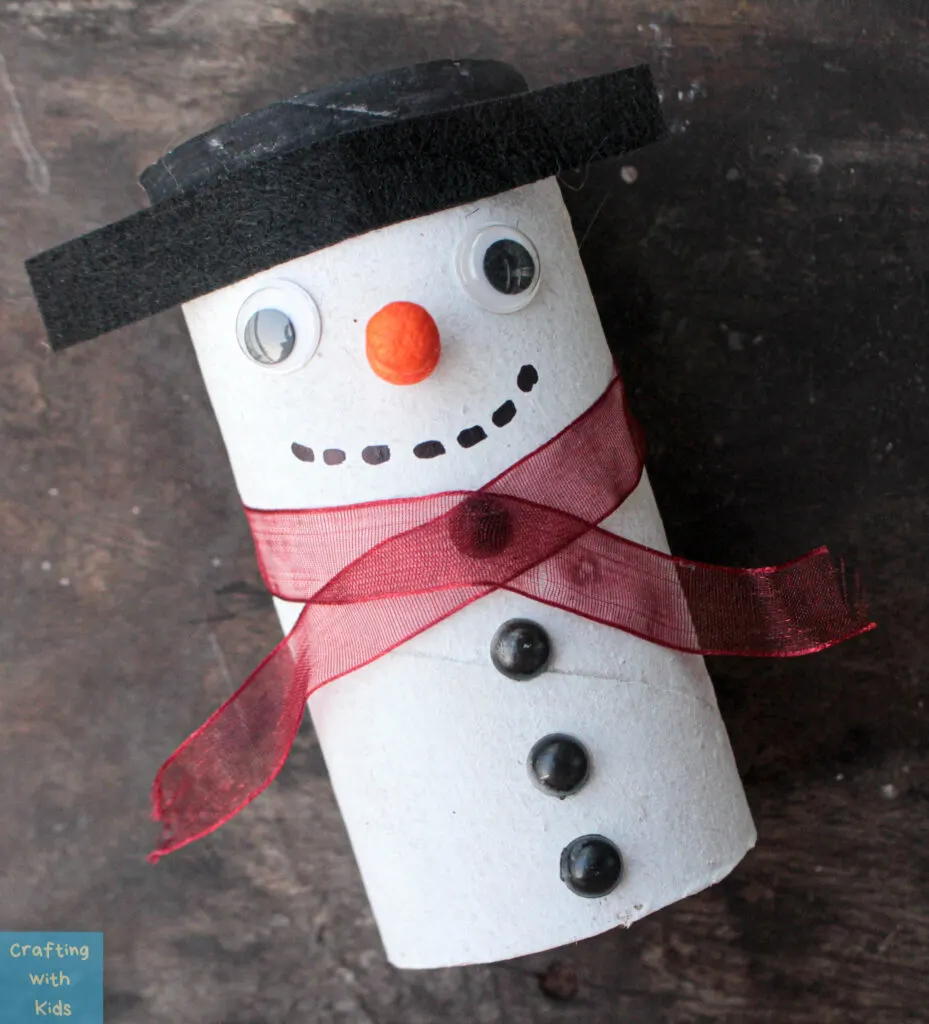
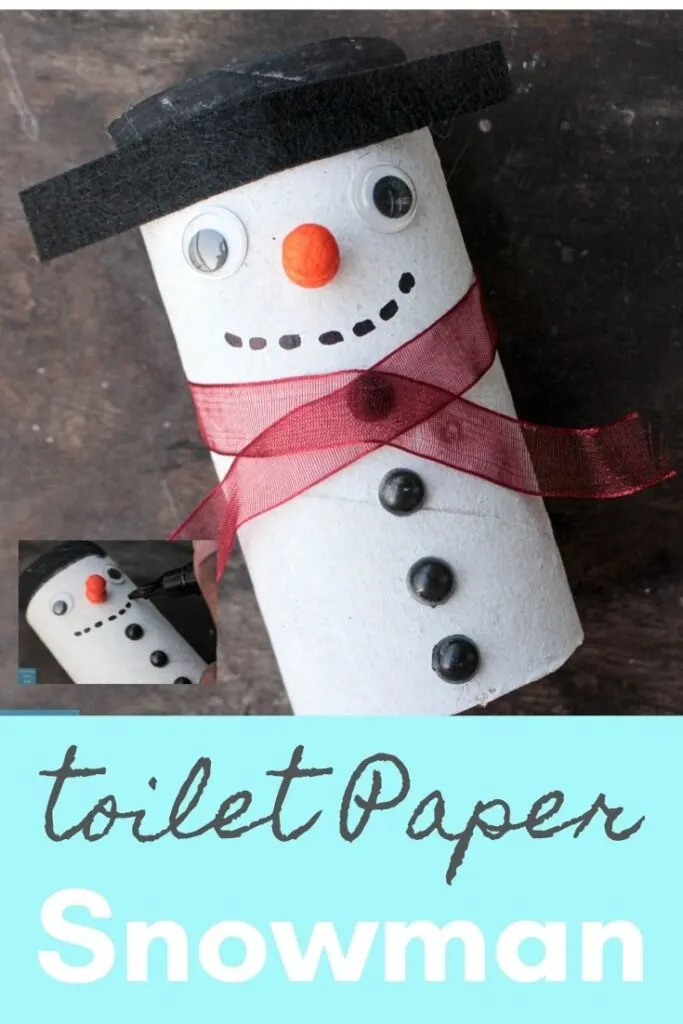
Stick around because we’ve got lots more fun toilet paper roll crafts. Happy crafting friends!
More Snowman crafts you might like below:
Leave a comment