
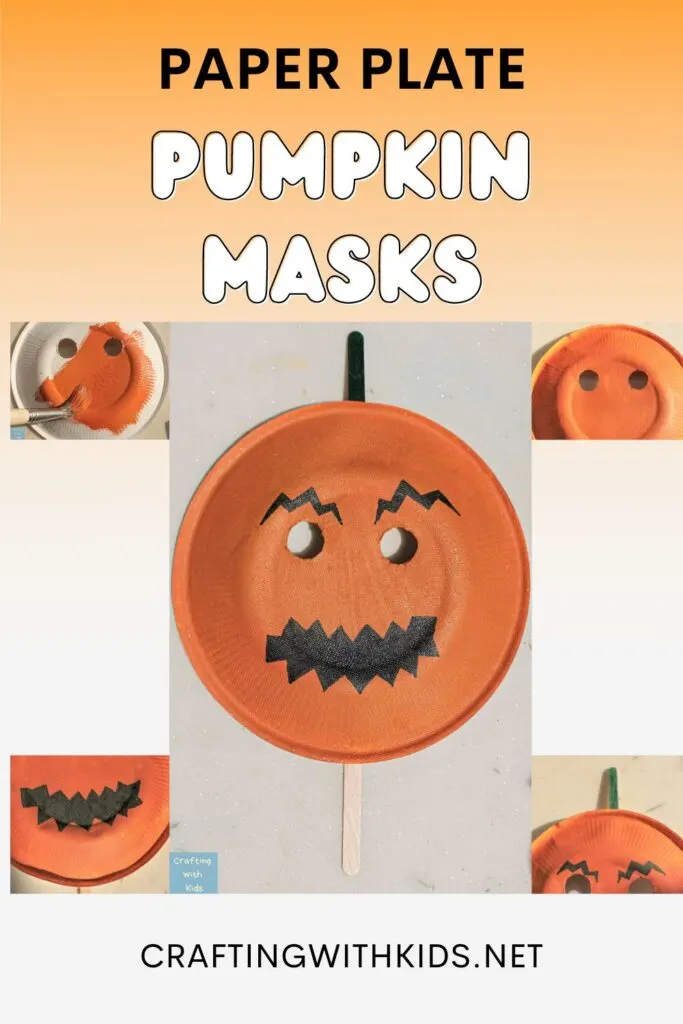
Learn how to make this simple paper plate pumpkin mask for an easy Halloween craft for kids. This is a perfect craft for kids of all ages, but especially between the ages of 3-7!
While we might want to go all out for Halloween costumes, it’s still a fun idea to make smaller Halloween crafts that help you set the mood for the festive fall atmosphere. Some of these crafts could be making mini costumes or masks. And what better masks to make during fall than pumpkin themed ones? This pumpkin paper plate mask is not only incredibly easy to make but also just requires a couple materials that you probably already have at home.

Here is what you will need to make this pumpkin paper plate mask:
- Paper plate
- Orange paint
- Paintbrush
- Black paint or marker
- Scissors
- Green paint or green construction paper
- Popsicle sticks
- Tape or glue
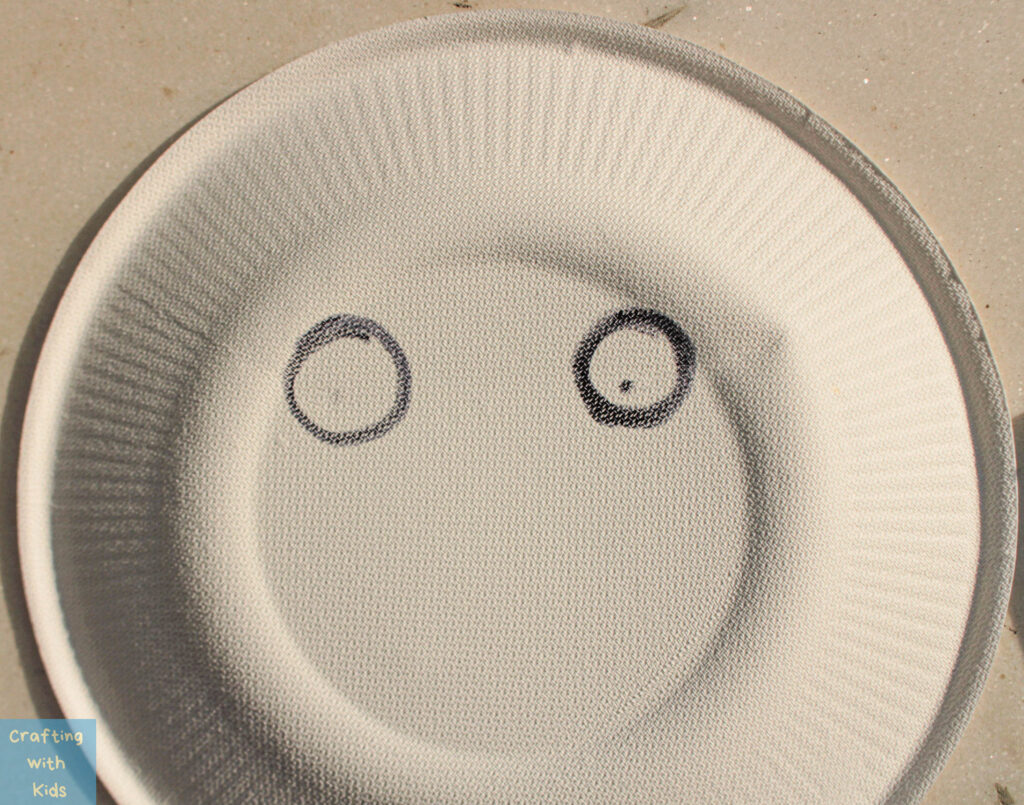
Step 1:
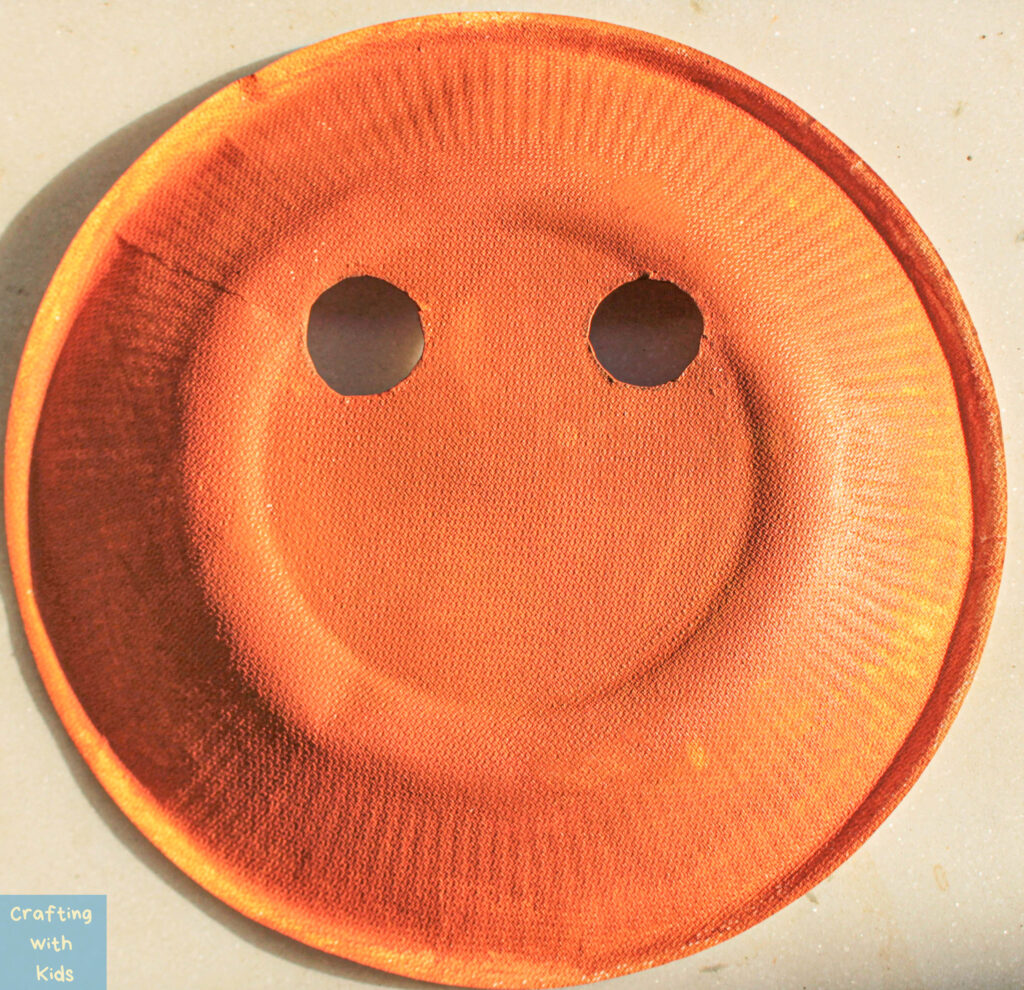
Take the paper plate and draw two small circles on the outer part of it. Make sure the circles are in the position where the eyes would be because these will be the eye holes. To make the circles a proper size you could use bottle caps as a stencil while drawing them. Using your child’s face is the best way to make sure the mask will fit. uld be. To make the circles a proper size you could use bottle caps as a stencil while drawing them.

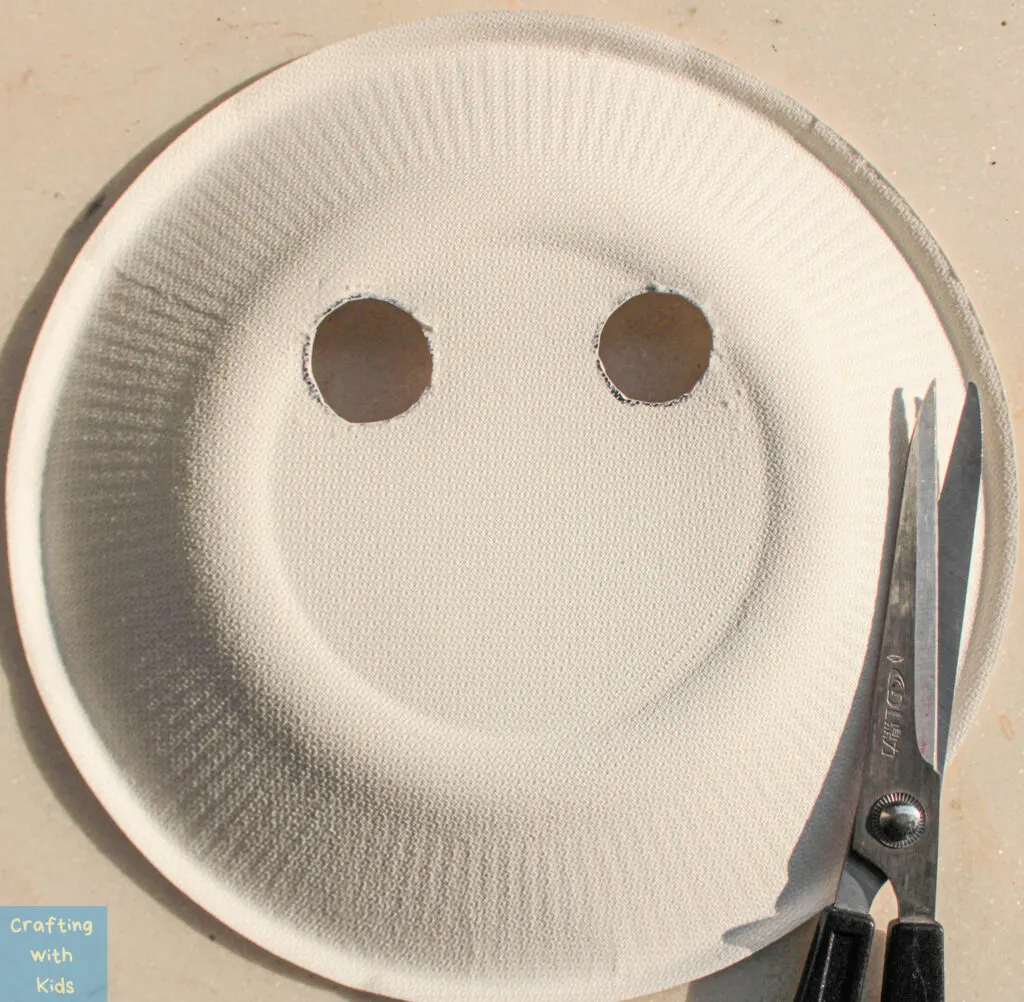
Step 2:
Poke a hole into the middle of the circle. Then use the scissors to cut out these circles that will be the holes for the eyes of the mask.

Step 3:
Use a paintbrush to color the back of the paper plate orange. Make sure not to use too much water as that will lighten the paint too much. Paint until the paper plate is completely orange, and the brushstrokes are no longer visible.

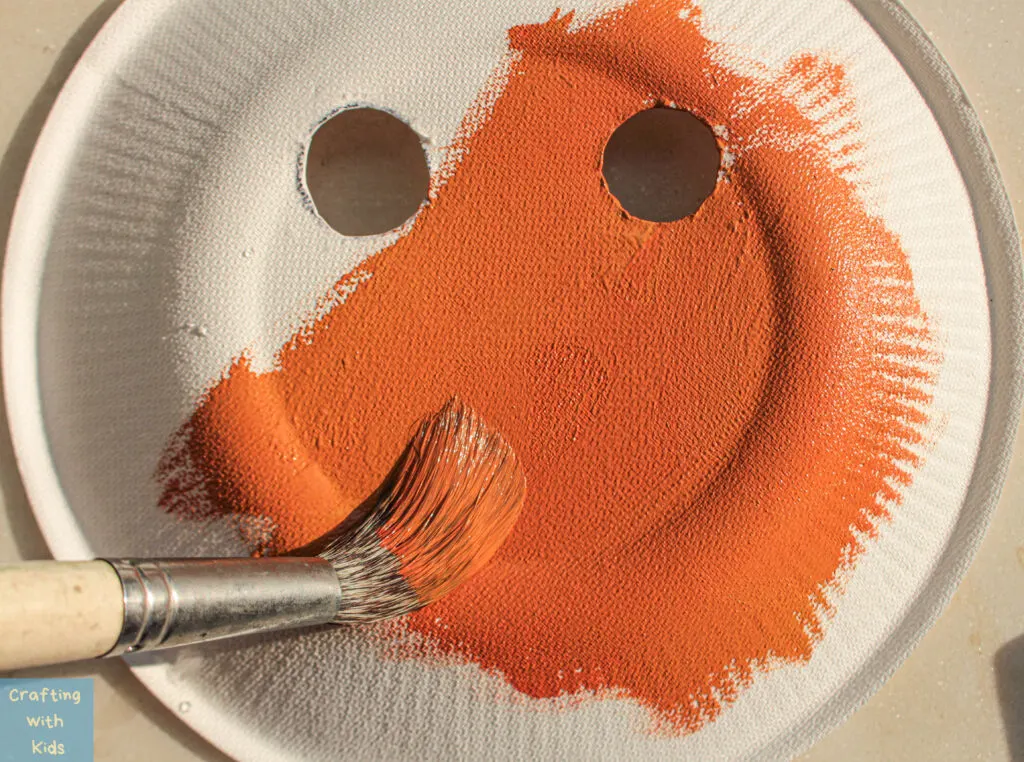
Allow the painted plate to dry.

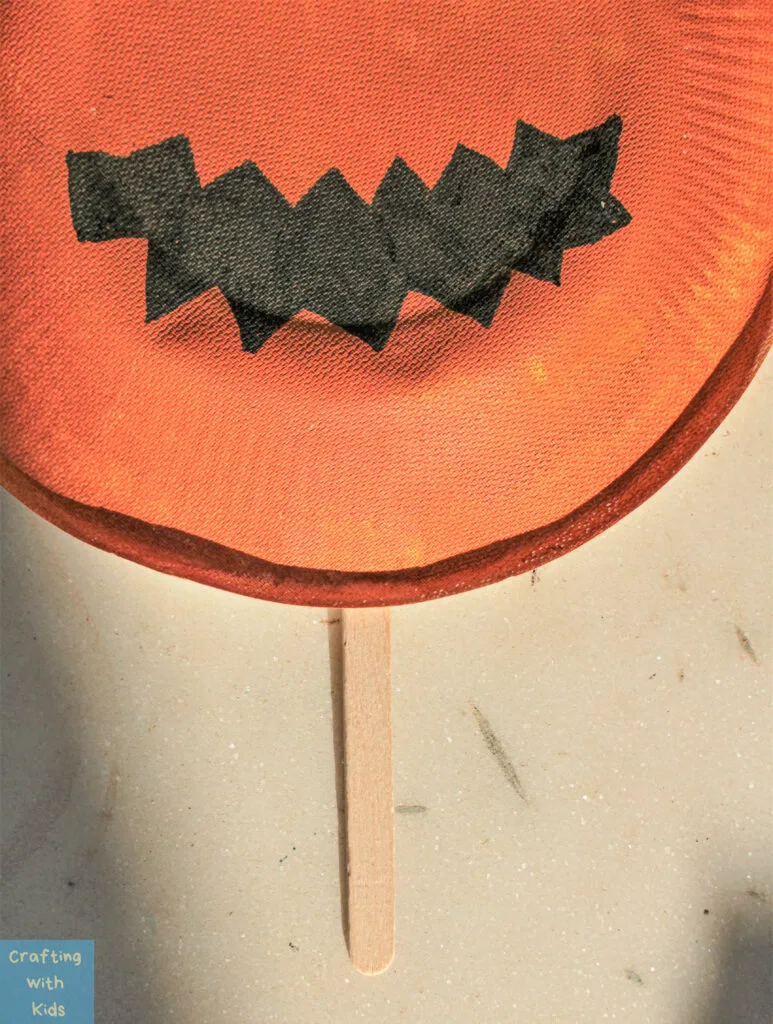
Step 4:
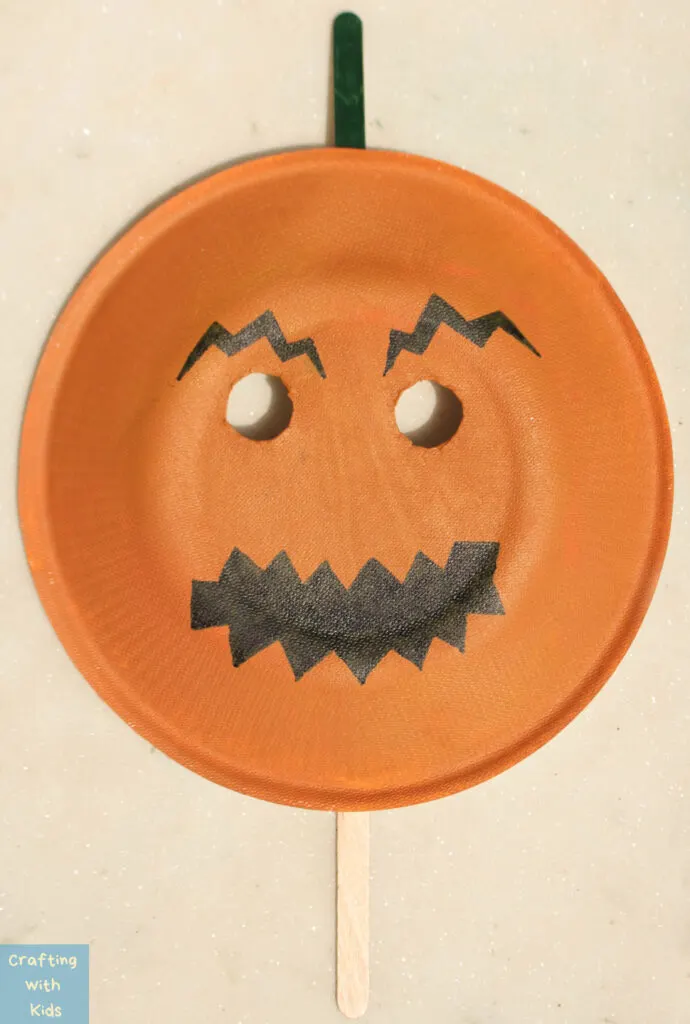
Once the paint has dried, use the black marker to draw zigzag shapes to make the “eyebrows” and the “mouth”. Have fun creating new expressions by drawing different faces onto the paper plates.


Once the shapes are drawn, make sure to fill them in with the black color.
If you don’t have a black marker, feel free to just use black paint in this step.
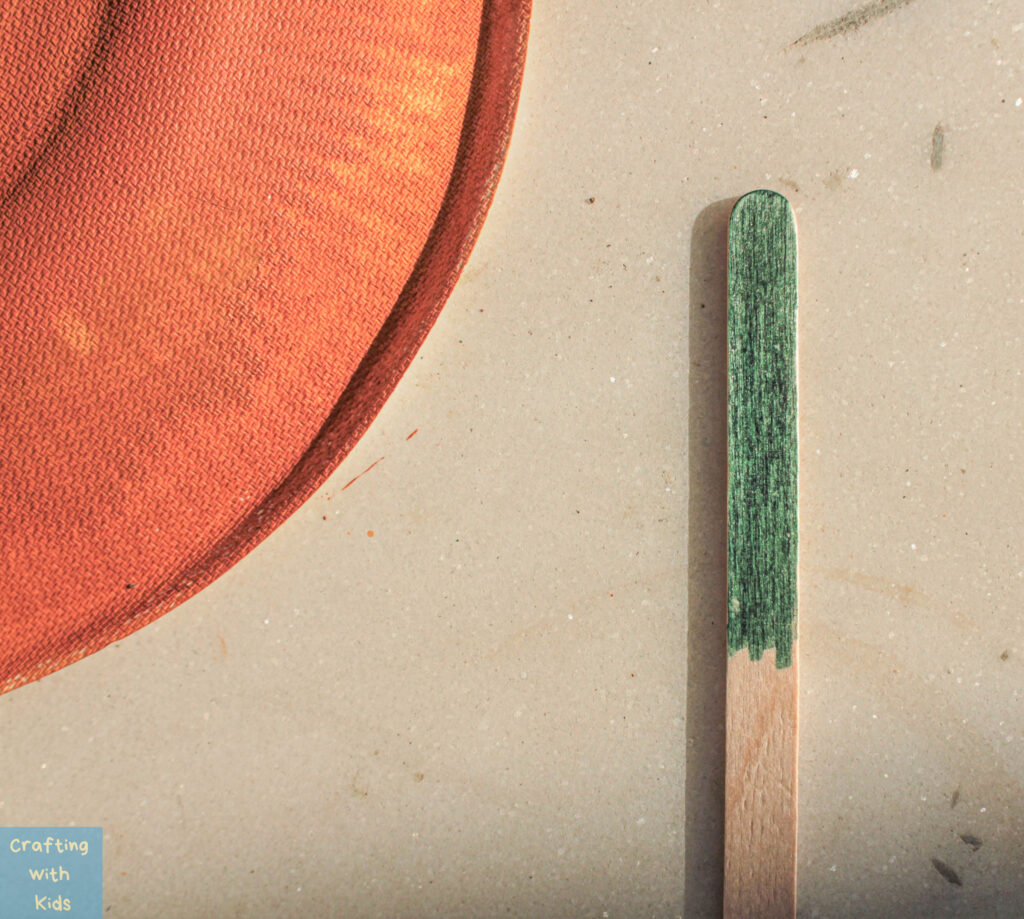
Step 5:
Take a popsicle stick and color it green using either a paint or a marker. You can also decorate this further by using lace, glitter, or anything else to make it look a bit more gorgeous.


Step 6:
Use tape or glue to attach this colored stick to the back of plate, towards the top of the “pumpkin”.


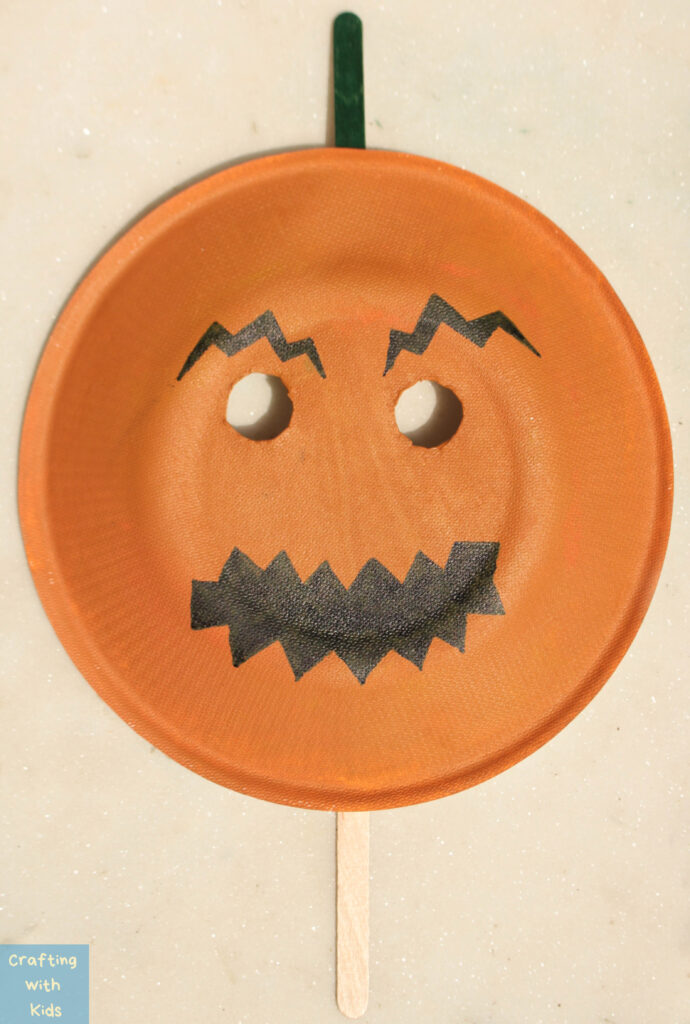
Step 7:
Take another popsicle stick and stick it to the back of the plate, but towards the bottom of the pumpkin. This will become the handle used to hold the mask, so make sure it is very sturdy by using strong adhesives.

Let the little ones personalize their masks as they like using additional materials like glitter, confetti, or just other colors of paint.
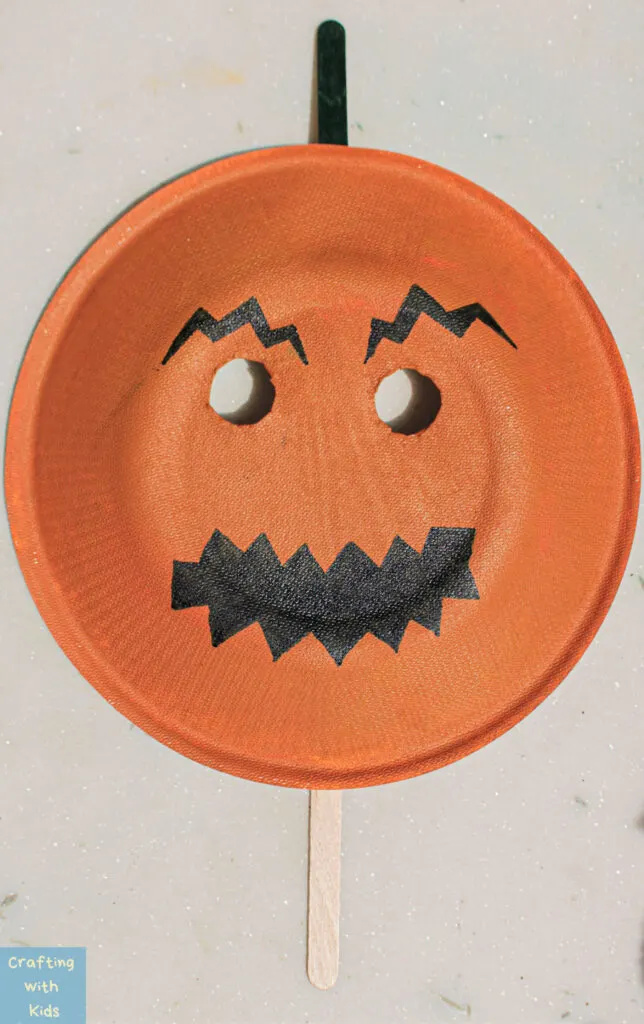
Paper plate pumpkin mask
And the mask is complete! This is perfect as a last-minute Halloween craft activity since it uses very few materials but will take a good amount of time that will keep the kids busy. Use them as masks for Halloween themed parties or even as fall themed décor for the rooms. Whatever you decide to use it as, it is definitely going to put you into the upcoming autumnal Halloween mood!
How simple was this? This is a great preschool Halloween activity too.

Let your kiddos imagination run wild with this simple mask.
A great activity to pair with this craft is our Halloween Quiz for Kids. It will keep them entertained and maybe teach them a few things about this spooky holiday!

Thanks for stopping by and happy crafting!
Leave a comment