
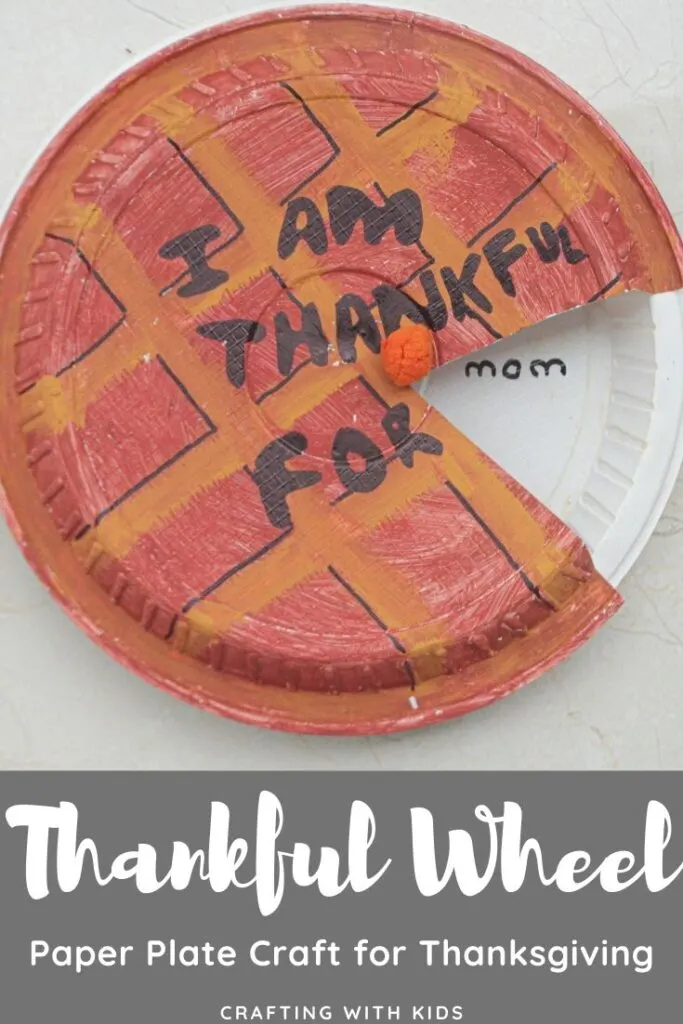
Learn how to create your own paper plate craft with a thankful for wheel for a fun Thanksgiving craft for kids.
Is being thankful a part of your Thanksgiving day routine? Kids might love the festiveness of thanksgiving but listing out what they are grateful for might seem like a bit of a task to them. Why not try turning that activity into a Thanksgiving craft? This craft will not only make saying what they are grateful for more enjoyable, but playing with it will also remind them of those things once again. While holiday crafts are always fun, this one definitely has an additional meaningfulness to it. Let us learn how to make this ‘Thankful for’ wheel!
Disclosure; this post contains affiliate links. As an Amazon Associate I earn from qualifying purchases. This disclosure statement refers to the rest of the Amazon links in this post. See more on my disclosure page.
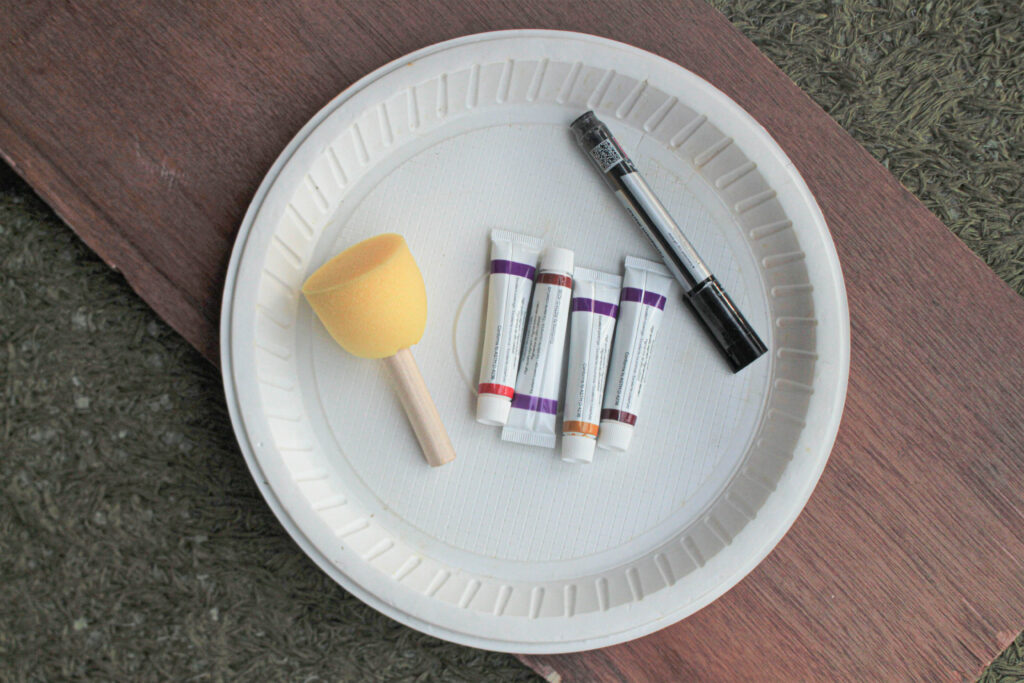
Supplies for Paper Plate kid craft
- Two paper plates
- Paint
- Paintbrushes
- Marker
- toothpick
- thin eraser
- round beads
- Pom pom
- Glitter, foam cutouts, stickers or other decoration elements (optional)
- Glue (optional)

How to make a paper plate craft for Thanksgiving with a ‘Thankful Wheel’
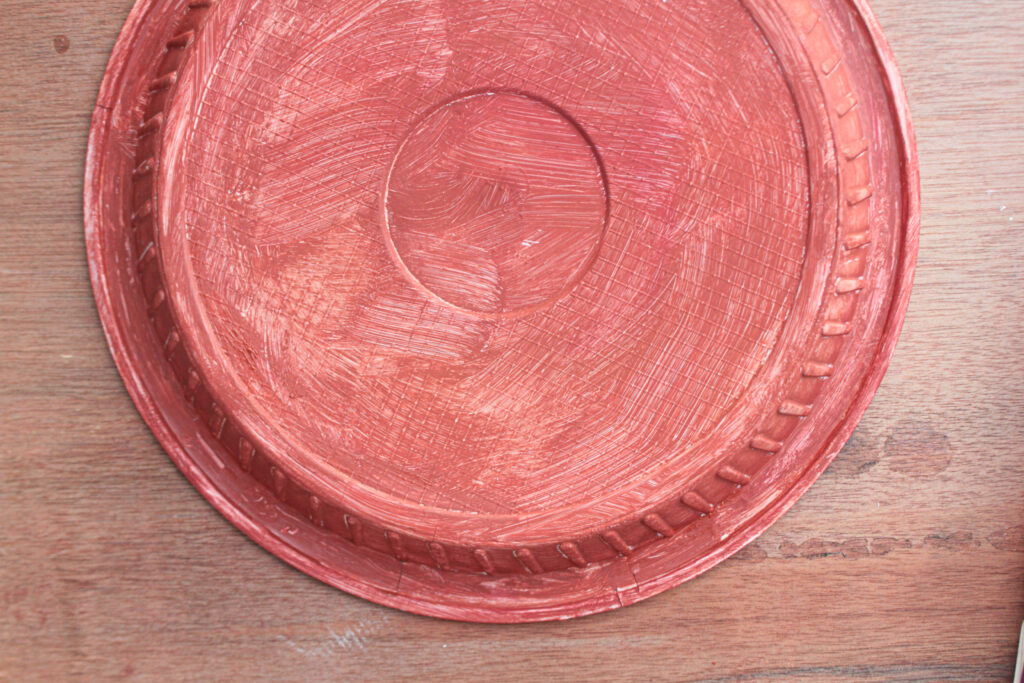
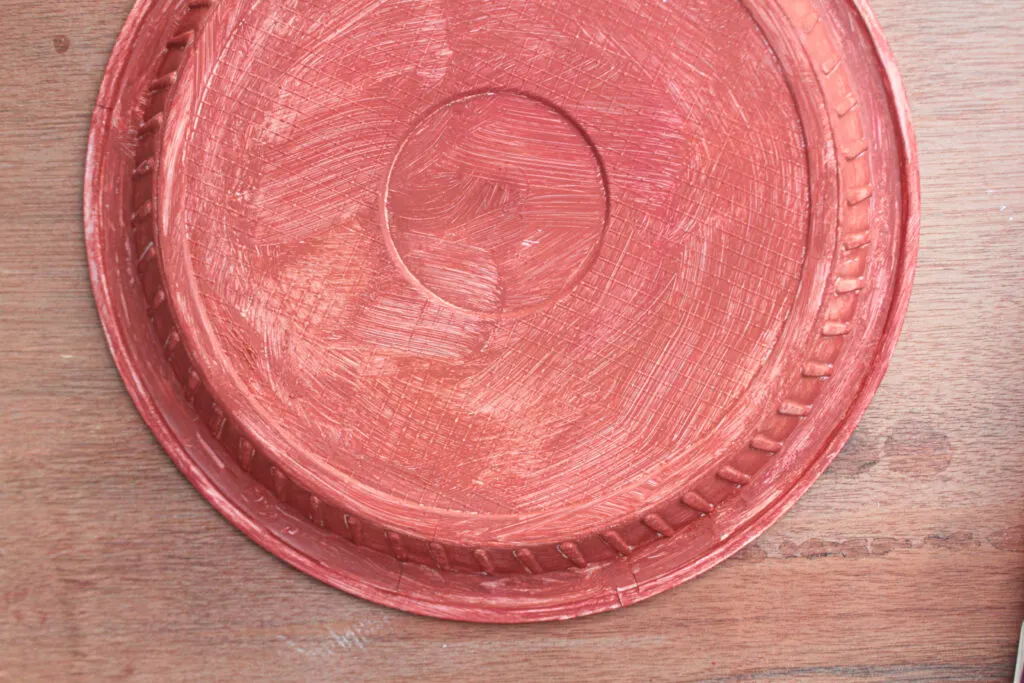
Step 1:
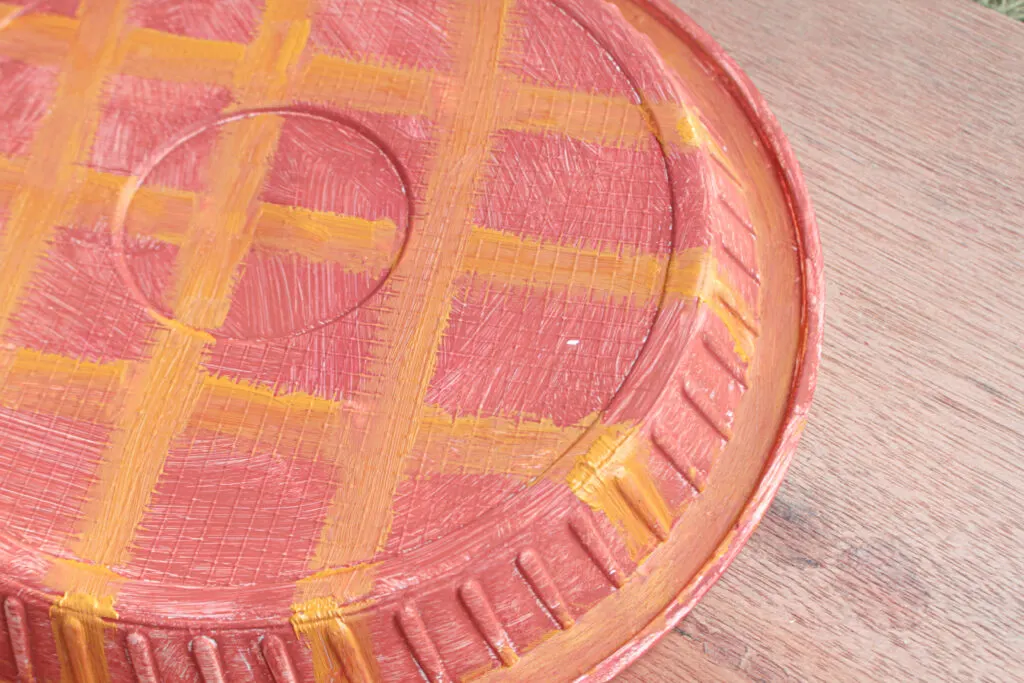
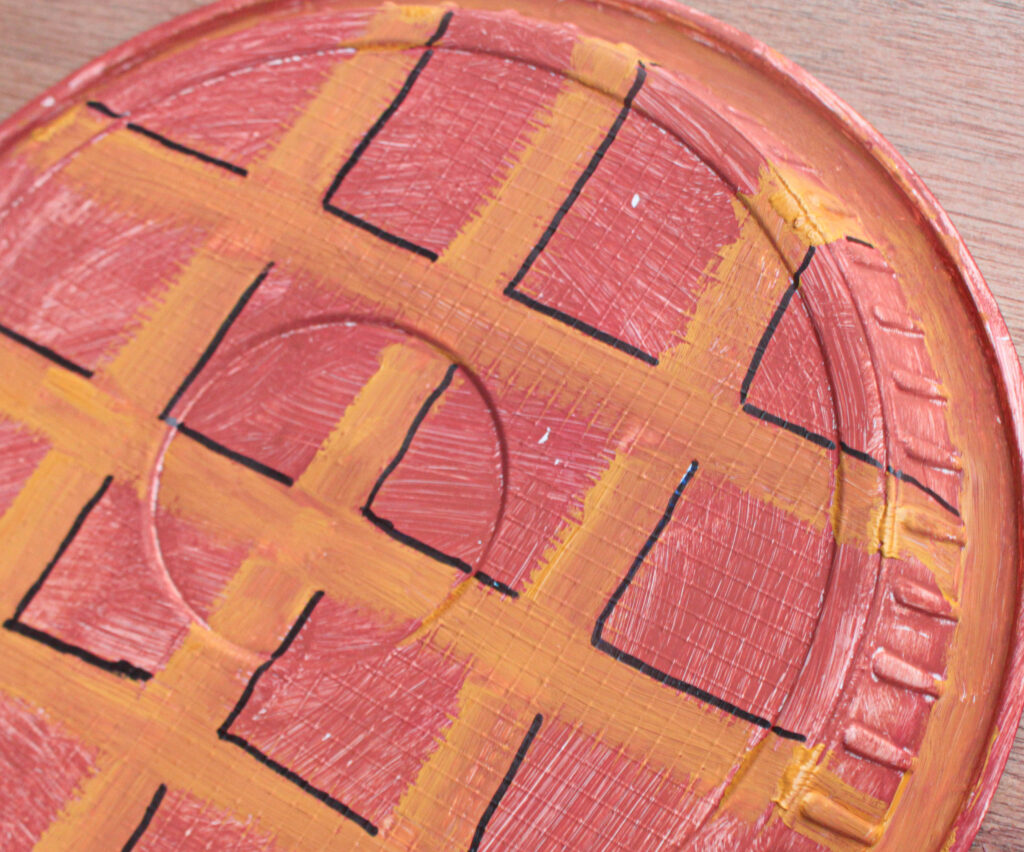
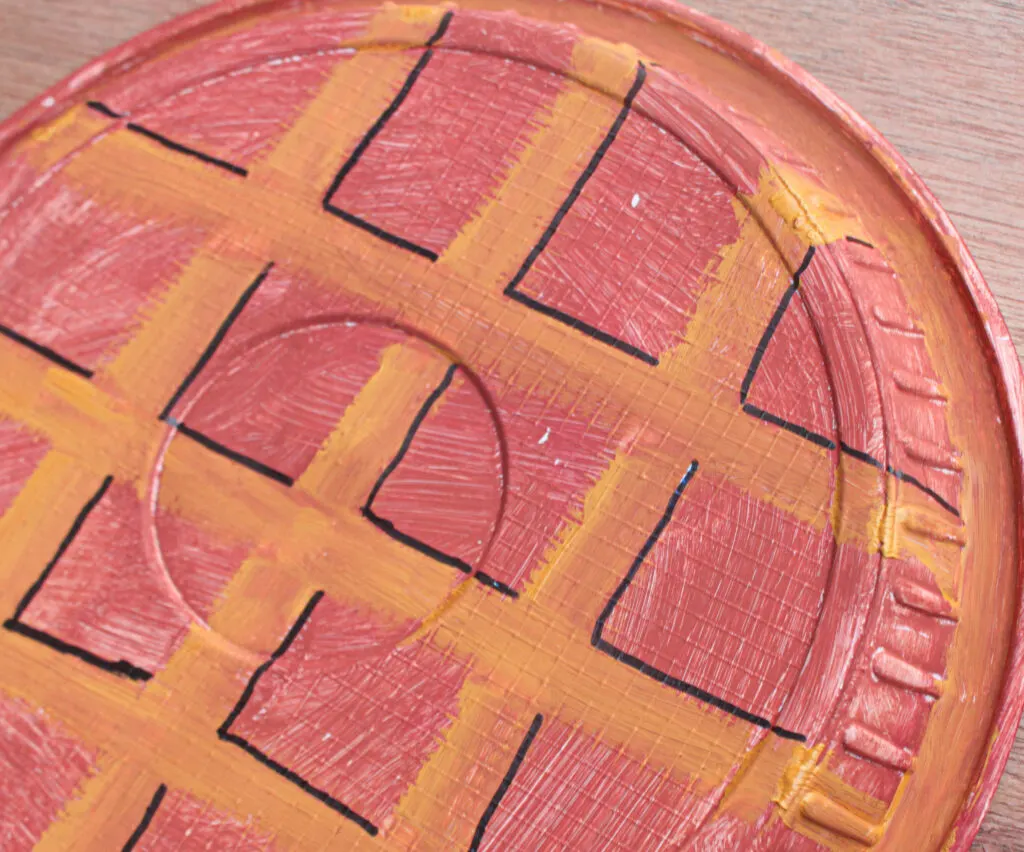
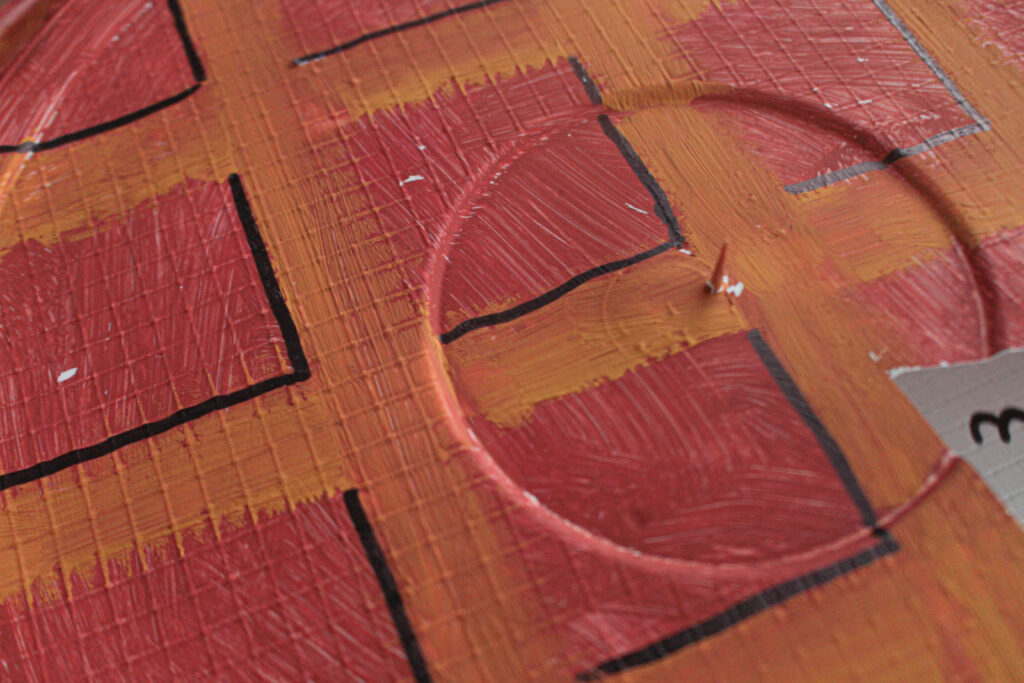
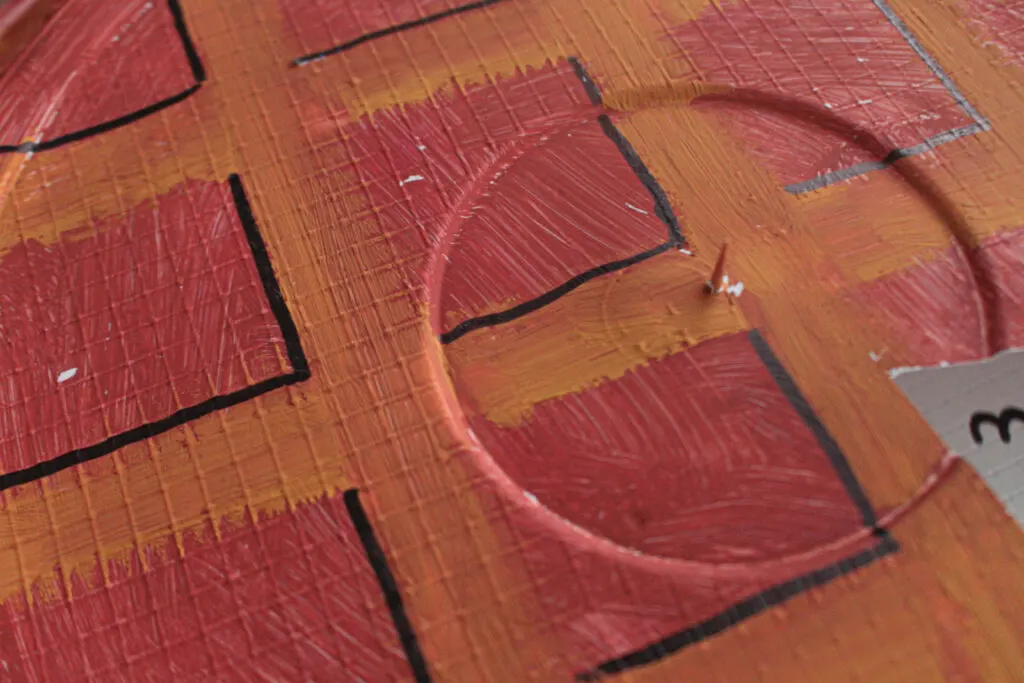
Use paint to color the bottom of one plate any way you want. Here we have painted it to look like a pie, but you could just use your favorite colors and make it look festive. Feel free to add any shades and shadows or just keep it as simple as you would like. Set the plate aside to let the paint dry.

Step 2:
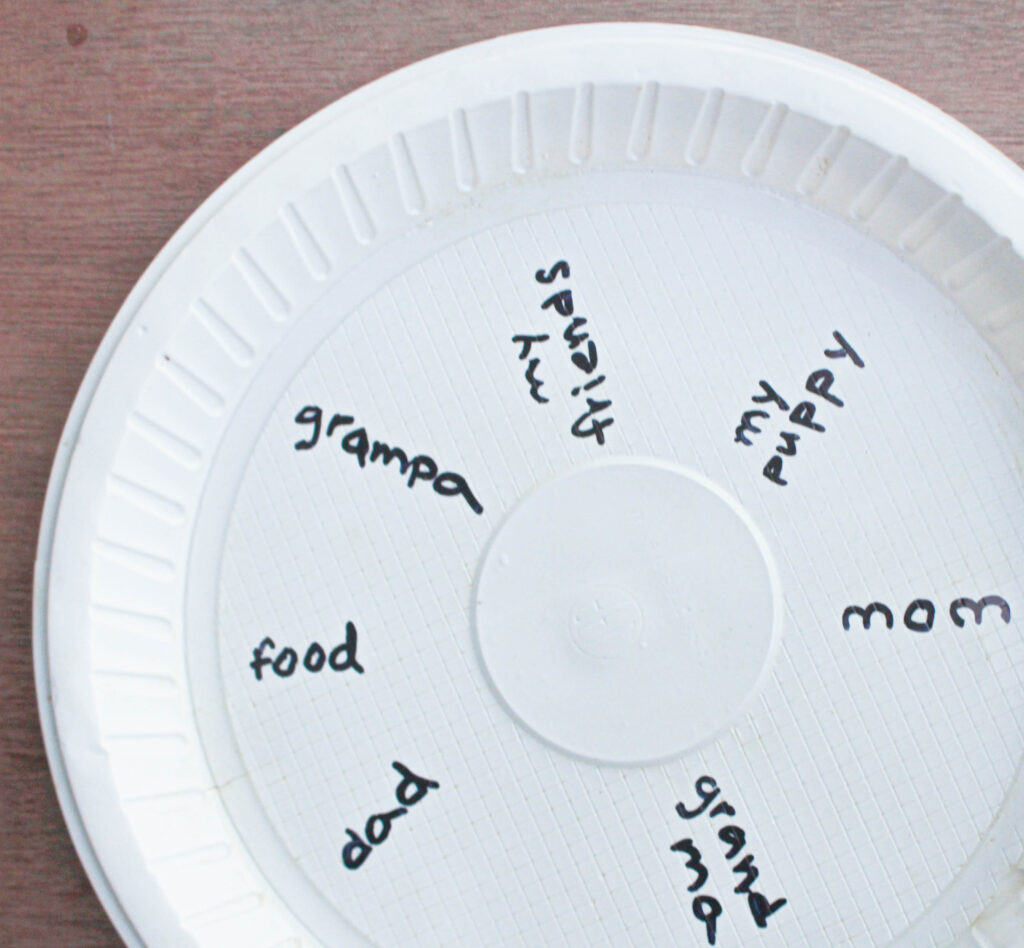
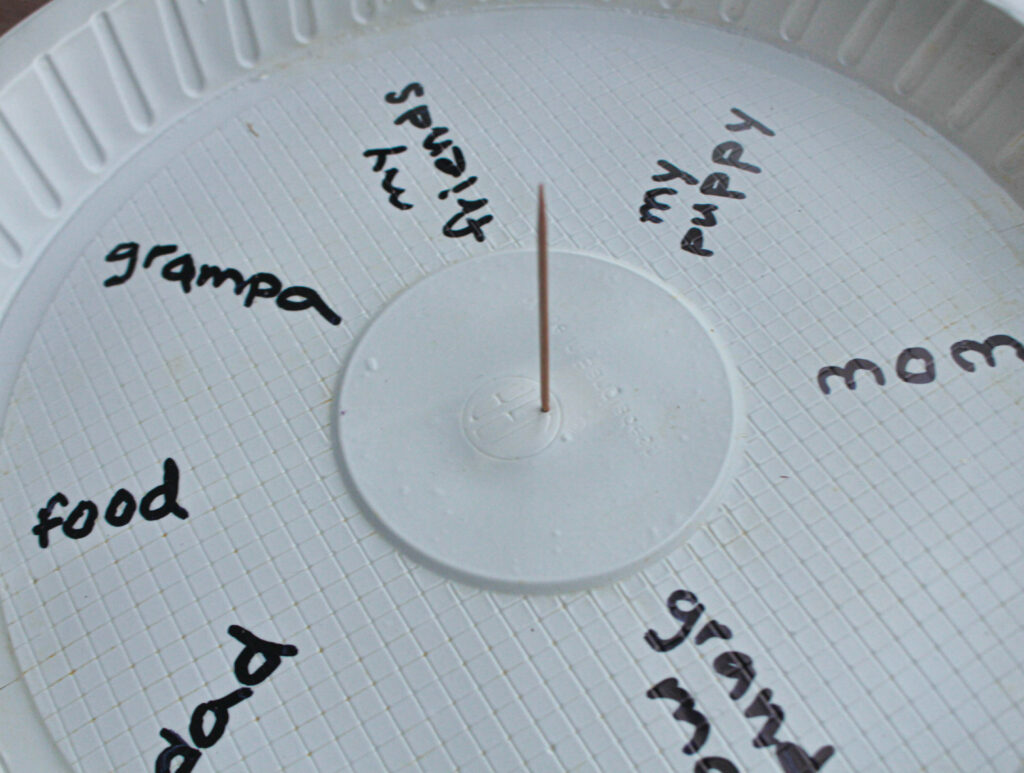
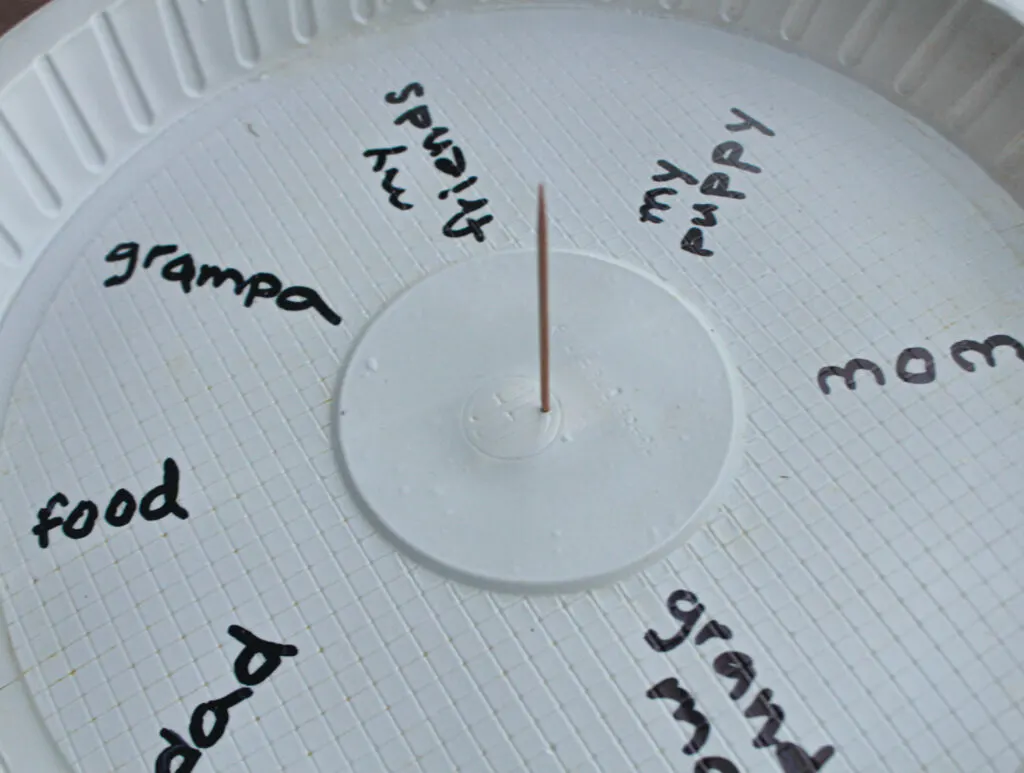
Take the other plate and on the top part (the part where we would normally place the food) write down what you are grateful for. Write about six to eight things with adequate space in between them.

Step 3:
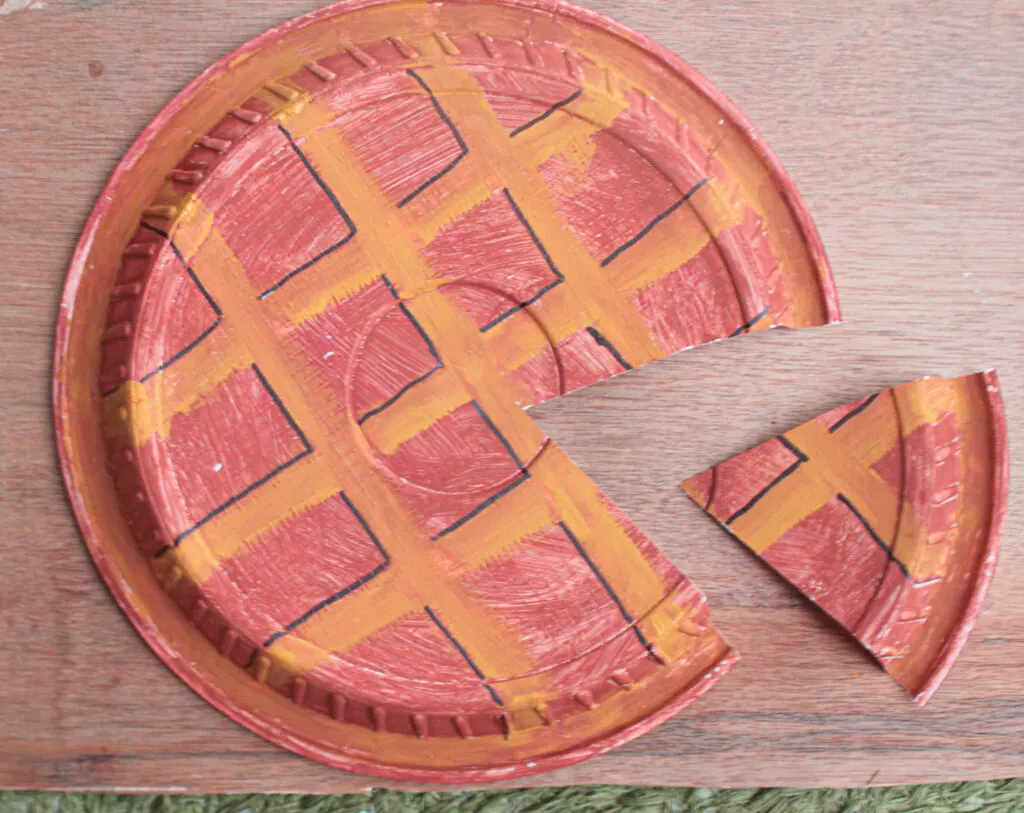
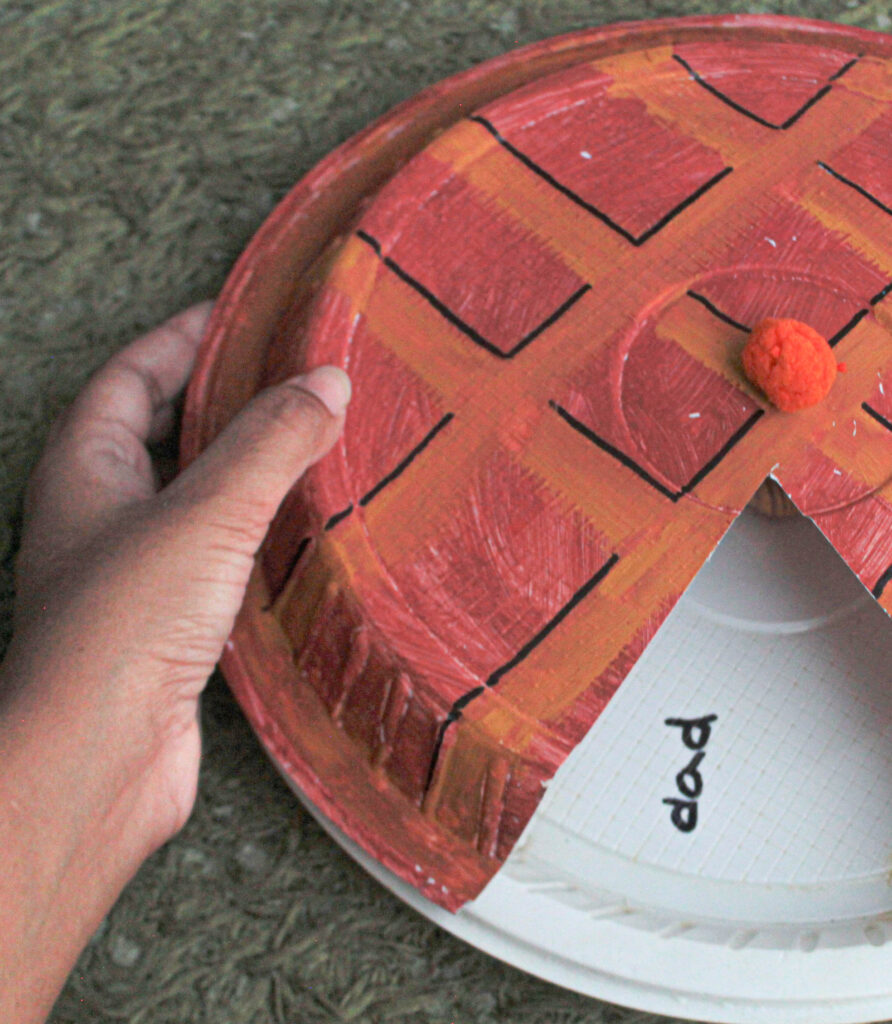
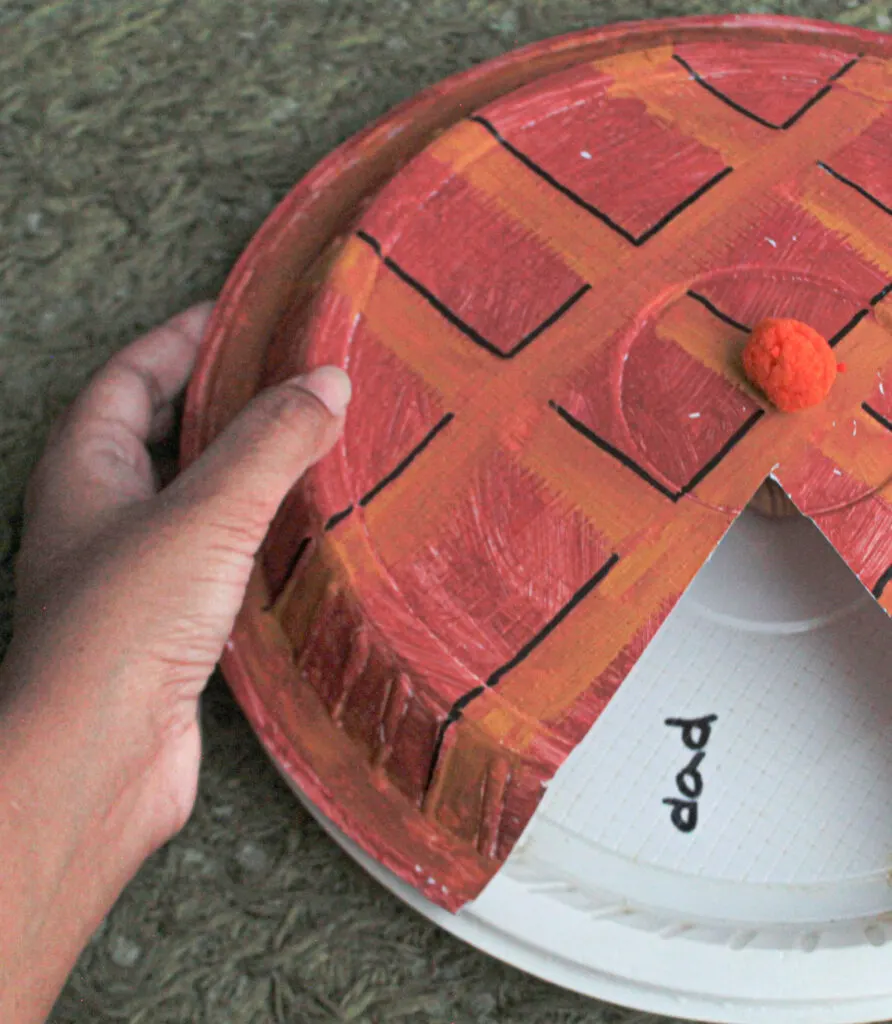
Once the colored plate is dry, cut out a triangular piece from it. This should look like cutting a piece out of a pizza. Make sure the cut is large enough to show an entire sentence on the other plate but not too big that it shows two at the same time.

Step 4:
For the assembly, take a thin eraser and place it at the bottom of the plate with the writings. You could also glue it in place if you want it to be more stable at the ends.
Step 5:
Then take a toothpick and poke through the center of the plate and into the eraser.
Step 6:
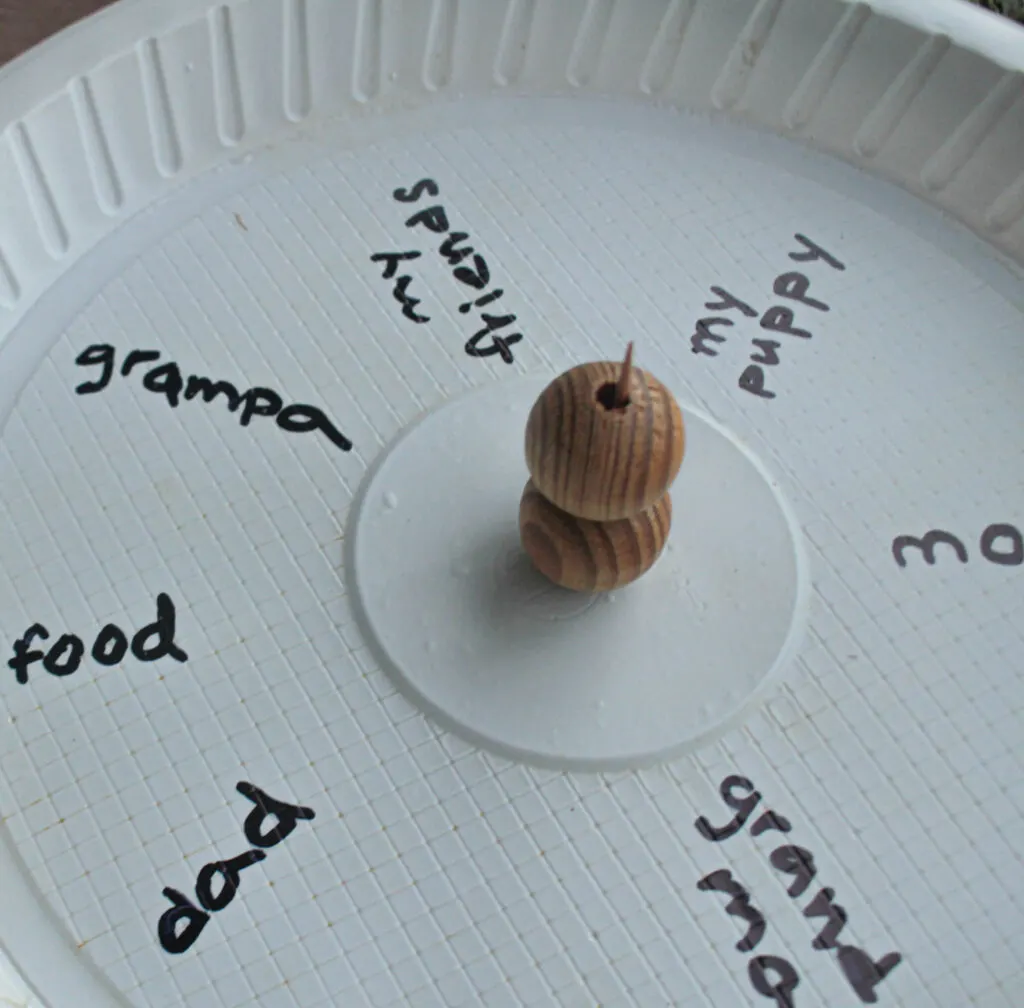
Pass two beads through the toothpick so they sit on top of the plate.

Step 7:
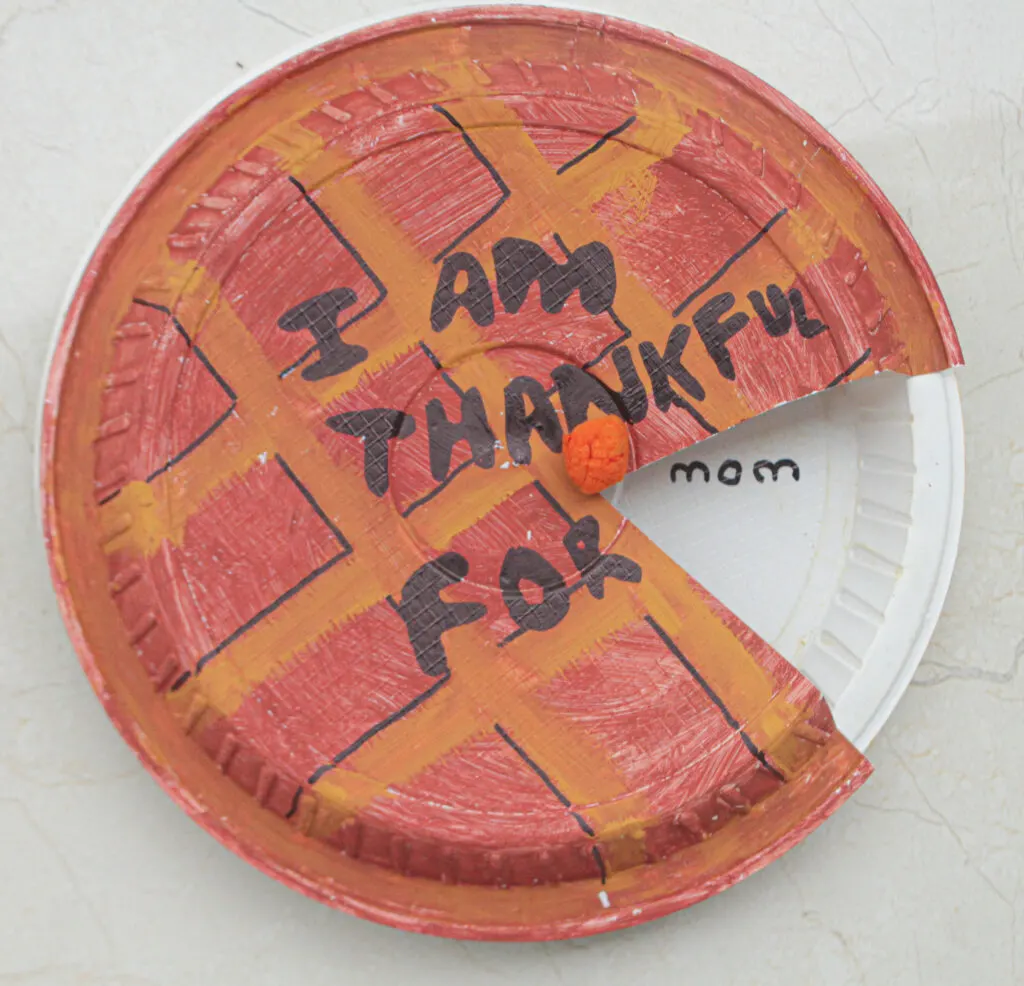
Poke the top end of the toothpick through the center of the painted plate. Use a Pom Pom to cover the remaining part of the toothpick that might be sticking out.
Step 8:
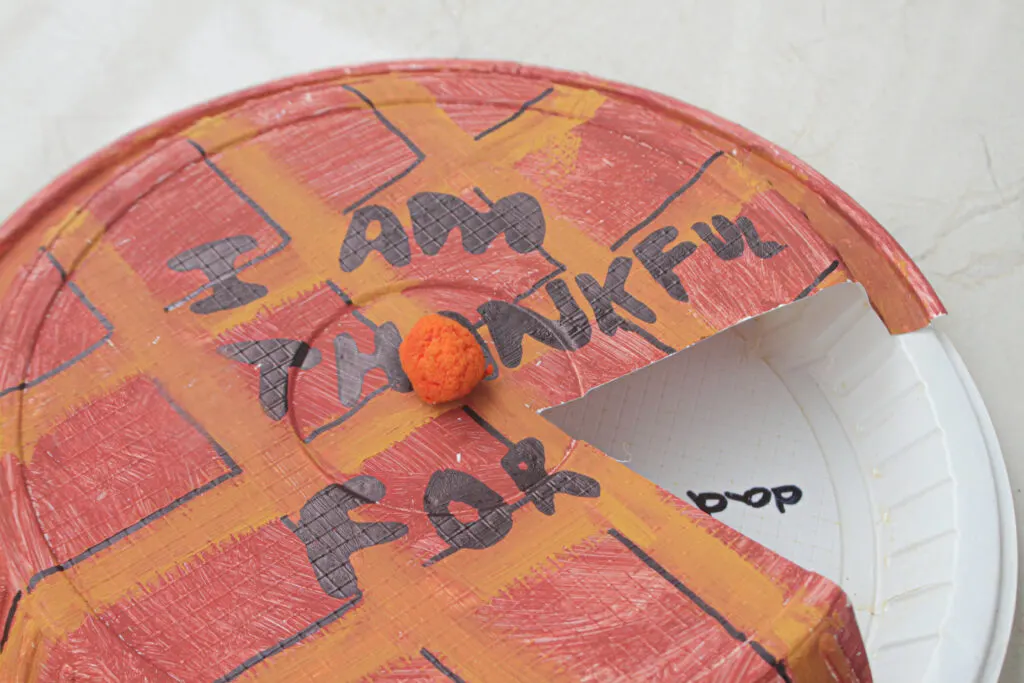
On top of the upper plate write “Things I am thankful for” or “I am thankful for” or something similar. For this you could use stickers, foam cutouts, glitter glue or simply write it with markers. The options are endless.


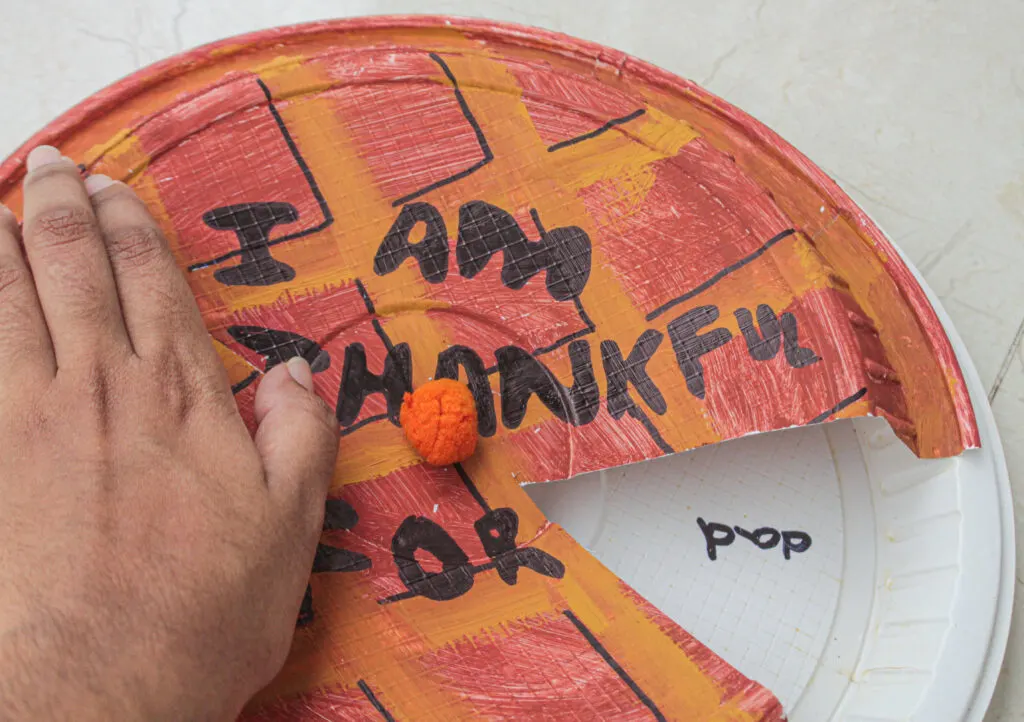

You can use this to spin and find out the many things your kids are thankful for. It is sure to bring a fun twist to whenever you want to go around and say what you are grateful for. Decorate it however you like and have fun playing with it and sharing gratitude!
Happy Crafting!
Leave a comment