
Painting rocks is a fun and creative activity that kids of all ages can enjoy. Not only is it an affordable craft, but it also allows children to express their creativity and develop their fine motor skills. I’ll be sharing some tips and tricks on how to paint rocks for a kids craft.
First, it’s important to select the right rocks for painting. Choose smooth, flat rocks that are easy to hold and won’t roll around. Wash the rocks with soap and water and let them dry completely before painting. Next, gather your painting supplies, such as acrylic paint, paintbrushes, and a palette. Make sure to cover your workspace with newspaper or a plastic tablecloth to protect it from paint spills.
Before starting to paint, encourage your child to think about what designs they want to create on their rocks. They can use stencils, stickers, or draw freehand with a pencil. Remember to let each layer of paint dry completely before adding another layer or switching to a different color.

Disclosure; this post contains affiliate links. As an Amazon Associate I earn from qualifying purchases. This disclosure statement refers to the rest of the Amazon links in this post. See more on my disclosure page.
Choosing the Right Rocks
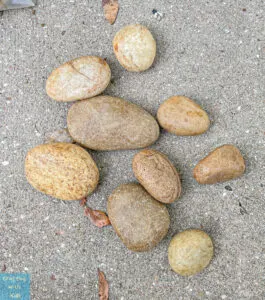
Before starting your project, the first step is to choose the right rocks. Not all rocks are created equal, and some are better suited for painting than others. Here are a few things to keep in mind when choosing rocks for painting:
- Size and Shape: Choose rocks that are smooth and relatively flat. This will make it easier to paint on them, and also ensure that they don’t roll around when displayed. Avoid rocks that are too small, as they may be difficult to paint, and rocks that are too large, as they may be heavy and difficult to handle.
- Color: Look for rocks that are light in color, such as white, beige, or light gray. This will provide a good base for the paint, and allow the colors to show up more vibrantly. Avoid rocks that are too dark, as they may make it difficult to see the paint.
- Texture: Smooth, flat rocks are best for painting, but a little bit of texture can add interest and dimension to your design. Look for rocks with interesting patterns or shapes, or ones that have a natural dip or curve that can be incorporated into your design.
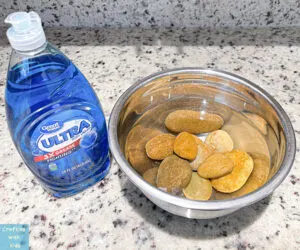
- Cleanliness: Before painting, make sure your rocks are clean and free of dirt and debris. Wash them with warm water and soap, and allow them to dry completely before painting.
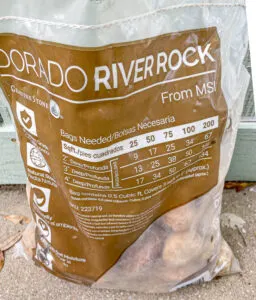
I personally like to use River rocks. They are the perfect size, smooth and easy to paint. You can buy a bag at most lumber or hardware stores. Or if you are ambitious you can try to find your own rocks!

With the right rocks, you’ll be able to create beautiful, one-of-a-kind designs that will delight kids of all ages.

Preparing the Rocks
Before starting to paint, it’s important to prepare them properly. This will ensure that the paint adheres well and the final result looks great. Here are the steps I take to prepare the rocks:
Cleaning the Rocks
The first step is to clean the rocks thoroughly. I usually wash them with warm water and soap to remove any dirt, dust, or debris. If the rocks are really dirty, I use a small brush or toothbrush to scrub them gently. It is important to rinse the rocks well to remove all the soap residue. Then I dry the rocks with a clean towel.

Drying the Rocks
The next step is to let the rocks dry completely. I usually place them on a towel or paper towel and leave them to air dry for a few hours. If I am in a hurry, I use a hair dryer on the low setting to speed up the process. It is important to make sure the rocks are completely dry before painting them, as any moisture can affect the paint’s adhesion and cause it to peel or flake off.
How to paint rocks for a kids craft
When it comes to painting rocks for a kids’ craft, there are a few things to keep in mind.
Choosing the Right Paints
When it comes to choosing the right paints for painting rocks, there are a few things to consider. First, you’ll want to make sure that the paint you choose is non-toxic and safe for kids to use. You can find a variety of non-toxic paints at your local craft store or online.
In addition to non-toxic paints, you’ll want to choose paints that are easy to work with and provide good coverage. Acrylic paints are a great option for painting rocks because they dry quickly, are water-resistant, and come in a wide range of colors.
Choosing the Right Brushes
When it comes to choosing the right brushes for painting rocks, you’ll want to look for brushes that are small and have a fine tip. This will allow you to create detailed designs and add small accents to your rocks.
You may also want to consider using foam brushes, which can be great for applying a base coat of paint to your rocks. Foam brushes are easy to use and can help you achieve a smooth, even coat of paint.
Painting Techniques
When it comes to painting rocks, there are a variety of techniques you can use to create different effects. One popular technique is to use a dry brush to create a textured, rustic look. To do this, simply dip your brush in paint and then wipe most of it off on a paper towel. Then, lightly brush the paint onto the rock, allowing some of the natural texture of the rock to show through.
Another technique is to use a sponge to create a speckled or mottled effect. To do this, simply dip a sponge in paint and then dab it onto the rock. This can create a fun, playful look that kids will love.
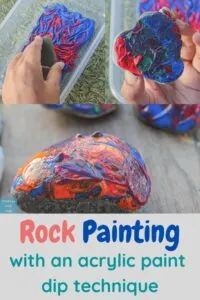
I recently did a project with an acrylic dip rock painting technique. My kids had so much fun with it.

You can also paint rocks for any holiday! Check out how I made a Nativity Scene with rock painting.


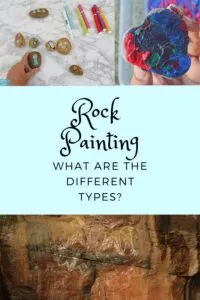
Also if you are wondering about the different types of rock painting, we got you covered.


Adding Details
Once you’ve painted your rocks with a base coat of paint, you can add details to make them even more unique. You can use a fine-tipped brush to add small designs, such as flowers or stars, or use a toothpick to create dots or lines.
You can also add glitter or other embellishments to your rocks to make them sparkle and shine. Just be sure to use non-toxic glue and embellishments that are safe for kids to use.
Drying and Sealing the Rocks
Once the rocks are dry, you can seal them to protect the paint and make them more durable. This isn’t always necessary, but if you want to keep your rocks for years to come, it’s a good idea.
There are a few different options for sealers, but I like to use a clear acrylic spray sealer. This type of sealer is easy to apply and dries quickly, leaving a glossy finish on the rocks.
Sealing the rocks is an adult job since the sealer can be toxic. Make sure to keep the kids out of this step.
To apply the sealer, find a well-ventilated area and place the rocks on a piece of cardboard or newspaper. Hold the can of sealer about 6-8 inches away from the rocks and spray a light, even coat over the entire surface. Let the sealer dry for a few minutes, then apply a second coat if desired.
If you want to avoid using spray sealer, you can also use a brush-on sealer or Mod Podge. These options take a bit longer to dry and may not give as smooth of a finish, but they’re still effective at protecting the paint and adding a bit of shine.
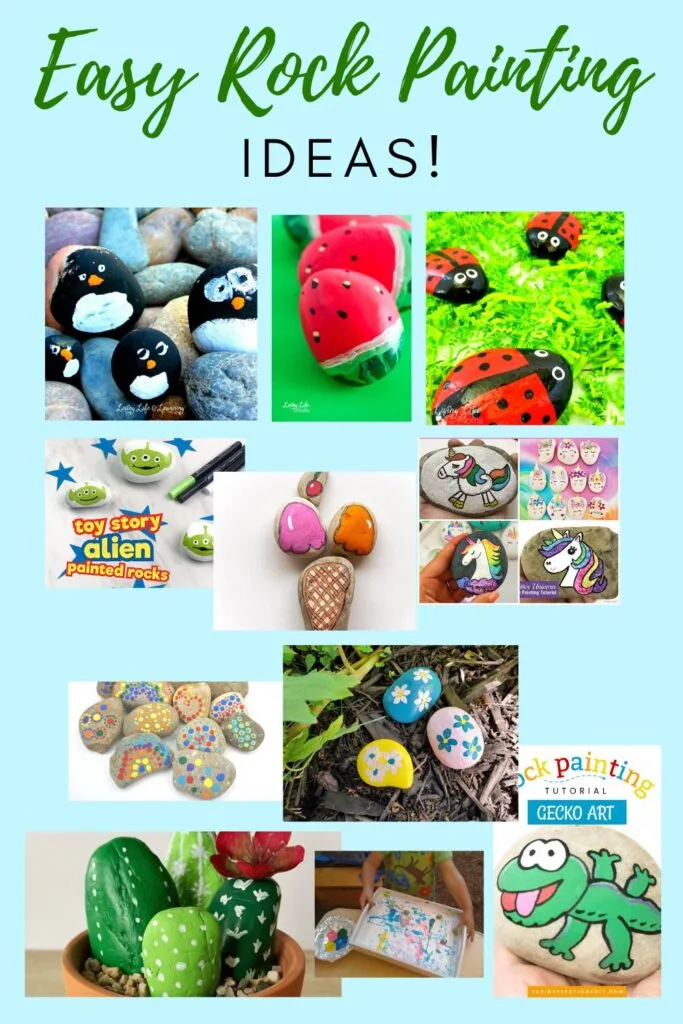
Ideas for Kids Crafts with Painted Rocks
Here are a few ideas for kids crafts with painted rocks that I came up with along with other blogger’s projects!
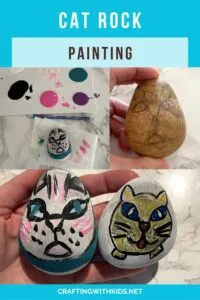
Rock Pets
One idea is to paint rocks to look like pets. Kids can let their imaginations run wild and create their own unique pets. They can paint spots, stripes, and even add googly eyes or pipe cleaners for legs. Once the rocks are painted, they can be used as paperweights or displayed on a shelf.
Garden Markers
Another idea is to paint rocks to use as garden markers. Kids can paint the name of the plant or vegetable on the rock and then place it in the garden. This is a great way to teach kids about gardening and help them take ownership of their own garden.
Story Stones
Story stones are another fun idea for kids crafts with painted rocks. Kids can paint pictures on the rocks that represent different parts of a story. They can then use the rocks to retell the story or create their own unique story.
Tic-Tac-Toe
Painted rocks can also be used to play games like tic-tac-toe. Kids can paint X’s and O’s on the rocks and then use them to play the game. This is a fun way to get kids outside and active.
Ideas for Kids Crafts with Painted Rocks
See a handful of projects with painted rock ideas for kids. I hope this list will inspire you to create your own rock painting party.
![Image for Toy Story Alien Rock Painting For Kids [Video Tutorial]](https://craftingwithkids.net/wp-content/uploads/2023/05/toy-story-painted-rocks-image-fb-735x551.jpg)
![Image for Toy Story Alien Rock Painting For Kids [Video Tutorial]](https://craftingwithkids.net/wp-content/uploads/2023/05/toy-story-painted-rocks-image-fb-735x551.jpg.webp)
Does your little one love Toy Story? Then you will love this cute tutorial on how to make these easy alien painted rocks for kids.


Check out this fun kids activity with rolling rock painting. You will learn how to roll rocks around in paint to create beautiful designs.


Learn how to use a dotting tool on rocks to create colorful mandalas, bright flowers, or just a collection of colored dots.


You won't find a cuter summer craft than this cactus-painted rock garden.


Learn how to make a watermelon painted rock easily! This is a great summer craft for kids who are bored!


Learn how to make these sweet Painted Rock Ice Cream Cones this summer with the kids!


In this post you will find fantastic Unicorn rock painting ideas. What little girl or boy won't love to create their own unicorn rock?


See how to paint a ladybug rock. Whether it’s with your kids or for your garden, it’s a fun and easy project.


Fun penguin rock painting for kids - yes please! They will spruce up your garden, front porch or playroom.


Learn how to make painted rocks with flowers for a fun kids craft. These flowers are cute as decor around the house or for a fun afternoon project.


Get your little ones ready to save the day just like their favourite Marvels heroes with this Superhero Rock Painting Craft!
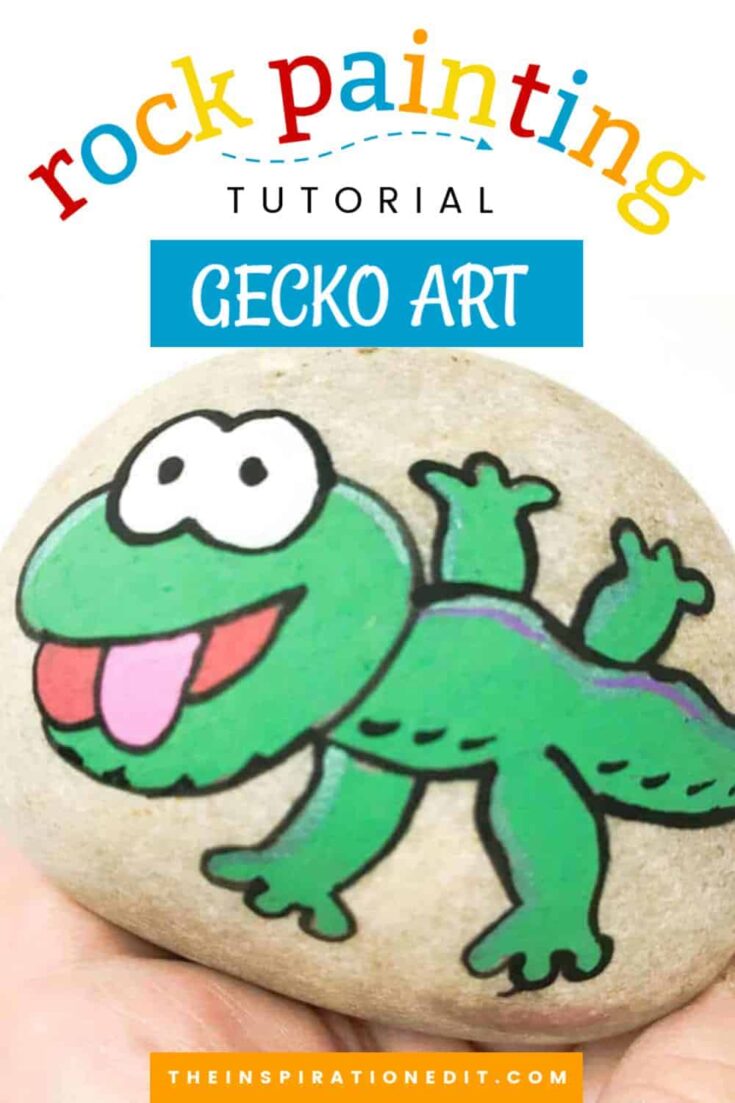

Check out how to make this cute Gecko Art painted rock.
Overall, painting rocks is a fun and easy activity that kids will love. With a little creativity, the possibilities are endless.
Leave a comment