
Do you know how to make a beaded cross? Beaded crosses made with pony beads are not only a fun and colorful craft project but also a beautiful way to express your faith or create a meaningful gift for someone special.
With various patterns and bead colors to choose from, you can create unique crosses that add a personal touch to any space.
Gather your pony beads, string, cord, scissors, and follow the simple steps provided to create a stunning piece of art that will surely hold a special place in your heart. These are the perfect gift for Easter or even Valentines day!
If you’re looking for more crafts and activities for your kiddos, check out this Froggy Activity Pack, perfect for kids 5-7 and only $7.00 for the full printable pack.


Speaking of the holidays, check out these easy heart crafts for Sunday school that would be great for Easter.
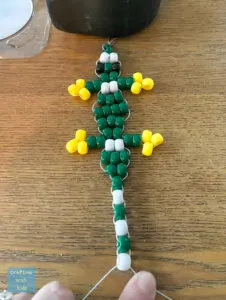
Check out this awesome Bead Lizard too before you leave!

Also check out a handful of other bead crafts for kids here.


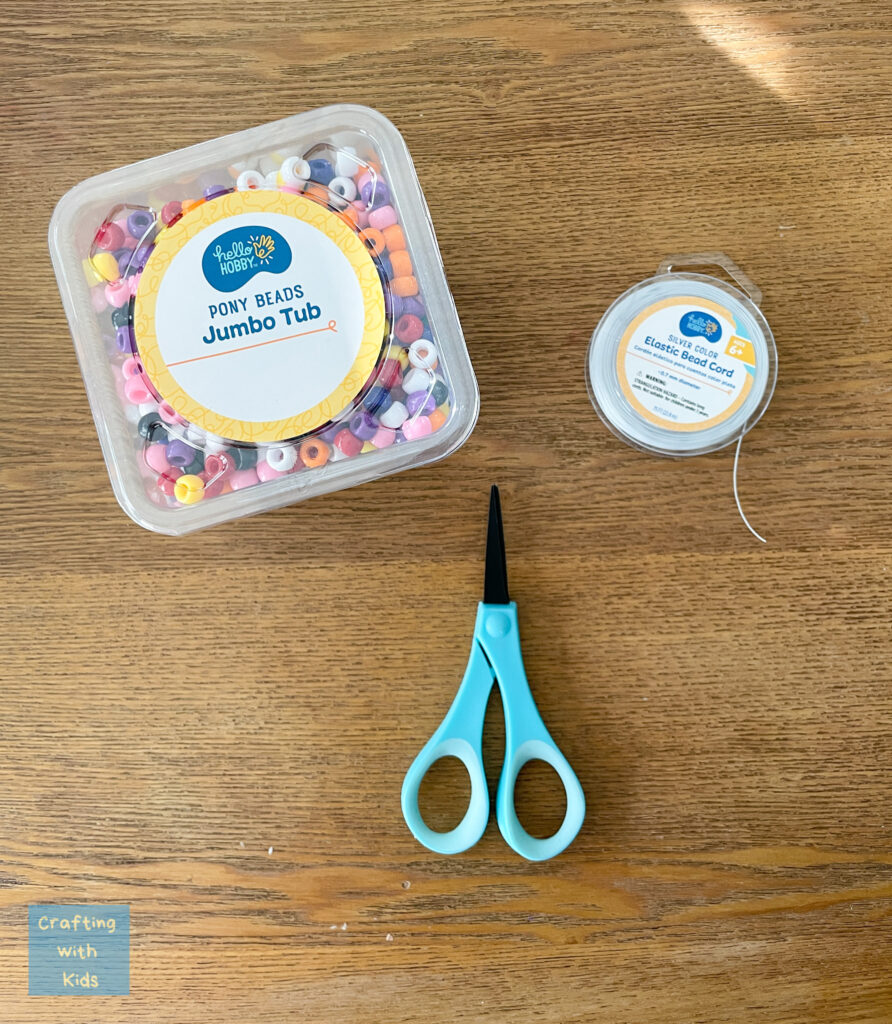
Materials Needed
First and foremost, gather an assortment of Pony Beads in various colors or stick to a particular color scheme that aligns with what you want it to look like.
Next, you’ll need a robust and flexible string or cord that can hold your beads. Some popular options include:
- Elastic cord
- Nylon thread
- Beading wire
- Pipe cleaner works ok too if your beads have large holes
Pro tip: the elastic bead cord I used is .7 mm in diameter. For this particular project I could have used a thicker cord for the size of beads that I used.
What I used worked, but a thicker cord would have been better.

Remember, creativity is key when designing your beaded cross shape. Customize the pattern with different colors or add unique touches like charms.
Setting Up Your Workspace
Materials and tools you’ll need:
- Pony Beads: You’ll need a variety of colors for your beaded cross. It’s up to you whether you’d like to stick to a specific color scheme with the acrylic beads.
- Nylon String: This will hold your beads together. Aim for a thickness that can fit through your pony beads twice.
- Scissors: You’ll use these to cut the nylon string to the desired length.
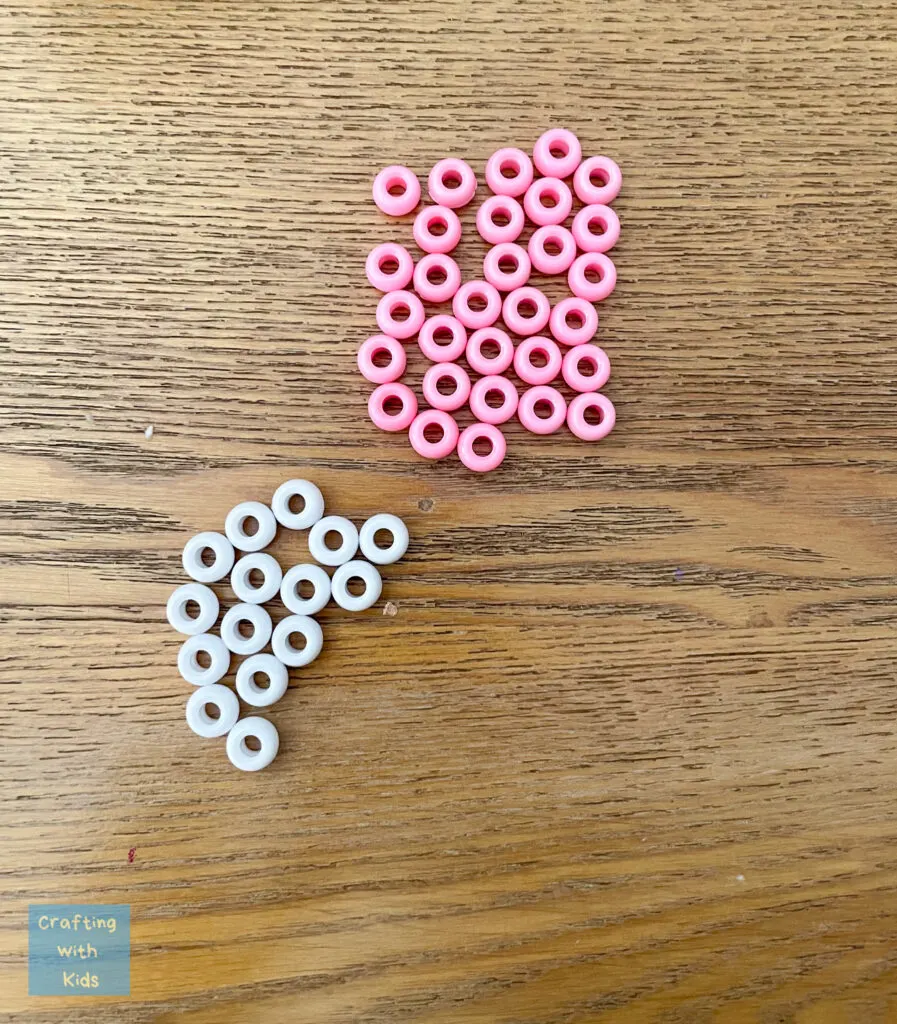
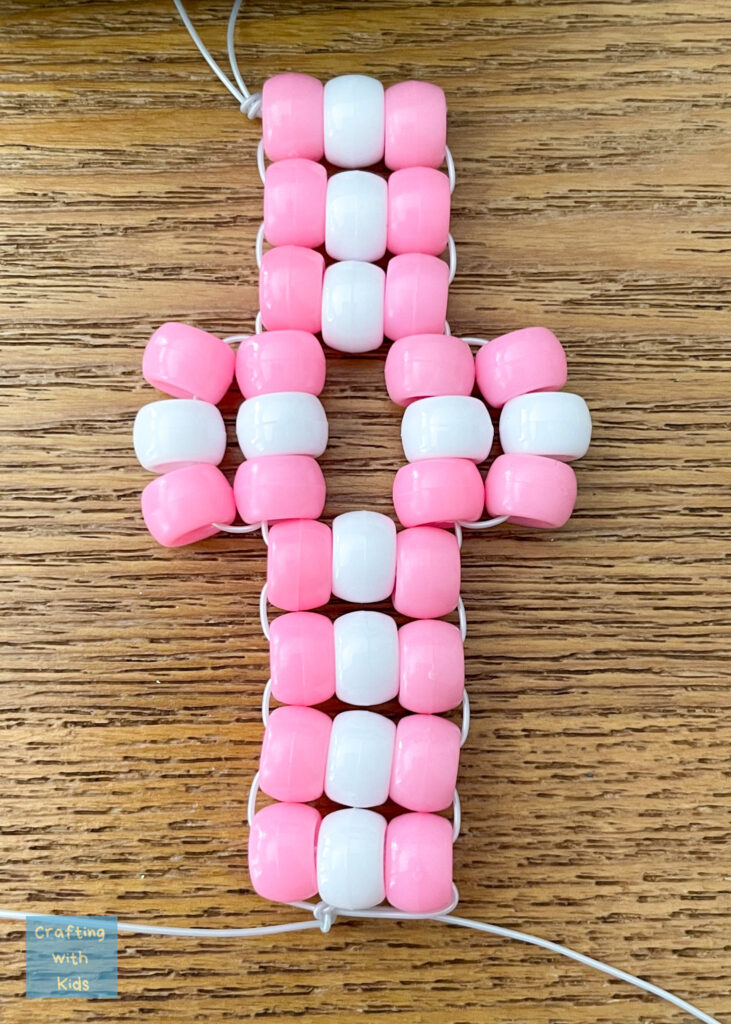
For the cross I made, I used 22 Pink beads and 11 white beads.
Now that you have your materials and tools in place, let’s layout your beads in a practical configuration:
- Organize beads by color: Seperate your pony beads into different color groups. This will make it easier to find new beads you need without searching through a jumble of colors. I chose to use two colored beads.
- Use small containers (optional): Consider placing each color group of beads into small containers or cups. This makes it easy to grab a single bead without it rolling away from you.
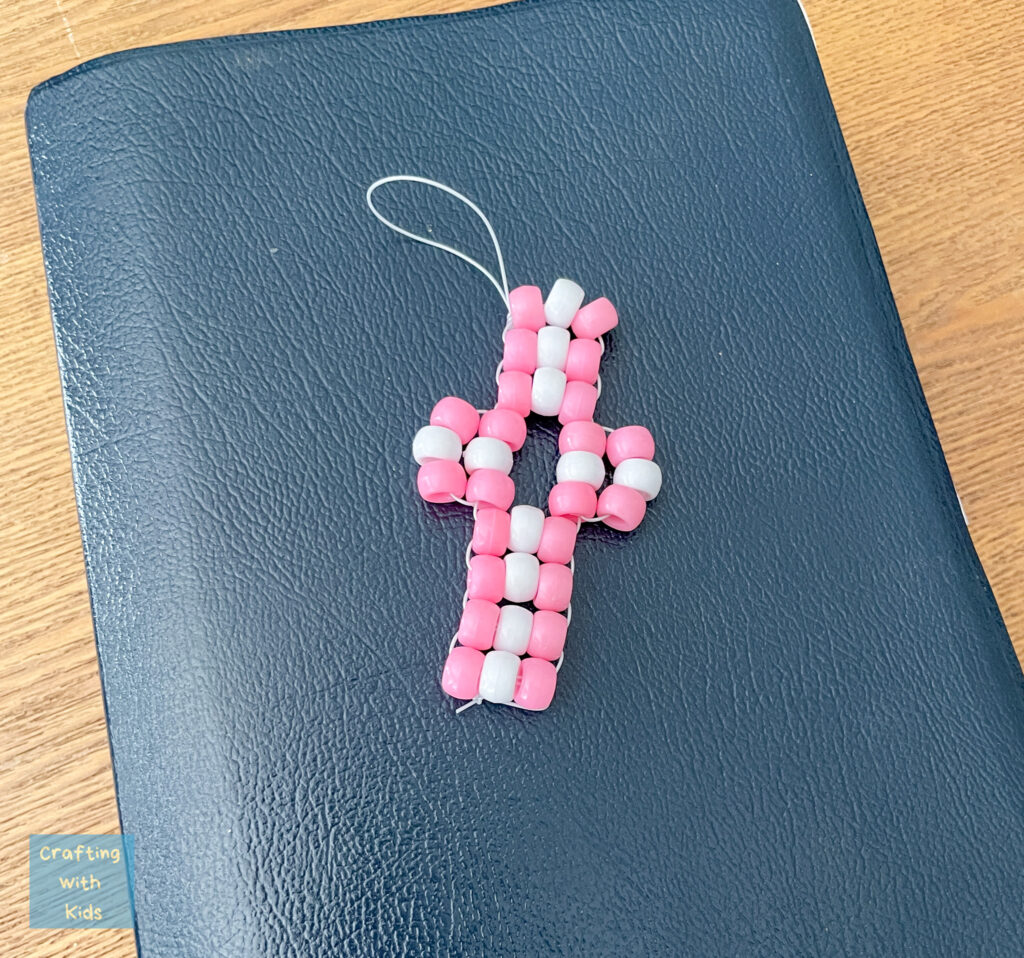
I decided to make an “Easter Cross” and use white and pink to represent the pastel colors of Easter.

How to Make a Beaded Cross
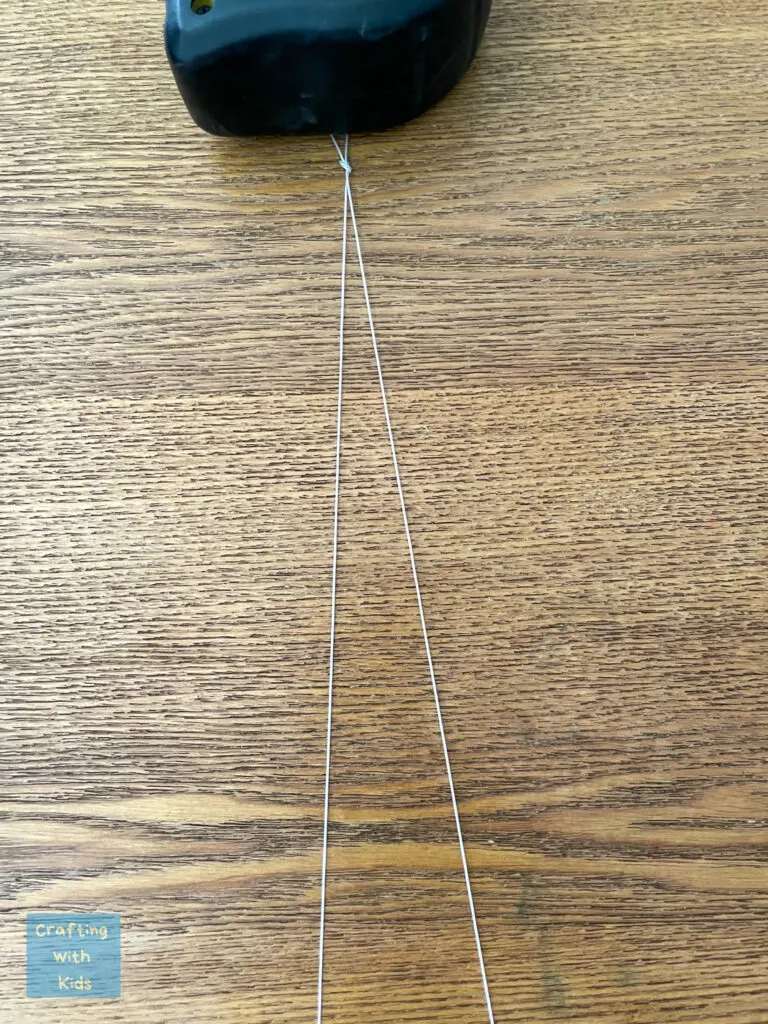
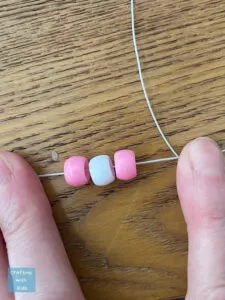
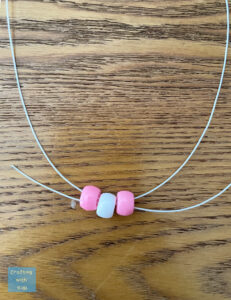
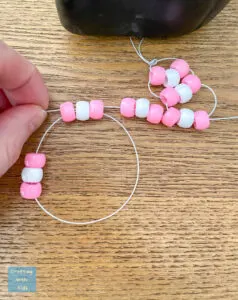
The first thing you need to do before beginning with the beads, is to make the small loop of wire or cord. Start by cutting a 30-inch piece of beading wire or string, and then double the string over once. Tie a small loop at the end. Once the loop is secure, place tape or something heavy on the loop (I used a heavy measuring tape) to secure it so you can begin stringing the beads.

Creating the top Vertical Section
Thread 3 Pony Beads onto the string with one side. Pull the string from the other side and loop it through the three beads in the opposite direction. Once you’ve threaded both strings, pull the string tight and make sure the beads are tight up against the knot. These beads will form the center row of the vertical section.

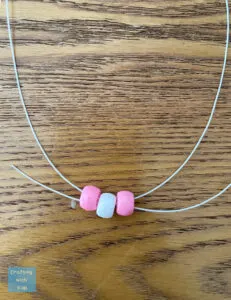


Repeat steps for a total of 3 rows.
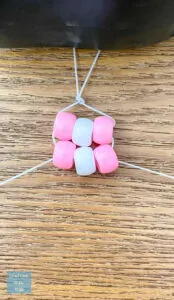
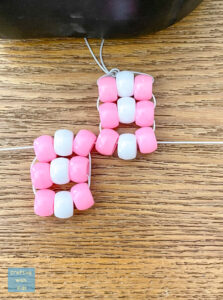
Forming the Horizontal Section
Now that the top of your vertical section is complete, it’s time to create the horizontal sections.
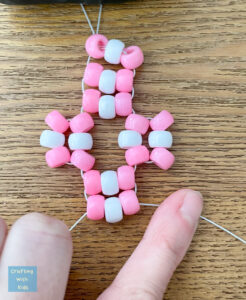
Pick up the left side of your string again, and add 6 Pony Beads to one end.
I started by adding 9 beads to the string but when I pulled them tight, I realized the string was not heavy enough to hold them together. If you are using a heavier string, you can pull 9 beads through.

This is what 9 beads looked like. It looked OK at first, but the beads kept getting jumbled up. This is when I decided to use only 2 rows of three and six beads.


If you are using 6 beads like I ended up doing, pull the string back through the middle three beads in the opposite direction (the row will have a total of 9 beads including the row from the vertical section).
Repeat this process on the other side.

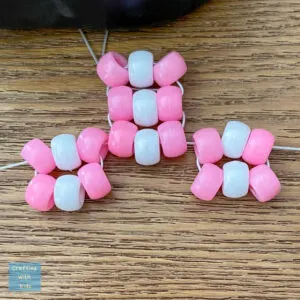
Tighten the string to ensure everything is secure.
Creating the Bottom Vertical Section
After you complete the horizontal sections, begin with the first row of the bottom vertical section by repeating the patter that you did with the top vertical section. Make 4 rows of vertical sections.

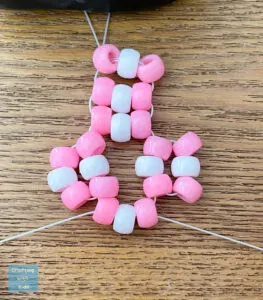

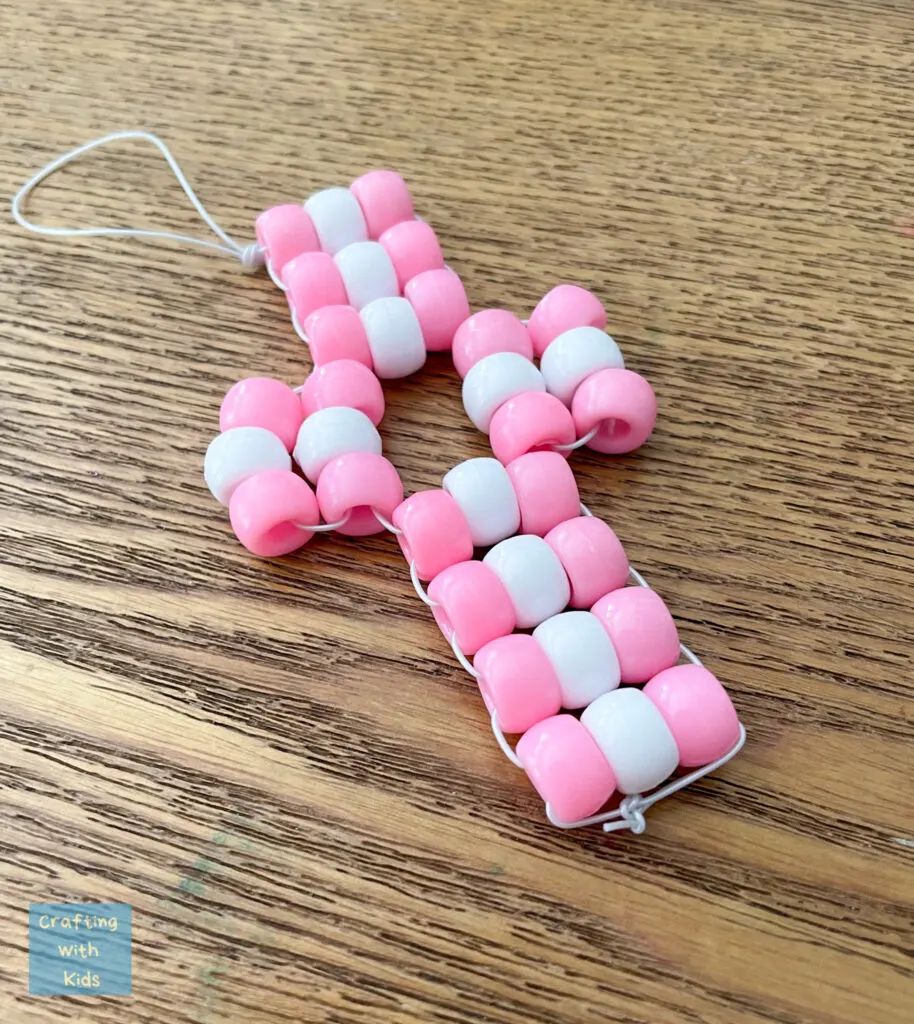
After you’ve finished your 4th row, the cross should look complete! Make sure to tie a knot at the end to secure all the beads together. Here are some tips below.

Securing the Beads
Let’s focus on making sure the beads stay in place.
- Tighten the strings: Gently tug on the ends of the strings to tighten any slack before you tie the knot at the end.
- Add a drop of glue: Dab a tiny bit of clear-drying glue at the ends of the beads, especially near the knots. The glue dots will help ensure they stay in place without being visible. This is a good idea if you are like me and used a thin string. Using a larger diameter string will help hold the beads in place better.
- Trim excess string: Carefully snip away any remaining excess string, being cautious not to nick the knots or the strings maintaining the structure of your cross.


Beaded Cross with Pony Beads
Here it is! I love how simple this bead craft was.

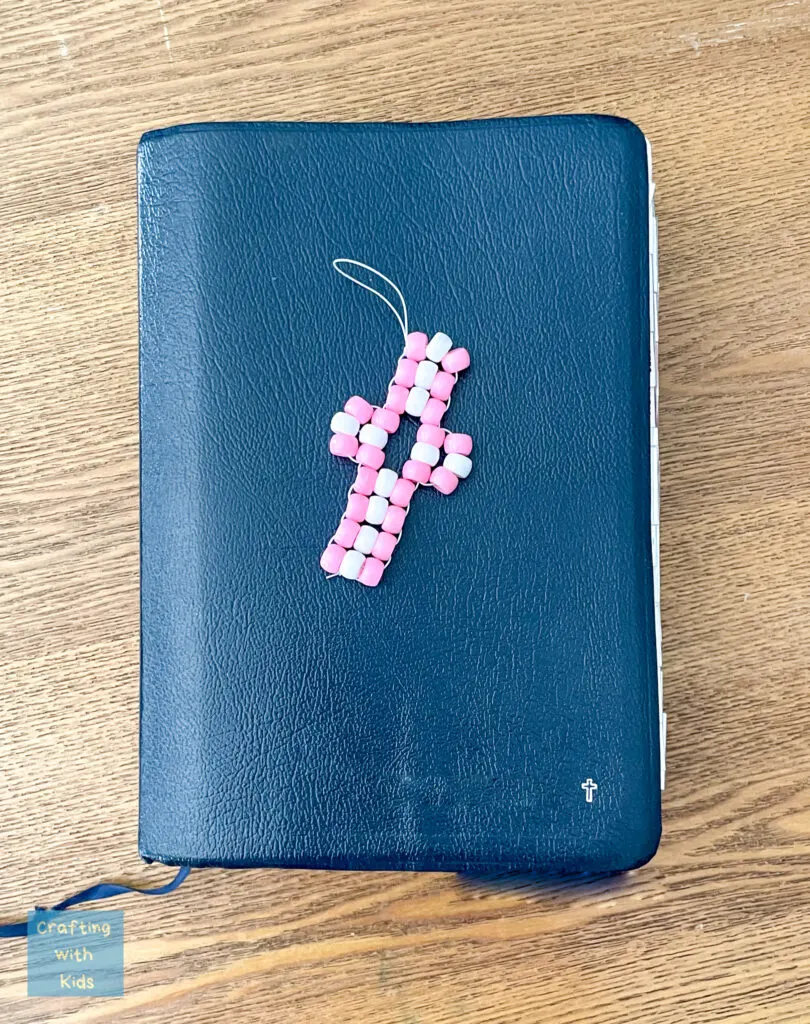
This is perfect for a keychain or just laying around the house as a decoration.


Customization Ideas
Let your creativity shine while making beaded crosses with Pony Beads
Play with color combinations: Go for contrasting shades or follow a theme. You could even create cross designs for various seasons and holidays. For example, a mix of red, white, and blue for an Independence Day cross or festive red and green for a Christmas cross.Mix in different bead sizes and shapes: While you’re already using Pony Beads, don’t hesitate to introduce a variety of sizes and shapes to your cross designs. Here are a few you could try: Seed beads, Hex beads, Bugle beads, Faceted beads, wooden beads. Add charms or pendants: Spruce up your beaded cross by attaching charms or pendants at the center in various shapes like hearts, stars, or even religious symbols. This can give your crosses a unique and personal touch. Use rhinestones or crystals.
Explore different cross patterns: While you may be familiar with the traditional square and plus-shaped crosses, challenge yourself by trying other cross designs! Here’s a quick list to try:
- Latin cross
- Celtic cross
- Greek cross
- Maltese cross
- Russian cross
Frequently Asked Questions
What type of string is suitable for threading pony beads when making a cross?
Several types of string work well for threading pony beads when making a cross.
Some options include plastic lacing (also known as gimp or Rexlace), monofilament fishing line, and stretchy cord (e.g., elastic beading cord). Make sure it’s thicker than .7 mm.
Choose a string that is durable and fits easily through the holes in your pony beads twice.
How do I create different patterns on a beaded cross using pony beads?
You can create a variety of patterns on your beaded cross by changing the colors and placement of the pony beads.
For a simple pattern, alternate two colors on each arm of the cross.
For a more intricate design, try using a gradient of colors from the center outward or create a distinct pattern using multiple colors.
Is it possible to melt pony beads for crafting, and if so, how?
Yes, you can melt pony beads for crafting purposes. To do this safely, preheat your oven to around 250°F (121°C).
Next, place the beads on a non-stick surface, such as a silicone baking mat or a sheet of parchment paper on a baking sheet. Make sure the beads are evenly spaced and not touching each other.
Bake for approximately 5 to 10 minutes, keeping a close eye on the beads to avoid over-melting or burning. The beads should appear slightly flattened when they are ready.
Remove them from the oven and let them cool completely before handling.
This is the perfect Easter craft for older kids. As always, thanks for following and happy crafting!
Leave a comment