
Beaded crafts offer a fun and engaging way for kids to practice their fine motor skills and explore creativity. Making a bead lizard is a cute little lizard project that not only results in a colorful toy or decoration but also introduces children to basic beading techniques. These whimsical creatures can be customized with a variety of bead colors and patterns, giving each child the chance to create a unique piece.
The materials needed are easy to find and include various beads, strong thread or fishing line, and optionally a keychain or lanyard hook if the lizard is meant to be a charm. This activity also offers a chance to teach kids about following patterns, coordinating colors, and practicing patience as they carefully string each bead to form their little lizard.
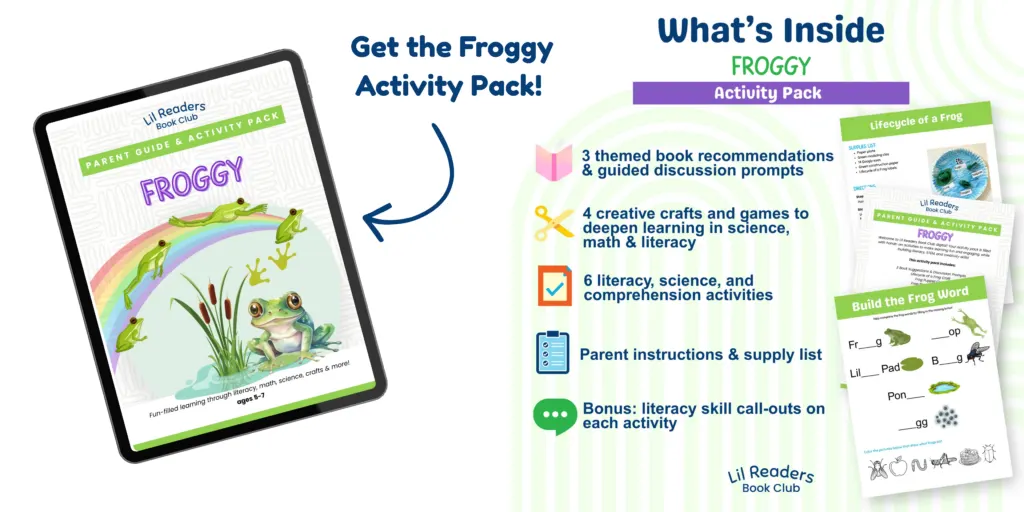
If you’re looking for more crafts and activities for your kiddos, check out this Froggy Activity Pack, perfect for kids 5-7 and only $7.00 for the full printable pack.


Disclosure; this post contains affiliate links. This disclosure statement refers to the rest of the links in this post. See my disclosure post for more details.
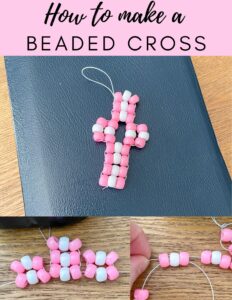
Also check out how to make a Beaded Cross with pony beads here.

If you want more bead craft projects, check out this post.


Materials Needed
Here’s what you’ll need:
Beads:
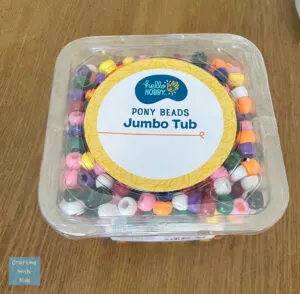
- Plastic pony beads (variety of colors) or beads with a large enough hole to pull two strings through
Stringing Material:
- Elastic cord or fishing line (2 feet)
Tools:
- Scissors (for cutting string)
- Optional: Small pliers (to pull a tight knot)

Other Optional Supplies:
- Key ring, key chain or lanyard hook (for attaching finished lizard)
Note: It’s important to choose beads that have holes large enough for the string to pass through twice.

Bead Quantity Guide:
- Approximately 100 beads for one lizard.
Here’s a simple table to organize the bead colors for a standard lizard design:
| Body Color | Limb Color | Eye Color |
|---|---|---|
| 50 beads | 40 beads | 2 beads |
Adjust the quantities based on the size and design preferences for the lizard.
Planning Your Design
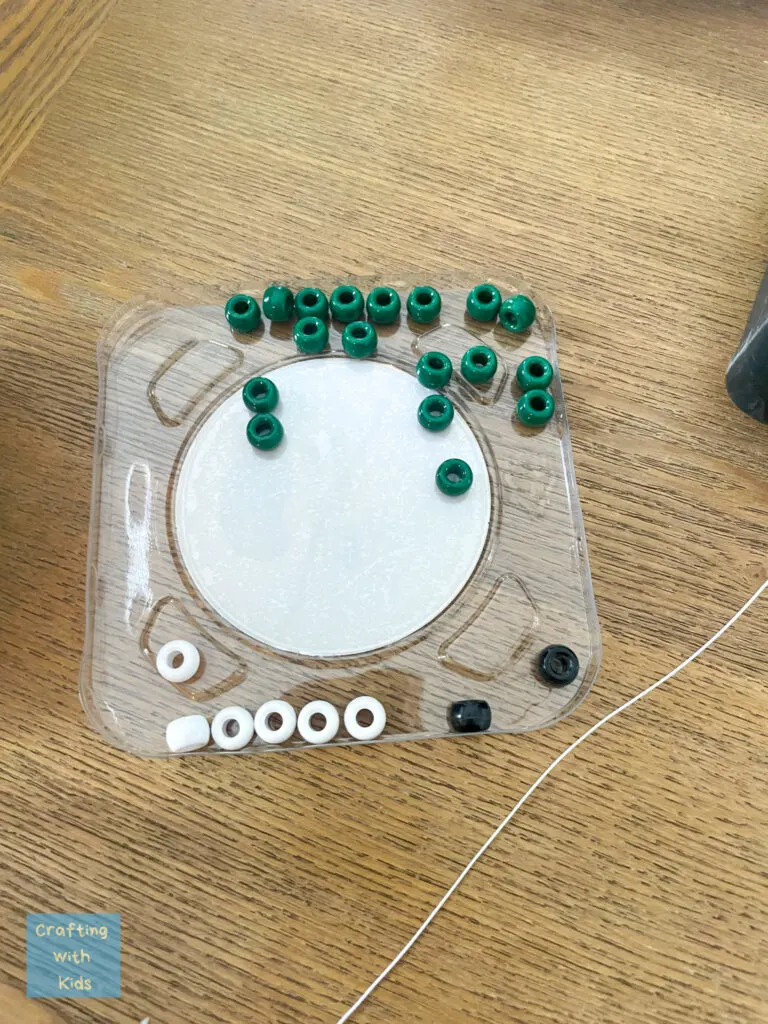
When making a bead lizard, your creativity comes to life through color choices and pattern designs. It’s a fun and engaging way for children to express themselves through crafting with a fun kids craft. Have your child choose an array of colors they want. For our bead lizard, we chose yellow beads for the legs, black for the eye color bead, and mainly green with a few white beads for the body.
Choosing Colors
Selecting colors is a key step as it defines the lizard’s appearance. Kids can choose their favorite colors or use a specific color scheme to convey a theme, such as natural tones for a realistic look or vibrant hues for a fantasy creature. Here’s a simple guide they can follow:
- Primary Colors: Red, yellow, and blue are bold and bright choices that stand out.
- Secondary Colors: Green, orange, and purple offer a nice contrast when paired with primary colors.
- Cool Colors: Blues and greens evoke calmness and can represent a lizard’s natural habitat.
- Warm Colors: Reds, oranges, and yellows can make the bead lizard appear more energetic.
Pattern Creation
Patterns give a unique touch to the bead lizard and can range from simple to complex. Children should start by sketching a basic outline of the lizard on paper to plan their pattern. It helps them visualize the final result and serves as a guide during the beading process.
Simple Patterns:
- Stripes: They can alternate two colors in a predictable sequence.
- Spots: Randomly place a contrasting color bead to mimic natural spots.
Complex Patterns:
- Diamonds: Introduce multiple colors in a diamond shape across the lizard’s body.
- Gradient: Use shades of the same color to create a fading effect.
Kids can decide whether they want a symmetrical pattern on both sides of the lizard or a more irregular design. Encourage them to be creative and make their bead lizard unique.

Stringing Beads
Stringing the beads is a simple process, but it requires focus. First, it’s essential that the beads are added in the correct order to bring the lizard to life.
Starting the Lizard
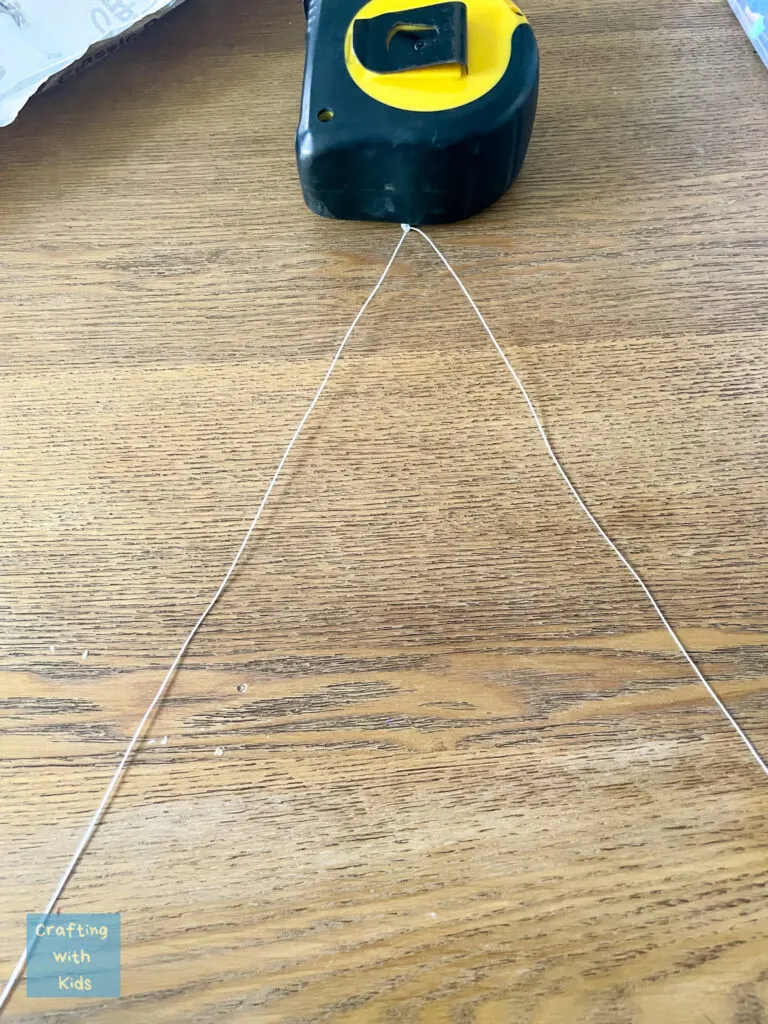
To start the lizard, one needs to create the “V” shape that forms the foundation. For this, take a long piece of string (about 4′) and fold it in half and then tie a knot at the end where you’ve folded the string. If you are using a keychain or keyring, this is when you will attach it. You will see where we did not use one and instead just tied a simple knot. I also used a heavy tape measure to hold the end of the string down while we thread the beads.


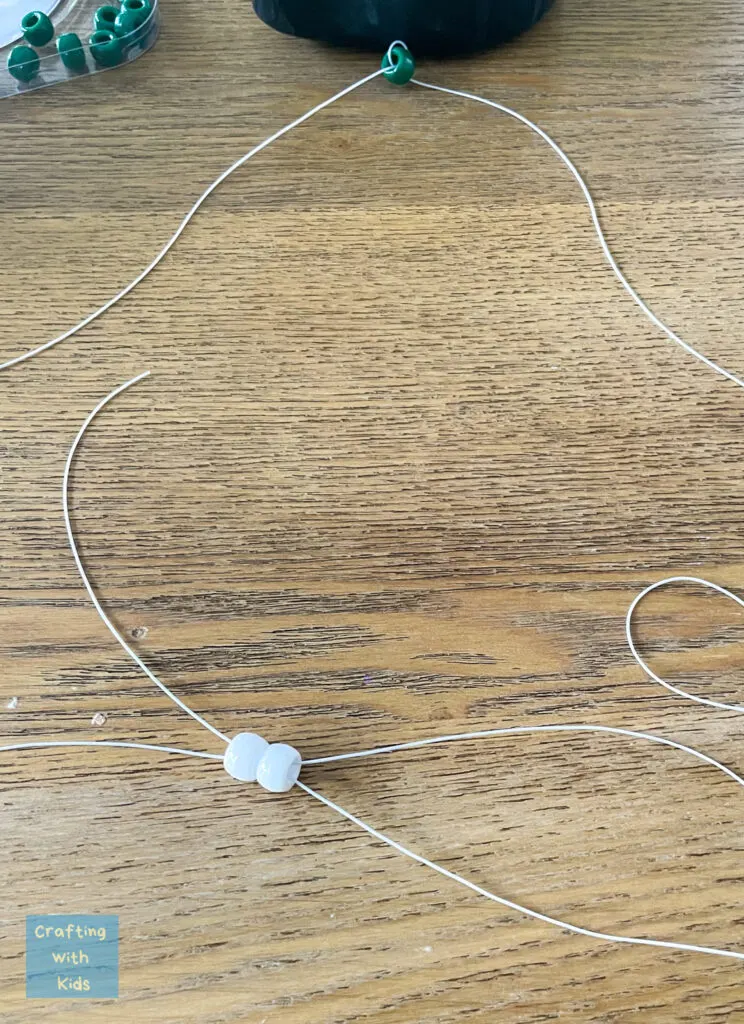
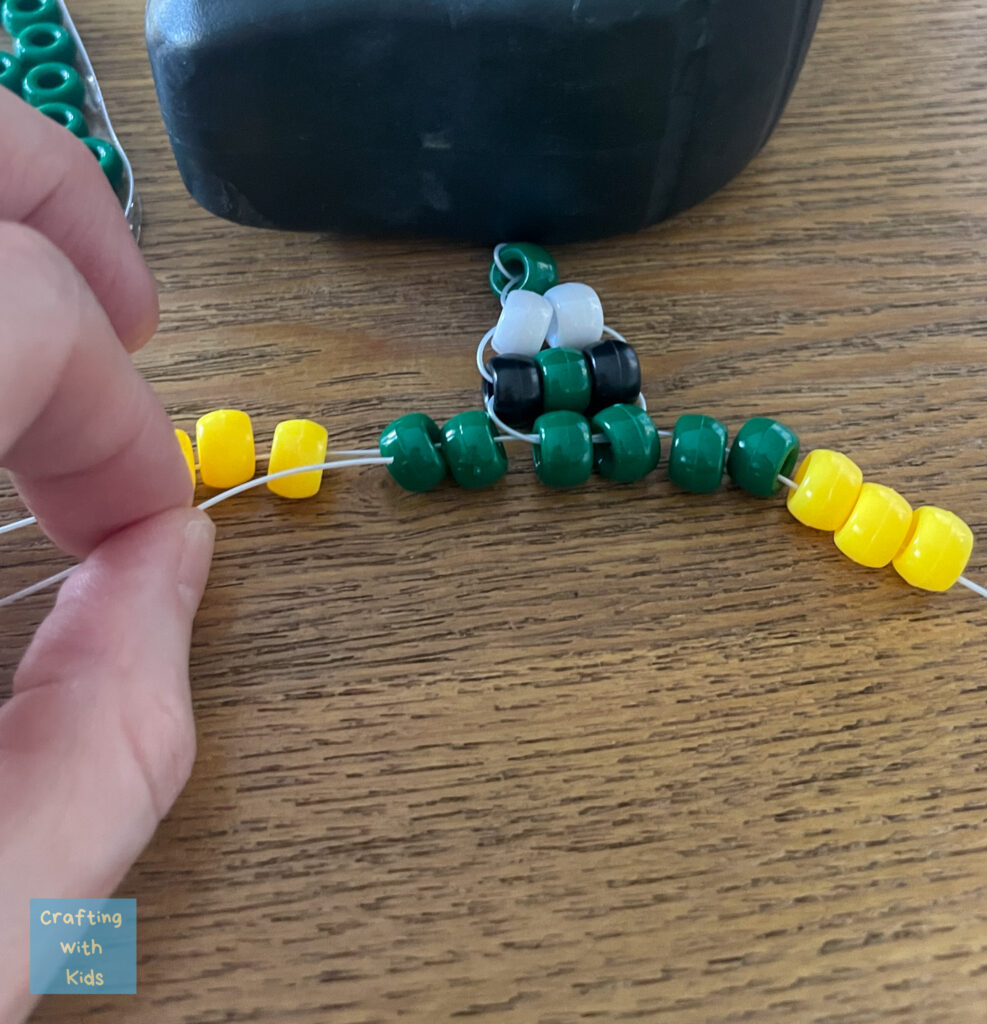
Now, starting with the first bead, thread it through the right string. Then take the left string and push it through the bead in the opposite direction. This is the pattern you will use to string all the beads.


You can see below where the left and right string are strung through the beads in different directions.

The body of the lizard comes next and involves adding body beads in pairs to form a pattern.
For the third row, this is where you will add the eyes. The eyes can be black or yellow or any color you choose! Just make sure to add the eye color beads to the ends of third row with three beads.
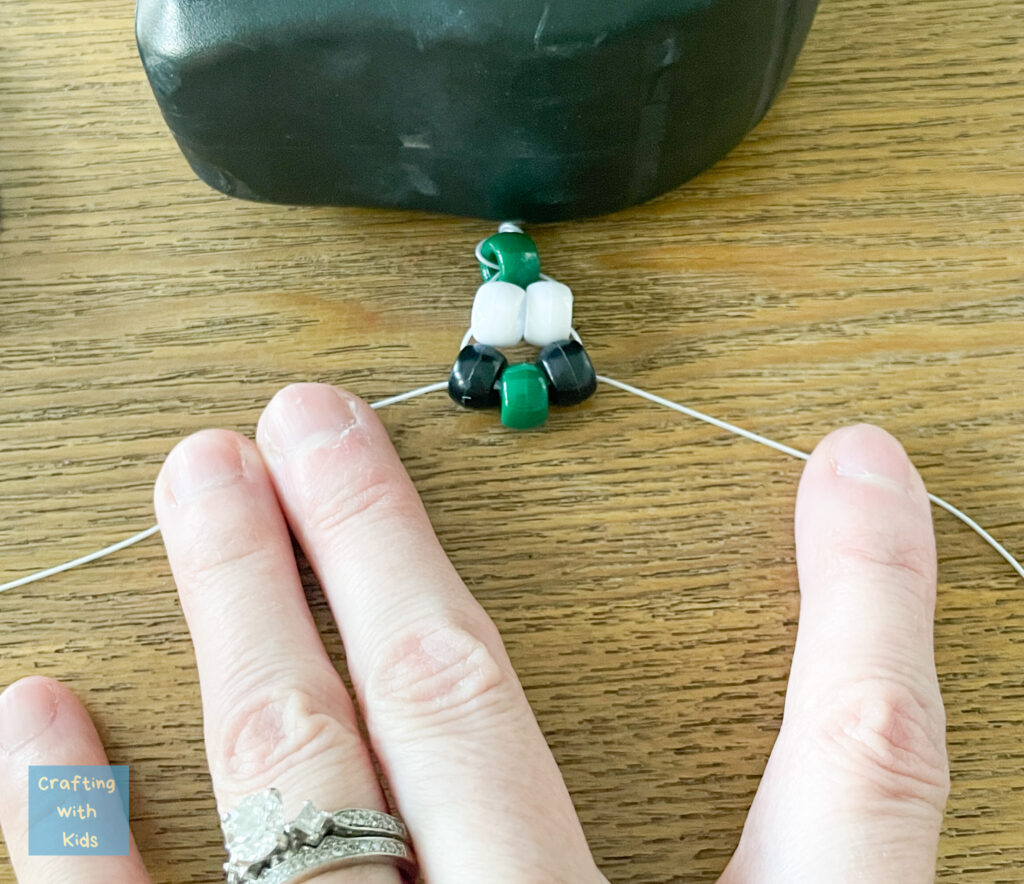

For the fourth row you, this is where the front legs are made. Start by stringing two green (or whatever color you choose) beads with the string in opposite directions like you have been.
Forming the Legs
Grab 5 more beads (the three at the end need to be the color of the legs) and string them straight through the left side of the string. Taking the same string, loop it back through the two beads closest to the body. See the picture below for specifics.
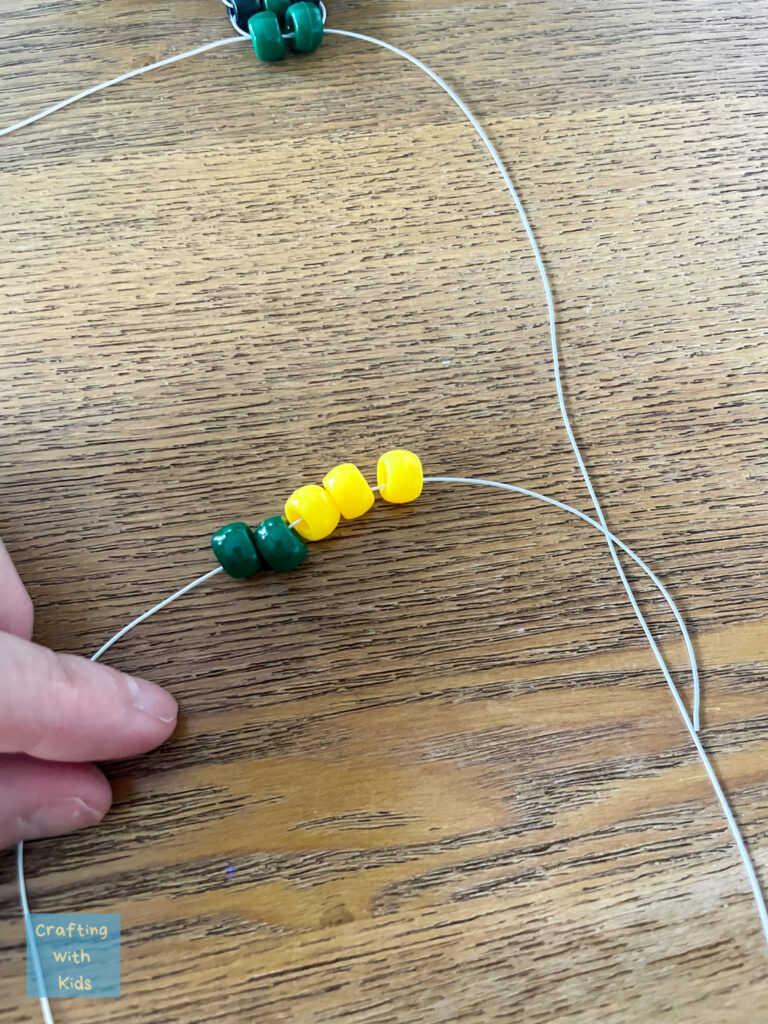


Pull it tight and repeat this process on the left side to make the front row of legs.


Once the set of legs are done, continue on with the rest of the body.


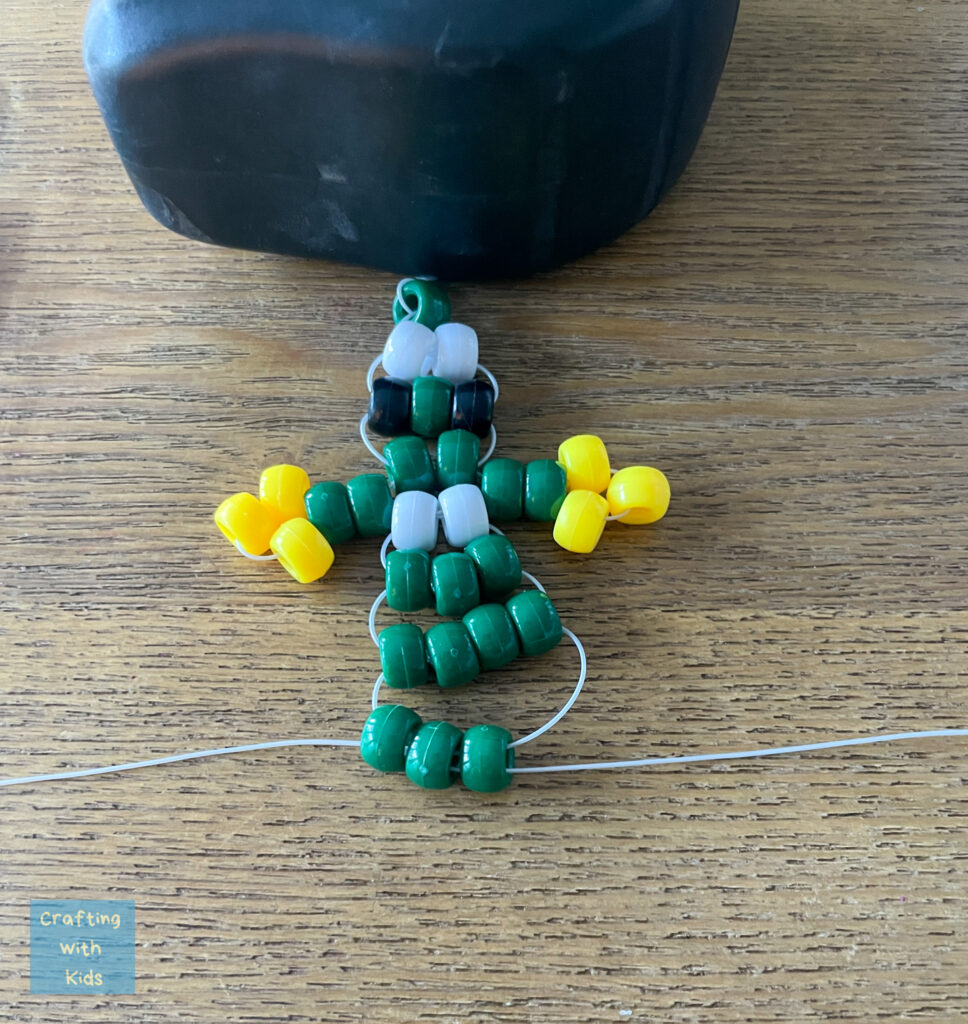


At this point you should see the lizard coming together! On the ninth row, add the back row of legs just like you did the front row.
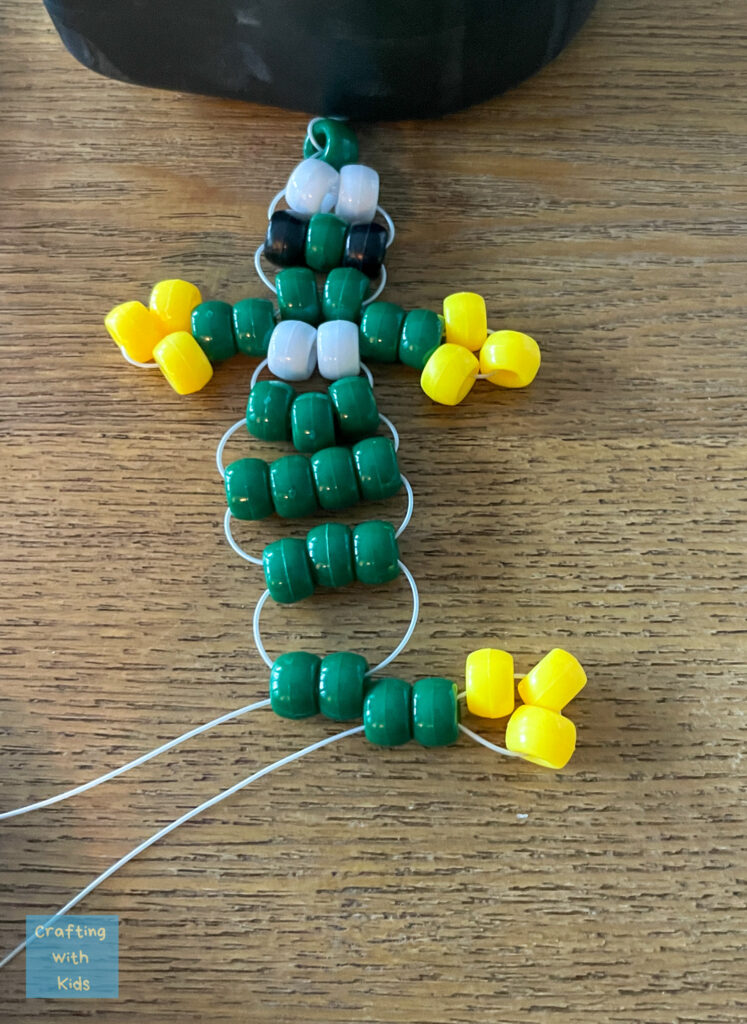

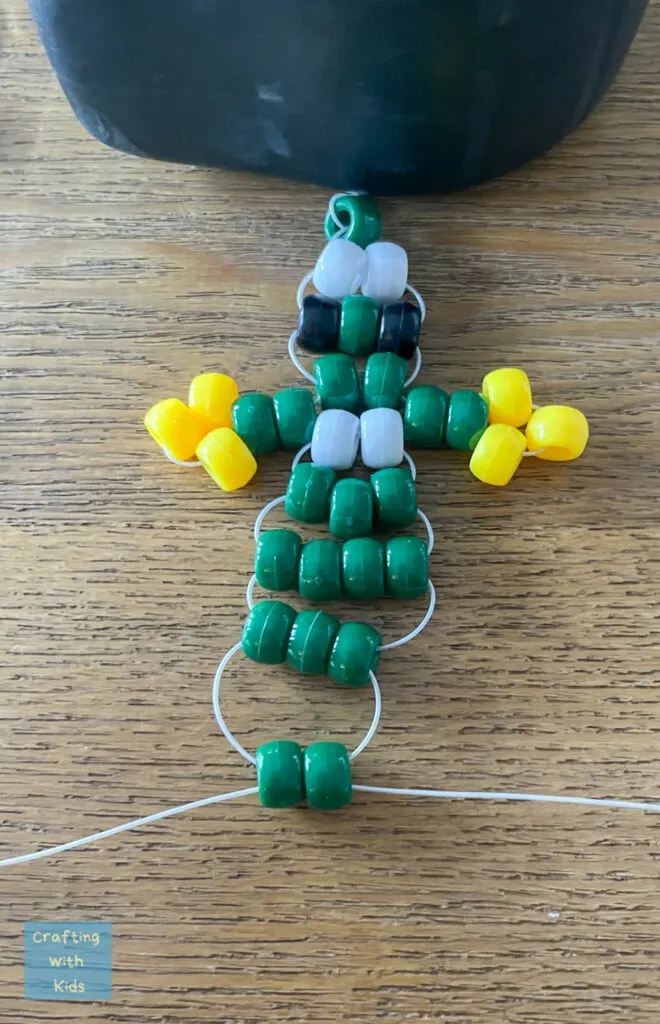
After beading the last row of legs, you are going to one or two more rows for the body.
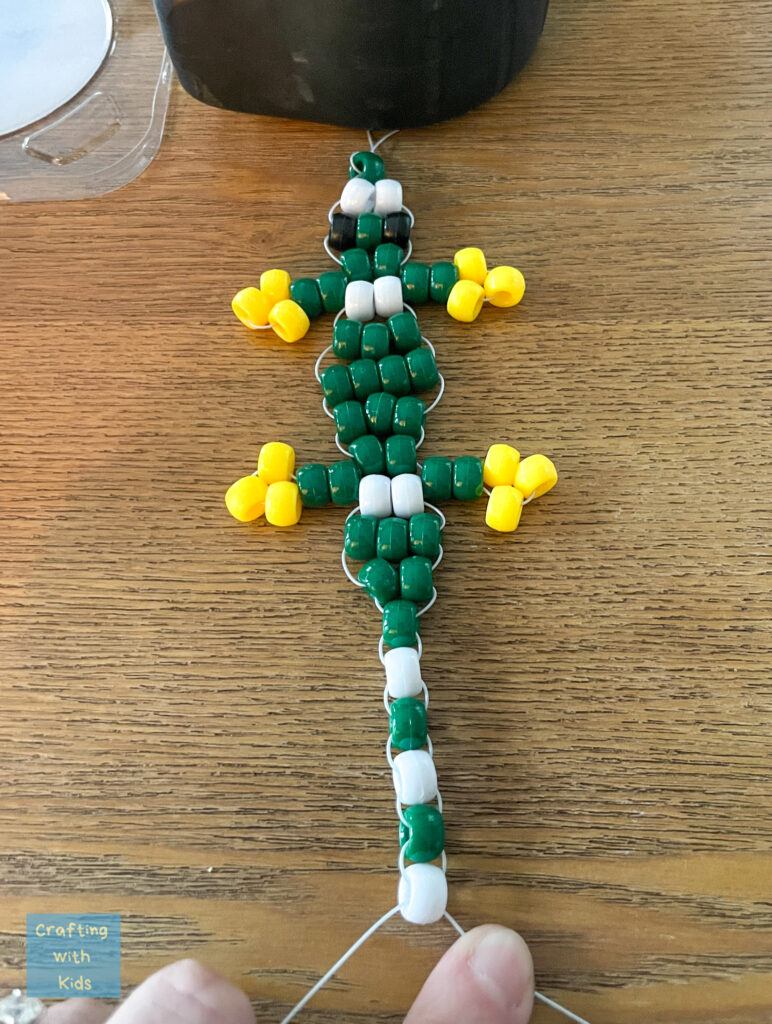
Adding the Tail
The tail is the final piece and is similar to creating the body. I added a row of three, then two and then for the tail, you will string at least six single beaded rows.

Finalizing Your Bead Lizard
Once the bead lizard’s body is fully beaded, it’s time to secure the creation and add personalized embellishments.
Tying Off the Ends
The lizard tails feature excess string that must be dealt with. Here’s how:
- Pull the string tight to ensure all beads are snug and aligned.
- Overhand Knot the string close to the last bead. They may need to make several knots atop each other (double knot) for security.
- Trim the excess string, leaving a small tail to prevent unraveling.
Adding Finishing Touches
Adding character to the bead lizard involves a few fun touches and it totally optional:
- Eyes: Glue on tiny googly eyes or use marker pens to draw them just above the bead that represents the head.
- Customization: Let them choose additional decorations like glitter or paint to give their lizard a unique flair.
- Attachment: If they wish to hang their lizard, have them attach a key ring or lobby clasp to the topmost bead.
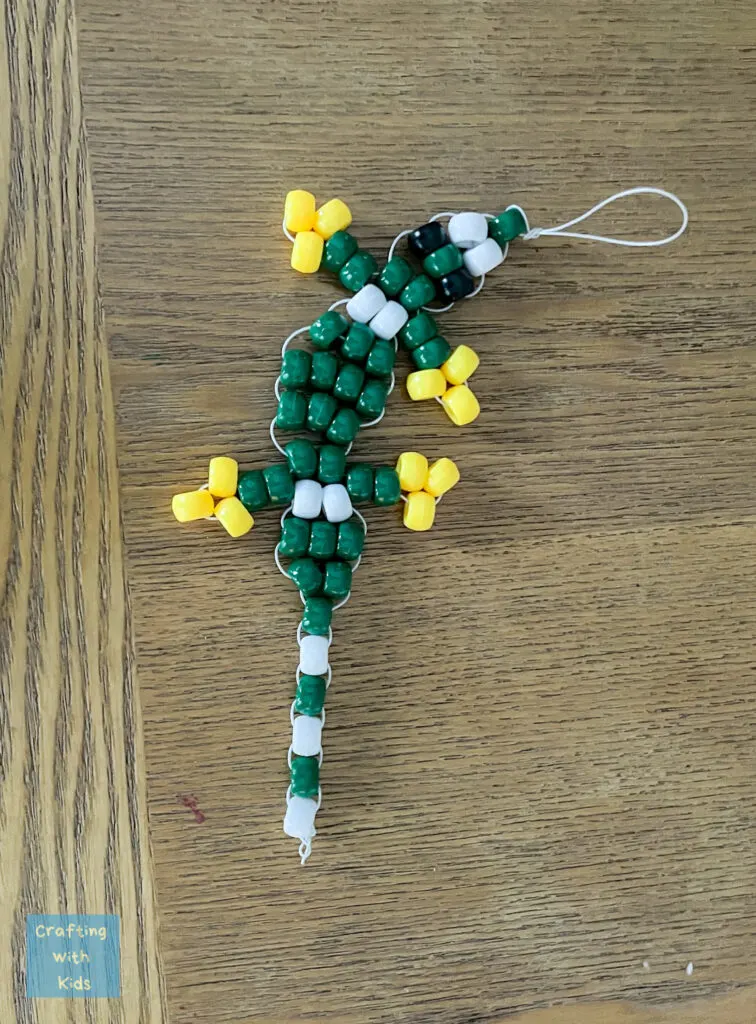
Bead Lizard for kids
Once the beads are secured and tied, you have a cute Lizard to display or play with!


What do you think?


Frequently Asked Questions
Crafting a bead lizard is a fun activity that little ones or older children can easily enjoy. Below are some common questions to help you and your kids get started on this creative endeavor.
What materials do I need to start crafting a bead lizard with my kids?
To begin making a bead lizard, you’ll need plastic pony beads, string or fishing line, a key ring (optional), scissors, and a small clip or heavy object to hold the beads in place during crafting.
Is there a beginner-friendly bead lizard pattern suitable for children?
Yes, there are many beginner-friendly patterns available that are designed for children. These patterns often feature large, colorful beads and simple, repetitive bead sequences perfect for young crafters.
How long should the string be when making a bead lizard?
The string length can vary, but a good rule of thumb is to cut a piece about 36 inches long. This provides ample room to work with, especially for beginners who might need a little extra slack.
Do any kits come with everything included for a bead lizard project?
There are kits available like this bead kit from Amazon that come with all the necessary materials for a bead lizard project.
I hope I’ve answered all your questions and created a simple tutorial for you and your kids to enjoy!
Happy Crafting friends
Leave a comment