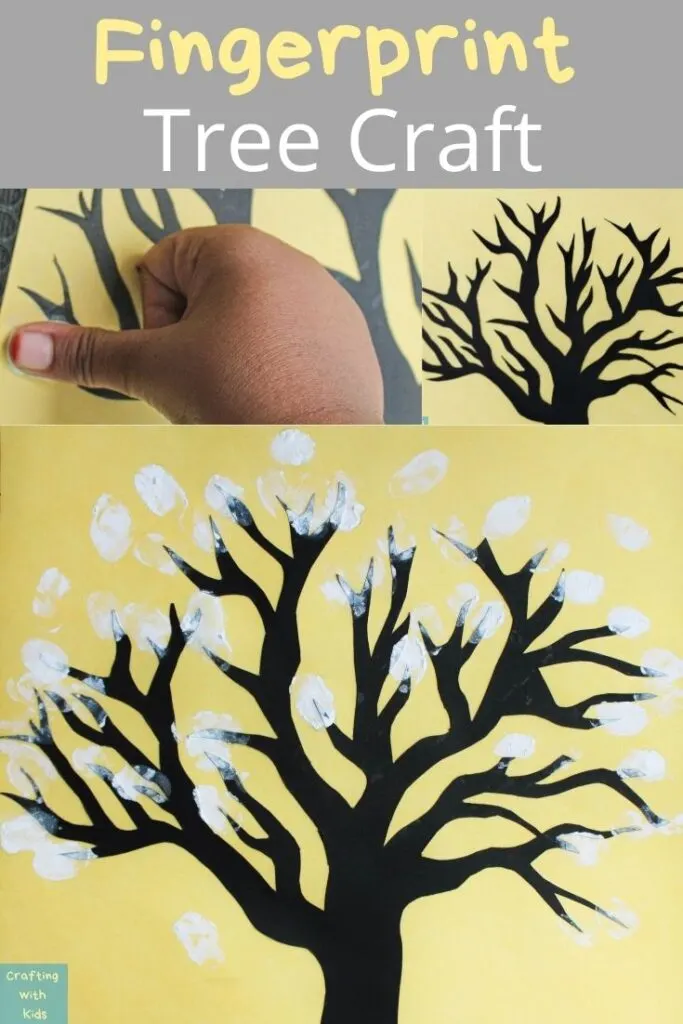
Fingerprint Trees are one of those crafts for kids that they always seem to enjoy. There seems to be an added element of amusement when coloring involves using their own hands as paintbrushes! It is not difficult to notice that when it comes to finger painting, most kids are super excited to get involved. For this craft we chose to create something that makes use of this exciting method of painting. This is also great if you want to display kids’ art but they can’t exactly create drawings on their own just yet. That’s why this fingerprint tree craft is great for toddlers.
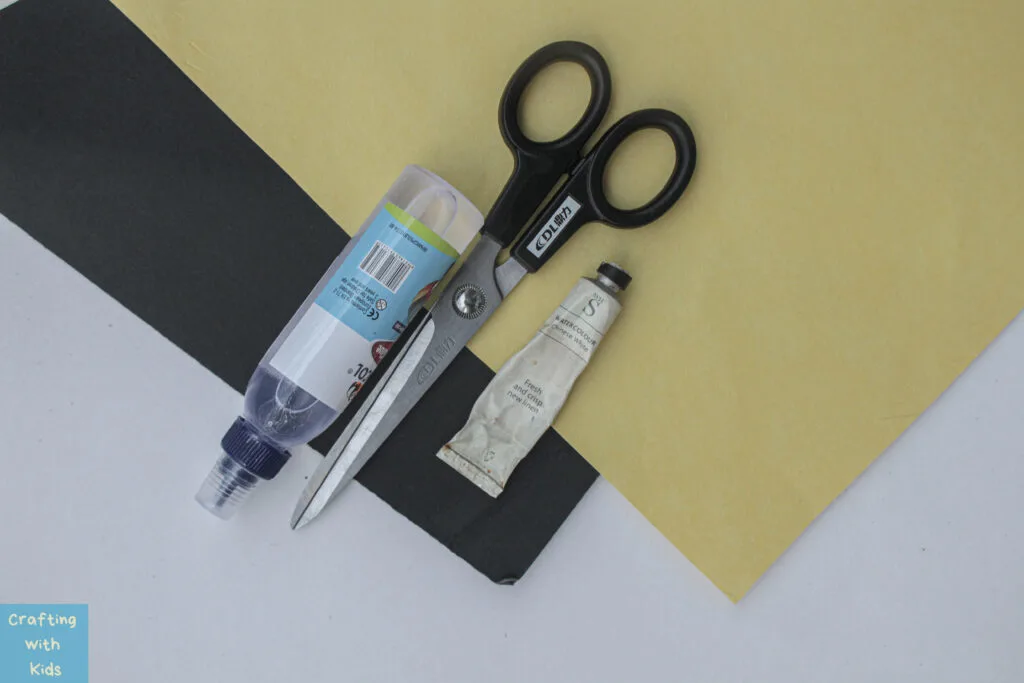
Supplies for fingerprint tree Craft
- Bright colored paper
- Black or brown cardstock paper
- Scissors or xacto knife
- Clear glue
- White acrylic paint (or paint of your choice)
- Small cup or plate
What paint do you use for fingerprint art?
The answer for this will be different in every situation. If you want something more permanent, a good option is acrylic paint, but just know that it will stain clothes and other surfaces. You can also use ink from an ink pad but it too will leave permanent marks if you’re not careful. Washable kid paint is a great option if you are looking to have fun with your kids and not worry too much about the mess.
How to make a fingerprint tree for toddlers
Step 1:
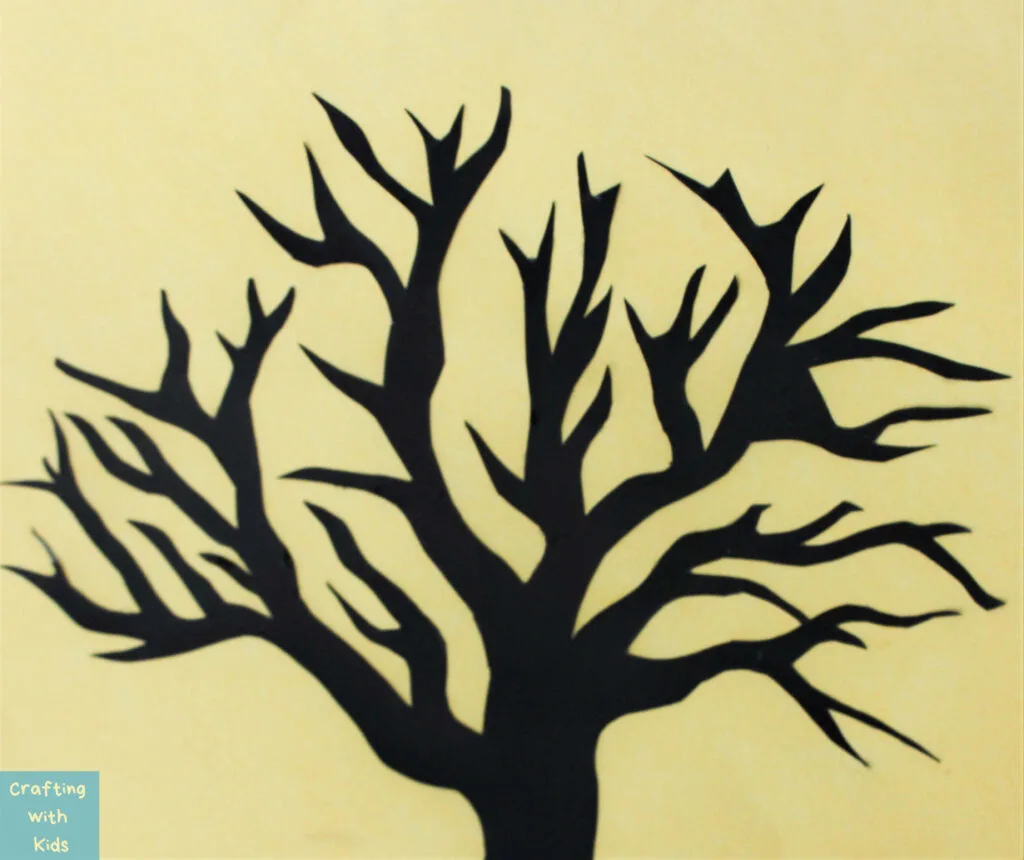
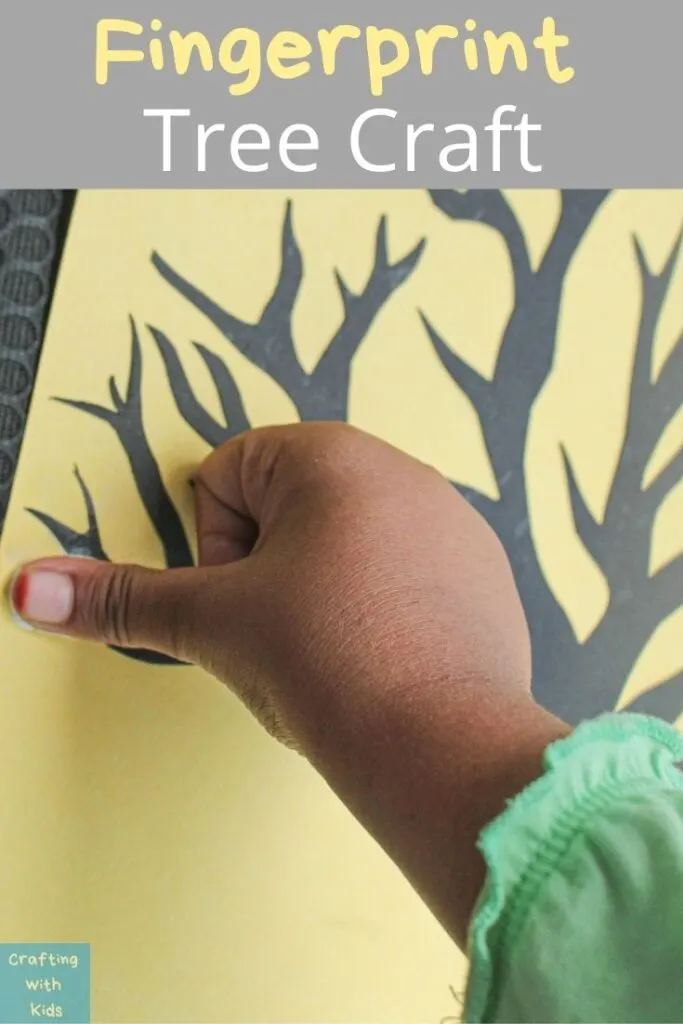
Print out an outline of a tree onto normal paper and trace the shape onto the card stock paper. Or you could draw the tree, directly onto the card stock, freehand.
Step 2:
Using scissors or xacto knife, cut out the tree shape from the card stock paper. You could make the shape as detailed or as simplified as you wish since this will not be the main focus of this project.
Step 3:
Glue the tree cut-out onto the bright colored paper. It is better to use clear glue for this process so that none of the white residues can be seen around the edges.
Step 4:
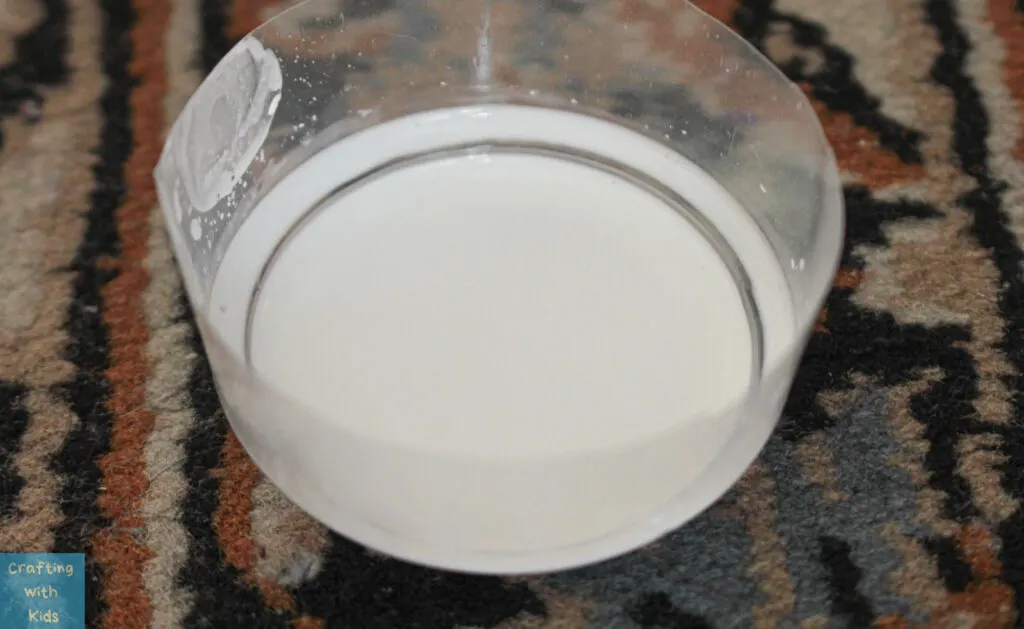
In a small cup or plate, mix the paint with a tiny amount of water. Using a white color for this is the best option since the papers are of different colors but feel free to create paint mixtures from any light color.
Step 5:
Now comes the most exciting and interactive step of this craft. Gather the kiddos around, dip their little fingers in the paint mixture you just created and let them stamp away the “leaves” with their fingertips! If the paint isn’t transferring well from the cup to the fingers, use a paintbrush to paint onto their fingertips. There is really no right or wrong way to do this step and it is best to let them do their thing.
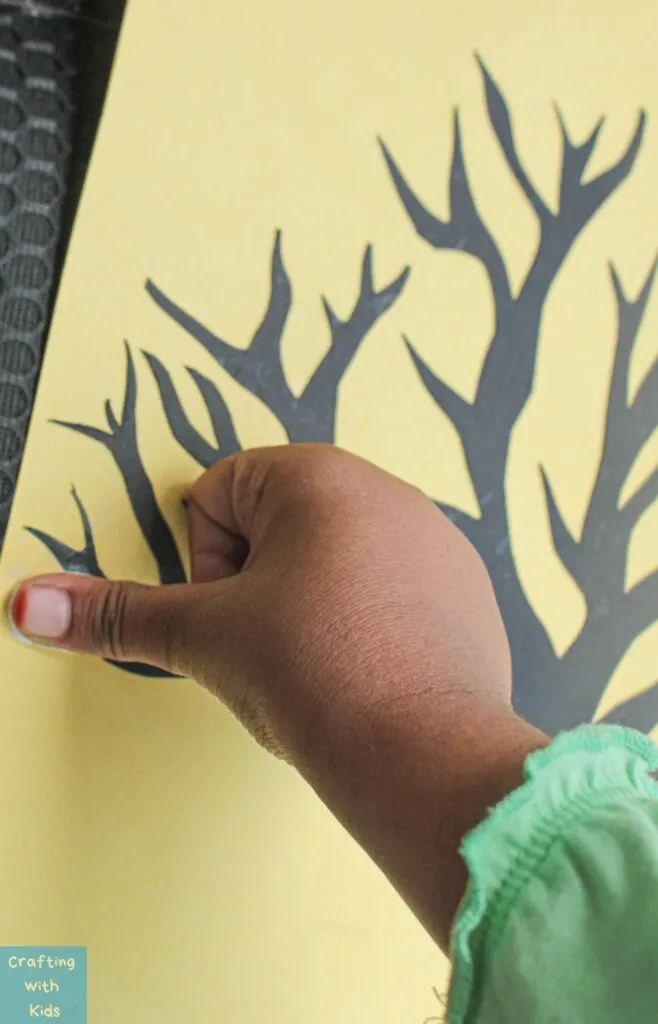
The most wonderful and unique results will be achieved when they are just having fun!
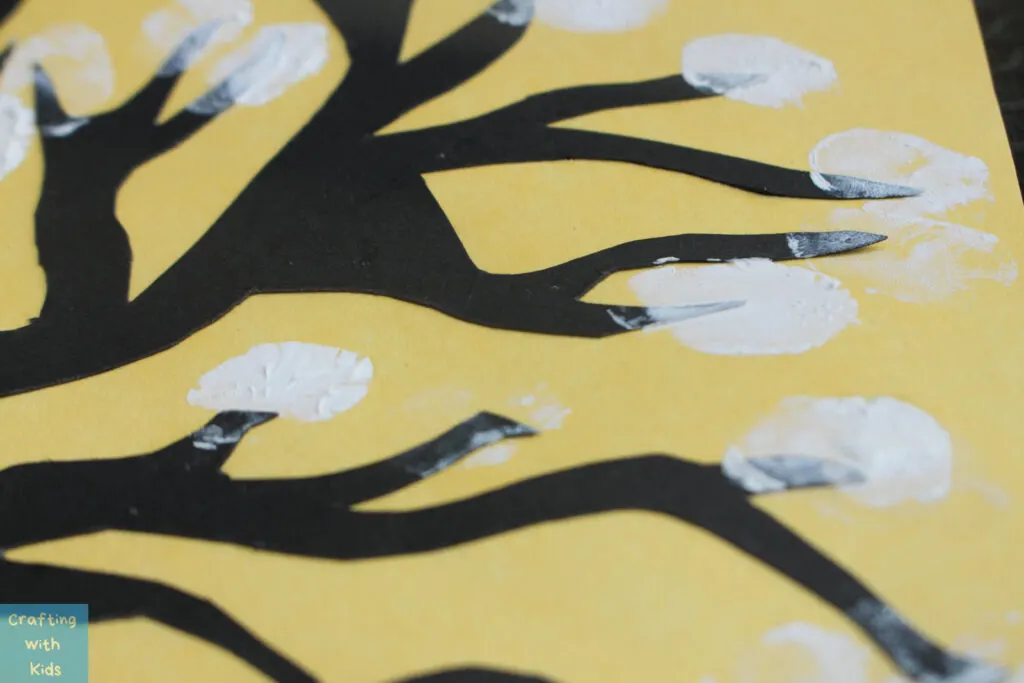
You can try doing this in two batches with two different colors for an additional layer.
It is also important to remember that this might be a messy process and getting paint on your kids clothes is one of the possible by-products, especially if you’re using acrylic paint. If this is not something you want, make sure to use aprons or have your kids wear clothes that you are okay getting messy.
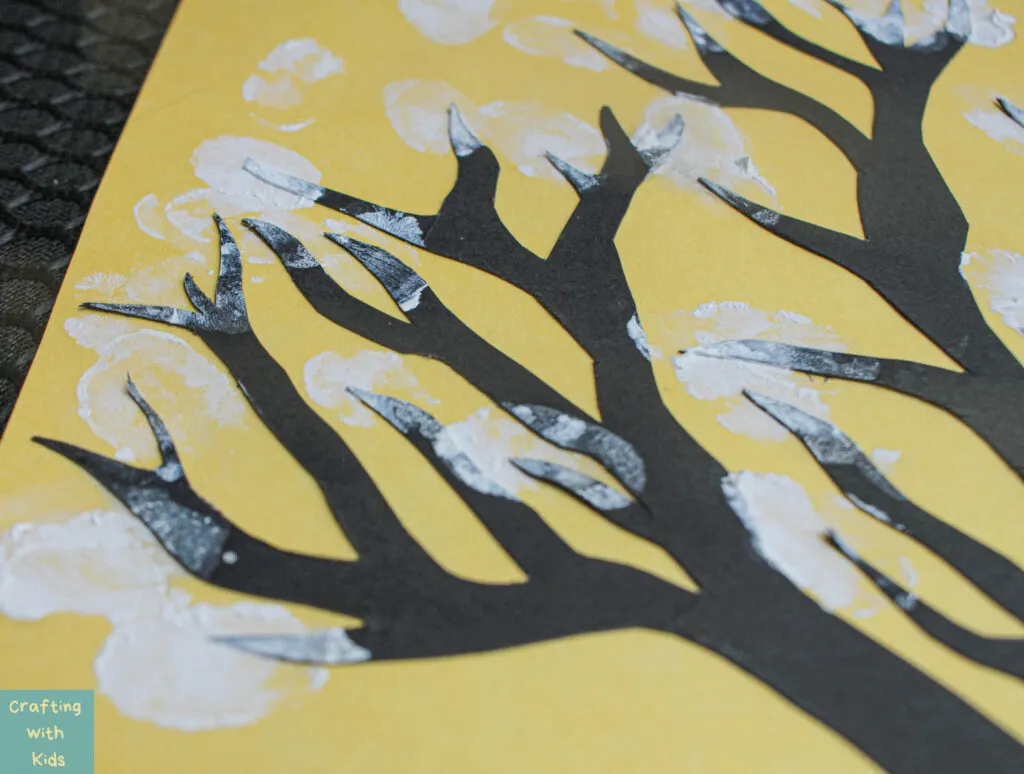
Once the finger painting is done and you have allowed the paint to dry, your fingerprint tree is complete!
Ideas to display fingerprint tree art
- hang it on the fridge
- frame it
- use it as the cover of a card
- add it to a scrapbook
Treat it as you would children’s precious artwork because those little fingerprints won’t stay that small for long.
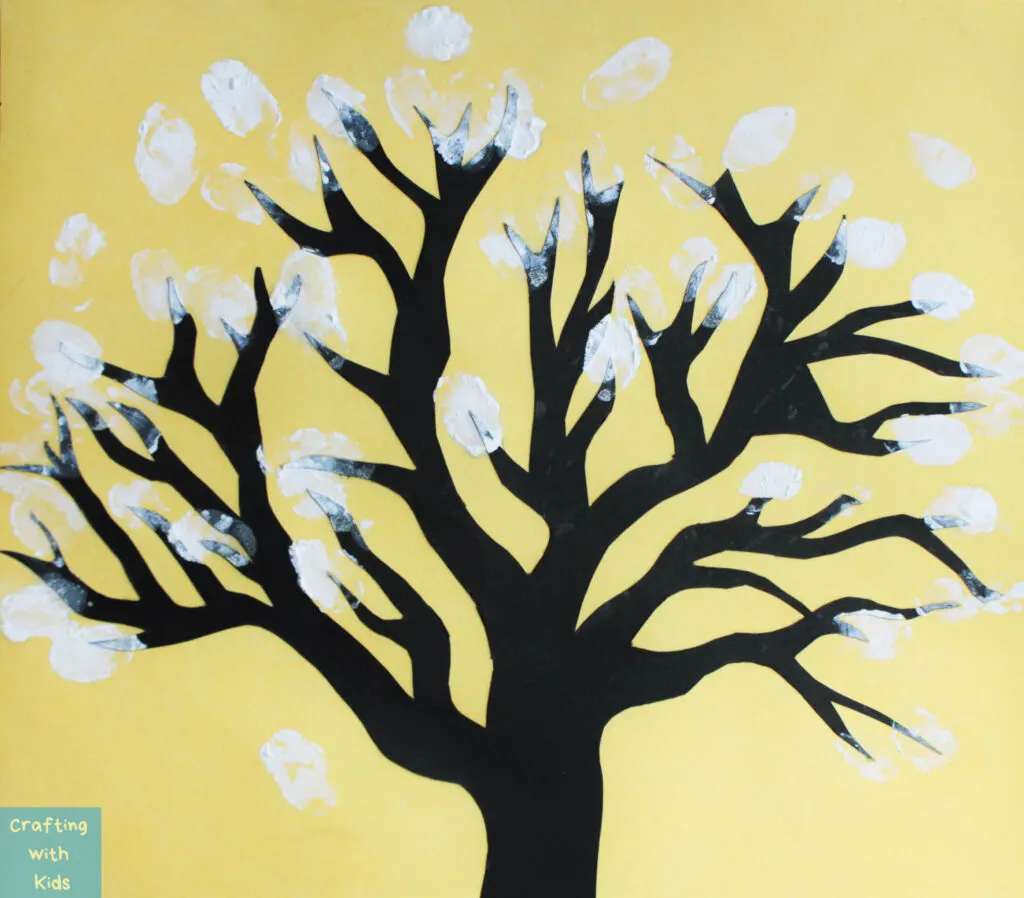
What do you think of this handprint craft? Pretty simple huh. If you enjoyed this craft you might like this Halloween handprint craft or a fun round up of other Thanksgiving handprint crafts for kids.
Happy Crafting friends!

Leave a comment