Learn how to make a fun toilet paper roll Advent Calendar Christmas tree
Advent calendars always make the countdown to Christmas way more fun, whether you’re a kid or all grown up. I mean, who doesn’t like receiving gifts everyday right? But sometimes store-bought advent calendars don’t really turn out that great and end up a little disappointing. As an alternative try making your own Christmas advent calendar! Not only will it be customizable and a fun activity for your entire family, but it can be made with things you already have at home like a paper towel roll.
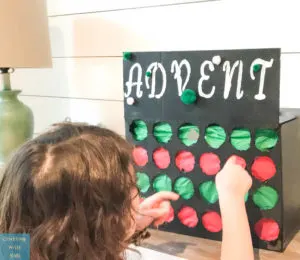
Advent calendars create a fun element of surprise for kids don’t they? Last year I created a fun advent calendar punch box, but this year I wanted to do something similar but a little more simple. You can see all sorts of advent calendar ideas in this post. Or if you simply want to purchase an Advent Calendar, check out a few of the best calendars here. Also check out this fun free printable Christmas Countdown calendar too!

Save those tp rolls because y’all know I’m all about simple toilet paper and paper towel roll crafts!
Disclosure; this post contains affiliate links. As an Amazon Associate I earn from qualifying purchases. This does not affect the price you pay. This disclosure statement refers to the rest of the Amazon links in this post. See more on my disclosure page.
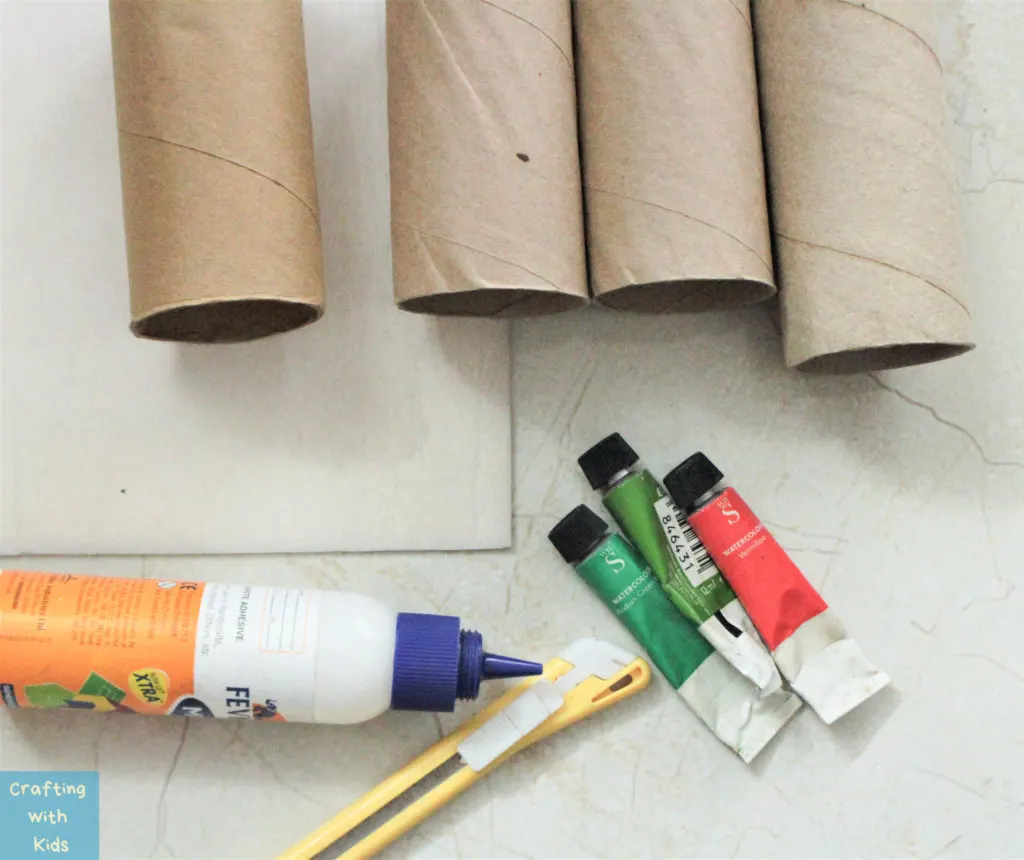
Materials to make a Christmas tree advent calendar from a toilet paper or paper towel roll
- Paper towel roll tubes or toilet paper roll tubes
- Scissors or xacto knife
- Crinkle or tissue paper
- Paint
- Glue
- Cardboard
- Ribbon
- Treats for the inside
- Additional decoration
How to make a toilet paper roll Christmas tree
Step 1:
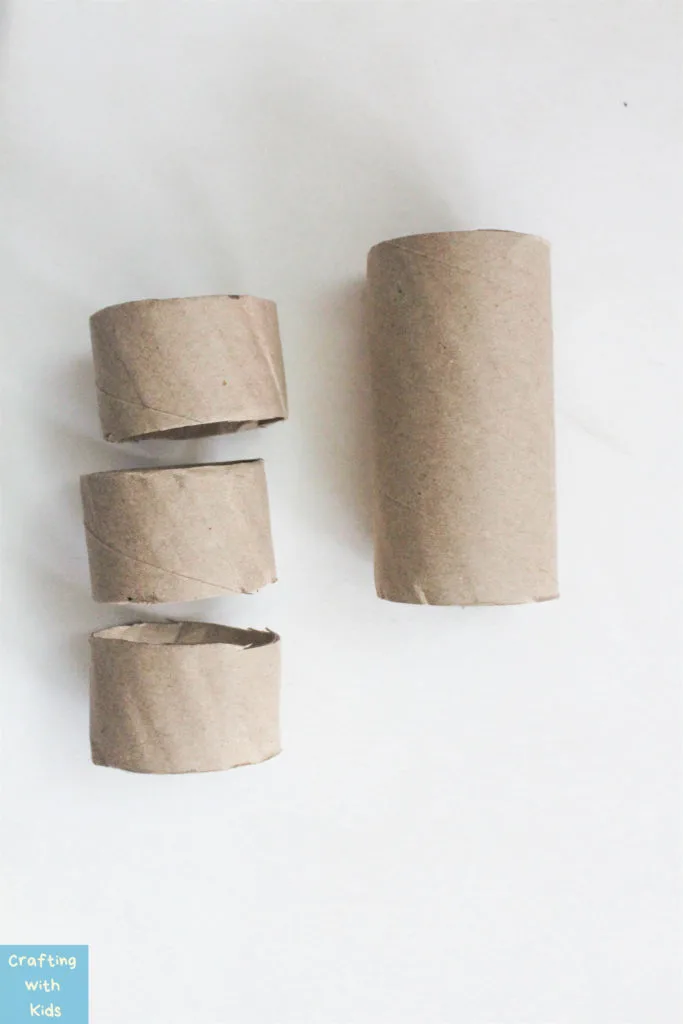
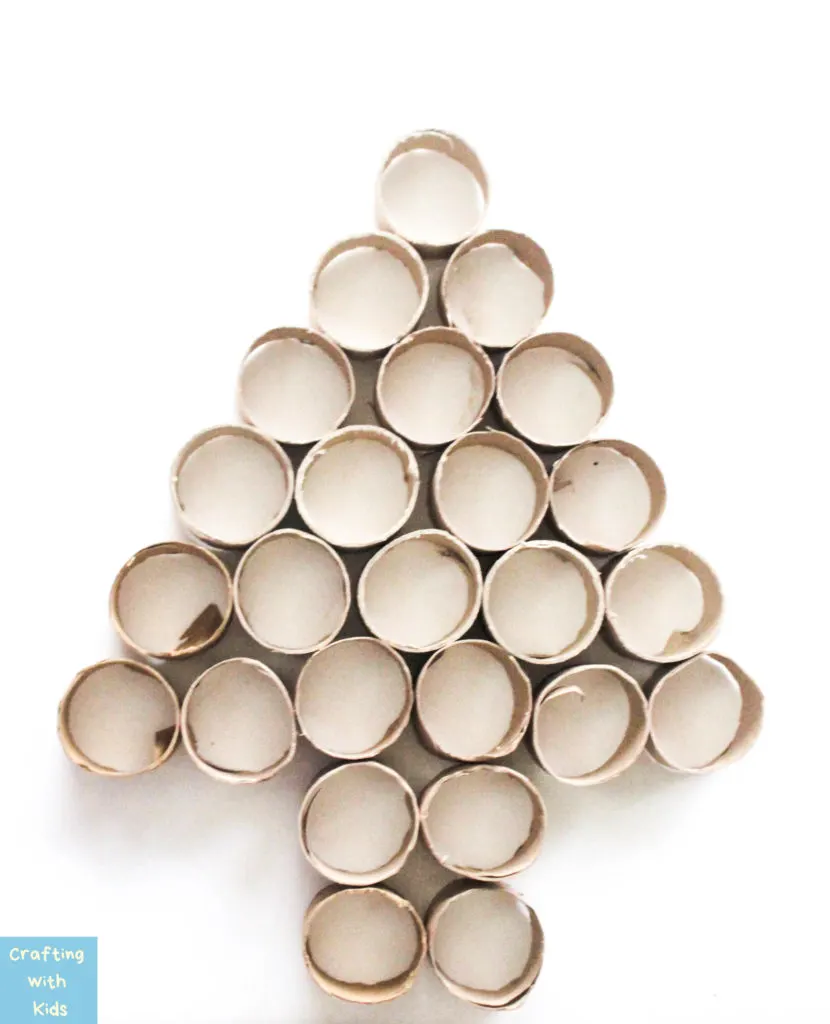
Gather 8 toilet paper/ paper towel rolls and cut them into 3 smaller tubes. Once you’ve cut all the paper rolls, arrange them to make sure the cuts are aligned.
Step 2:
Arrange them onto the cardboard to form a triangular shape that could resemble a Christmas tree.
Step 3:
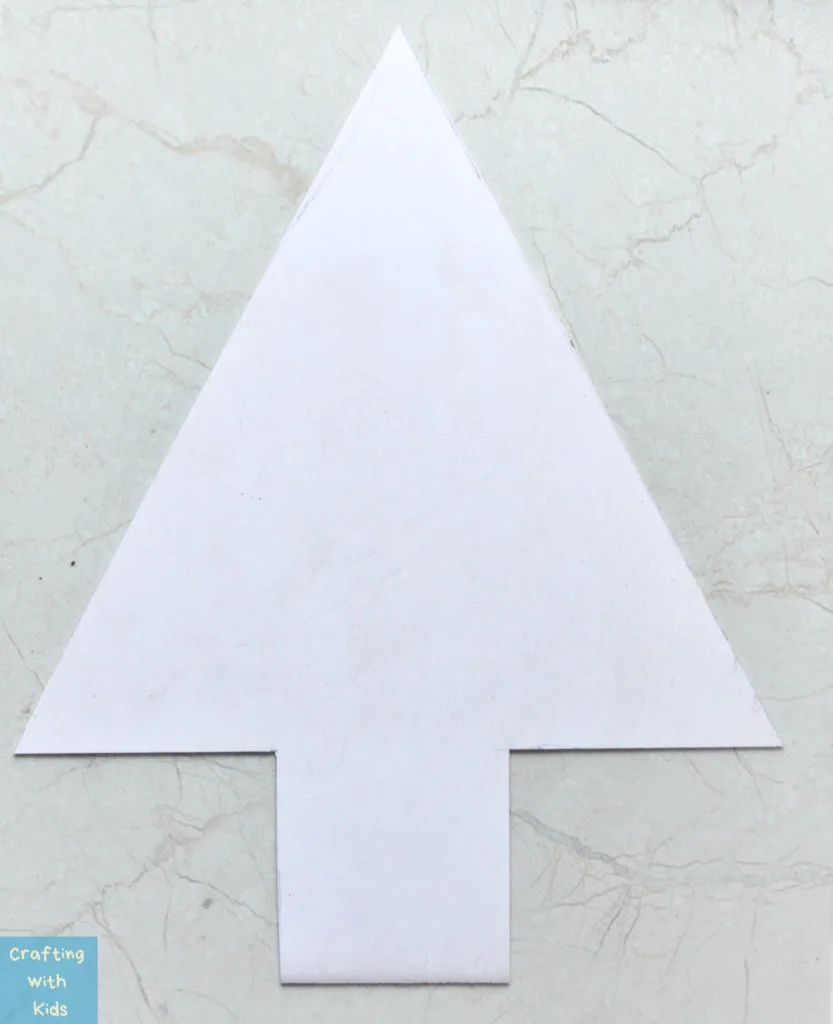
Draw the Christmas tree on the cardboard making sure all the rolls can fit inside. Cut out the cardboard into this shape.
Step 4:
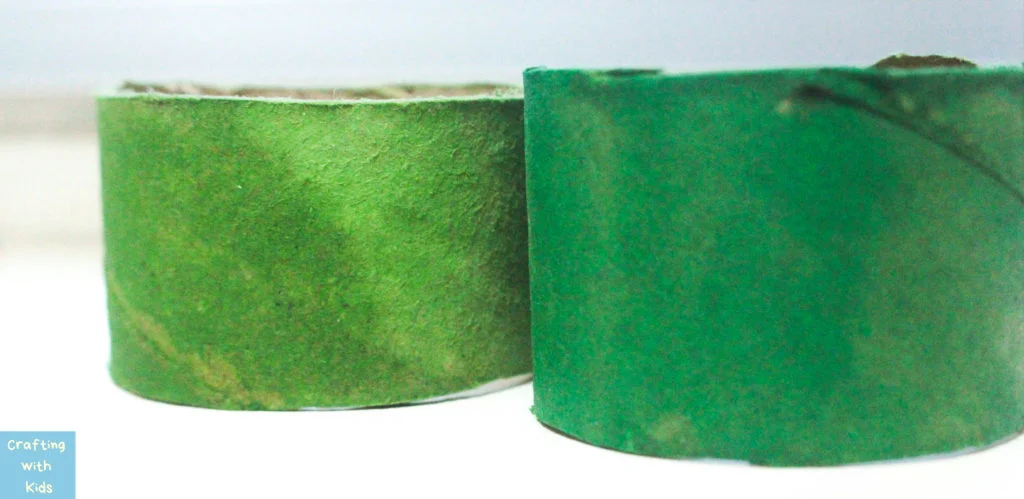
Paint the tubes any color you want. We went for something more festive and painted them different shades of green. It’s not necessary to paint the inside since you won’t be able to see them anyways.
Step 5:
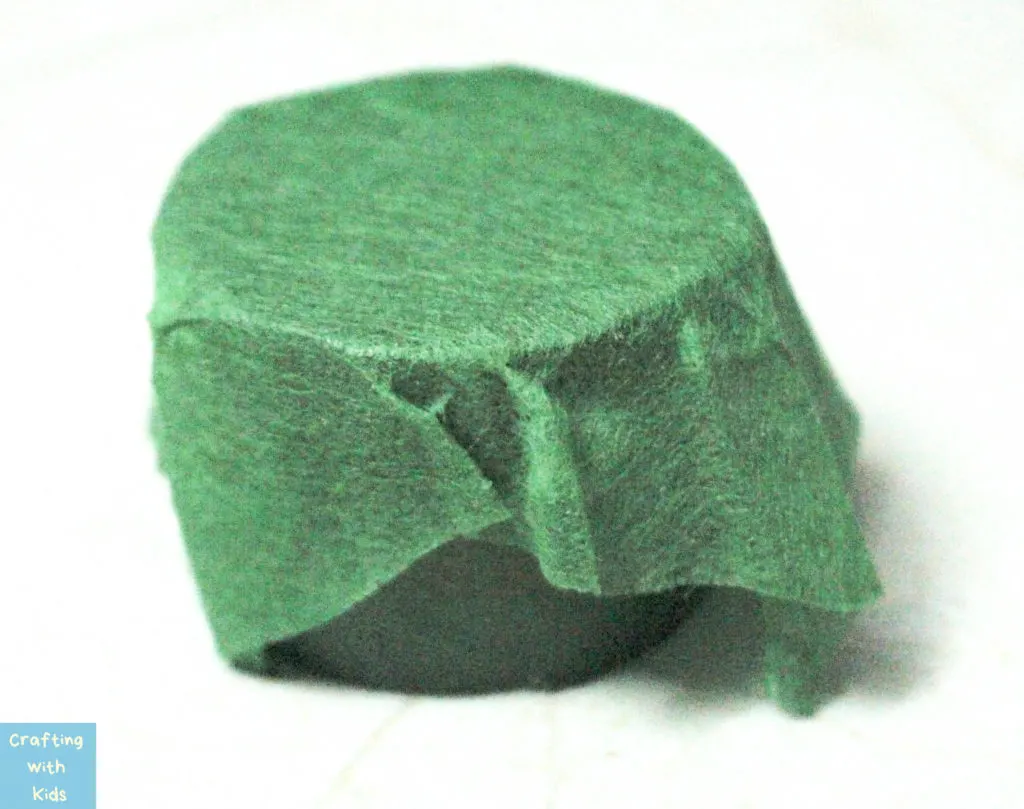
After the paint has dried, put glue on the sides and cover the top of the tubes with crinkle or tissue paper.
Step 6:
Do the previous step for all the tubes making sure the crinkle or tissue paper does not go beyond the length of the tube.
Step 7:
Once all the tubes have been covered, turn all the tubes upside down and arrange them in the shape you had set. Tape the sides that touch each other together.
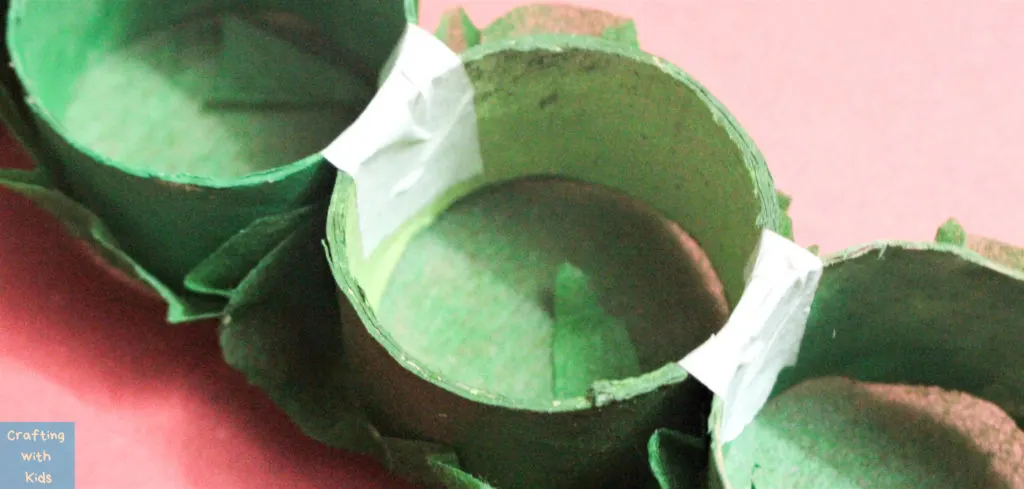
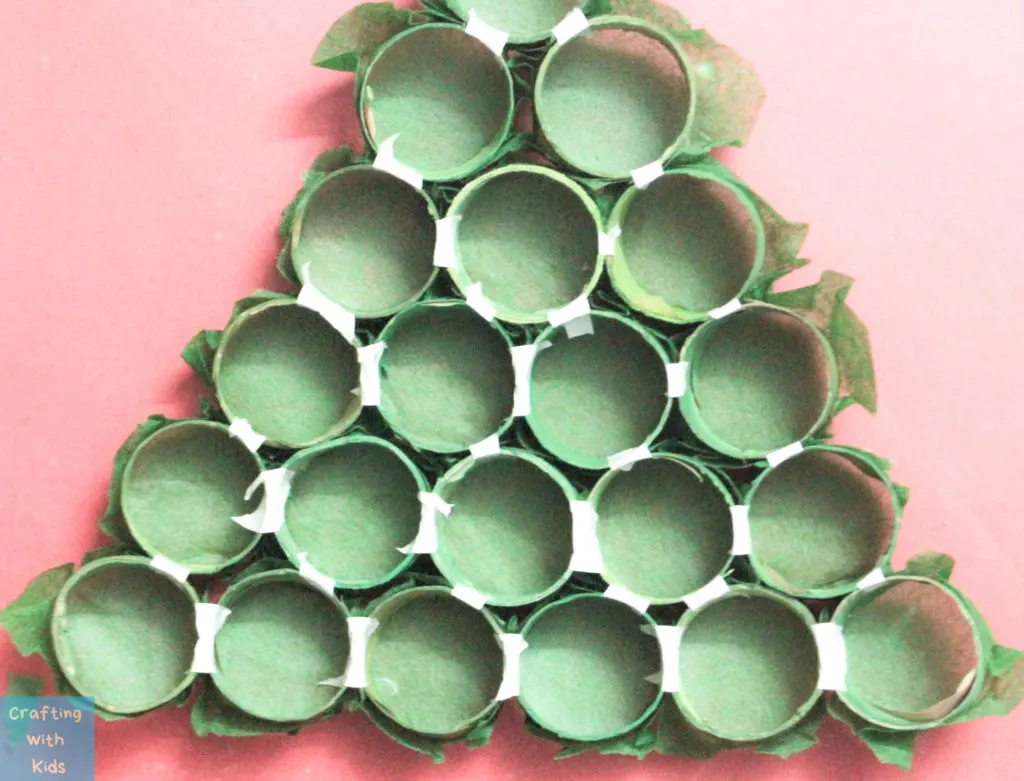
Step 8:
Now come the most exciting part! The treats! Choose which treat to put into which tube, making sure they’re able to fit inside.
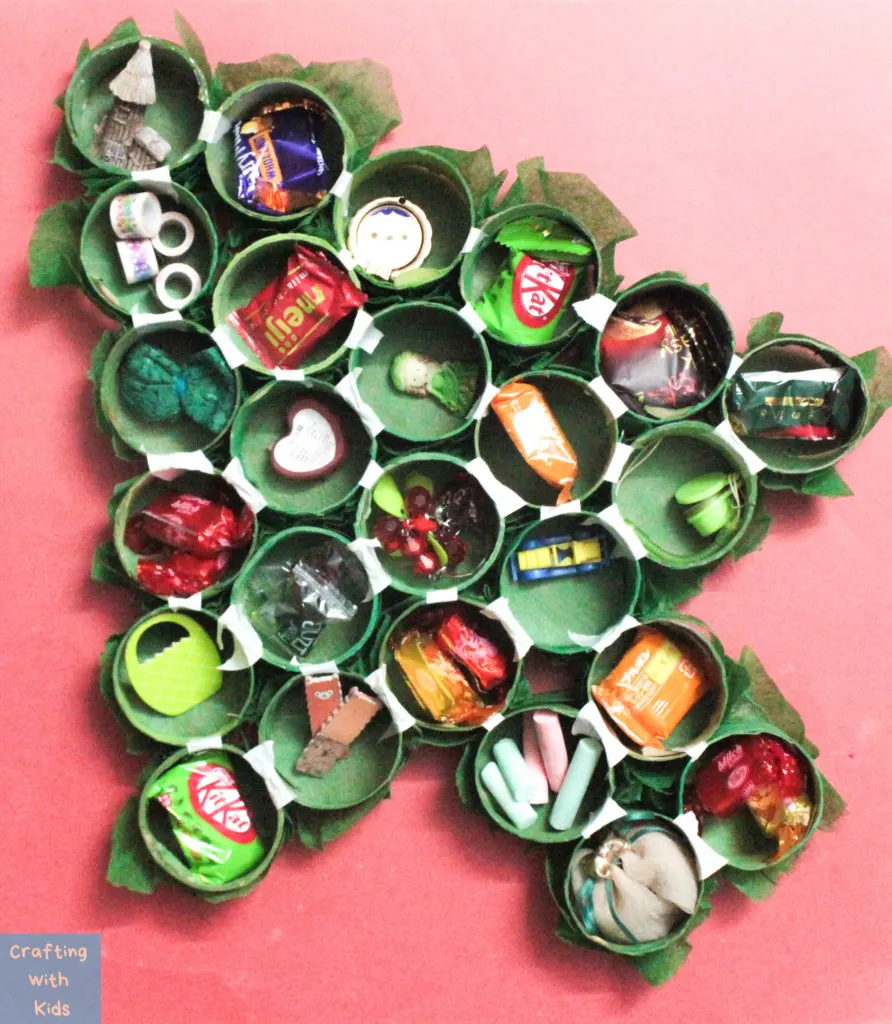
Step 9:
Once all the treats have been places, put glue onto the bottom of the rolls in position and place the cut cardboard on top.
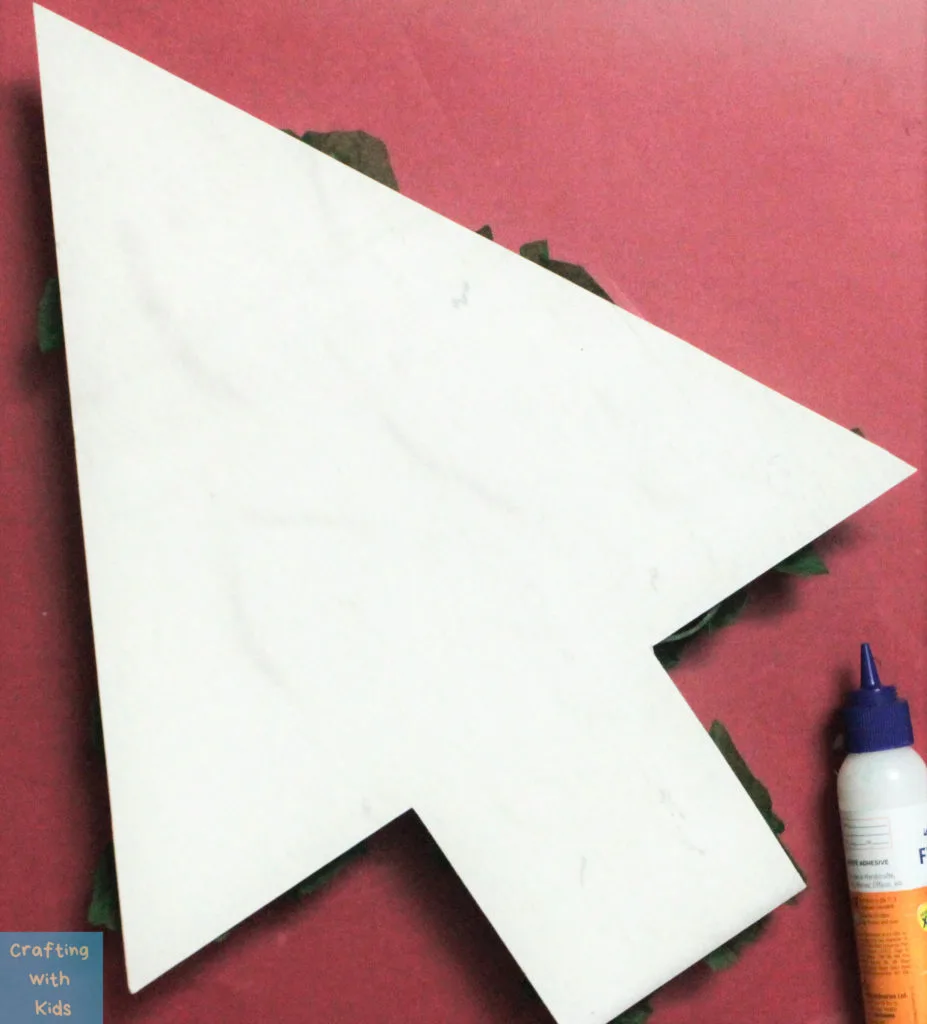
Step 10:
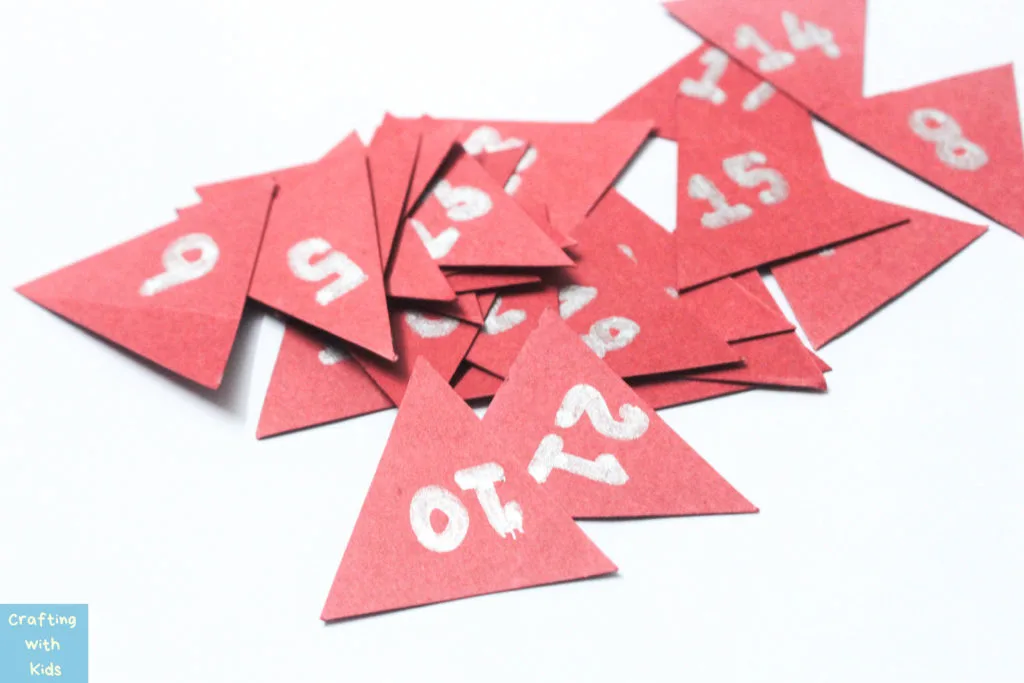
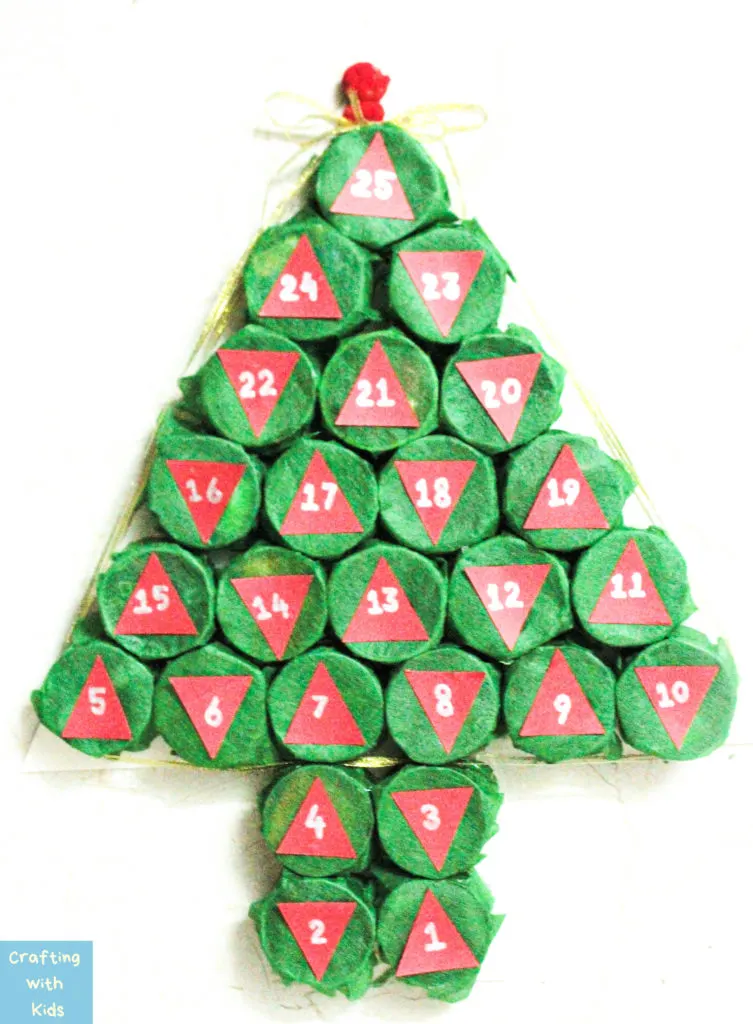
Cut out small triangles out of red paper and write down the number 1 to 25. You could also print these if you want a more polished look. Paste these on each of the covered tubes. We put 25 at the top and 1 at the bottom but you could also arrange them irregularly to create a more playful look.
Step 11:
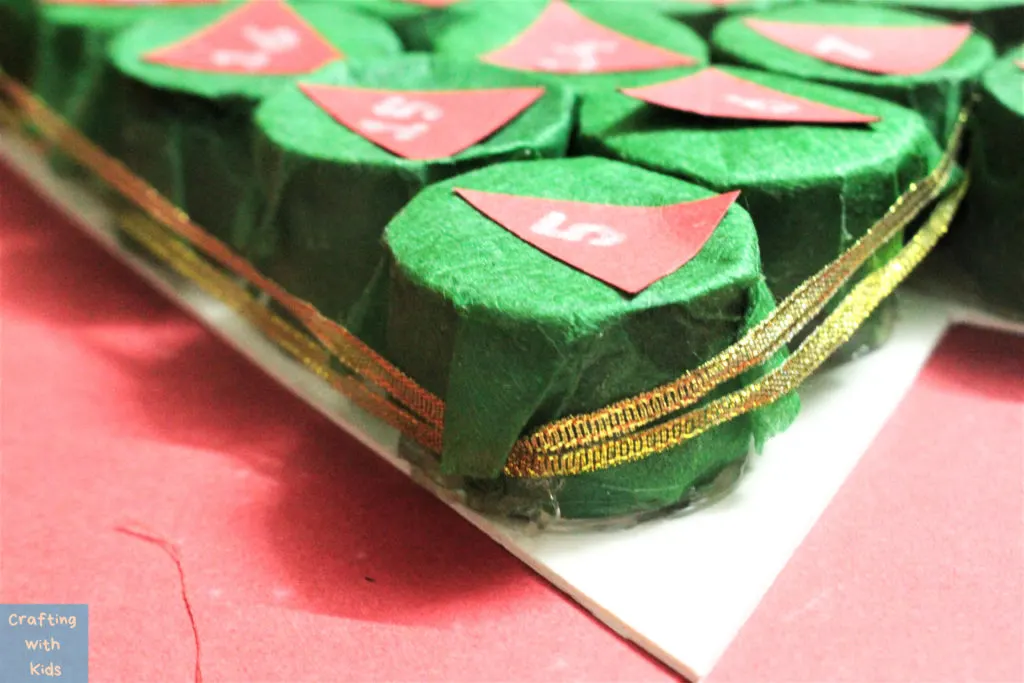
Add any other decorations to make it look as festive as you’d like! We tied the tree with ribbons and placed some pompoms on the top.
You could also attach a painted or decorated popsicle stick to tear through the crinkle paper.
there you have it! Your very own customized Christmas tree advent calendar from a toilet paper roll.
Have fun putting together all the different treats and making this with the entire family. Try making different ones for each members of the family or just one large one that everyone could enjoy together!
Happy holiday Crafting!

Leave a comment