Perler beads are a fun way to help crafty kids learn to create. These bead patterns also help with hand-eye coordination. They are a great activity for rainy days, party activities or just a classic art activity. They serve as an excellent medium for children and adults to express their creativity while developing fine motor skills and color recognition. Crafting these colorful ocean predators can also be a fun educational activity, especially when teaching about marine life.
These creations can serve as decorations, gifts, or even part of a larger crafting project.
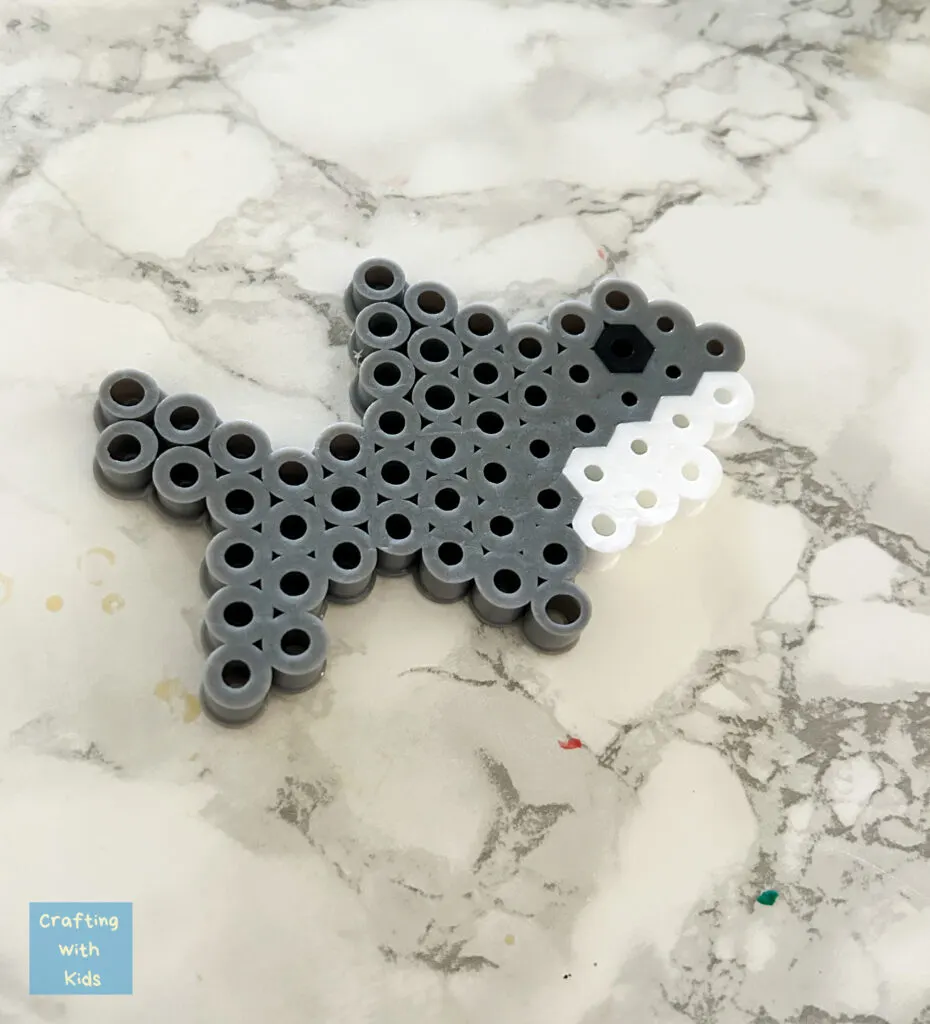
Whether someone is just starting with Perler beads or is looking for new design ideas, making a shark is an exciting option. You don’t even need a pattern sheet or detailed instructions to complete this.
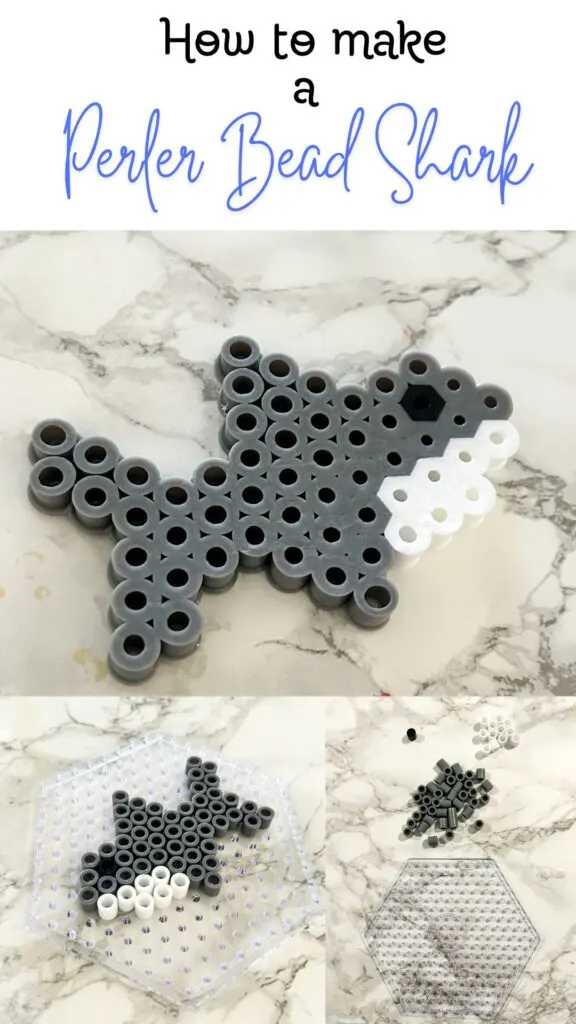
Shark Designs in Perler Beads
Color Schemes and Patterns
Color choice plays a vital role in creating fun shark designs.
A basic color palette may include:
- Gray and White: For realistic representations.
- Bright Colors: For playful and cartoonish styles.
Using different bead types, such as transparent or glitter, adds depth to the creation. Patterns can be simple, like a simple white stripe for a Mako Shark which we are doing today, or detailed, like spots for a whale shark.
Required Materials
To create a perler bead shark, you need a few specific materials. These include the right type of perler beads and the necessary tools to assemble the design effectively.
Perler Beads Selection
It is recommended to select a variety of colors that accurately represent the shades of a shark. Common colors include:
- Gray: Main body color
- White: Underbelly and teeth
- Black: Eyes and detailing
- Blue: Background or ocean elements if you prefer
Beads typically come in a 5,000-piece bead kit, which provide plenty of options. A heat-resistant grid or peg board is essential for arranging the beads before fusing.
Tools and Accessories
The following items are suggested:
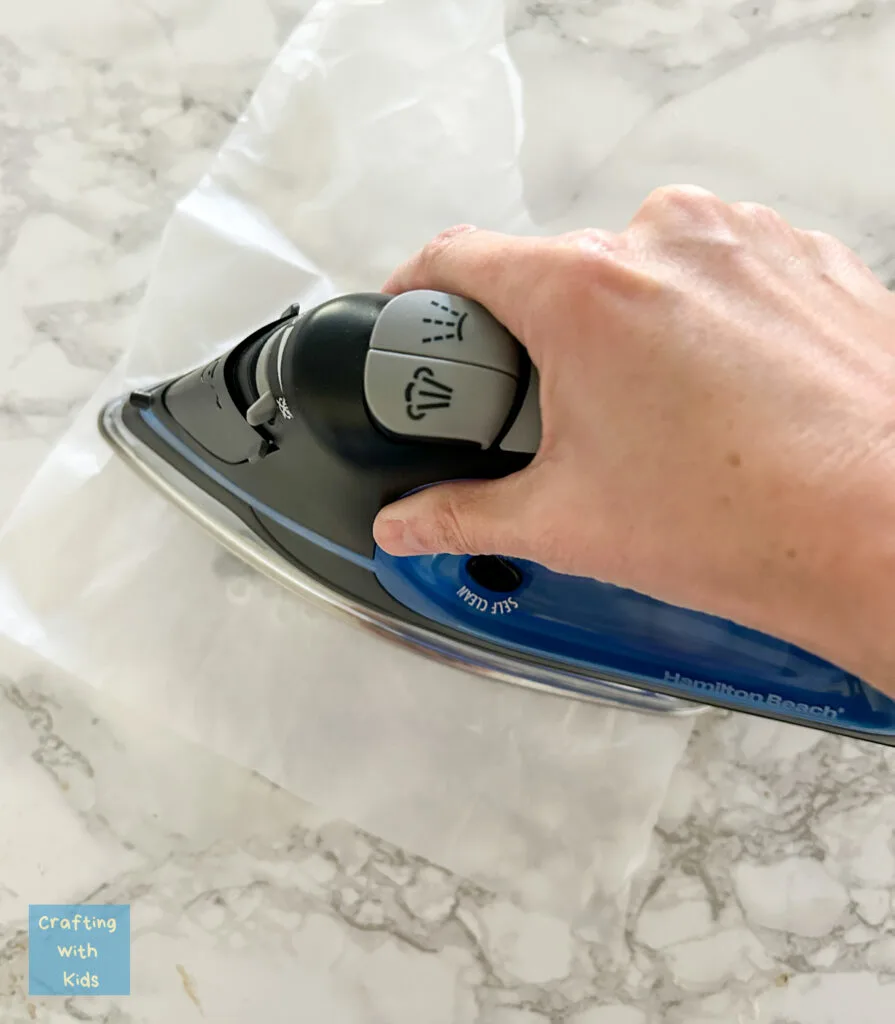
- Iron: A household iron is used to melt the beads together. It must be set to medium heat.
- Parchment Paper: This protects the beads from direct heat and ensures a smooth melting process.
- Tweezers: Helpful for placing small beads accurately in the design but not necessary
- Spray Bottle: Optional, for lightly spraying water on the beads before ironing to help with adherence.
- Peg boards: These boards are essential for placing the beads and holding them in place while you iron. You can either use the small square board or the hexagon board.
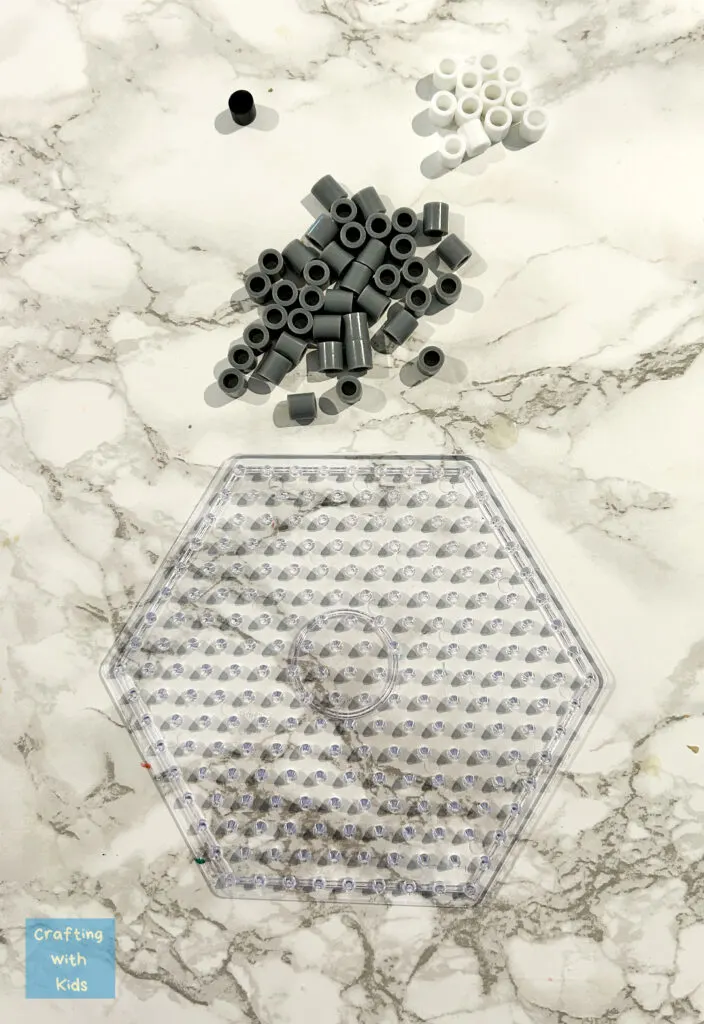
Beads needed
For this particular shark creation, you will need:
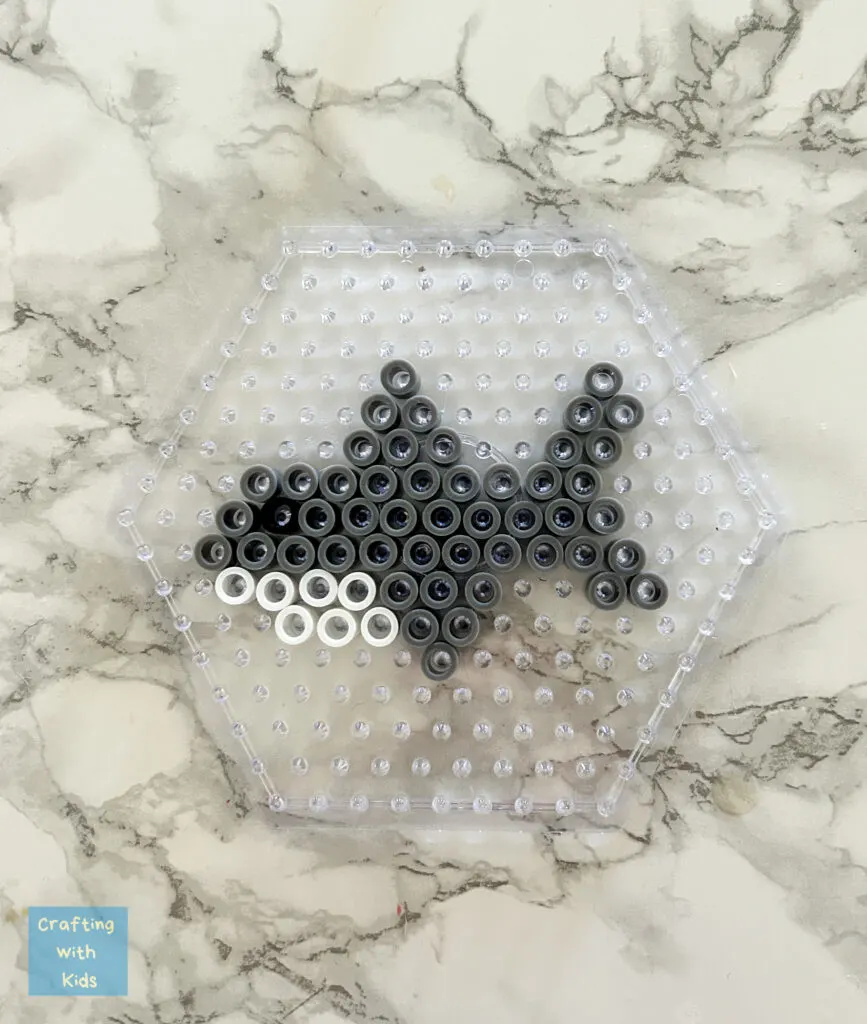
- 7 white beads for the underbelly
- 1 black bead for the eyes
- 48 beads for the body
Creating a Perler Bead Shark
Pattern Transferring Techniques
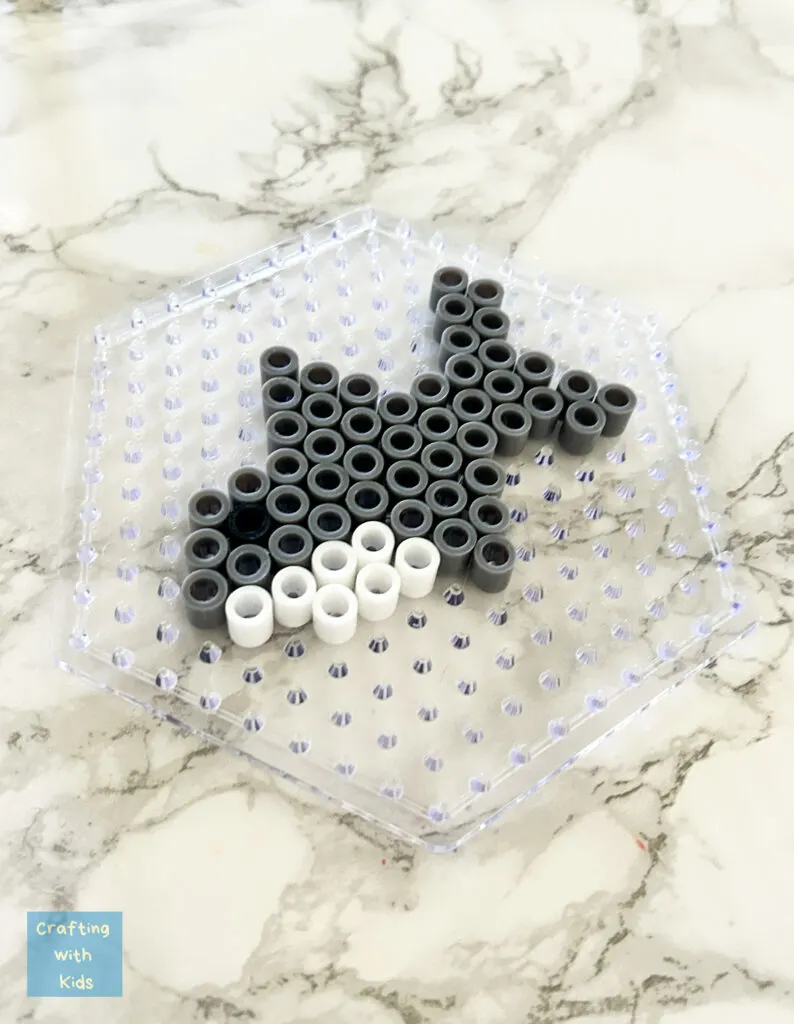
When transferring the pattern to the Perler pegboard, place beads carefully. Use different colors for various sections of the shark, ensuring an accurate representation.
Bead Placement Tips
It’s easiest to start at one corner of the pegboard, and work your way in.
It’s advisable to organize beads by color beforehand. This streamlines the process and minimizes the chance of mixing colors.
Using tweezers can enhance precision, allowing for meticulous placement without disturbing adjacent beads. Adjust any misaligned beads immediately, as it becomes more challenging after the ironing process begins. Feel free to alter our creation to make it your own. These images are simply guides to go by.
Ironing and Fusion Process
Once the bead arrangement is complete, it’s time for fusing. Cover the design with parchment paper before applying heat. This prevents direct contact between the iron and the beads, reducing the risk of melting.
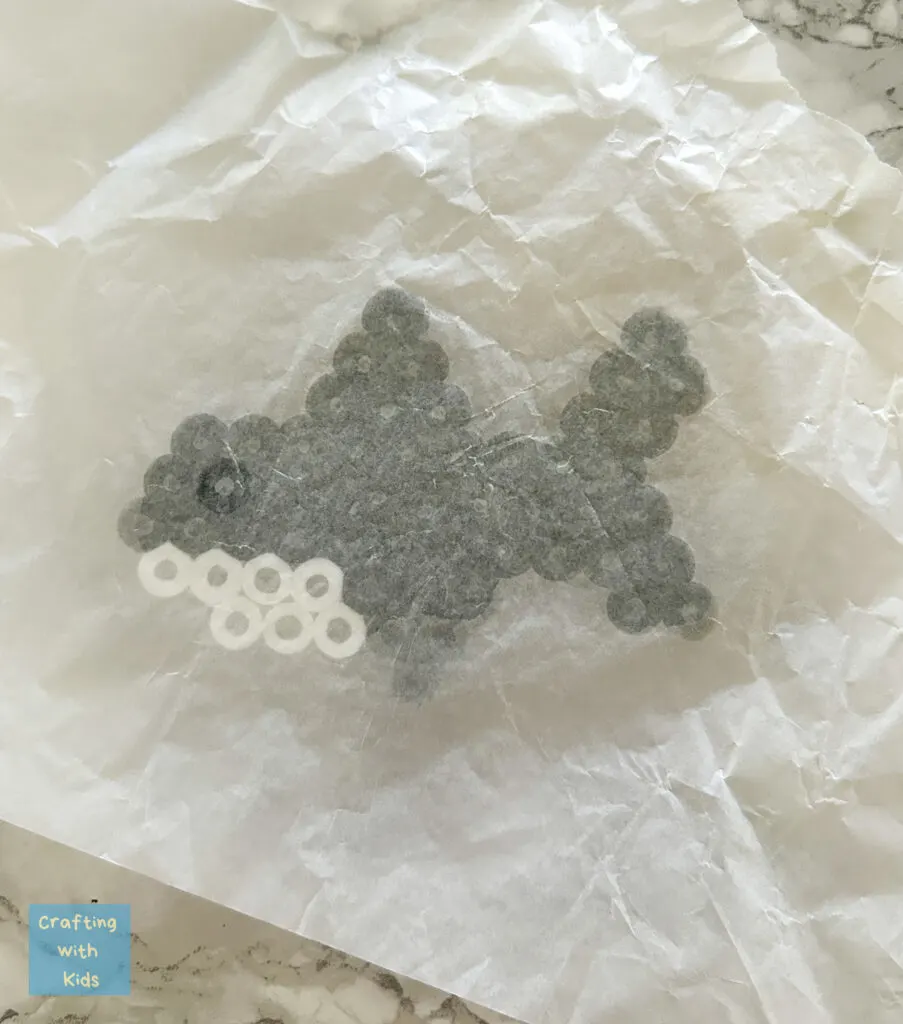
Heat the iron to a medium setting and gently press down for just a few seconds. Check the beads frequently to ensure they are fusing properly.
After the initial fusing, allow the design to cool. Flip the piece over, cover it again with parchment paper or ironing sheet, and repeat the process on the other side.

Disclosure; this post contains affiliate links. As an Amazon Associate I earn from qualifying purchases. This disclosure statement refers to the rest of the Amazon links and other links in this post.
Perler Bead Shark Creations
What do you think of my new Shark Creation? This is a great activity for kids during shark week or anytime you pull the Perler beads out! Since this is a very simple Perler bead activity, it’s great for younger kids too. If you are looking for more shark ideas and shark patterns, check out this Perler Sharks Activity kit from Amazon.
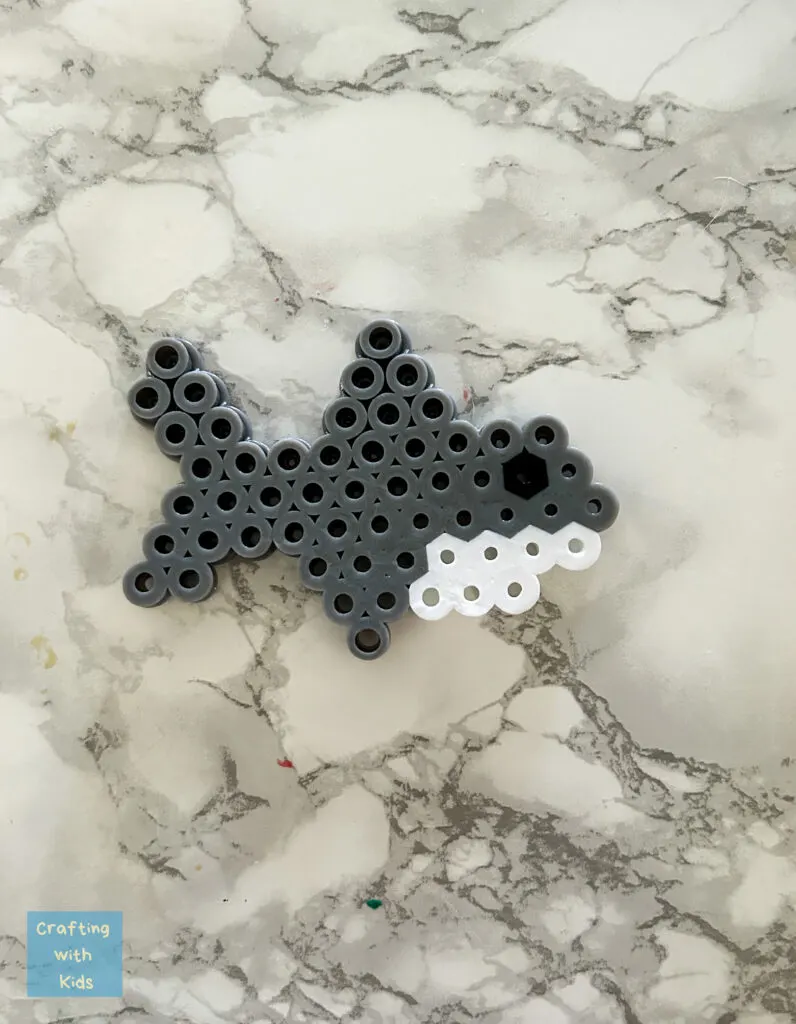
This was a simple bead project that kids of all ages can do!

Check out our other bead projects below:
How to Make a Beaded Cross with Pony Beads
How to Make a Bead Lizard for Kids
Happy crafting friends!
