
Learn how to make a diorama box in a few easy steps. Building a diorama doesn’t have to be difficult with these few tips.
Making a shoe box diorama is a right of passage for a school project right? If you’ve successfully graduated elementary school and primary school without making a Diorama I would be surprised.
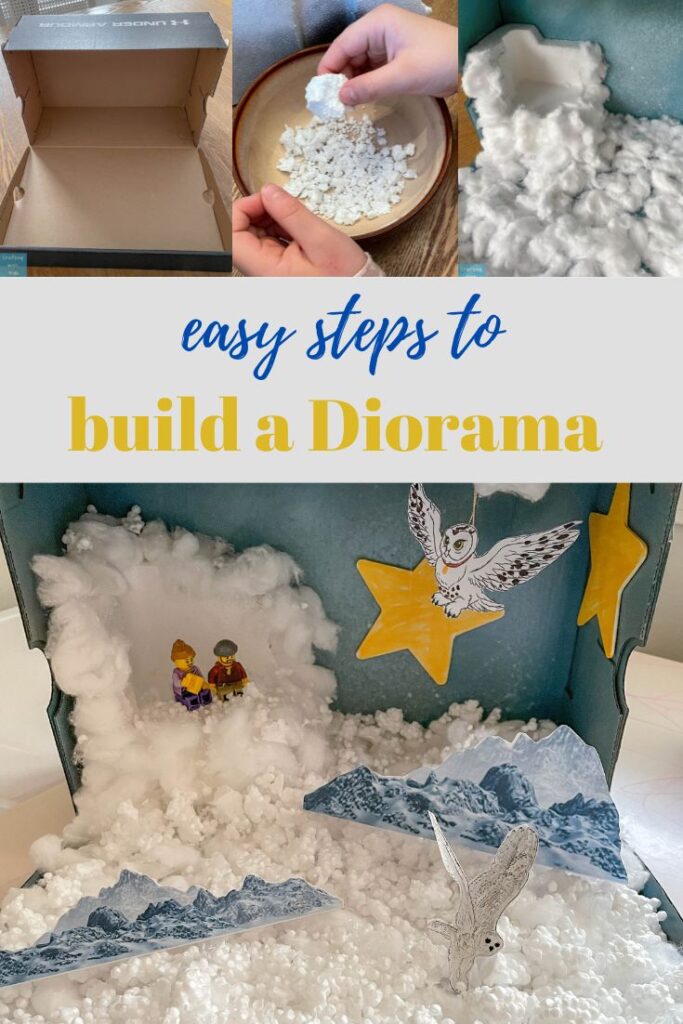
Dioramas are a fun way to get kids involved in researching and building a certain type of environment. For this project, I’ll be sharing how my daughter and I created an animal habitat diorama for a few Arctic animals with a winter nature scene.
We will take a look at how to make a simple diorama from a shoe box, including creating a plan, researching the topic, gathering materials, decorating the base and scene, and adding figures or foreground items. Also, we will explore how to create an animal habitat diorama with figures from the Arctic, providing you with all the information you need to create a beautiful and educational project.
If your child loves hands on fun like this, check out this digital art lesson. Your child will learn how to sketch like Da Vinci in this short and affordable online lesson. I really recommend checking this out for only $15 if your child loves art or hands-on projects.

How to Make a Shoebox Diorama
Create a Plan
Before starting the diorama, the first step is to decide on a topic or theme. This will help guide the research process and the materials needed. For example, in this post we will be showing how to create a diorama of an Arctic animal habitat.
Research the Topic
Researching the topic is a great way to get kids involved in the learning process. Kid-friendly websites such as Safe Search Kids can provide valuable information. Allowing the child to learn as much as possible about the topic will enhance their understanding and creativity.
Diorama Materials
There are several materials needed for creating a diorama, including:
- A base, such as a shoebox or kleenex box
- Paint
- Construction paper
- Blocks, such as styrofoam or cardboard
- Figurines, such as legos or paper figures
- String (if needed)
- Glue stick or white glue
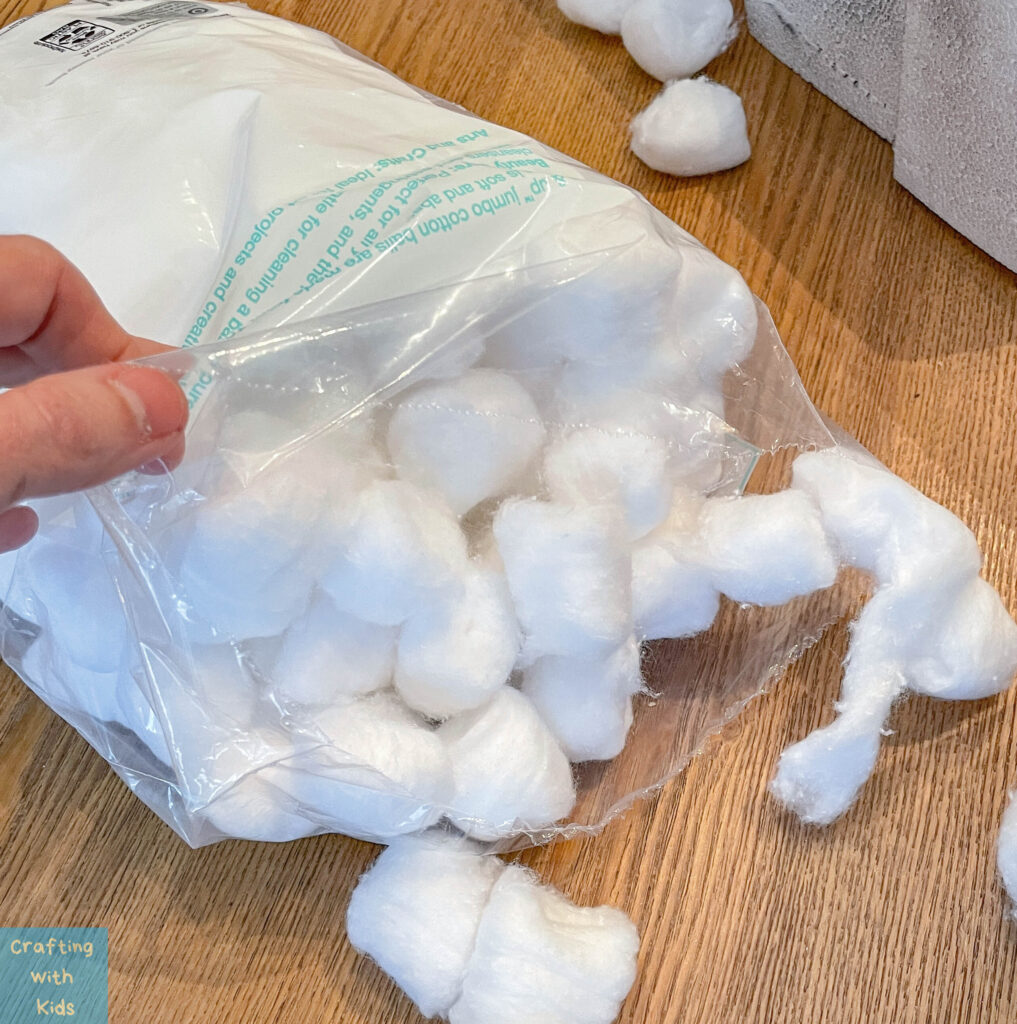
- Filler material, such as cotton balls or batting
- Scissors
- A computer for research
- A printer (not necessary)
Diorama Base
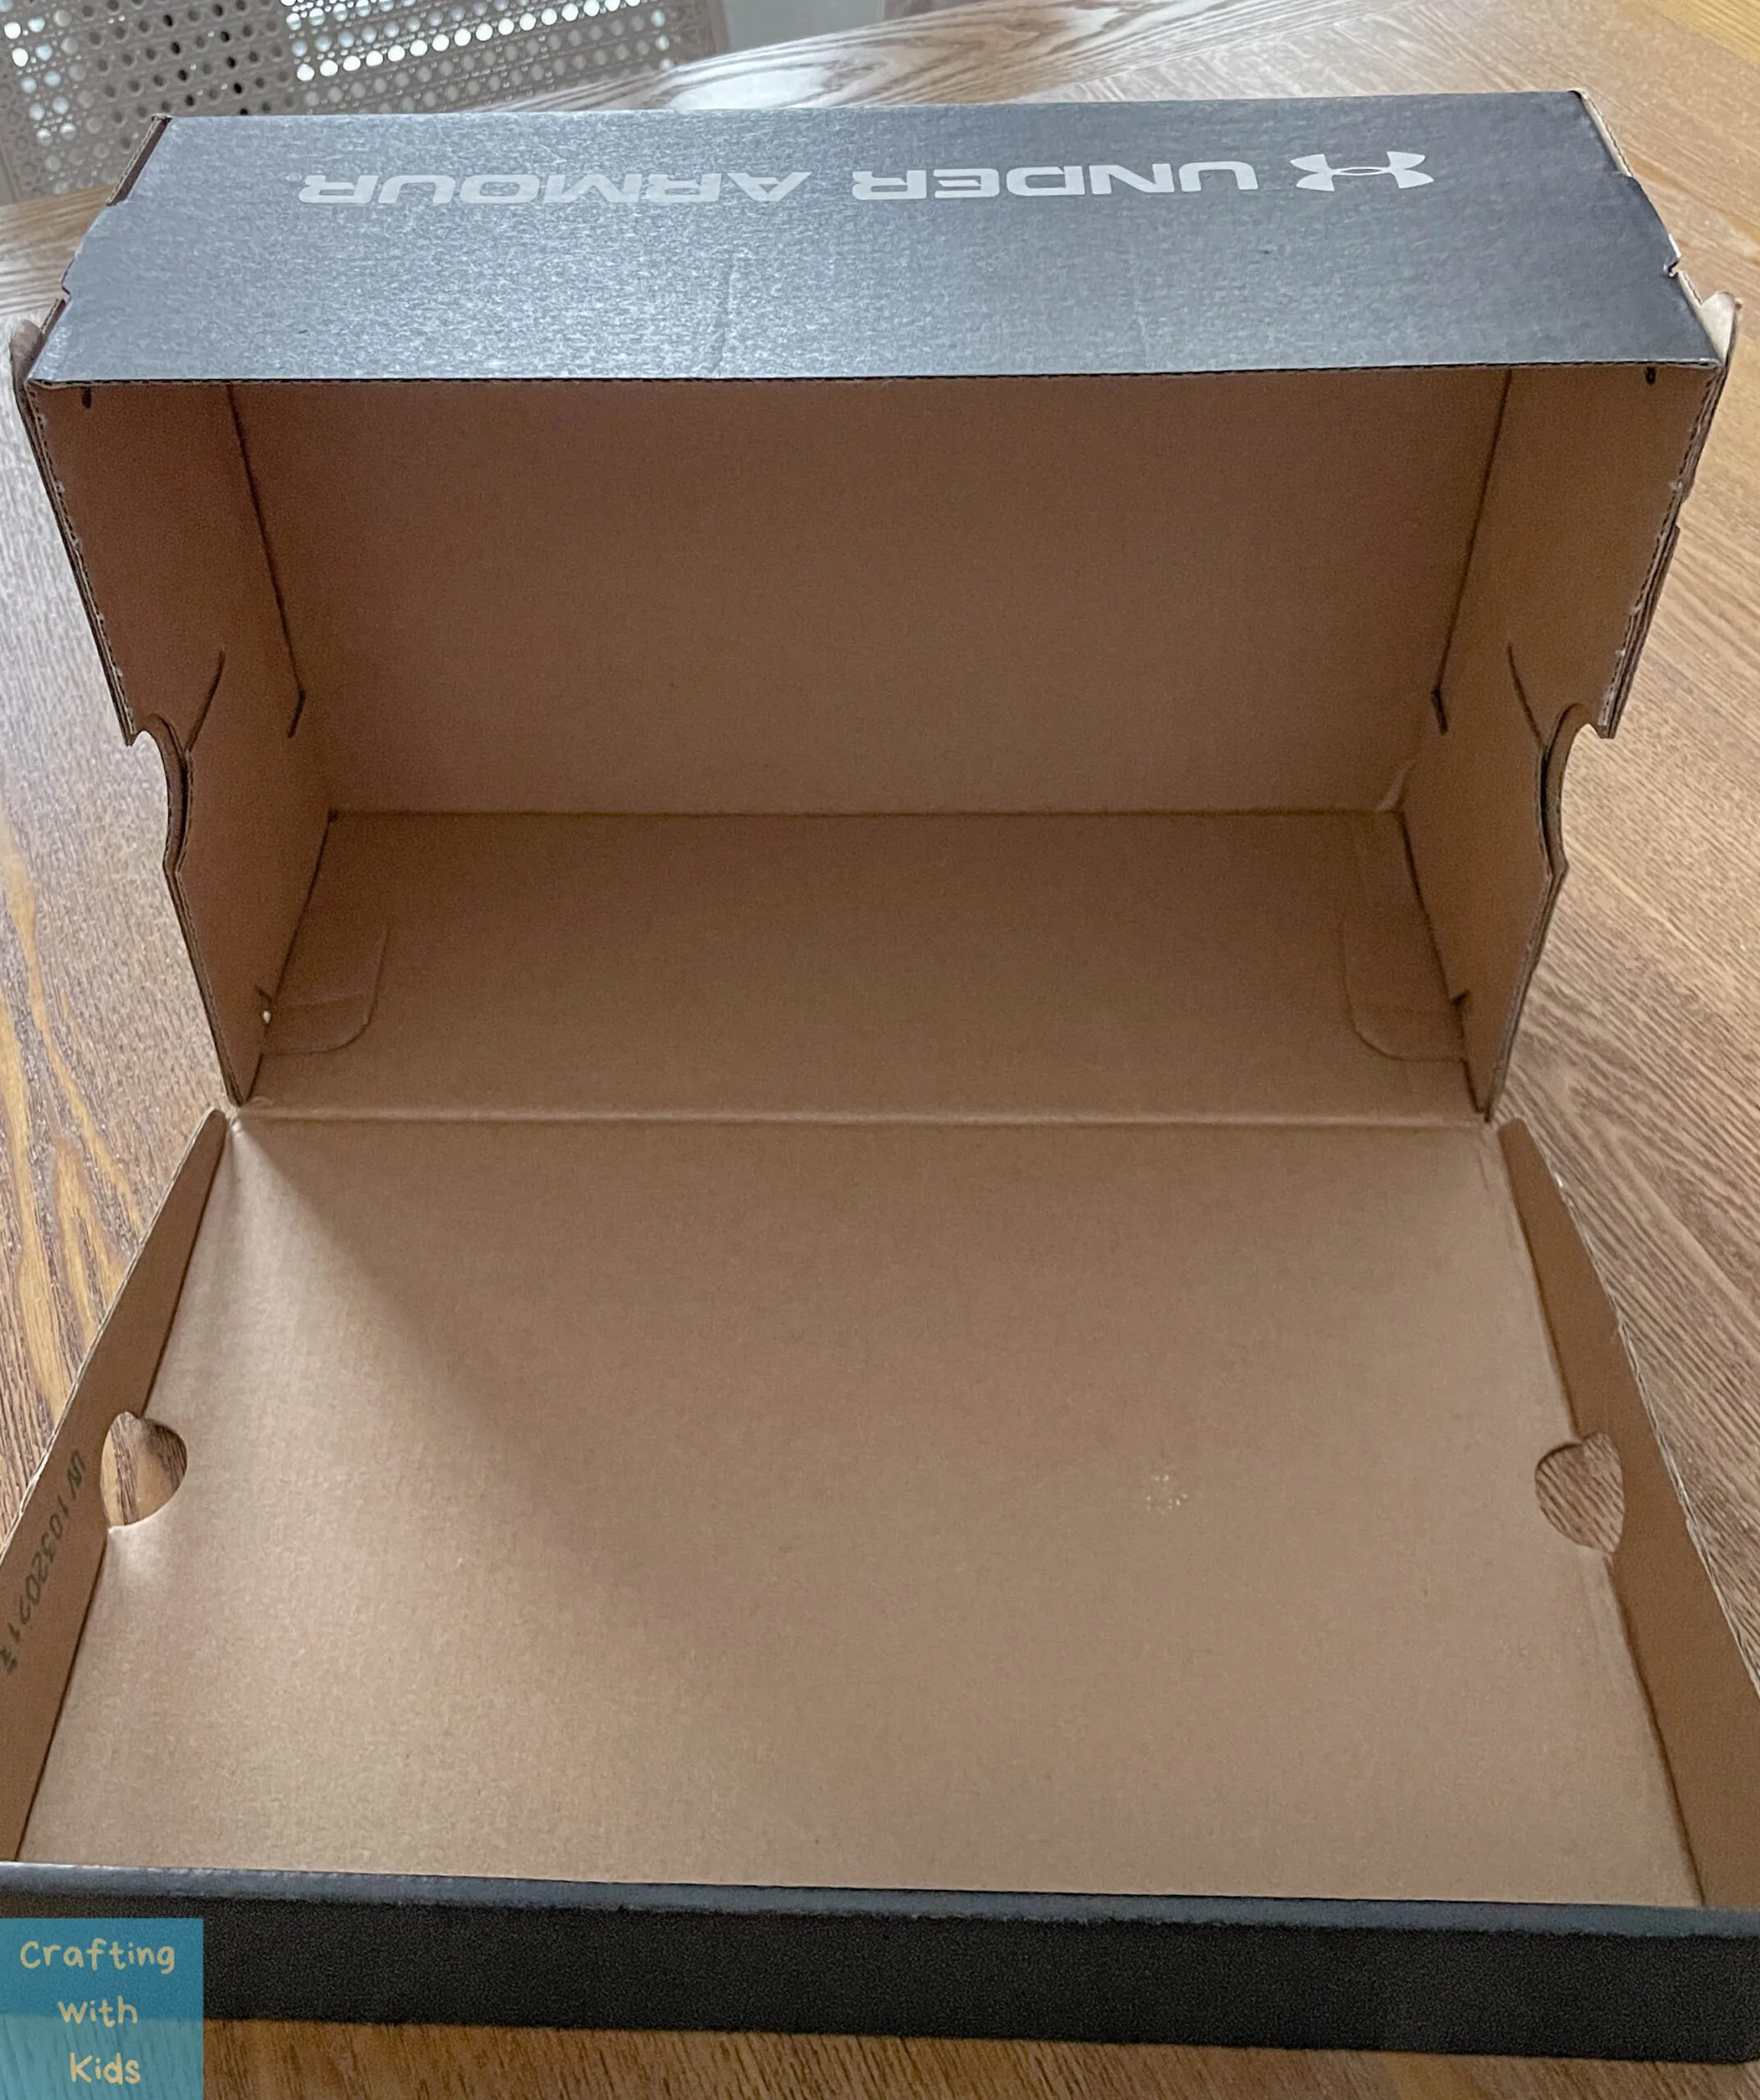
When choosing a base, it is important to select a box that can open up to create a deep scene with a background and forefront. Adding color and materials to the bottom of the box helps to create depth and make the scene look more realistic. Wooden crates are also a great option for larger scale dioramas.


You can see we’ve chosen to use a shoebox for the base. Shoeboxes are a great choice for a diorama because they can open up and create a deep scene with a background and forefront. This is important because you need the scene to have depth to look realistic.
Side note; If you don’t have a lot of supplies to create a Diorama check out these easy and affordable diorama kits from Amazon.
Decorate or Paint the Base of the Diorama Box
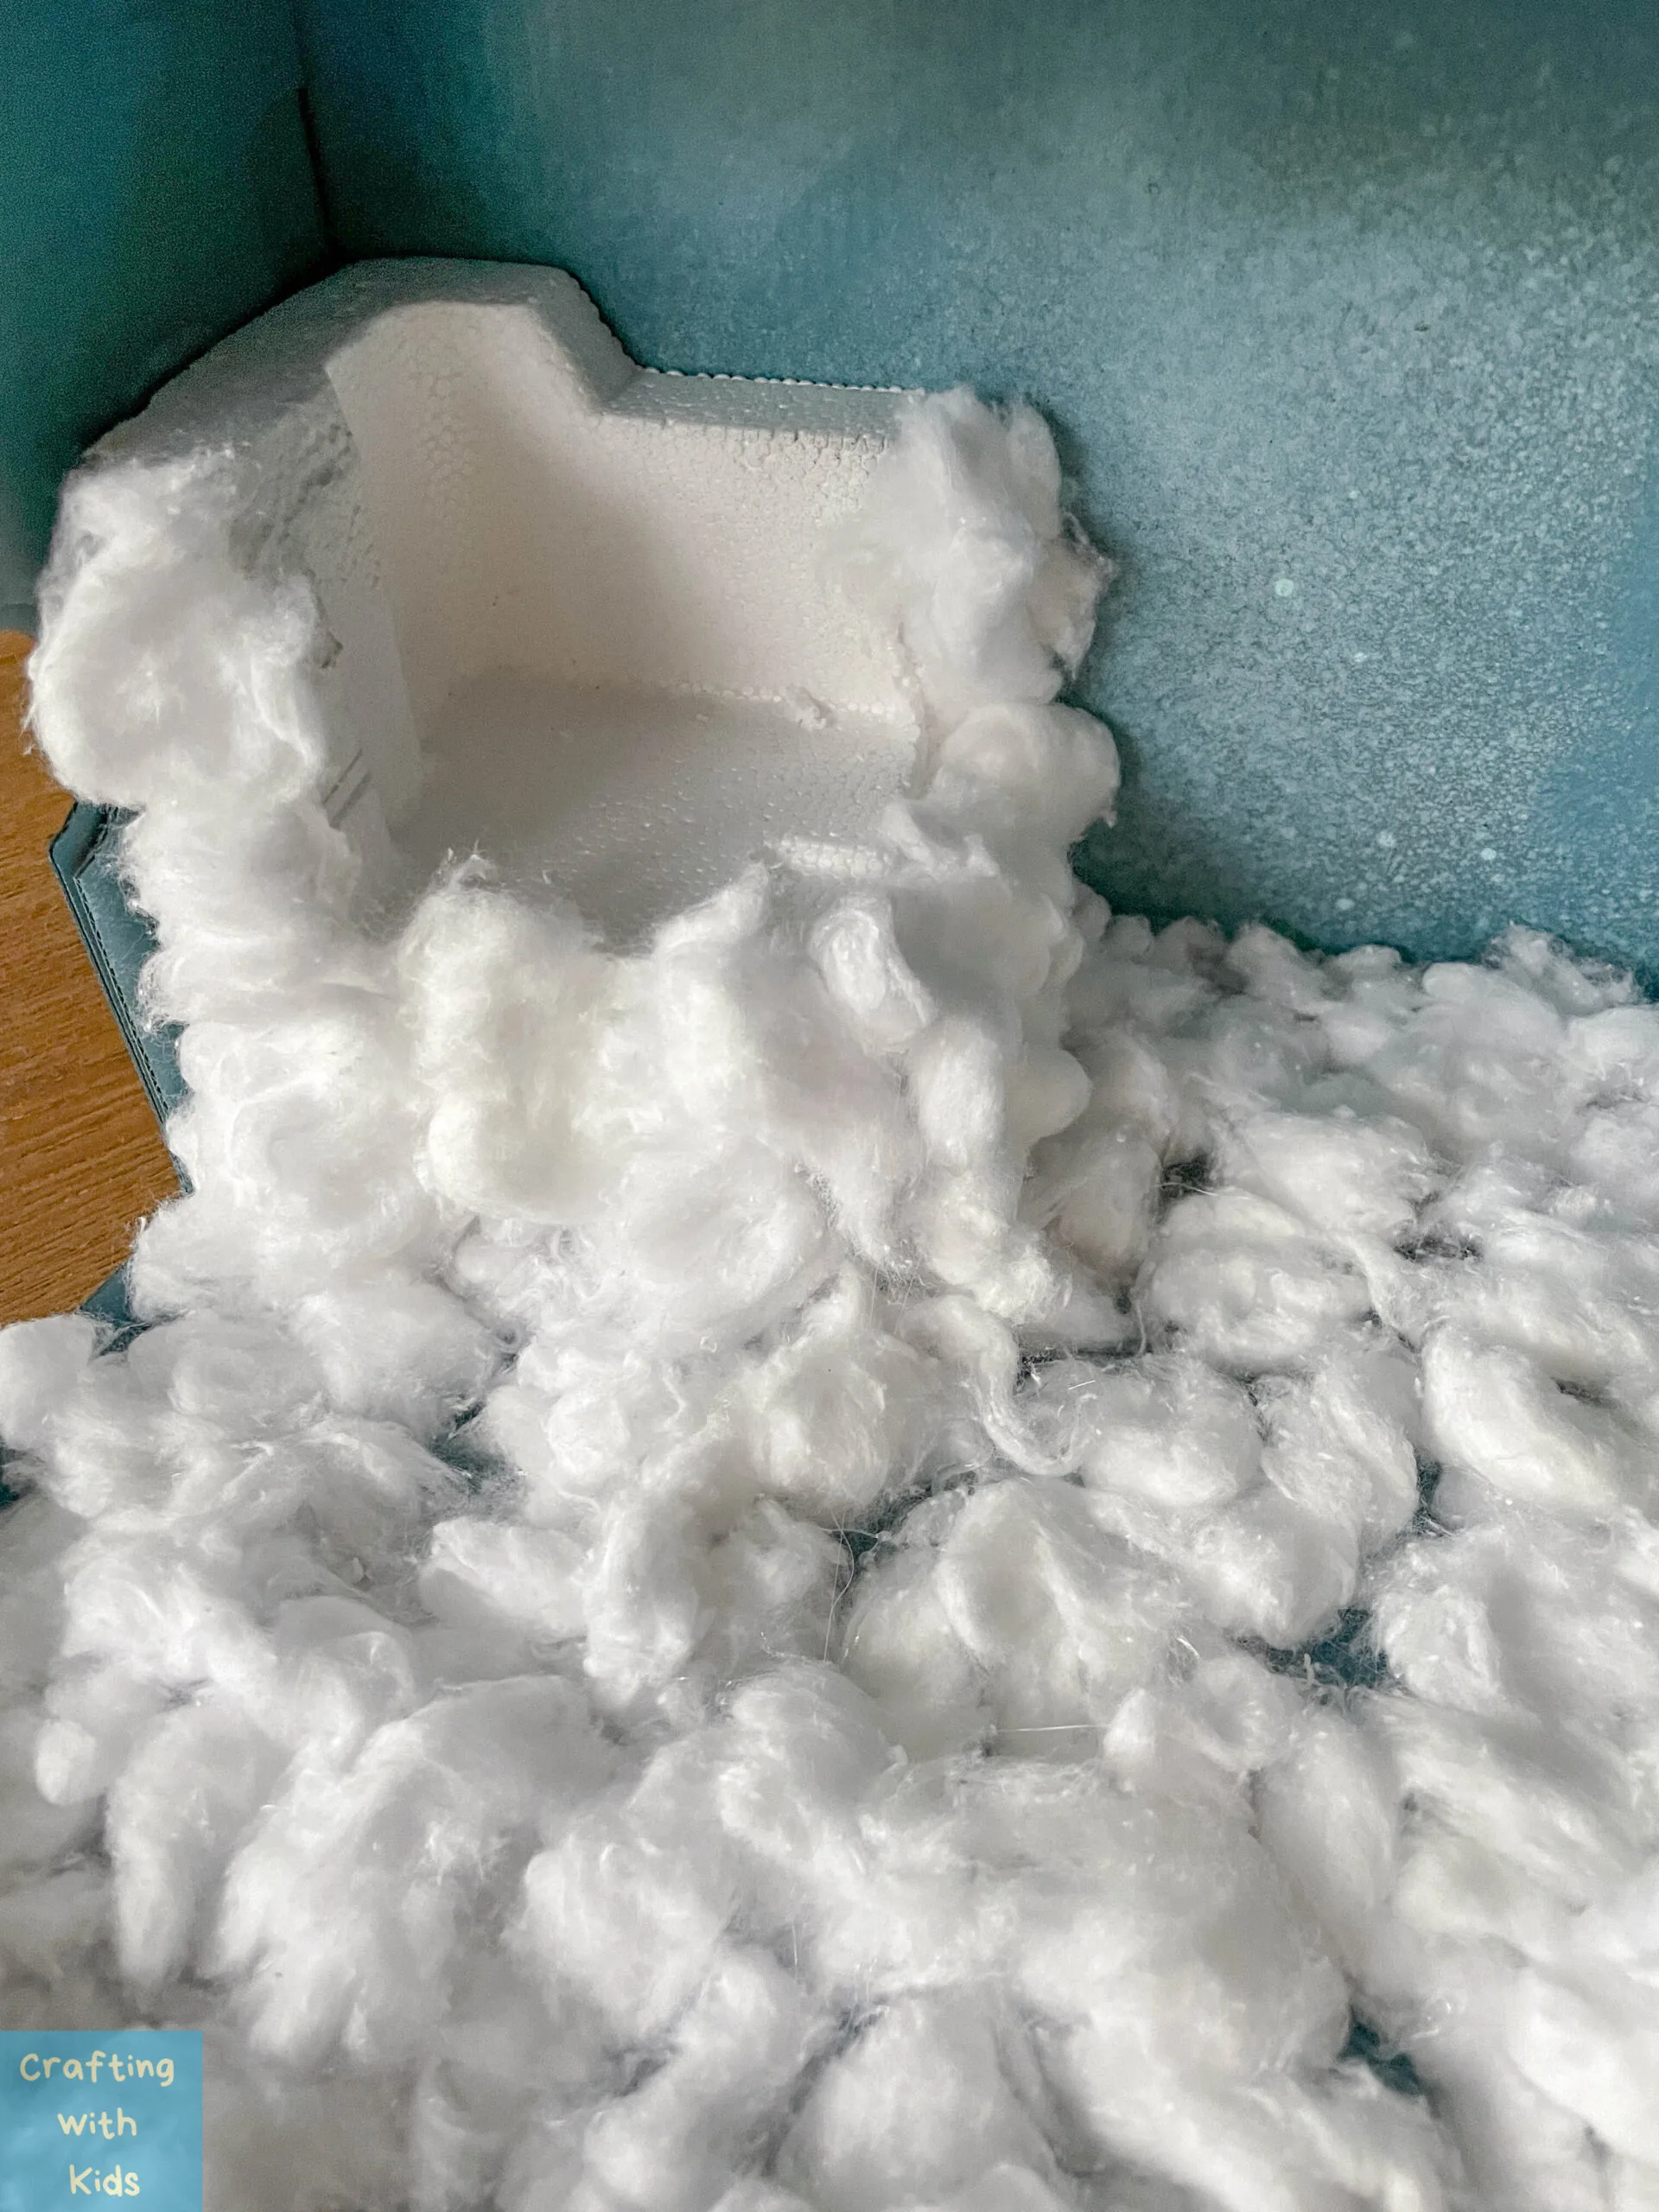
To fit the Arctic theme, the base of the shoebox can be spray painted with blue and black paint. Feel free to use any paint if you don’t have spray paint. Acrylic paints work well too. This provides a great backdrop for the scene.


Decorate the Scene and Backdrop
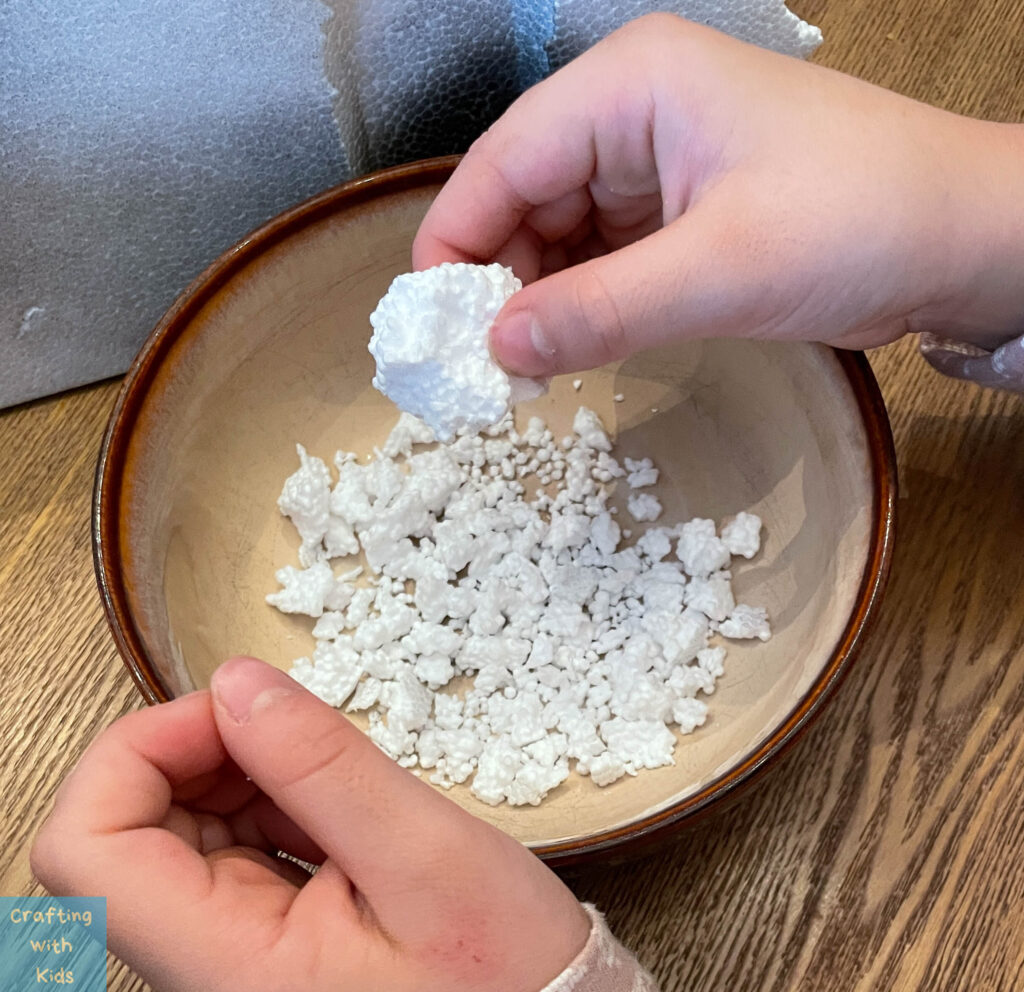
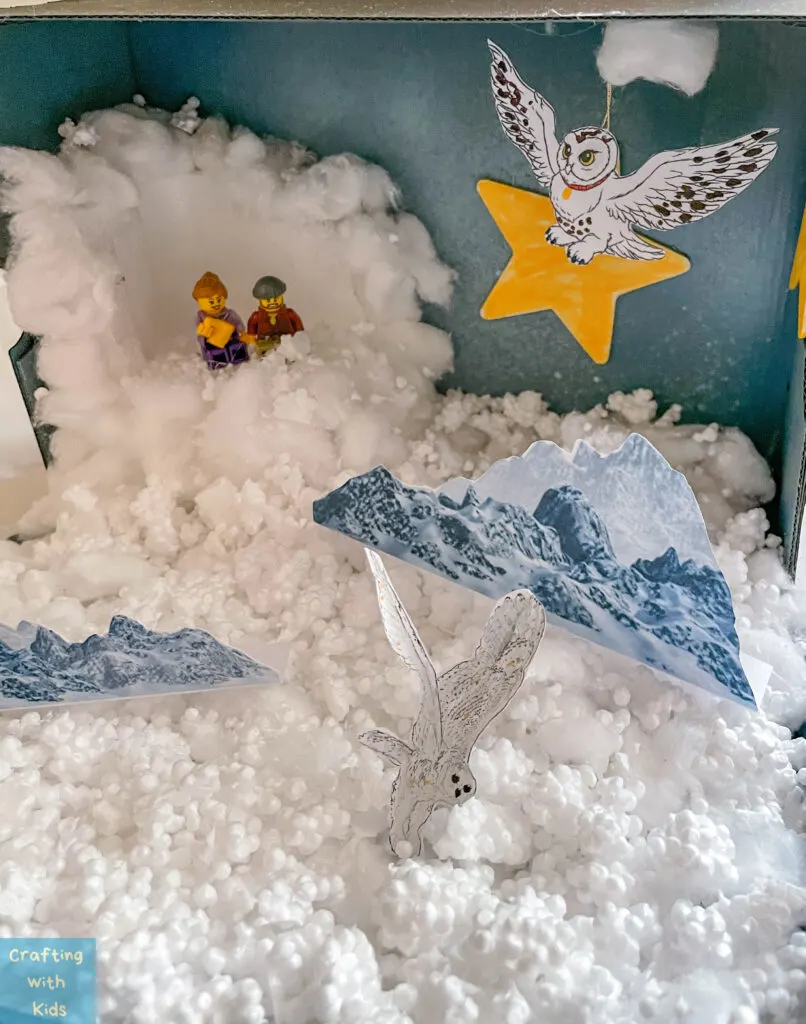
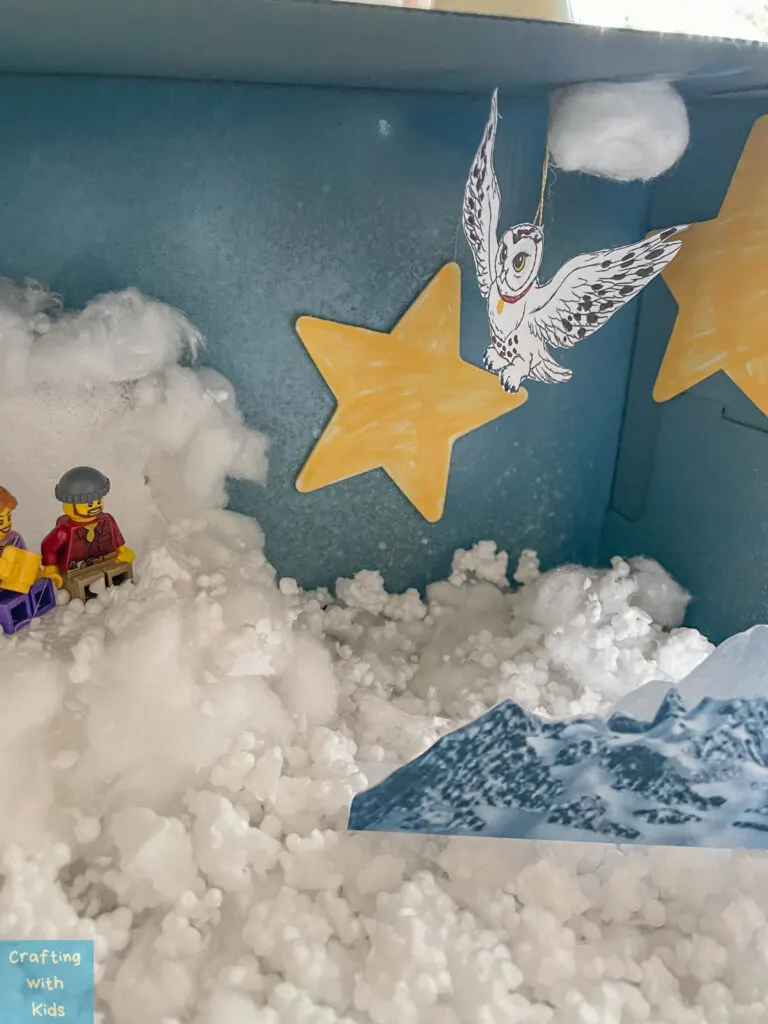
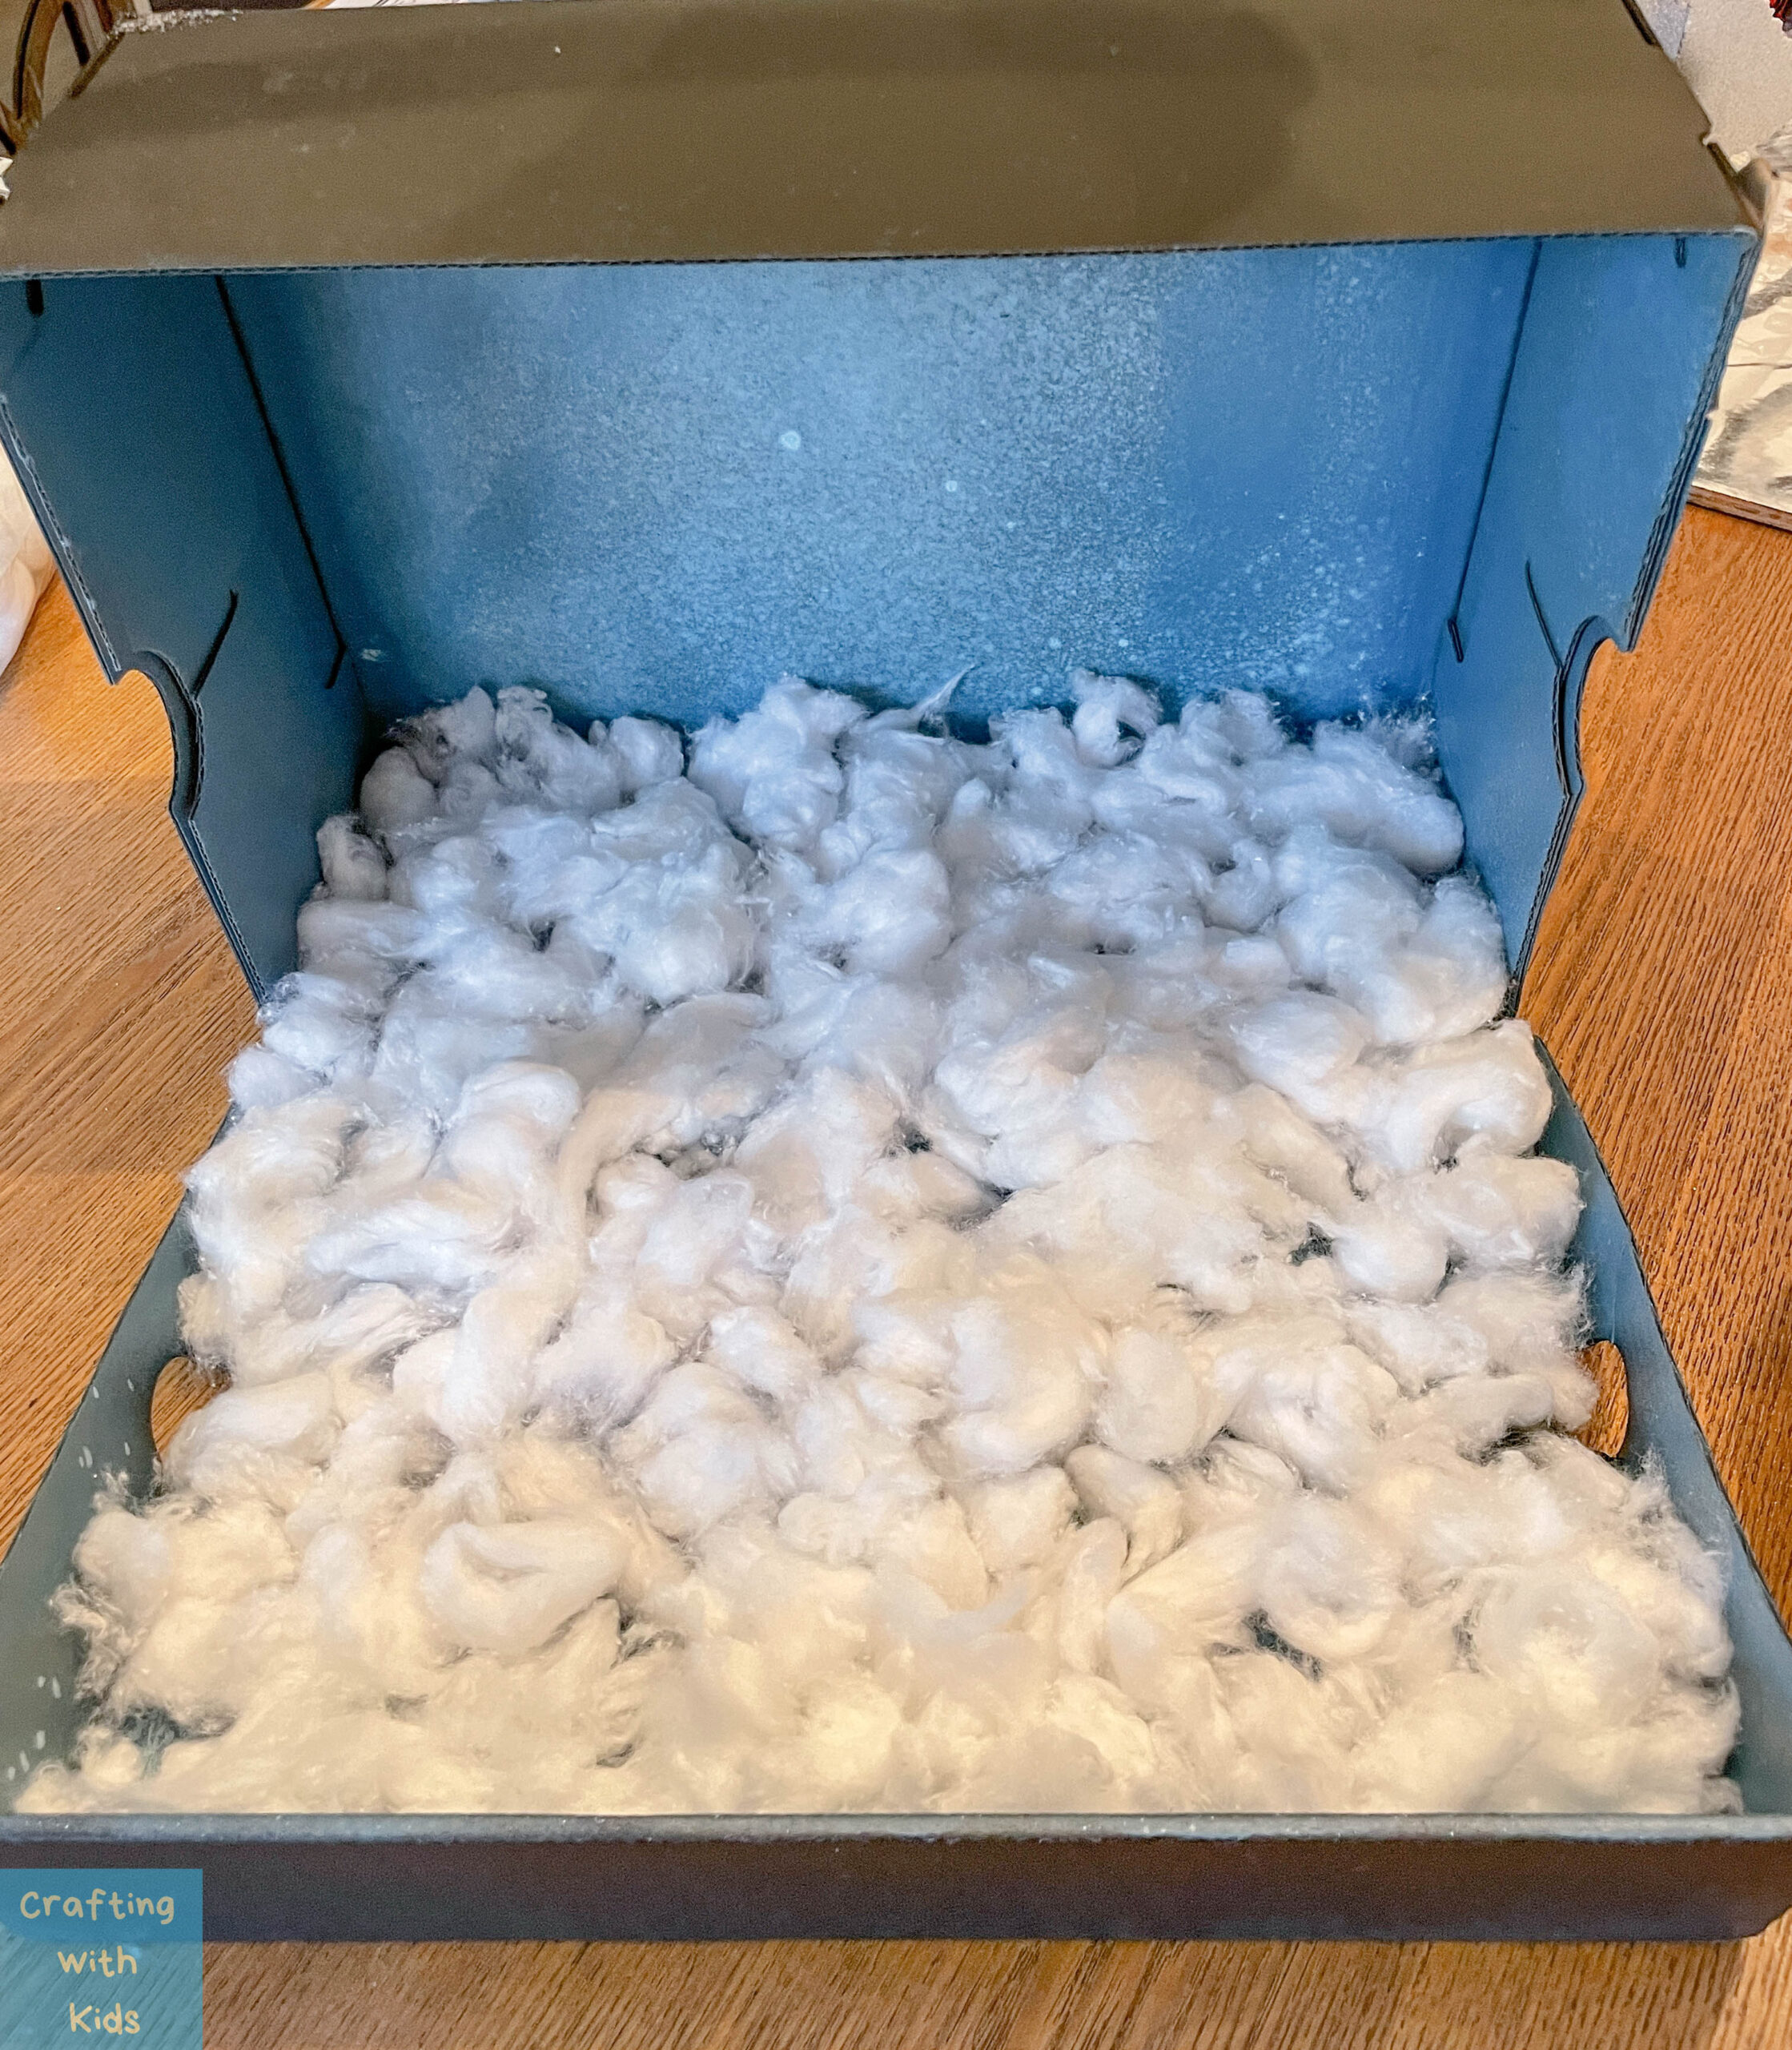
Next step after painting the base, filler material such as cotton balls can be used to create a “faux snow” effect. Styrofoam pieces can also be used to create more detail and depth in the scene. Adding a large piece of styrofoam to the inside corner can create an iceberg effect. Coloring and gluing stars to the back wall can add more detail and interest to the scene.


Add the Figures or Foreground Items
Figurines can be found online as free printables that relate to the theme of the diorama. Printing and coloring them can provide a fun activity for the child. Keeping everything to scale is important for a realistic look, but don’t worry if it’s not perfect. You want this to be a miniature diorama of the real life nature scence. Removing any items that look out of scale can improve the overall look of the diorama.


We also colored two large stars and hot glued them to the back wall.
Add the figures or foreground items
My daughter picked out a few lego characters and we printed out some free Arctic animals we found online.


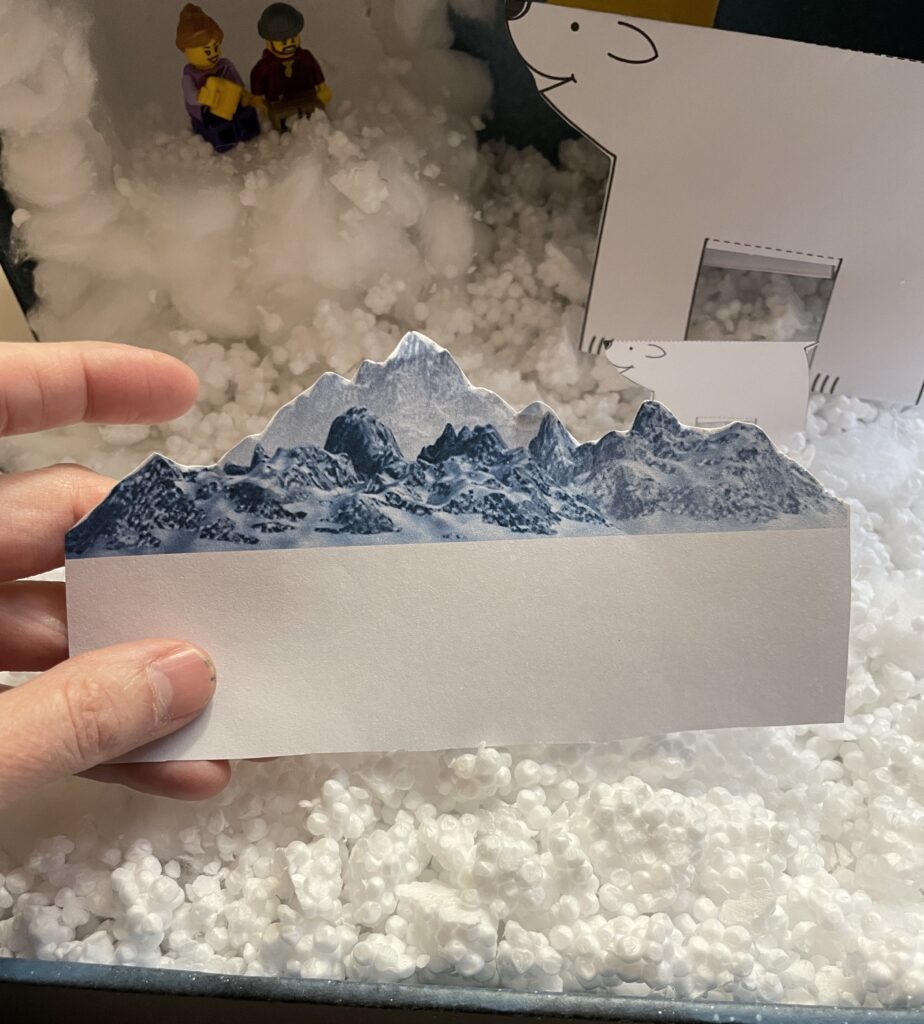


You can see where I printed the mountain and then cut it out with enough slack at the bottom to fold it over so it will stand up straight. You can do this same method with any printable!
TIP: Try to keep everything to scale. I know this might be hard, but it will make the diorama look a lot more realistic if you stick to this concept. Don’t worry if it’s not perfect.
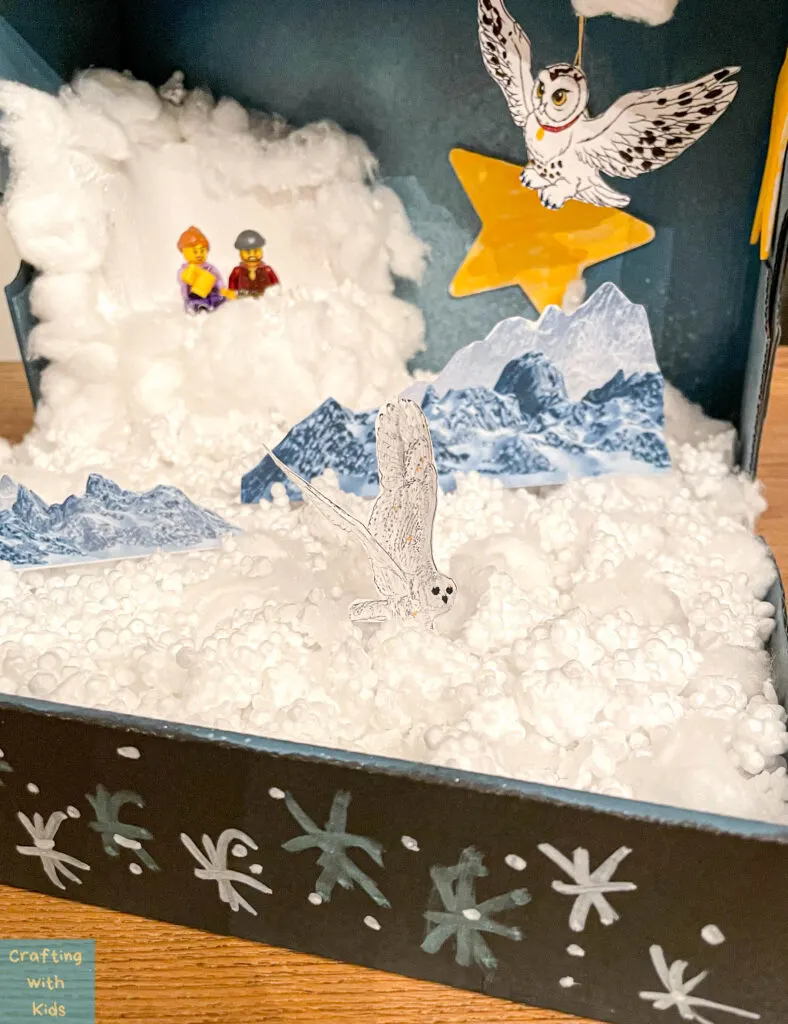
After we started adding the Snowy Owl’s, we realized the large polar bear looked way out of scale. Because of this, we removed them.
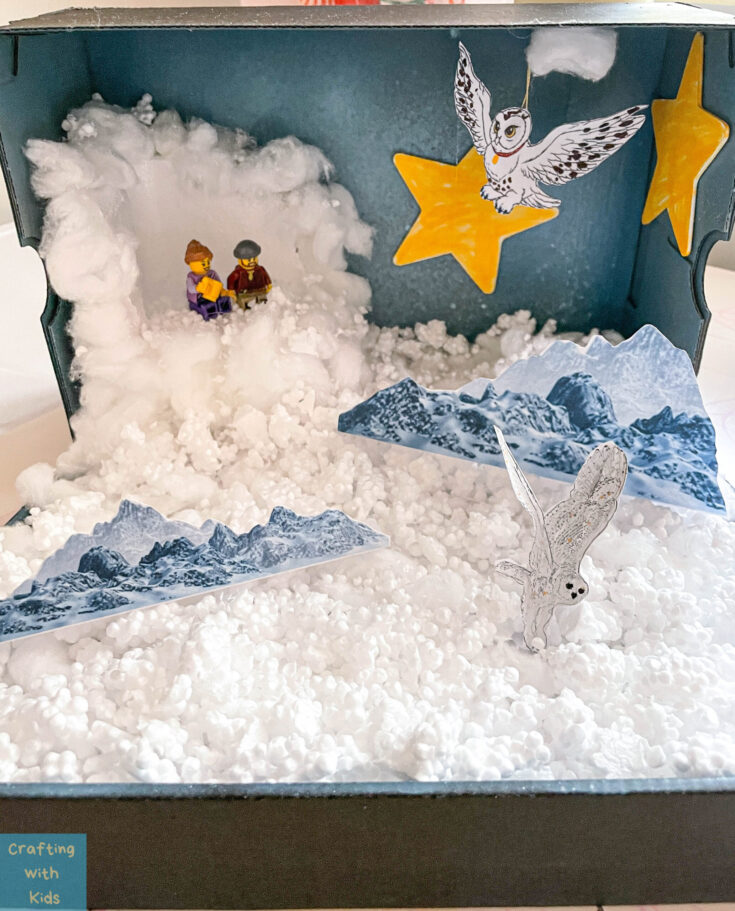
We decided to keep our Arctic diorama super simple with just a few elements. Ready to see the exciting scene?
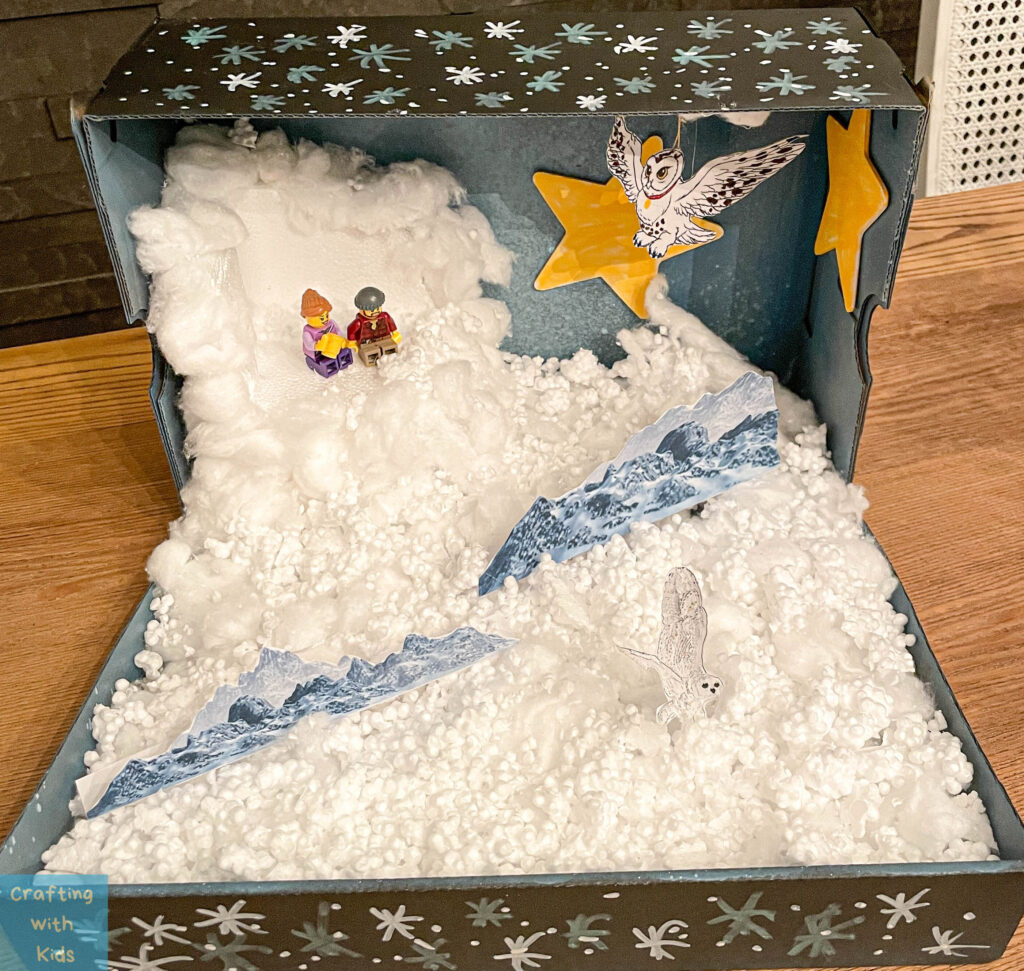
Animal Habitat Diorama with figures from the Arctic


I think my favorite part of this is the hanging Owl! Hanging elements in a diorama seem to really bring it to life and add a few finishing touches to make it pop!


Estimated Time and Cost
The estimated prep time for this project is 5 minutes, while the active time is 2 hours. The total time required is 2 hours and 5 minutes. The difficulty level is easy, and the estimated cost varies.
Frequently Asked Questions
What are some examples of diorama boxes?
Diorama boxes can depict a wide range of scenes, from historical events and natural landscapes to fictional settings and fantastical worlds. Some examples of diorama boxes include:
- A miniature forest scene with trees, bushes, and wildlife
- A cityscape with buildings, streets, vehicles and a brick wall
- A space-themed diorama with planets, stars, and spaceships
- A scene from a book or movie with characters and props
- A scene from a historical time period
What materials are commonly used to make diorama boxes?
Diorama boxes can be made from a variety of materials, depending on the desired effect and budget. Some common materials include:
- Cardboard or foam board for the base and walls
- Paints and brushes for adding color and texture
- Glue or tape for attaching objects and props
- Miniature figures, plants, and animals for creating a realistic scene
- Lighting and sound effects for enhancing the mood and atmosphere
How do you create a realistic habitat in a diorama box?
To create a realistic habitat in a diorama box, it is important to consider the natural environment and the animals or plants that inhabit it. Some tips for creating a realistic habitat include:
- Researching the habitat and its characteristics, such as climate, terrain, and vegetation
- Choosing appropriate materials and colors to represent the habitat, such as sand for a desert or moss for a forest
- Adding realistic details, such as rocks, logs, and foliage, to create depth and dimension
- Selecting appropriate animal or plant figures and positioning them in a naturalistic way
- Using lighting and sound effects to enhance the mood and atmosphere of the habitat
What are some tips for creating a desert-themed diorama project?
To create a desert-themed diorama box, it is important to consider the unique characteristics of desert environments, such as sand dunes, cacti, and rocky outcroppings. Some tips for creating a desert-themed diorama box include:
- Using sand or gravel to create a realistic desert floor
- Adding cacti, succulents, and other desert plants to create a naturalistic environment
- Choosing animal figures that are native to desert environments, such as snakes, lizards, and camels
- Using warm colors, such as orange and brown, to evoke the feeling of a hot, dry desert
- Adding rocks and other natural elements to create depth and dimension in the scene
What are some ocean creatures that can be included in a diorama box?
Ocean-themed diorama boxes can feature a wide range of aquatic creatures, from fish and sharks to whales and dolphins. Some ocean creatures that can be included in a diorama box include:
- Coral and other underwater plants
- Fish of various sizes and colors, such as clownfish, angelfish, and pufferfish
- Sharks, including great whites, hammerheads, and tiger sharks
- Whales and dolphins, such as orcas, humpbacks, and bottlenose dolphins
- Octopuses, squids, and other cephalopods

What are some ways to incorporate movement in a diorama box?
Incorporating movement in a diorama box can add an extra dimension of interest and excitement to the scene. Some ways to incorporate movement in a diorama box include:
- Using motors or other mechanisms to create moving parts, such as a spinning ferris wheel or a waving flag
- Positioning figures and props in dynamic poses to create the illusion of movement, such as a figure mid-leap or a bird in flight
- Using lighting effects to create the illusion of movement, such as a flickering campfire or a flashing police siren
- Adding sound effects, such as the sound of waves crashing or the chirping of birds, to enhance the atmosphere of the scene.
And that’s it folks! I hope we’ve given you a handful of ideas and suggestions on how to make your own Diorama box or model display, no matter what the theme!
If you enjoyed this craft you might also be interested our library of tons of other cool crafts for kids.
You can also see more related posts here:
How to Make a Rainforest Diorama
Easy and Affordable Diorama Kits from Amazon
15 Fun Diorama Ideas for Kids of Any Age
Christmas Diorama Ornament from a Dollar Tree Terrarium


Thanks for stopping by and happy crafting!
How to Make a Diorama in a Few Easy Steps

Learn how to make a diorama in a few easy steps. Building a diorama doesn't have to be difficult with these few tips. Building a diorama doesn't have to be hard so let me show you how!
Materials
- Base: shoebox, kleenex box or similar box
- Paint
- Construction paper
- Blocks: styrofoam, cardboard, legos, etc.
- Figurines: legos, paper figures, etc.
- String (if needed)
- Glue stick or Elmer's glue
- Filler material: cotton balls, batting, paper, etc.
Tools
- Scissors
- Hot glue gun
Instructions
- Decide on a theme for your diorama
- Research the topic
- Create a plan and/or sketch out what you want it to look like
- Gather all your supplies. This will include a base, the filler material, paint or construction paper to decorate the base with, figurines to embellish with and a few items (like styrofoam) to build the terrain with.


- Paint or decorate the base.

- Build up the setting. Add dimension to the space with styrofoam blocks, cardboard cut outs for the sky, etc.
- Add figurines or objects to the foreground. You can add Lego's, paper figures, etc. Glue them with hot glue, Elmer's glue or attach them to the base somehow.

- Finalize your diorama with the finishing details.


Notes
Make sure to use safe search engines while researching your topic. You can also find free printable figures and objects to use.
TIP: Try to keep everything to scale. I know this might be hard, but it will make the diorama look a lot more realistic if you stick to this concept. Don't worry if it's not perfect.
Leave a comment