
Learn how to make these easy no bake cake pops that are great for the 4th of July. With just a few simple ingredients (no oven needed), your kids can whip these fun treats up in no time.
The festivities of fourth of July are always perfectly balanced out by the abundance of snacks that flow around. All the red, white, and blue food makes it feel like one big party that everyone is a part of.
Having kids make one of the snacks could be a really fun way to add another variation of treats on the table. Cake pops make a great addition since they require very low effort but are always the first snack to be gone.
With mostly rolling and dipping, this snack is extremely easy to make. Grab the kids and let’s learn how to make this in the simplest and most fun way possible.
Make sure to check out our 20 easy 4th of July snacks here or our Easy and fun 4th of July crafts for Preschoolers here. If you are looking for more fun and easy cake pop recipes, I’ve got you covered with 15 recipes here!

Disclosure; this post contains affiliate links. As an Amazon Associate I earn from qualifying purchases. This disclosure statement refers to the rest of the Amazon links in this post. See more on my disclosure page.
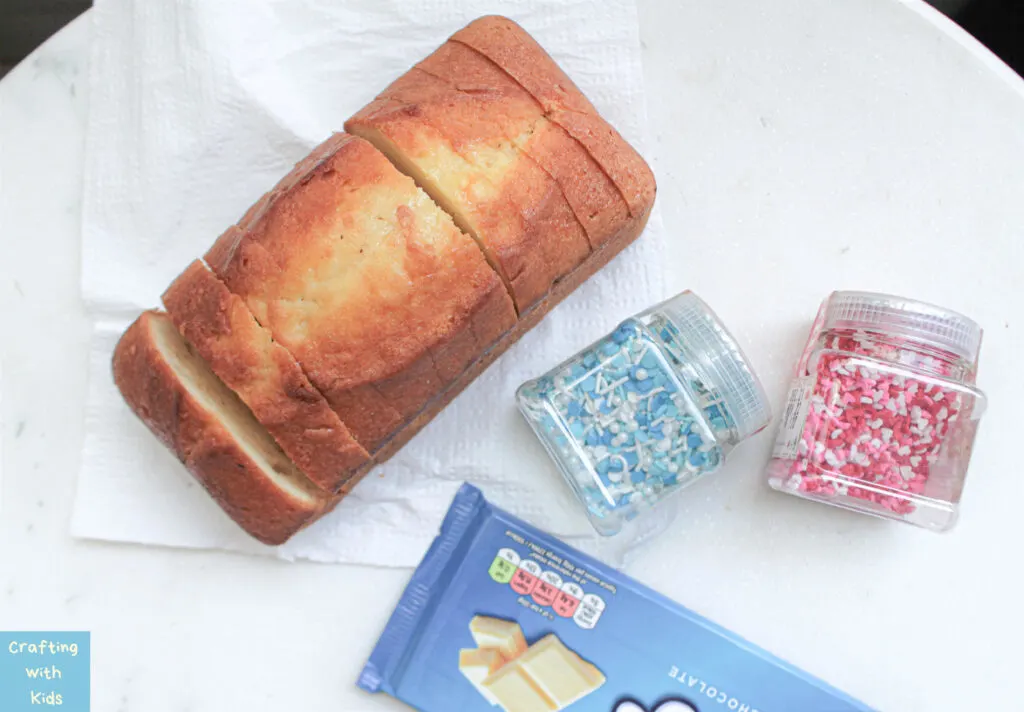
What you will need:
- Store bought pound cake (or leftover cake pieces)
- Frosting or cream cheese
- White chocolate
- Red and blue sprinkles
- Skewers

How to make No Bake Cake Pops for kids for 4th July
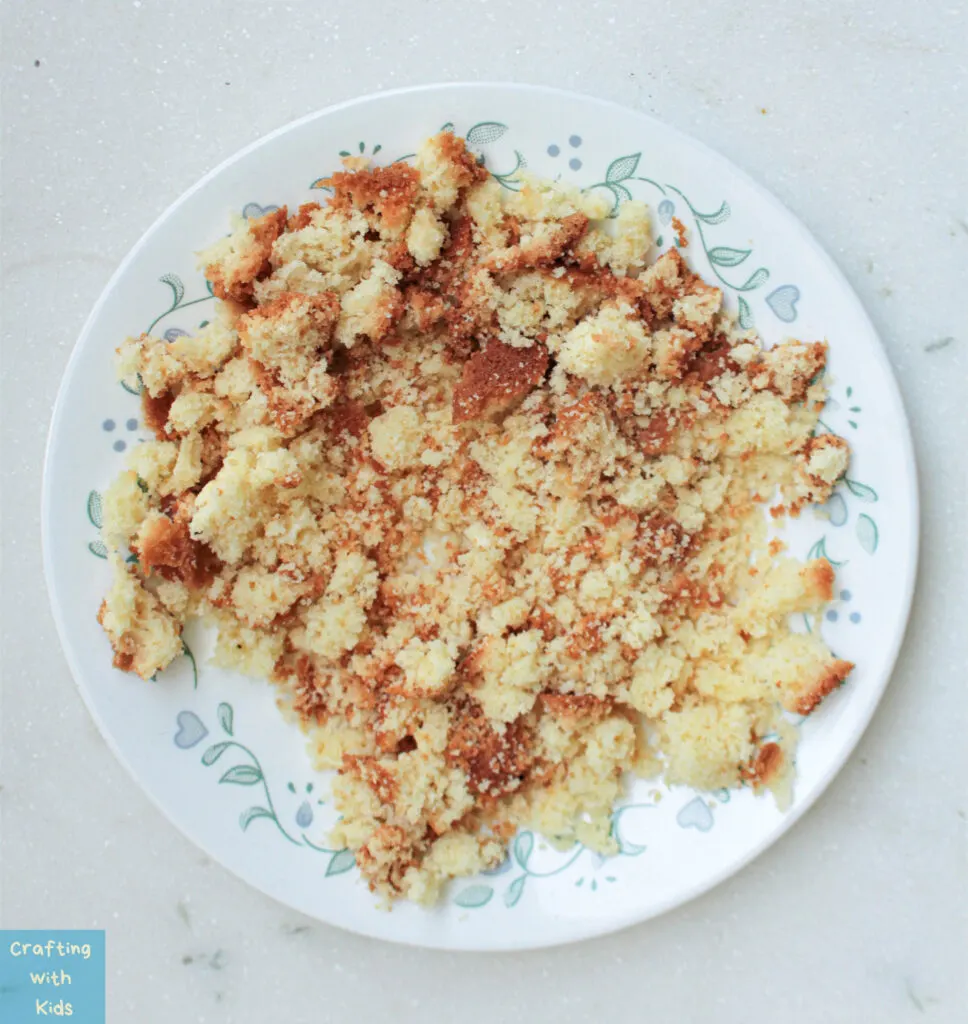
Step 1:
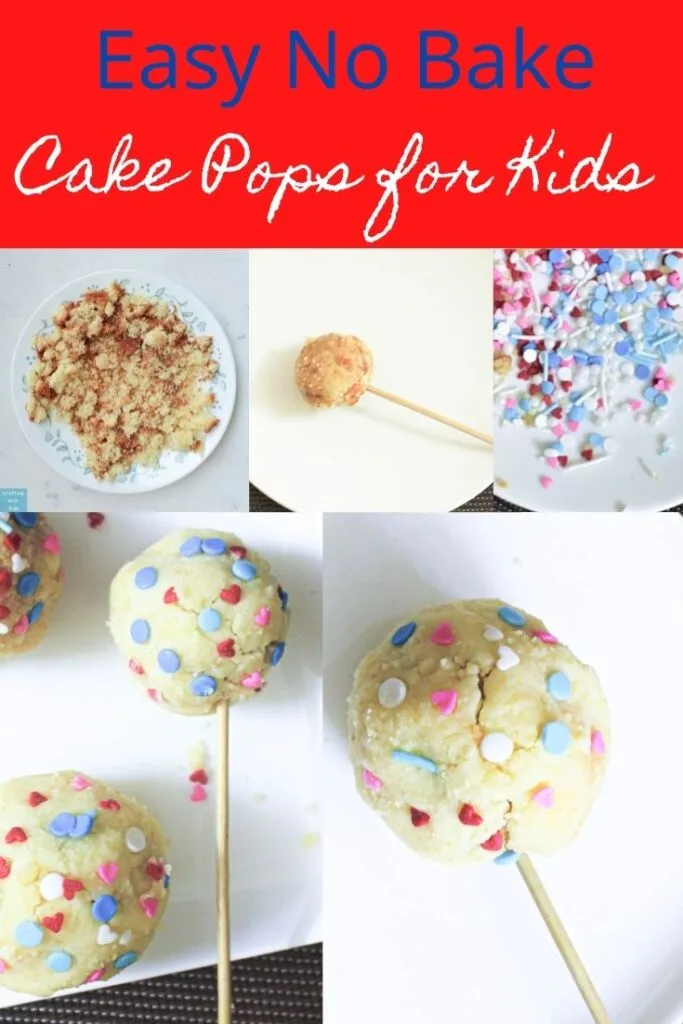
Take about a half of the cake loaf and crumble it into pieces. Make it a mixture of large and small pieces so that it is easier to mold later.

Step 2:
Mix the cake crumbles with frosting or cream cheese. If the mixture becomes too dry, add more frosting or cream cheese. But if the mixture becomes too soft, you need to add more cake. keep mixing until you get a consistency that can be formed into a dough.
Step 3:
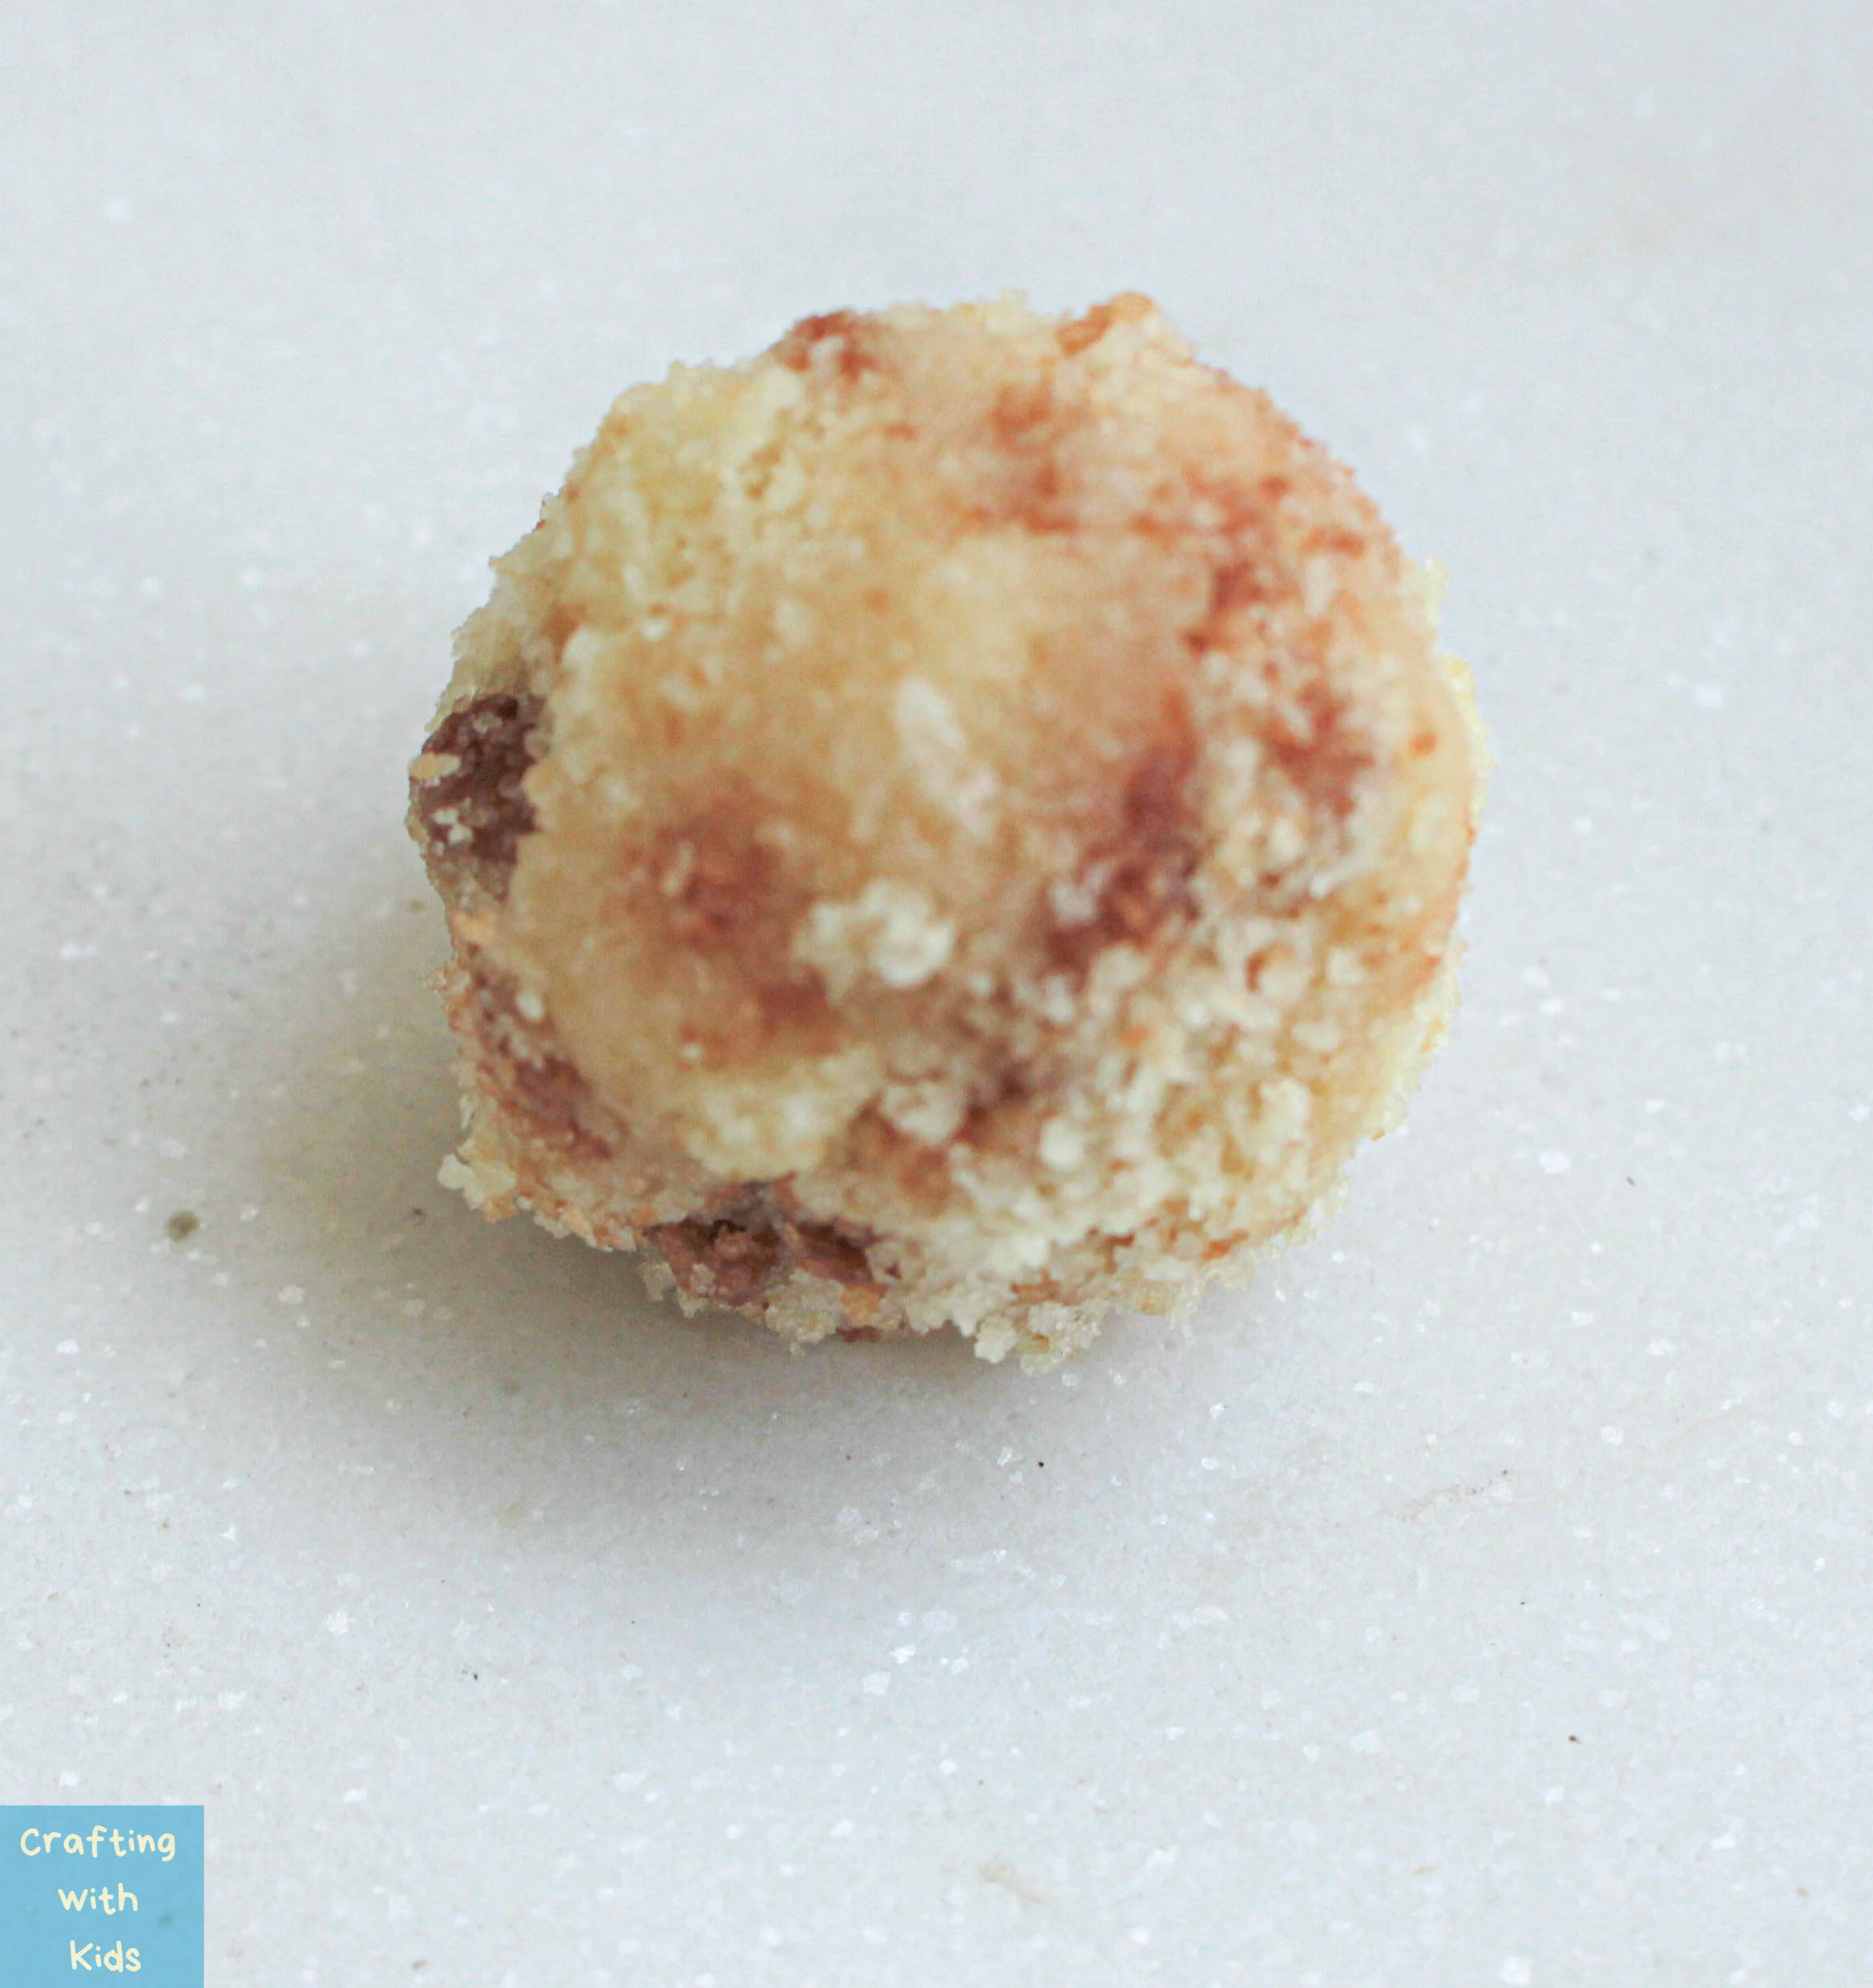
Grab a small handful of the cake mixture and roll it into a little ball in the palm of your hands. Make several balls of cake and set them aside.


Step 4:
Break the white chocolate into little pieces and melt them together in a bowl. If your white chocolate is not melting easily try adding a bit of vegetable oil before melting.
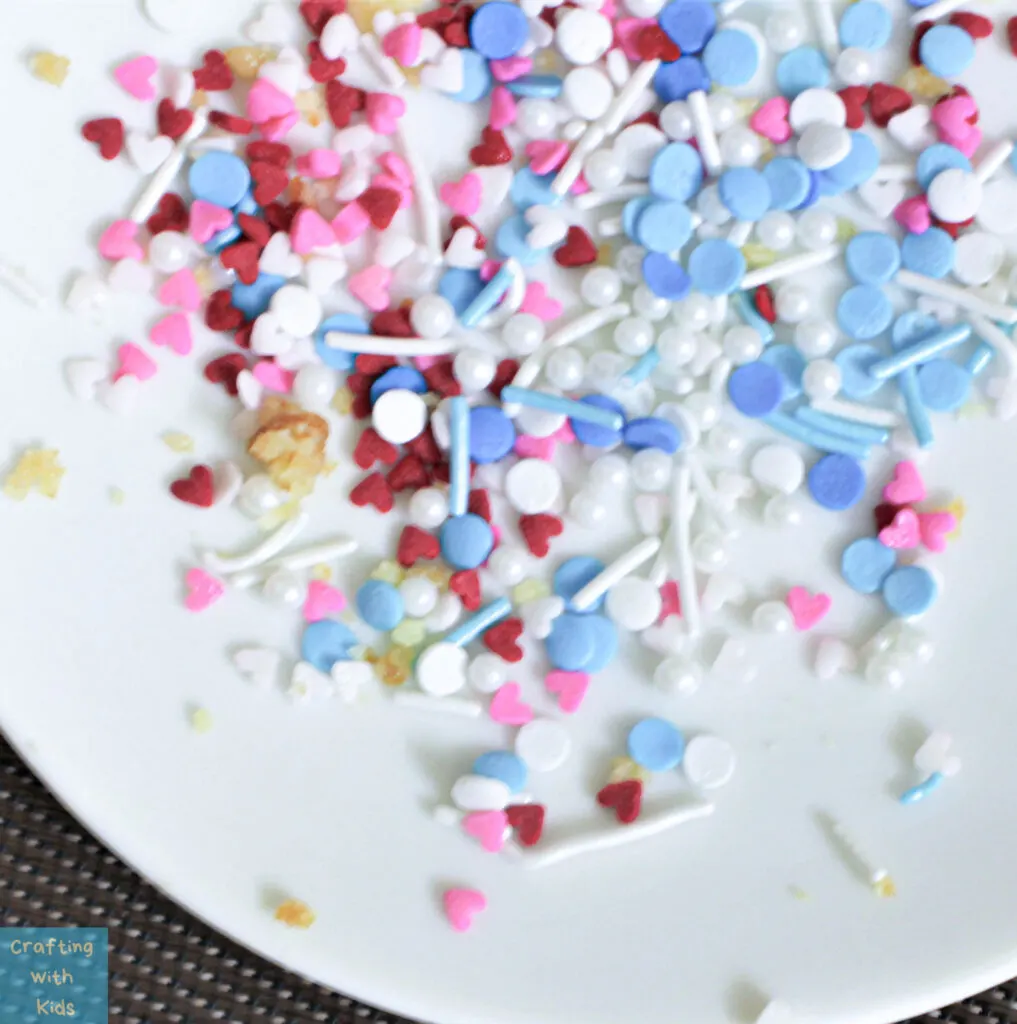
Step 5:
Take the red and blue sprinkles and spread them on a small plate. You can see we used an array of hues for the blues and reds and that’s ok! Be creative!

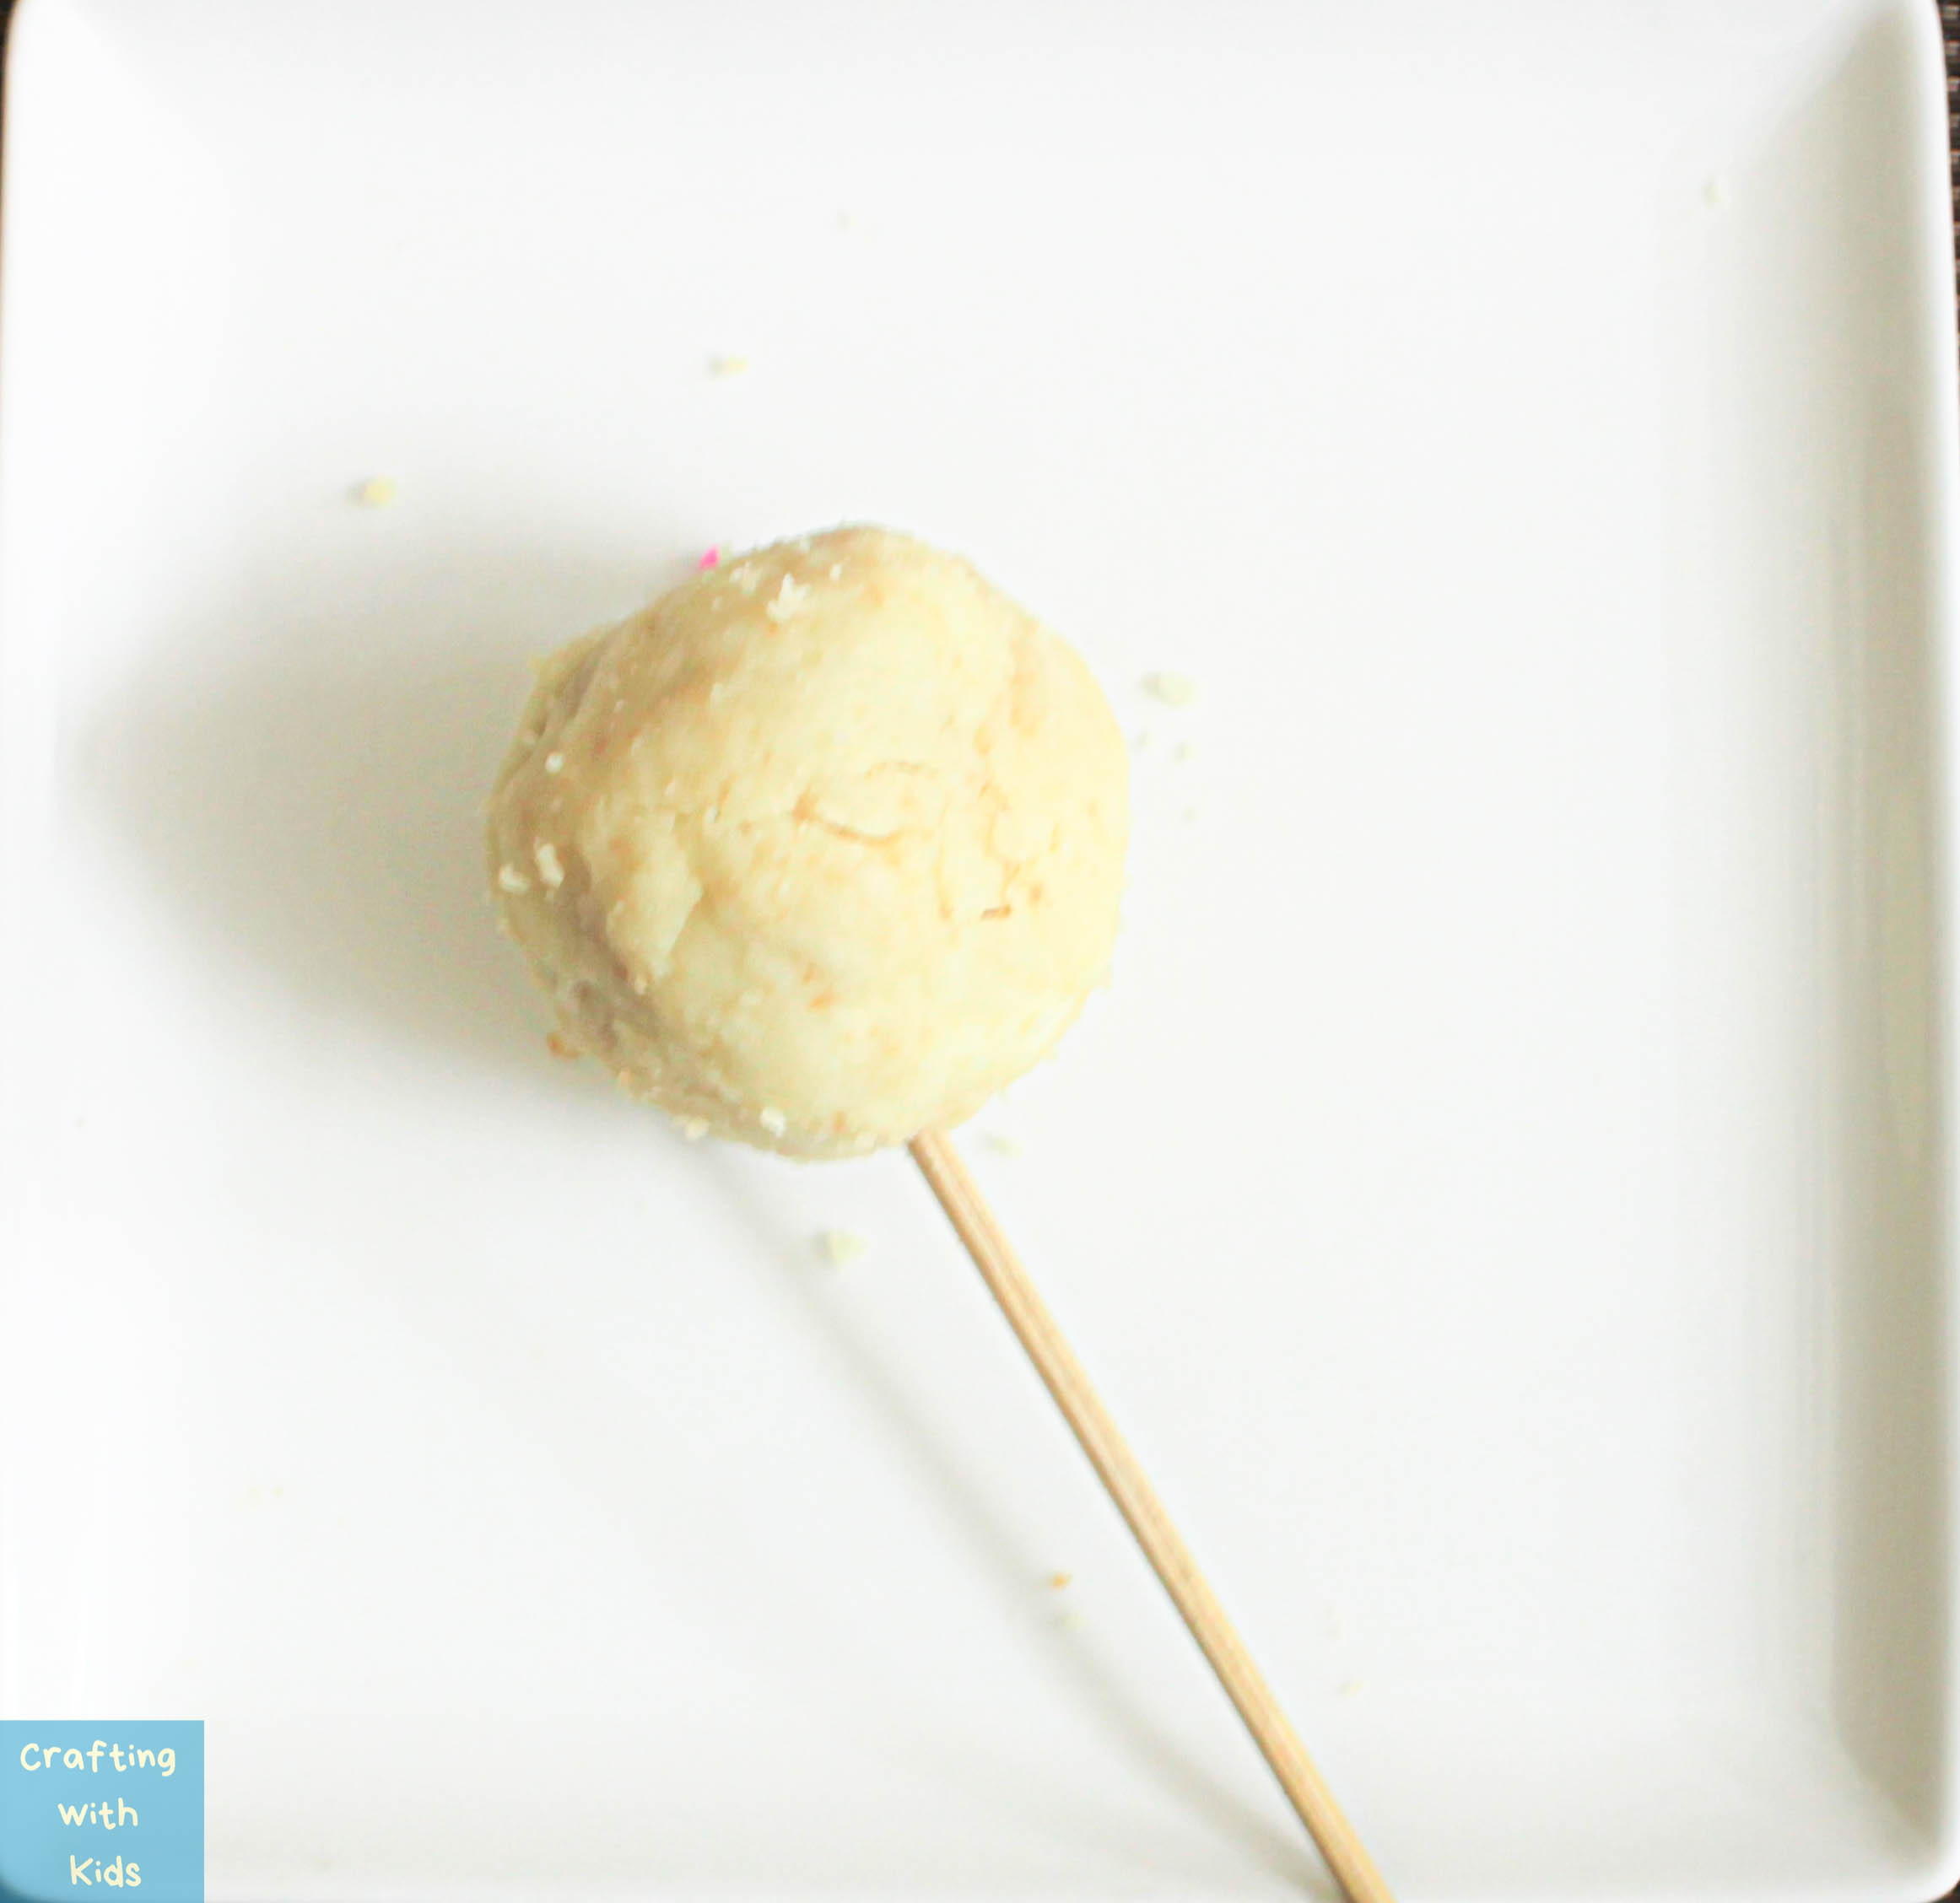
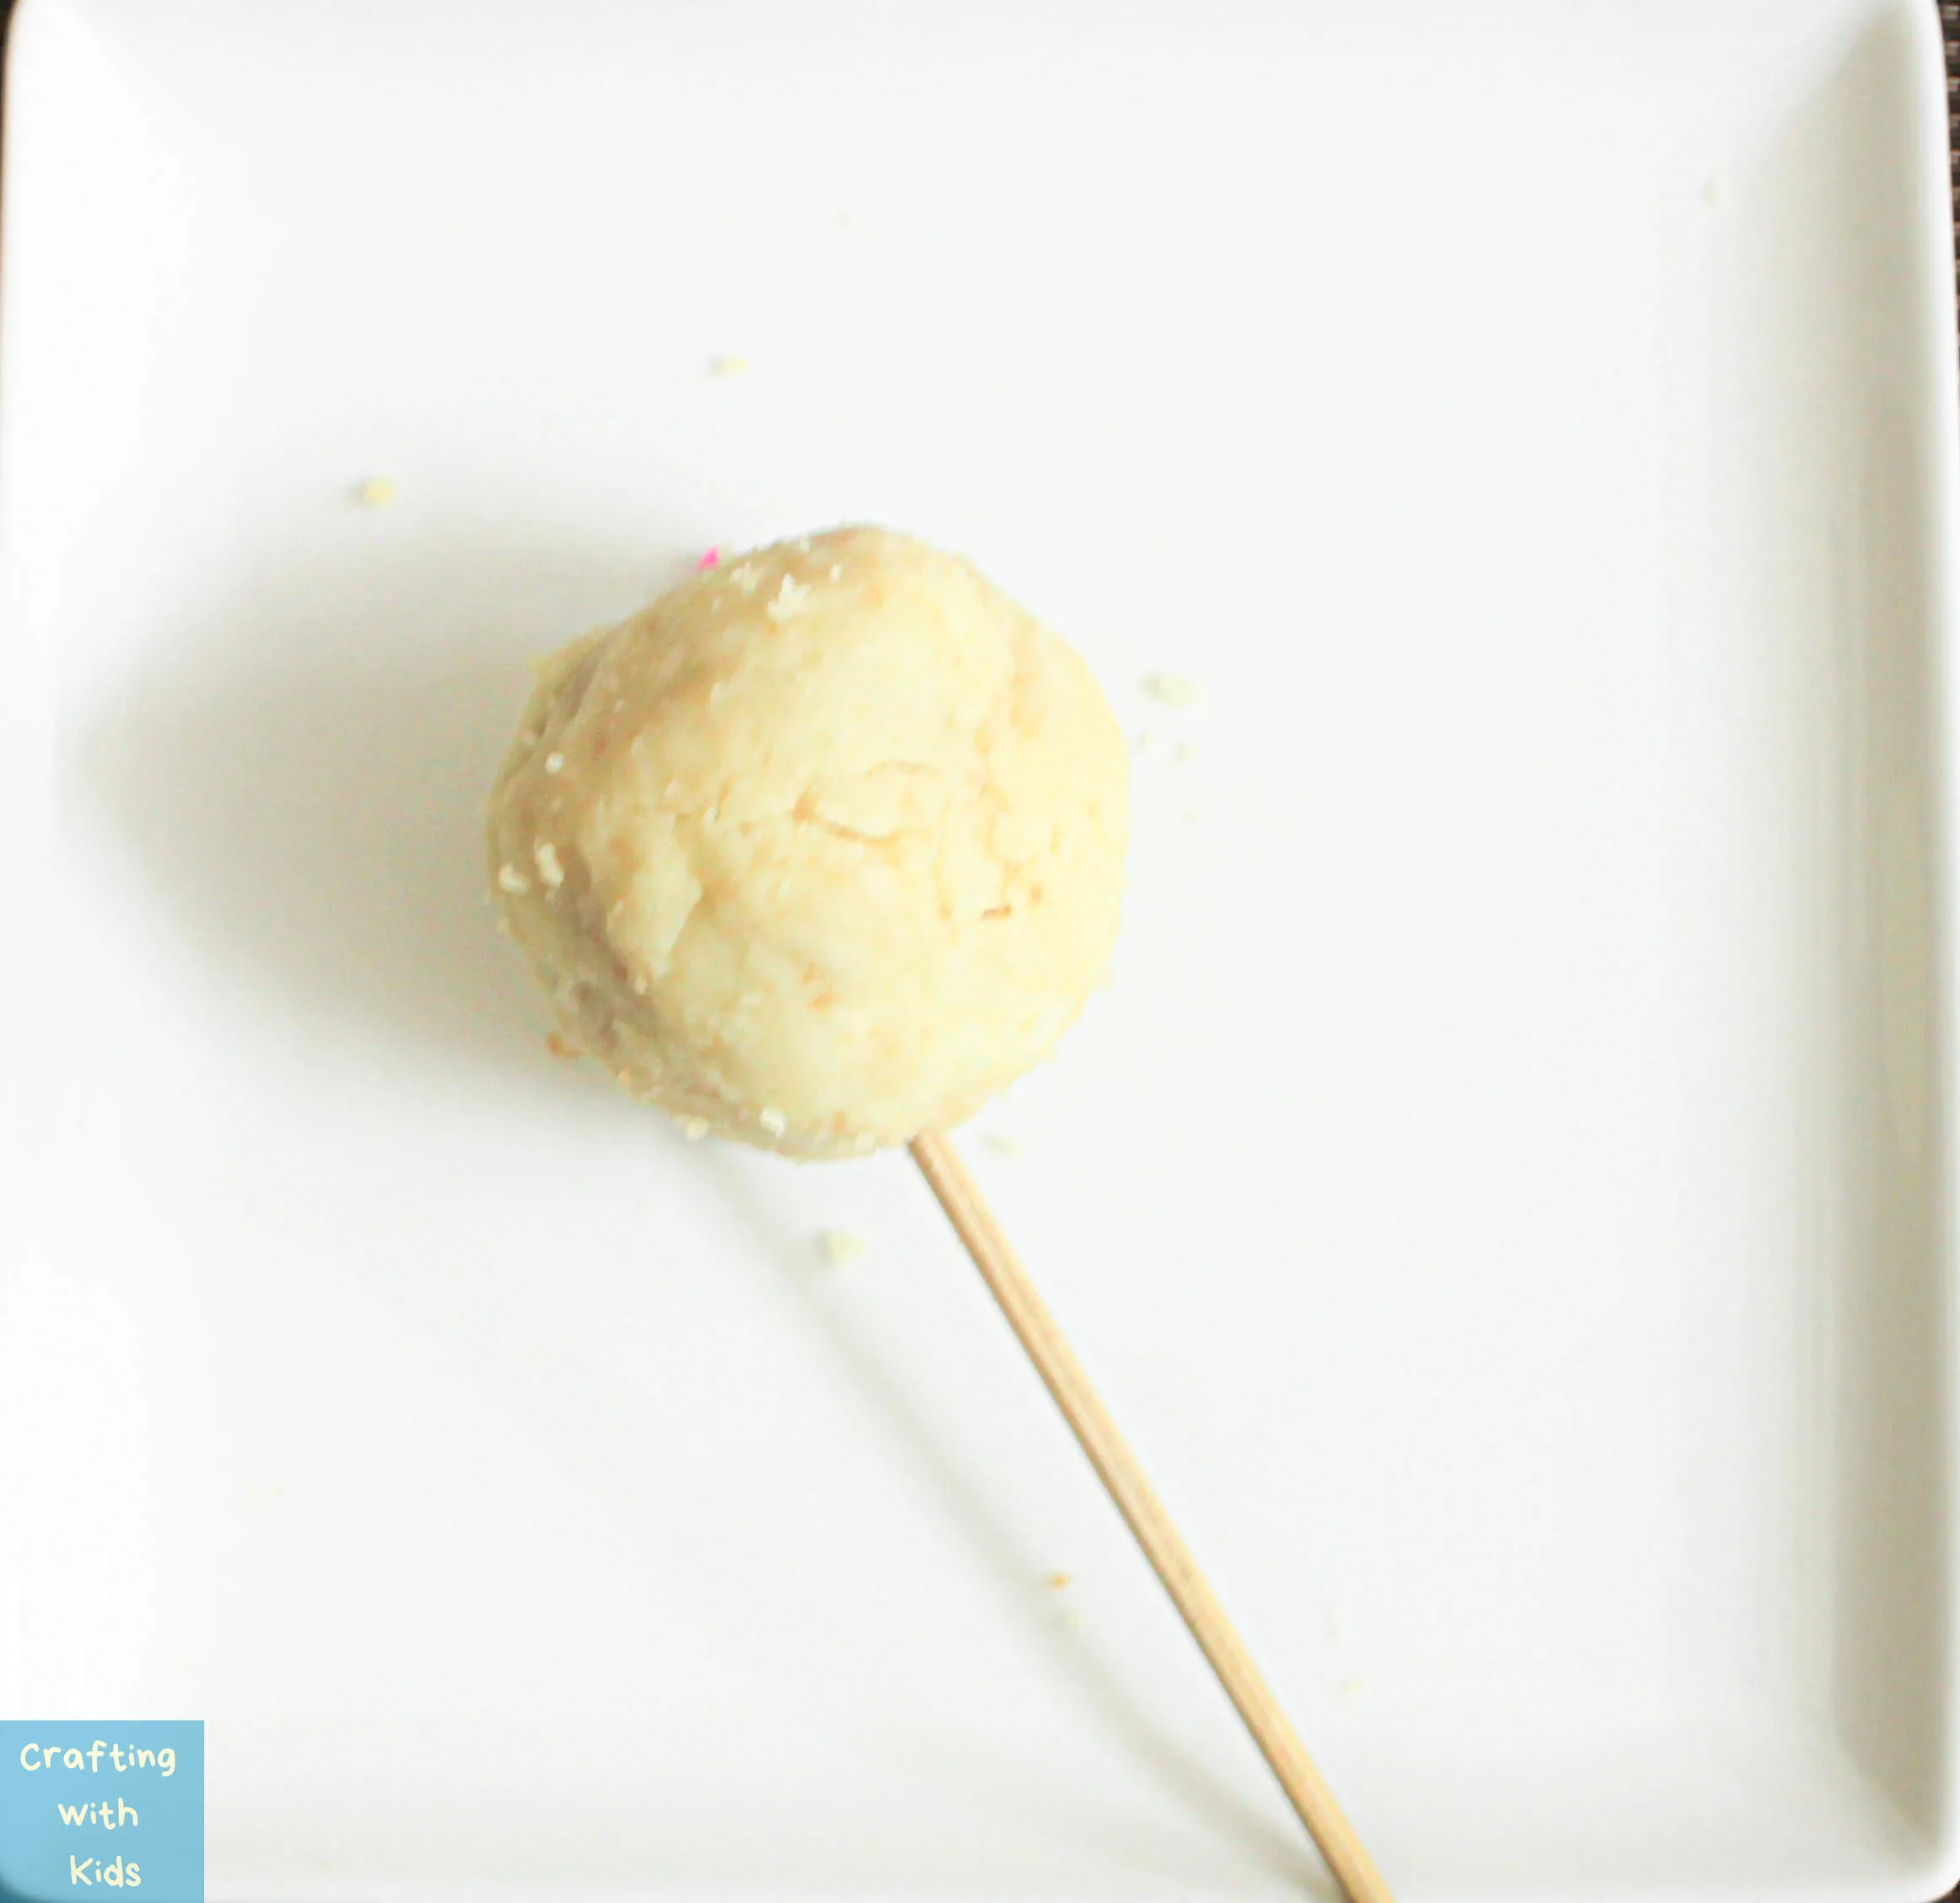
Step 6:
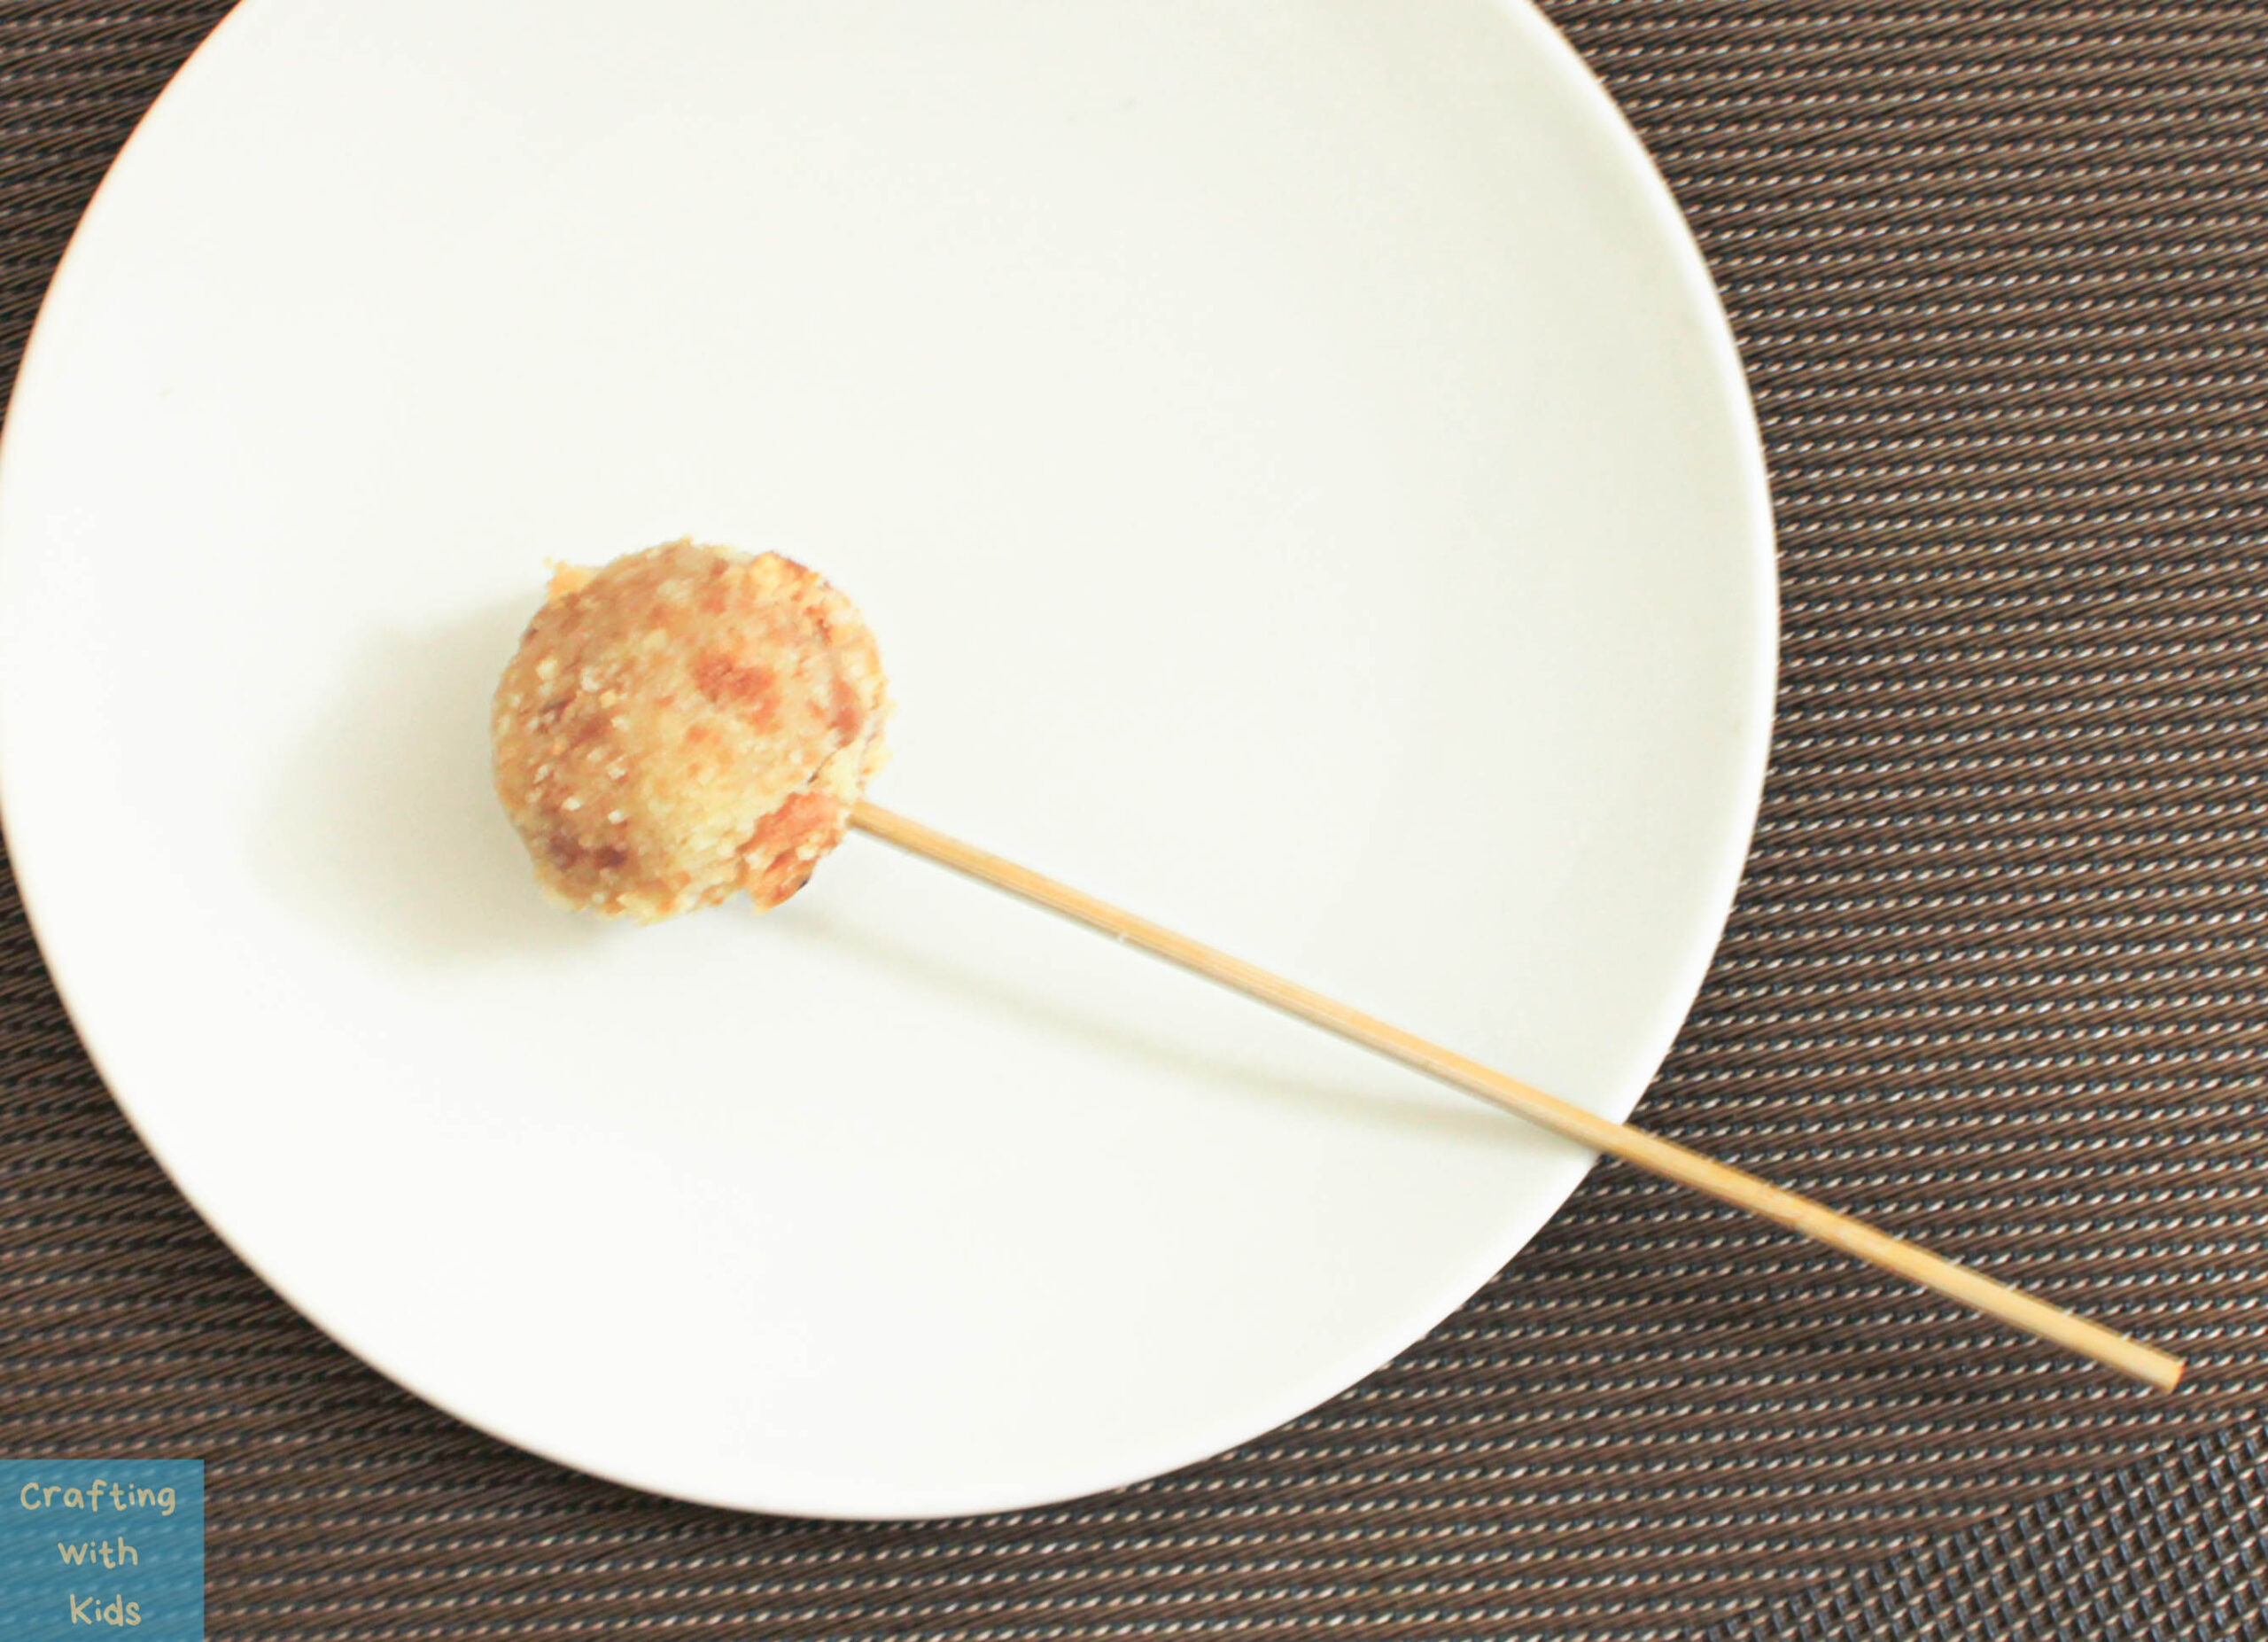
Stick skewers into the middle of the cake balls. Mould it again slightly so that it sticks better to the skewer stick.

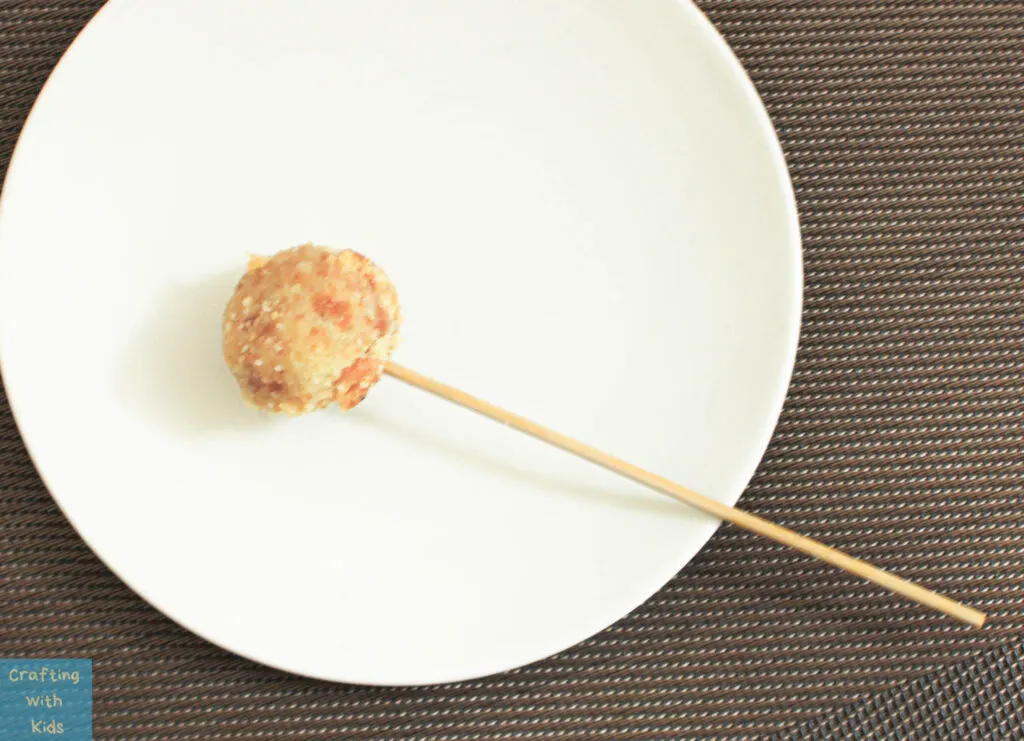
Step 7:
Dip the cakes on the stick into the bowl of melted white chocolate. Twist it around inside the bowl so that all sides of the cake is covered in the white chocolate.


Step 8:
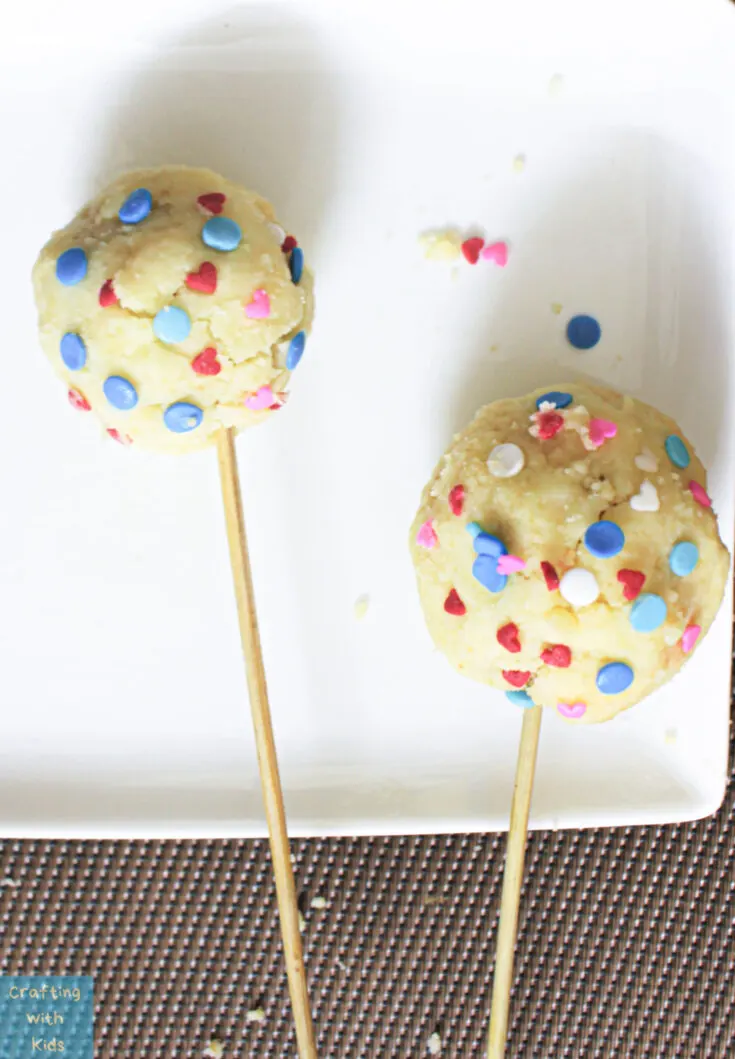
Take the chocolate covered cake pop and roll it around in the plate full of sprinkles. Do not press too hard while rolling so that the sprinkles do not end up covered in white chocolate again.
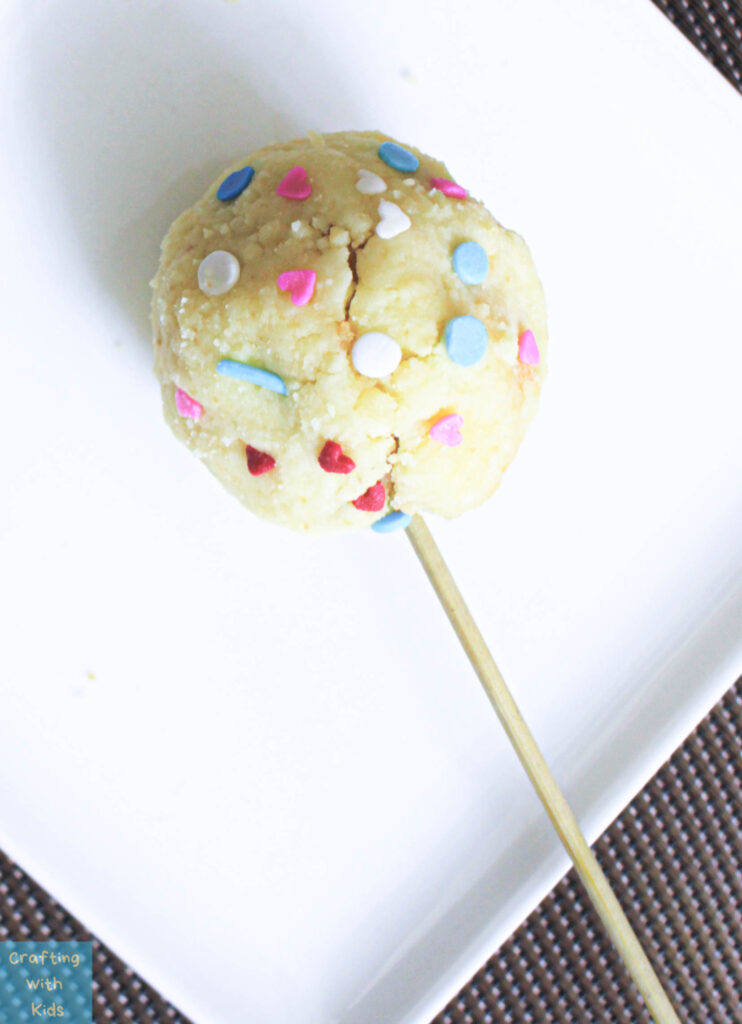

There really are no rules to this step, roll it around, press it on, dip it in, sprinkle it on top. Whatever you want to do to get the cake pop covered in sprinkles, go ahead and do just that.
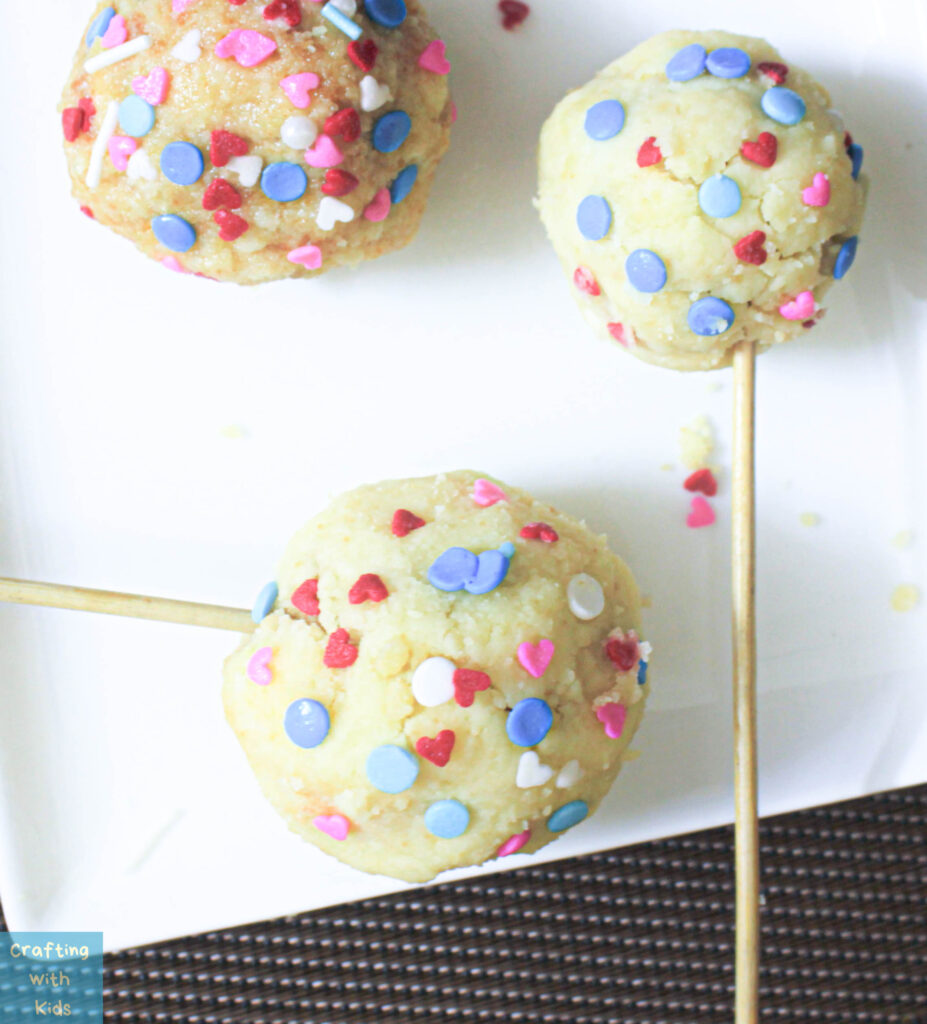

Once the cake pops are patterns of red, white, and blue, set them on a plate and leave them in the refrigerator for a while. Leaving them in there is what will make sure they don’t fall apart.

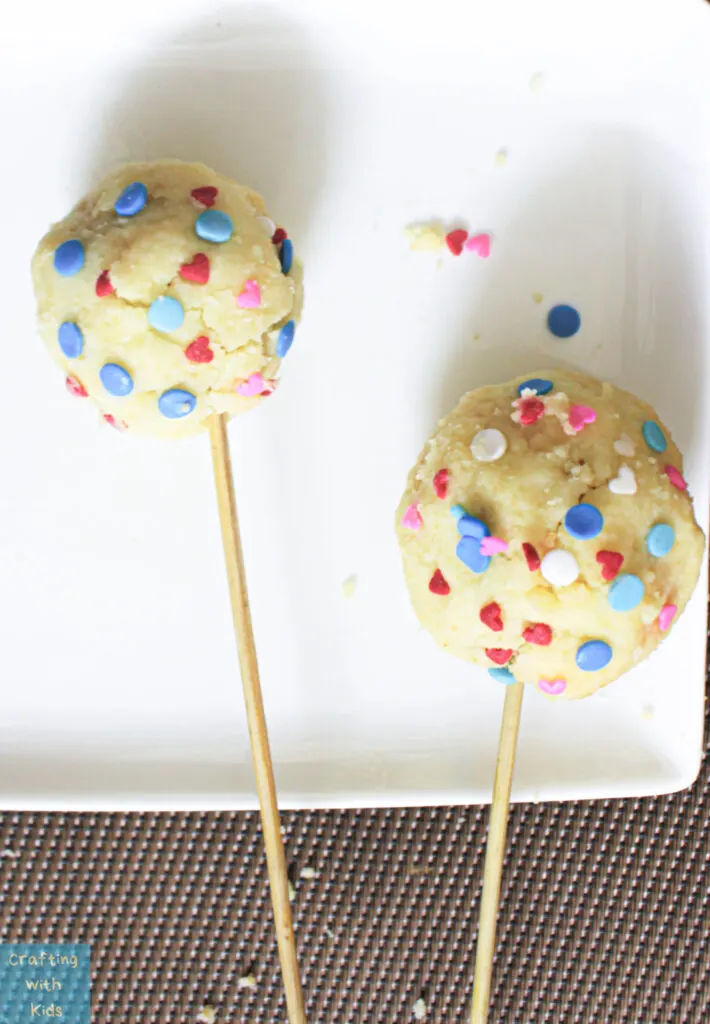
Once the white chocolate coating has hardened, take the cake pops out and voila!

Enjoy your new no bake cake pops. The best part about this recipe is that older kids can make these all by themselves. You can even substitute different colored sprinkles for different holidays or occasions.
No Bake Cake Pops for Kids

Learn how to make these easy no bake cake pops that are great for the 4th of July. With just a few simple ingredients (no oven needed), your kids can whip these fun treats up in no time.
Ingredients
- Store bought pound cake (or leftover cake pieces)
- Frosting or cream cheese
- White chocolate
- Red and blue sprinkles
- Skewers
Instructions
- Take about a half of the cake loaf and crumble it into pieces. Make it a mixture of large and small pieces so that it is easier to mold later.


- Mix the cake crumbles with frosting or cream cheese. If the mixture becomes too dry, add more frosting or cream cheese. But if the mixture becomes too soft, you need to add more cake. keep mixing until you get a consistency that can be formed into a dough.
- Grab a small handful of the cake mixture and roll in into a little ball in the palm of your hands. Make several balls of cake and set them aside.

- Break the white chocolate into little pieces and melt them together in a bowl. If your white chocolate is not melting easily try adding a bit of vegetable oil before melting.
- Take the red and blue sprinkles and spread them on a small plate. You can see we used an array of hues for the blues and reds and that's ok! Be creative!
- Stick skewers into the middle of the cake balls. Mould it again slightly so that it sticks better to the skewer stick.

- Dip the cakes on the stick into the bowl of melted white chocolate. Twist it around inside the bowl so that all sides of the cake is covered in the white chocolate.
- Take the chocolate covered cake pop and roll it around in the plate full of sprinkles. Do not press too hard while rolling so that the sprinkles do not end up covered in white chocolate again.


- There really are no rules to this step, roll it around, press it on, dip it in, sprinkle it on top. Whatever you want to do to get the cake pop covered in sprinkles, go ahead and do just that.
- Once the cake pops are patterns of red, white, and blue, set them on a plate and leave them in the refrigerator for a while. Leaving them in there is what will make sure they don’t fall apart.
- Once the white chocolate coating has hardened, take the cake pops out and voila!
Notes
You can use this recipe for any occasion; all you have to do is change up the colored sprinkles!
Leave a comment