
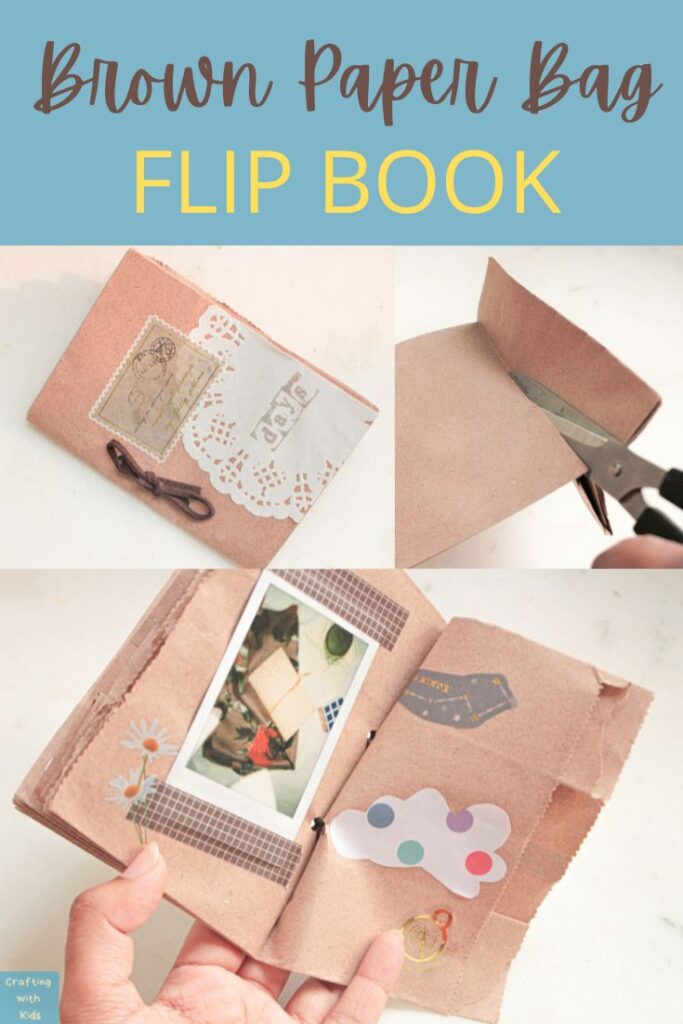
Learn how to make a simple paper bag craft for kids with a brown bag flip book. This easy homemade flip book is great for kids young and old!
Scrapbooking and journaling are usually some of the more creative activities for both older and younger kids. While it’s easy to buy a do-it yourself flip book kit, it’s usually difficult to find ones that are made of only a couple pages.
If you want to create a mini book for something that only needs a few pages, this DIY paper bag book is the perfect solution. Here is how you can make this cute paper bag craft for kids with a brown bag flip book.
P.S. Make sure to check out 20 other Flip Books Ideas before you leave. I’ve also got a full tutorial on how to make an easy animated flip book for kids. Creating flip books are a great craft for younger kids to encourage fine motor development.
Disclosure; this post contains affiliate links. As an Amazon Associate I earn from qualifying purchases. This disclosure statement refers to the rest of the Amazon links in this post. See more on my disclosure page.
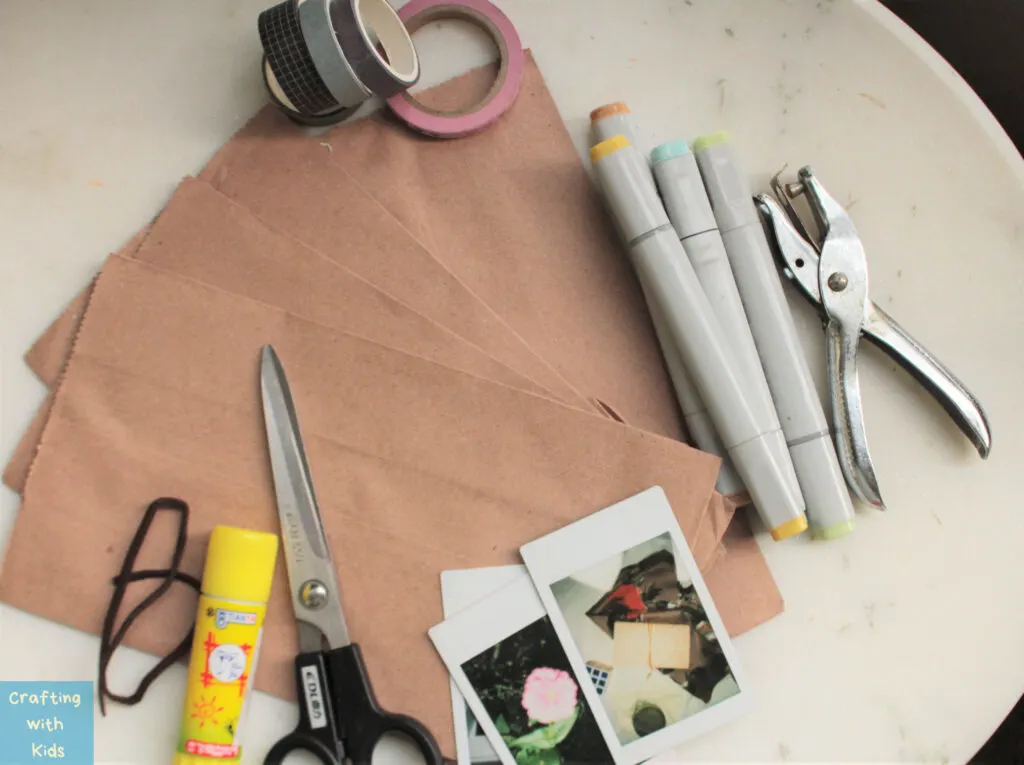
What you will need:
- 3 to 5 paper bags
- Scissors
- Hole punch
- Ribbon/ cord/ string
- Colorful markers or colored pencils
- Washi tape
- Photographs or postcards
- Glue

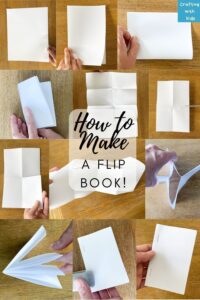
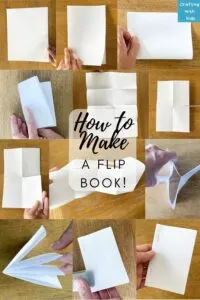
How to Make a Paper Bag Craft for Kids with a Brown Bag Flip Book
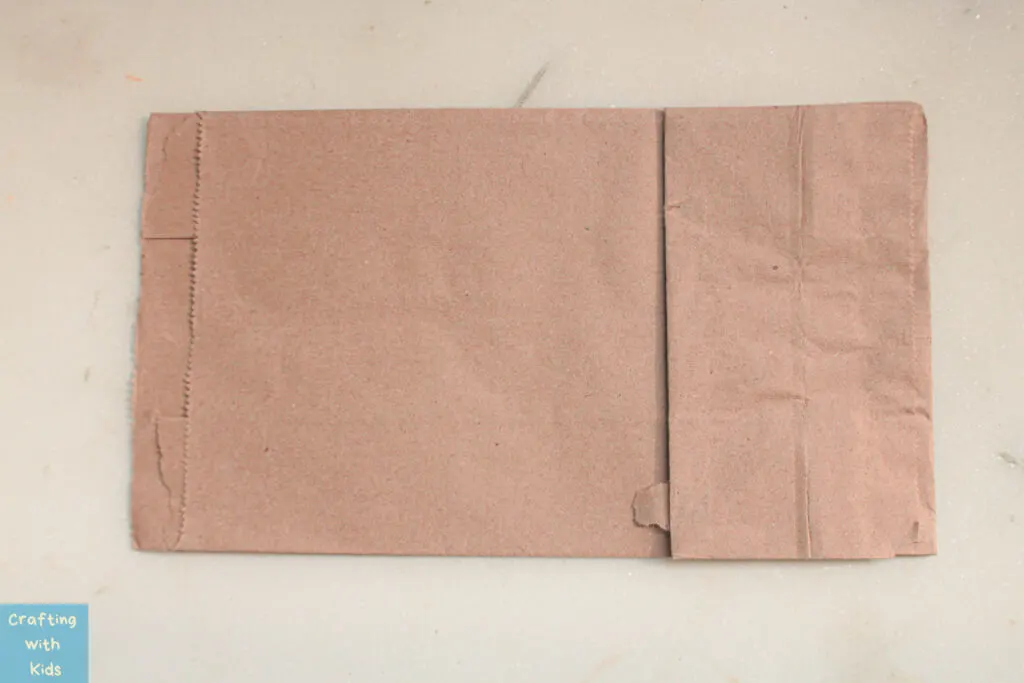
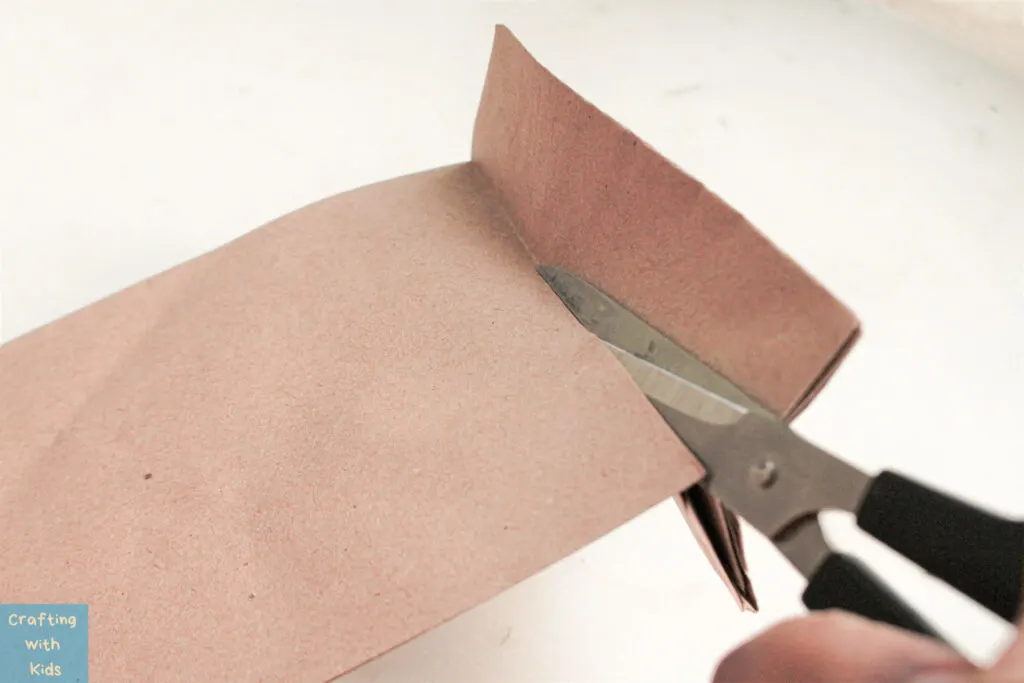
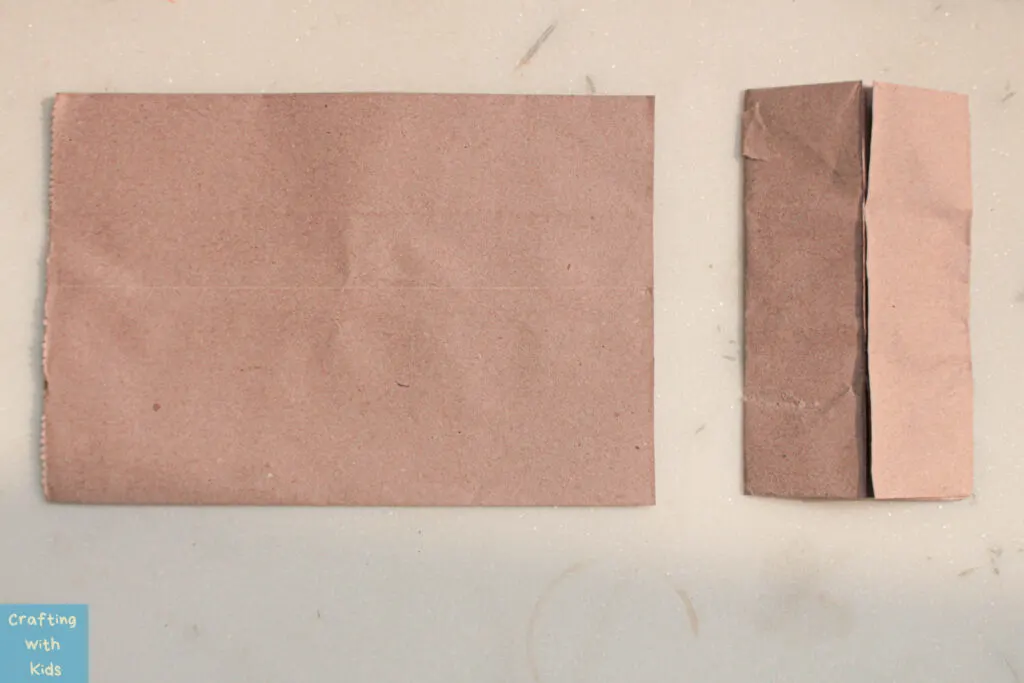
Step 1:
Take one of the paper bags and cut along the bottom where the base meets the side. Repeat this with all the paper bags.


Step 2:
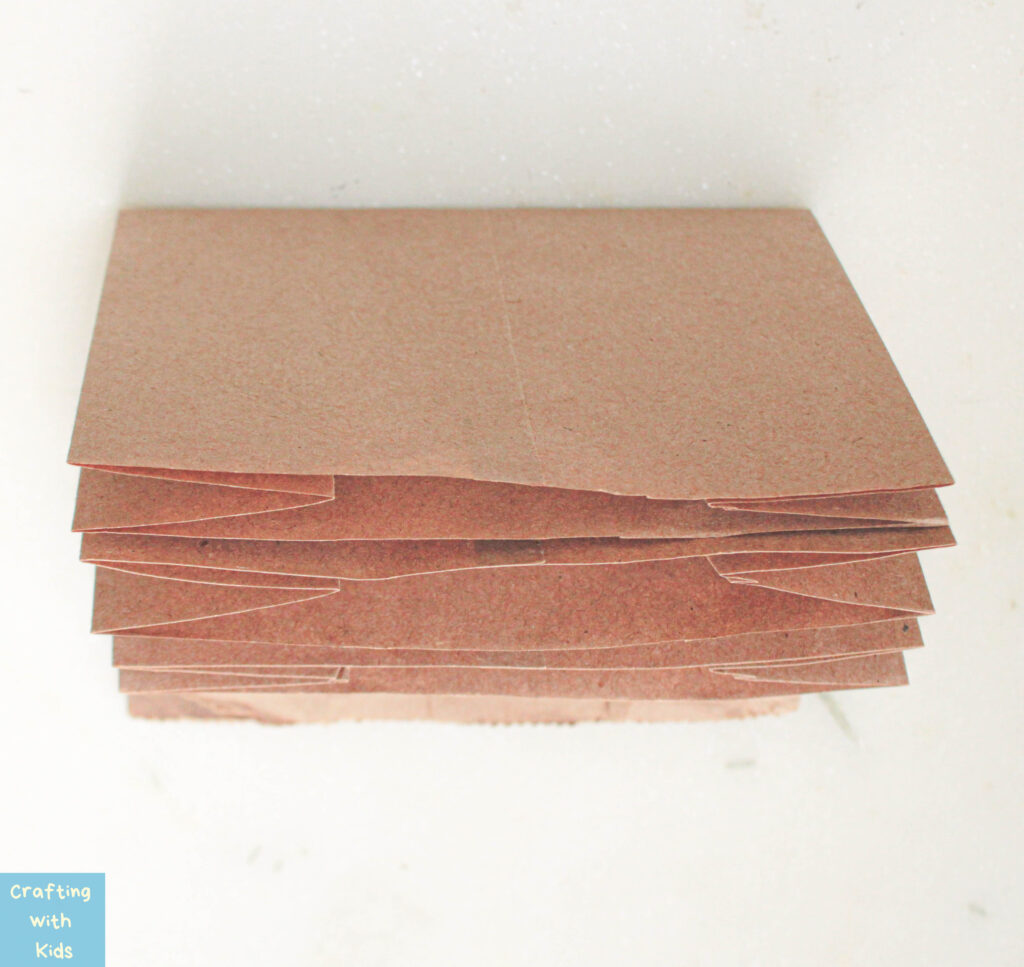
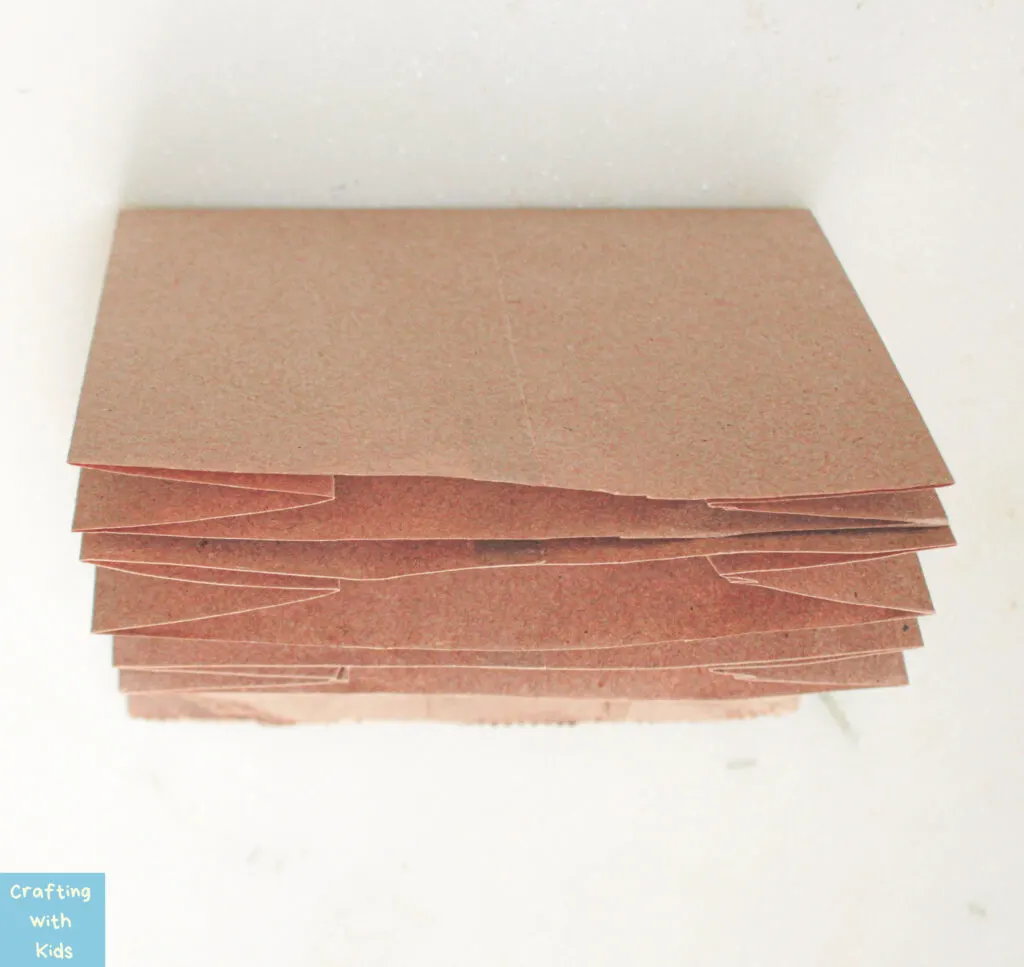
Once you have cut all the paper bags to size, stack them on top of each other and make sure they are aligned. Then fold the stack of cut paper bags in half.
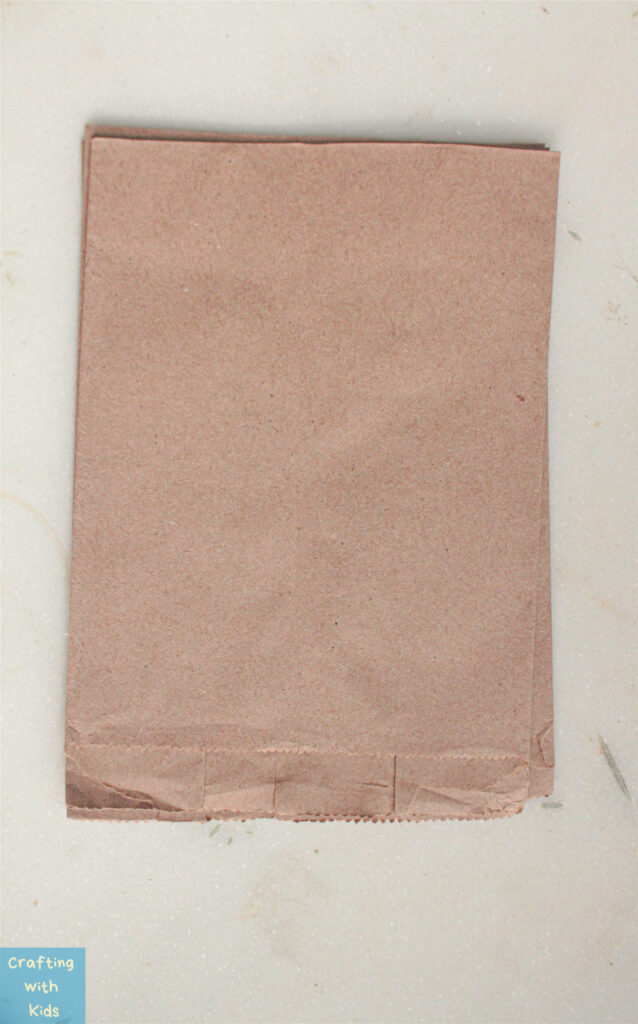
You can also fold the cut paper bags in half individually, and them stack them on top of each other.
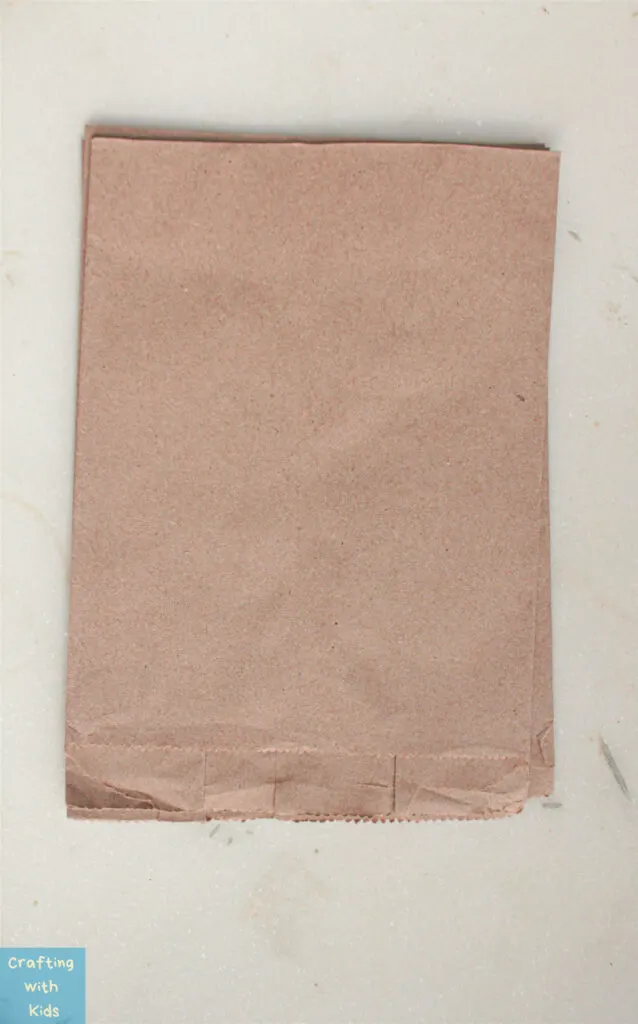
Step 3 (optional):
At this stage you can cut the edges of the paper bags to be aligned perfectly with each other. Or you could them as they are since the rough edges have a unique charm of their own.
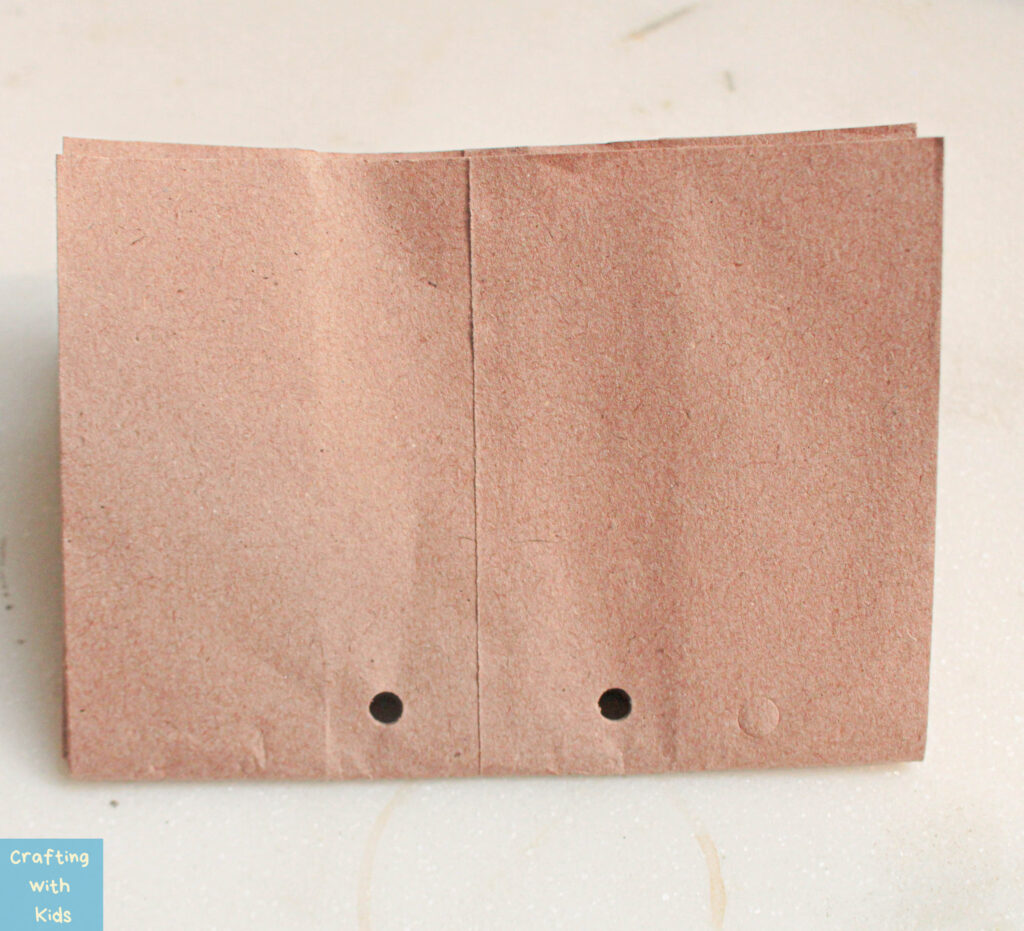
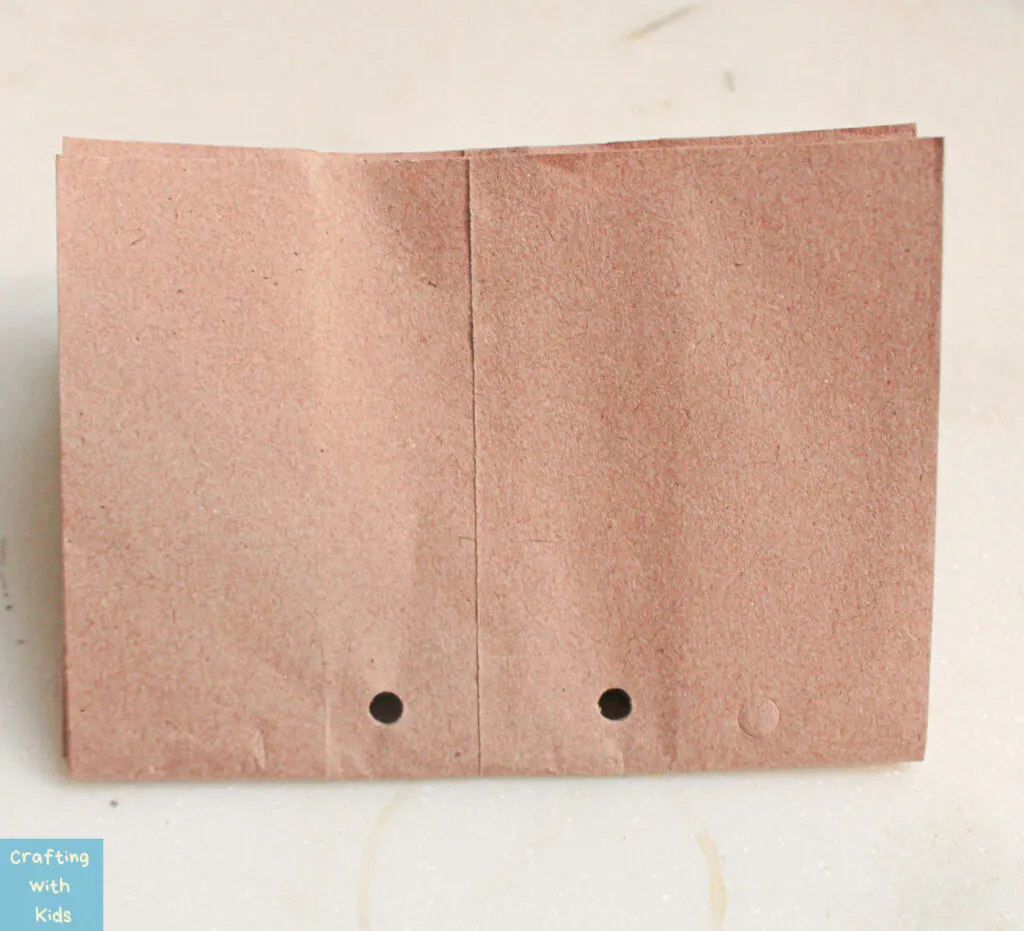
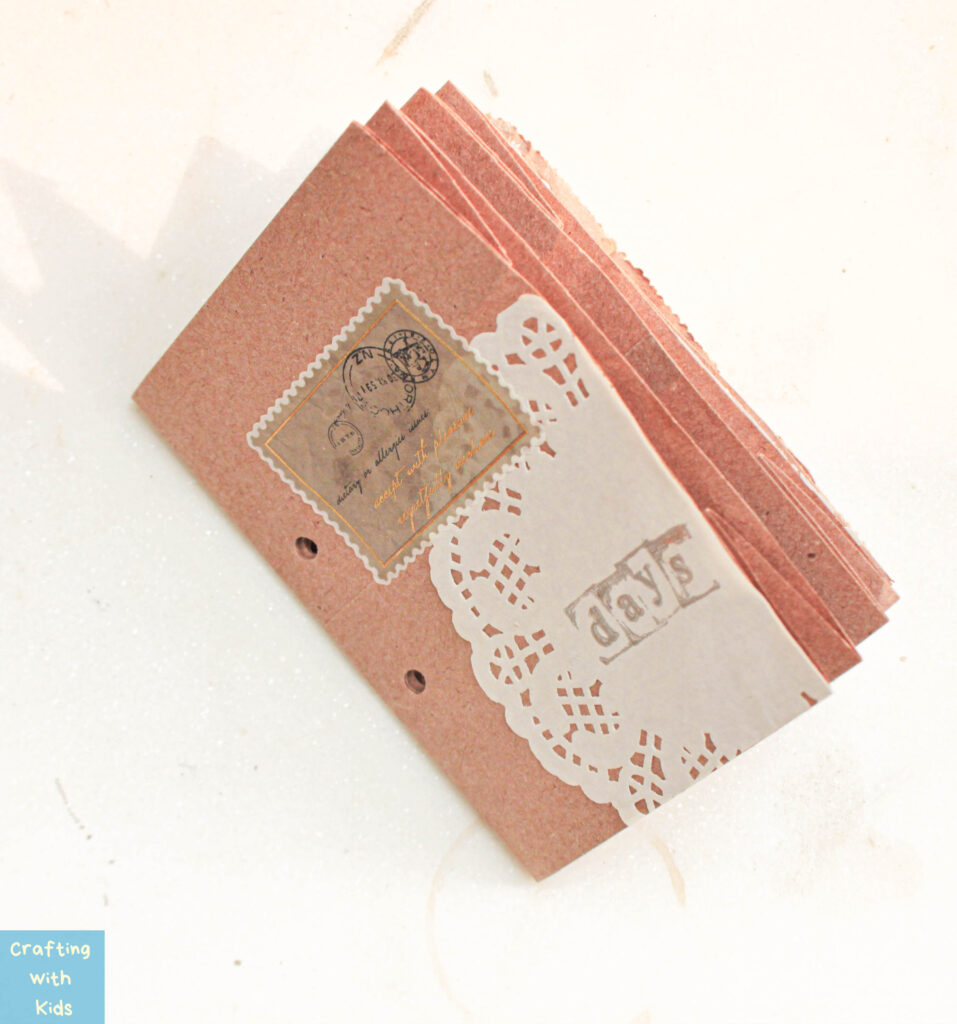
Step 4:
With all the folded paper bags lined up, use the hole punch to make two to three holes near the middle of the crease. This will be used later to tie all the bags together.
Step 5:
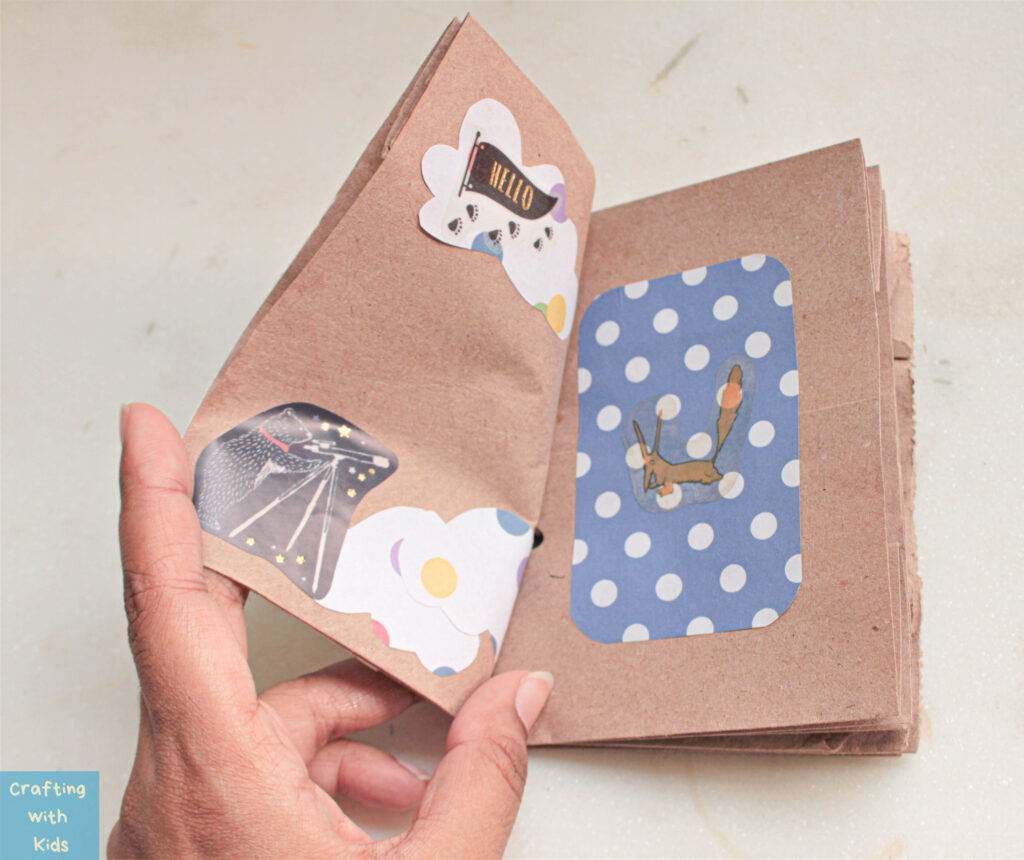
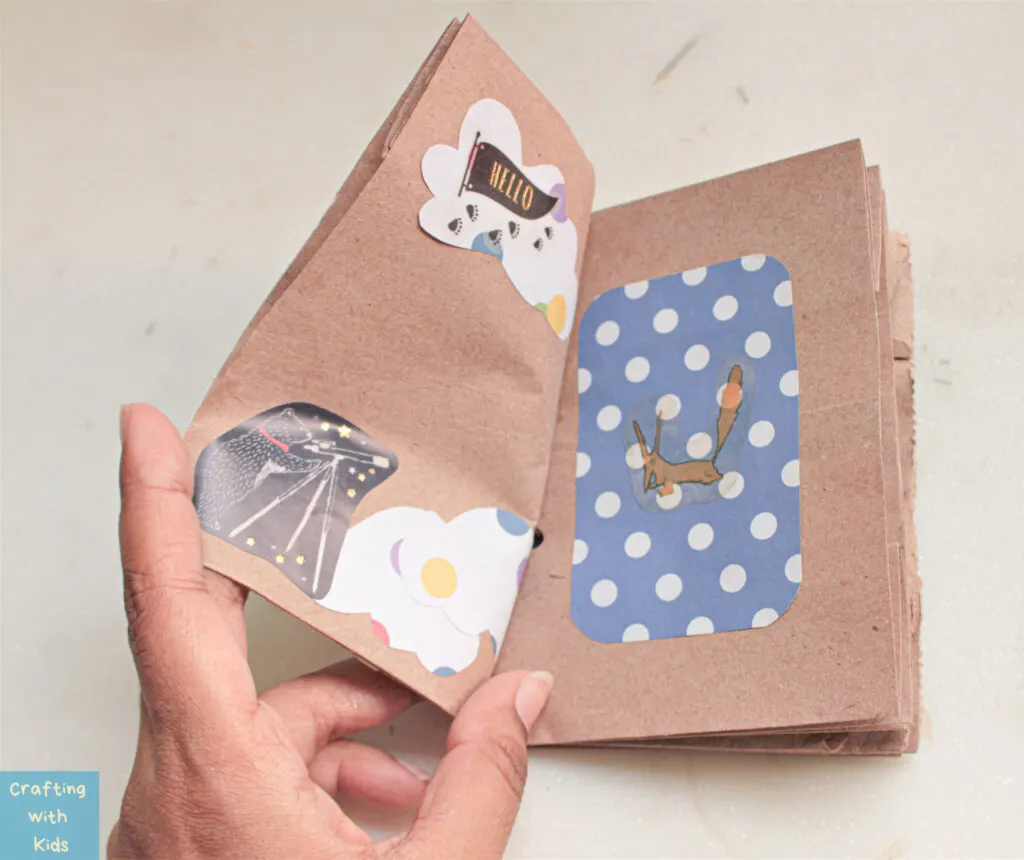
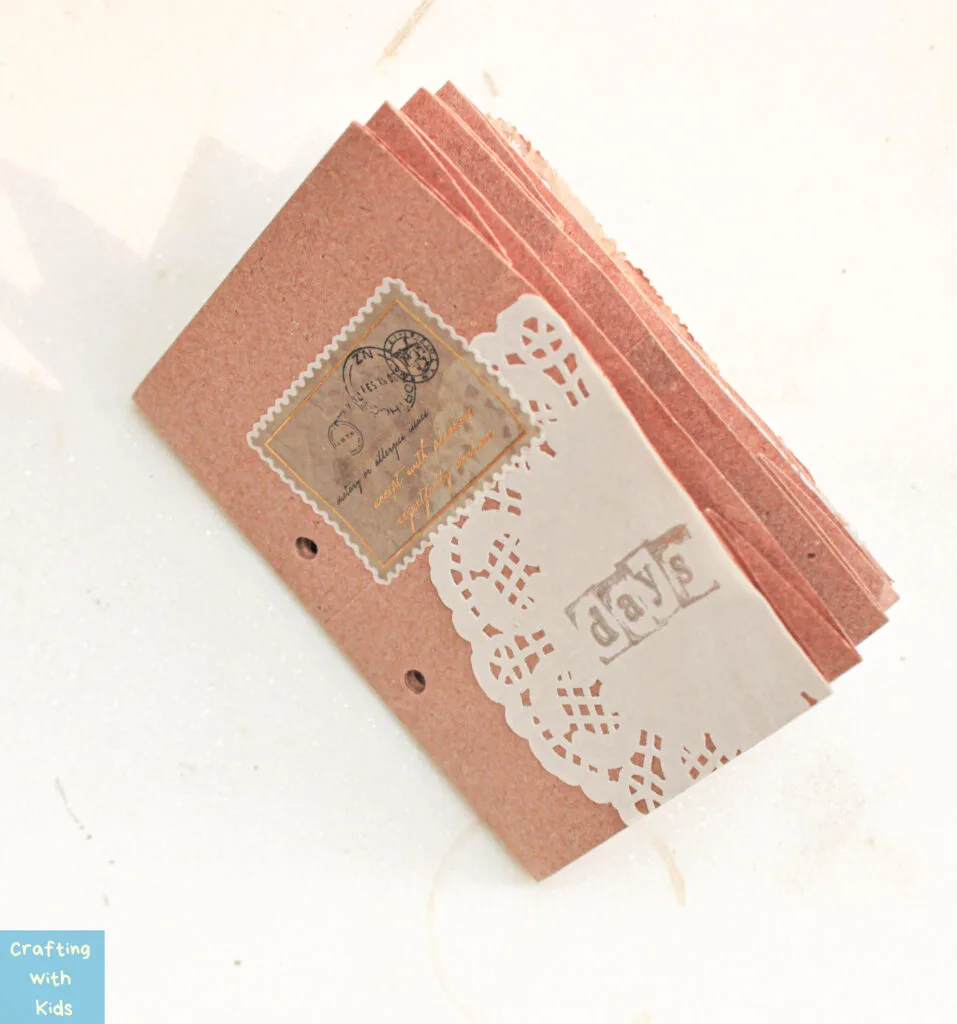
This is arguably the best part of this DIY so time to get creative! There are no rules for this step but here are some of the things that can be done:
- Cover the “pages” with pattered paper or doilies
- Create different shaped cut outs from different papers and stick them to the pages
- Add washi tapes and stickers for that extra unique touch
- Stick photos using glue or washi tape
- Write down your favorite quotes or song lyrics
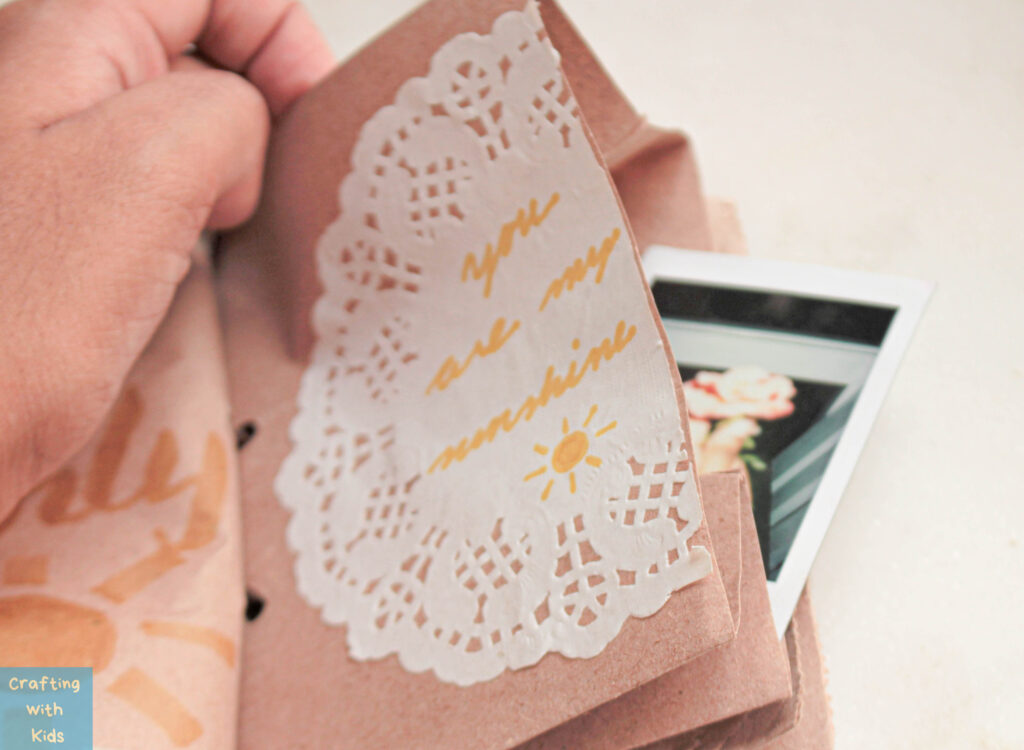
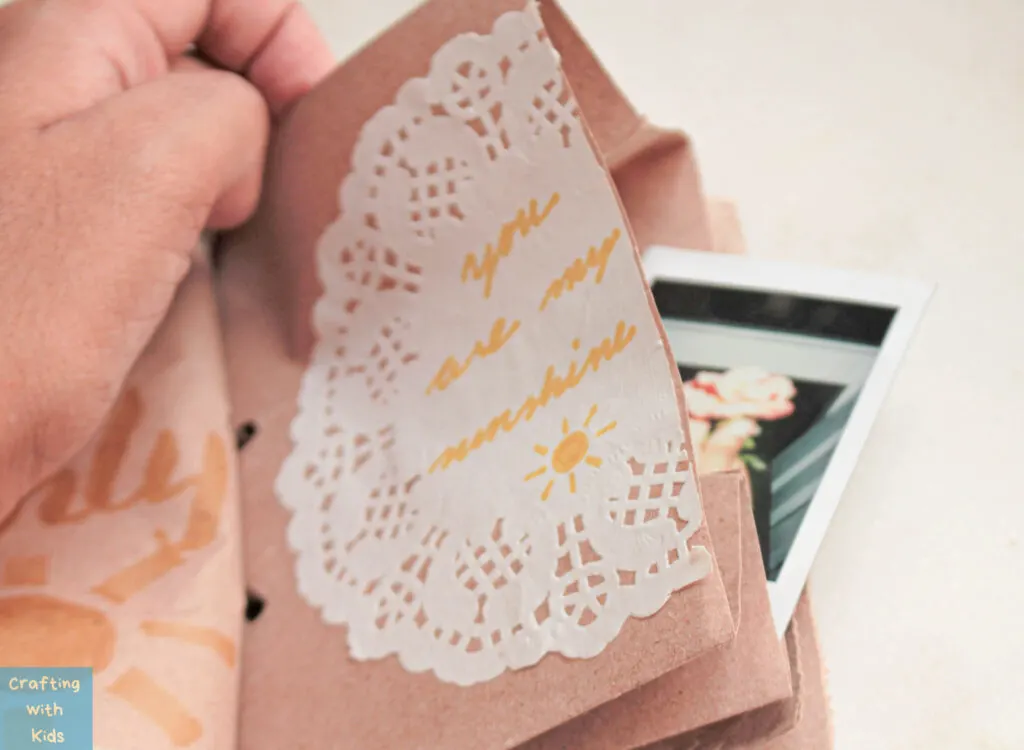
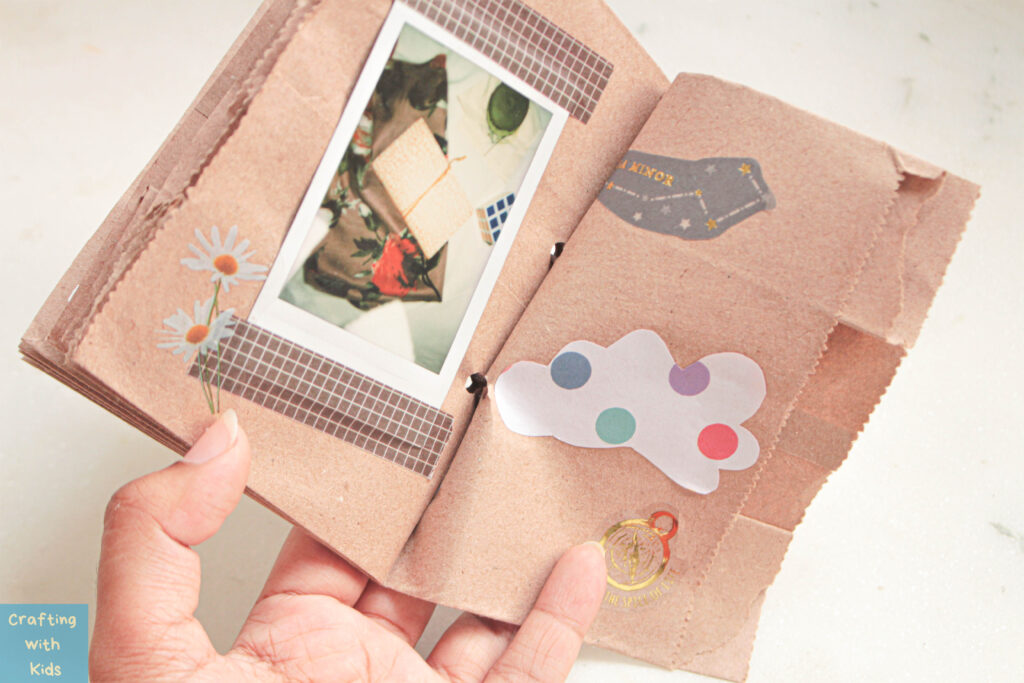
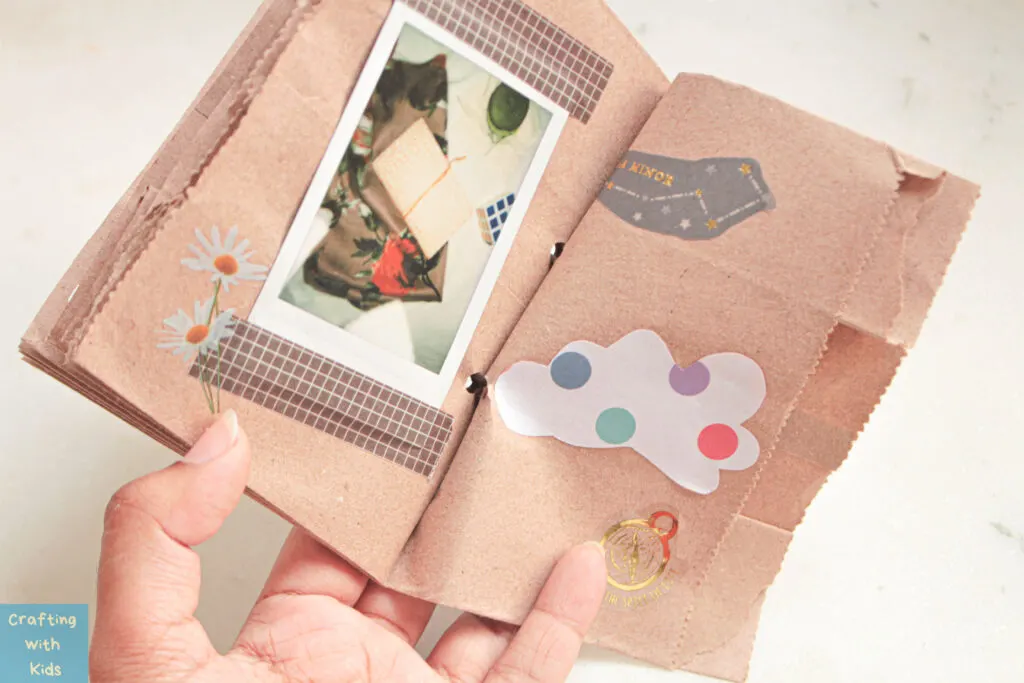
Don’t forget to use the pockets! Fill them up will little mementos like cut up postcards, tickets, or even polaroids.

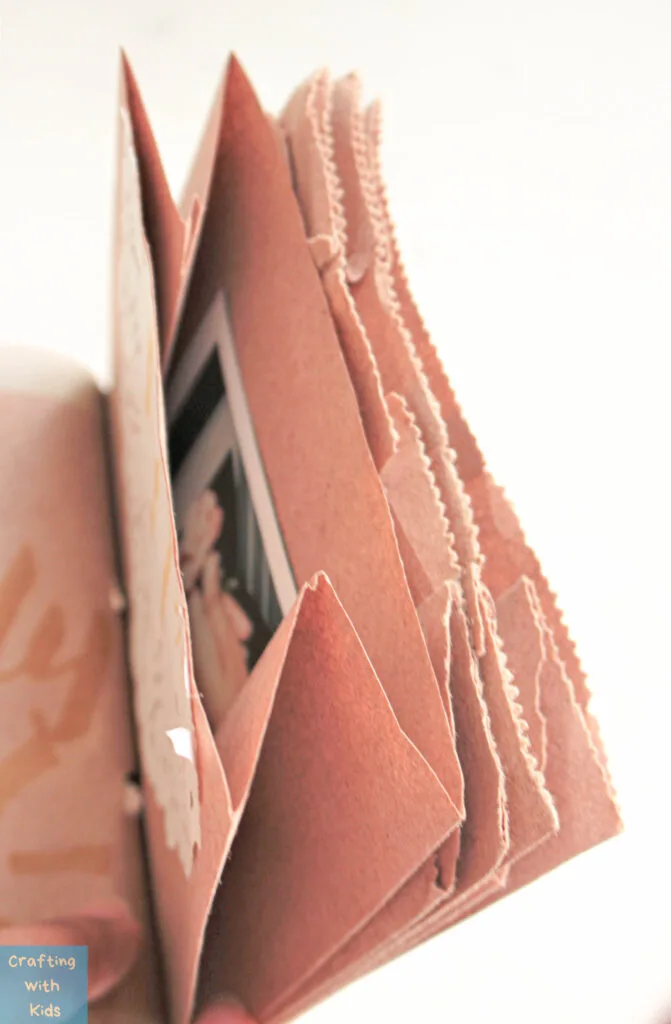
There are so many ways to decorate this and none of them can be wrong! So, fill the pages up to your heart’s desire.
Step 6:
Take any string, cord or any ribbon and tie and thread it through the holes punched in the previous step. Tie it securely in place so that the pages are all bound together and will not fall apart.

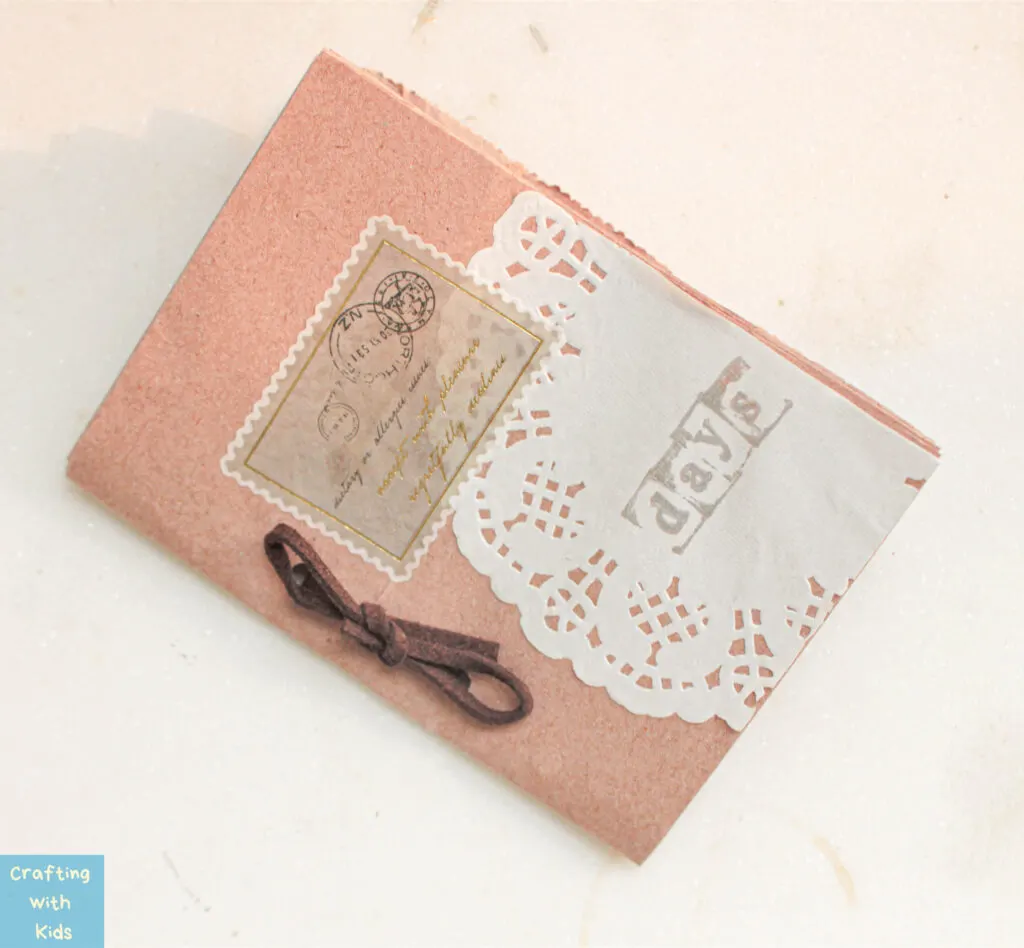
Now you have a wonderful little book that is made from a simple paper bag! You could even fill it with photos and memories of friends or family members and turn this into a thoughtful gift. Or it could have a theme like ‘spring’ and be filled with photos, stickers, and colors that all remind you of spring.
Whether you use it for a gift or just as a spontaneous scrapbooking project, it is sure to be something you will want to flip through over and over again.
See more Paper crafts for kids below:

Happy Crafting!
Leave a comment