
Learn how to make the easiest salt dough ornaments for Christmas or anytime of the year!
With the holidays coming up, holiday themed craft activities are the best way to keep the kids engaged and entertained. It is even better if their crafts are something that can be displayed as holiday décor around the house. These salt dough ornaments will be a perfect choice for this. Not only does this work as an activity that the whole family can enjoy together, but it also makes these adorable home made photo ornaments that can be hung up on the Christmas tree or anywhere else.
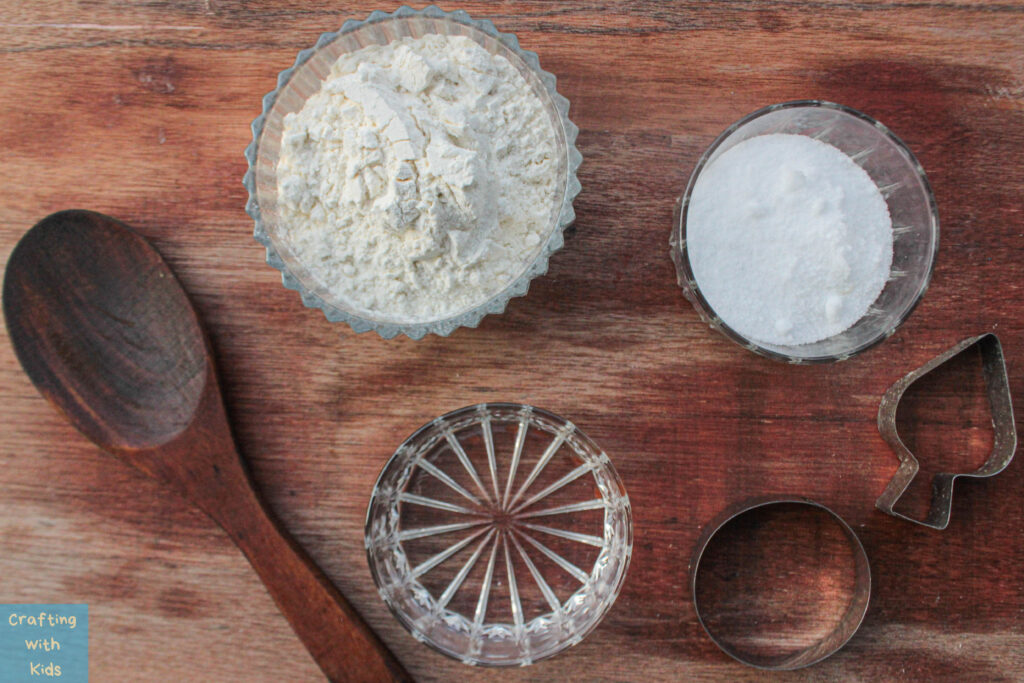
Easy salt dough recipe
- 1 cup Flour (any type of flour will work)
- 1/4 cup Salt (normal table salt works best)
- 1/3 cup Water
- Large spoon
- A rolling pin (you could also use a bottle with a smooth surface if you do not have this)
- Cookie cutters
- A mixing bowl
- Paint and paintbrushes
- Ribbon or thread

DIY Salt Dough Ornament Frequently asked questions;
Q: What is salt dough? A: Salt dough is a simple mixture of flour, salt, and water that can be used to create a variety of crafts, including ornaments.
Q: What are the ingredients for salt dough? A: The basic recipe for salt dough is 2 cups of flour, 1 cup of salt, and 1 cup of water. You can also add food coloring or spices like cinnamon for a different look or scent.
Q: How do I make salt dough ornaments? A: To make salt dough ornaments, mix the ingredients together to form a dough, roll it out, cut out your desired shapes, and bake in the oven at a low temperature until hardened.
Q: How long do salt dough ornaments take to bake? A: Salt dough ornaments typically take 2-3 hours to bake at a low temperature (around 200-250 degrees Fahrenheit) until they are completely hardened.
Q: How do I paint salt dough ornaments? A: Once the ornaments have cooled, you can paint them with acrylic paint or decorate them with markers, glitter, or other embellishments.
Q: How do I store salt dough ornaments? A: Salt dough ornaments can be stored in an airtight container or wrapped in plastic wrap to keep them from getting too dry or brittle.
Q: Can salt dough ornaments be eaten? A: Salt dough ornaments are not meant to be eaten, as they are made with a large amount of salt and are not considered safe for consumption.
Q: Can I make salt dough ornaments with my kids? A: Yes, salt dough ornaments are a great craft to do with kids of all ages. Just be sure to supervise them when using the oven and handling the hot ornaments.
How to make salt dough ornaments the easy way
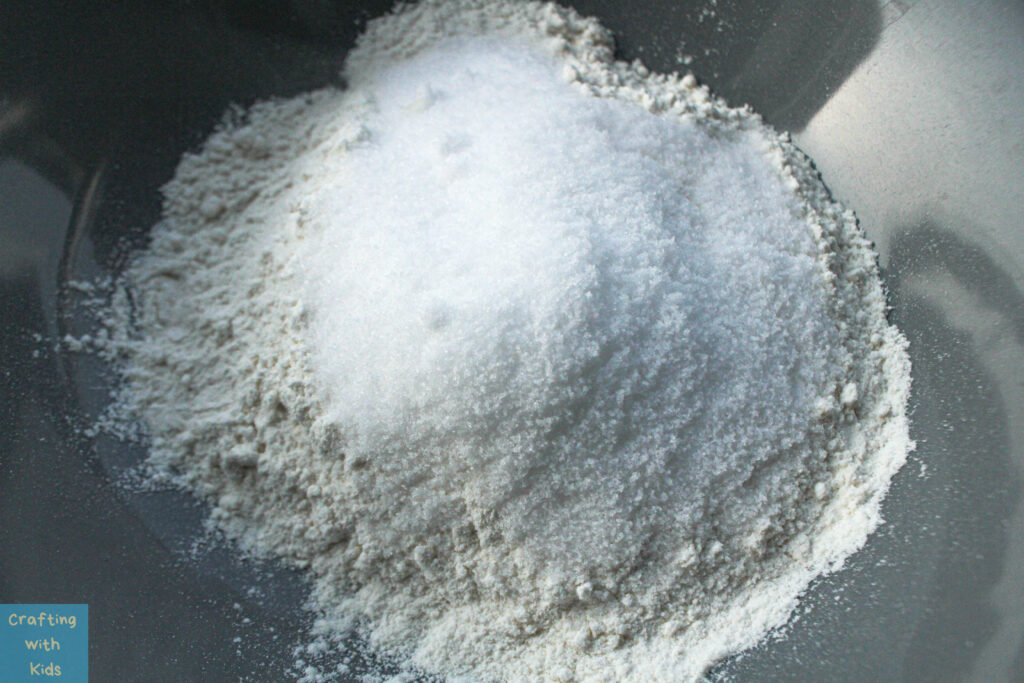
Step 1:
Combine the flour and salt together in a mixing bowl. Use the spoon to make sure they are well combined.

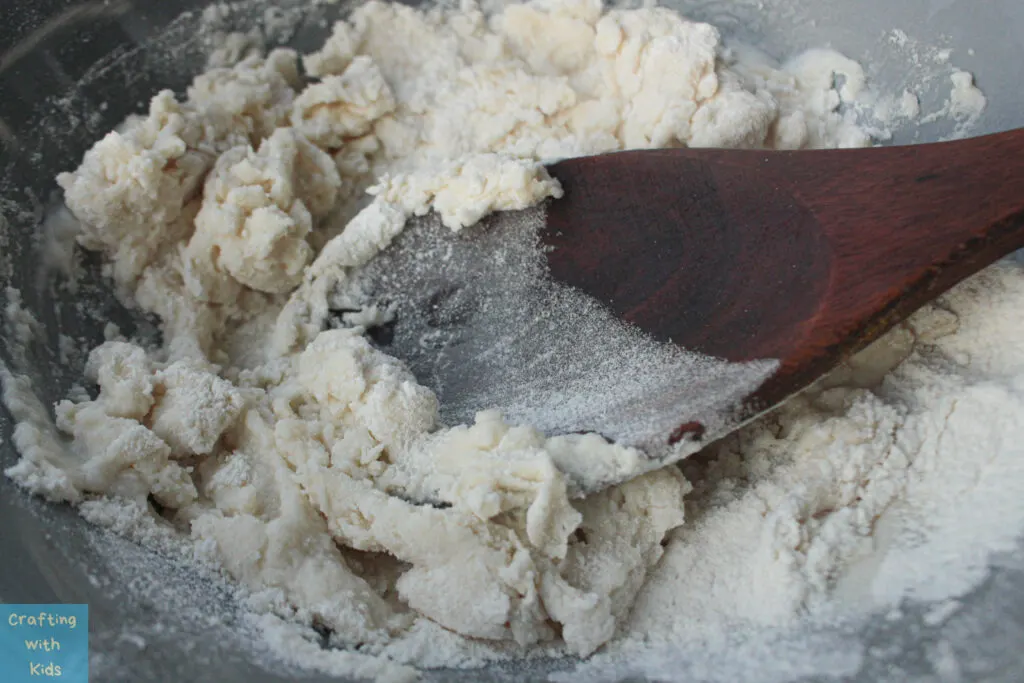
Step 2:
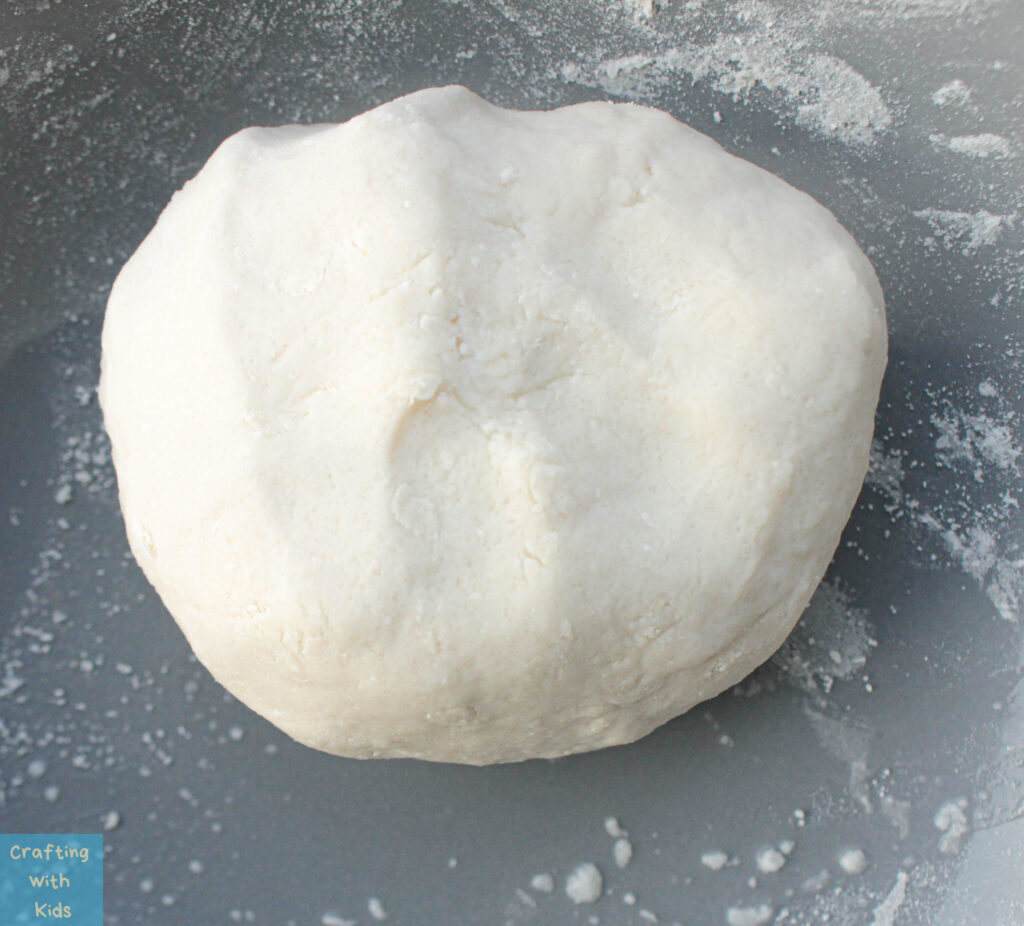
Once the salt and flour are mixed properly, add the water and knead it into the flour mixture using the spoon. Once the dough starts to form, use your hands to turn it into a ball. If the dough seems too dry, add a bit more water, if it is too wet, add a bit more flour to it. Keep combining it until a smooth ball of dough is formed.


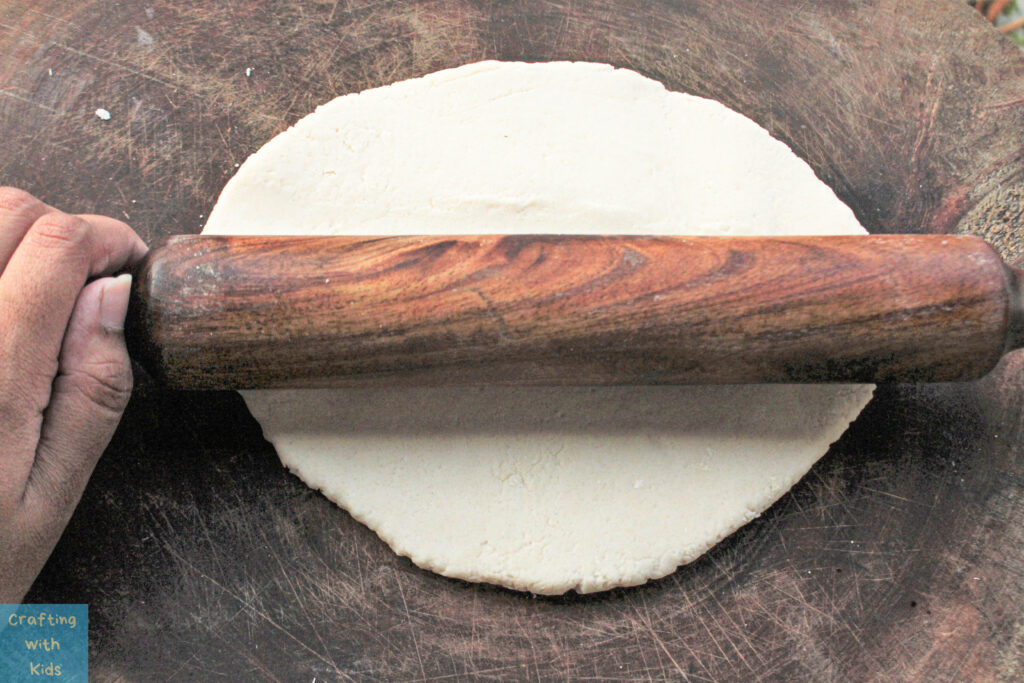
Step 3:
Transfer the dough to a smooth surface and use the rolling pin to roll it out. Make sure the rolled-out dough is about half an inch to a quarter of an inch thick. If it is thicker or thinner, it will not bake as you want.

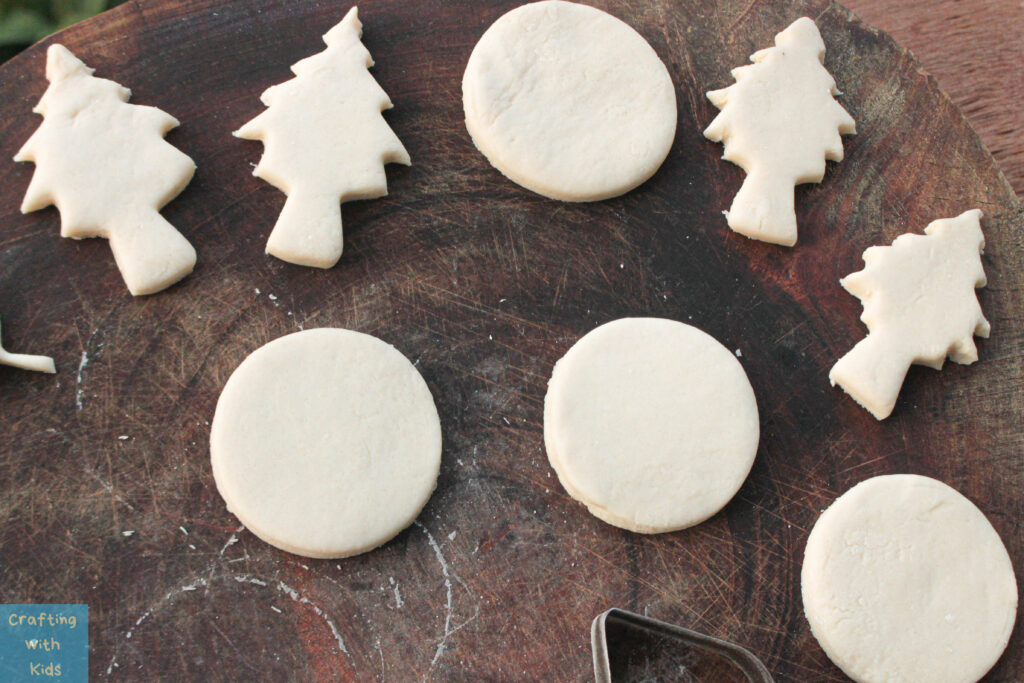
Step 4:
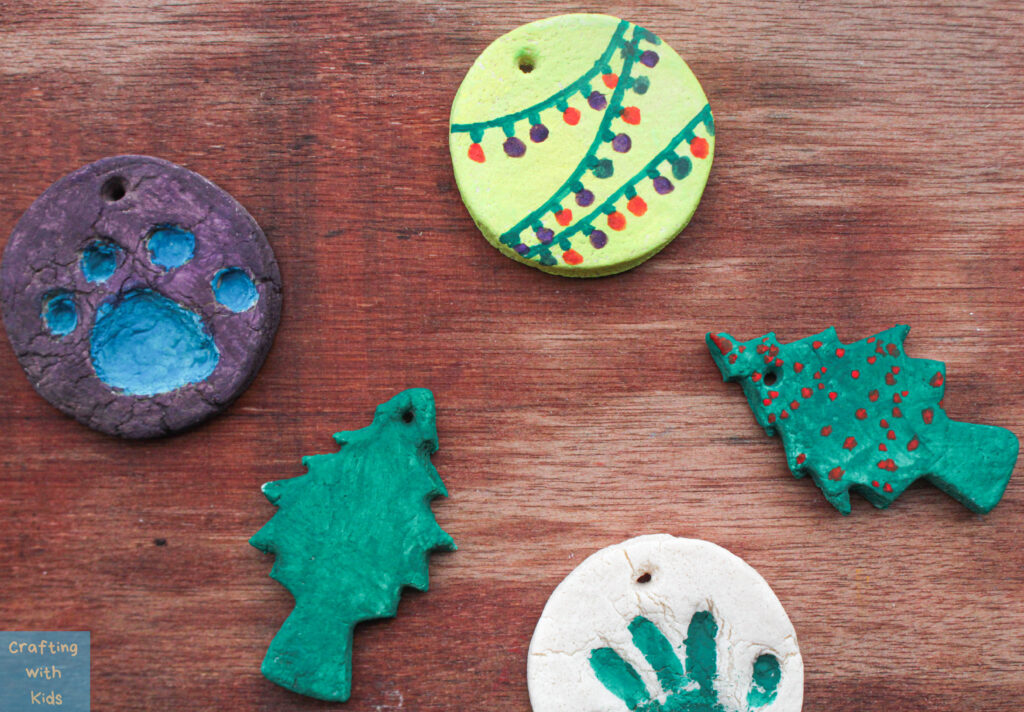
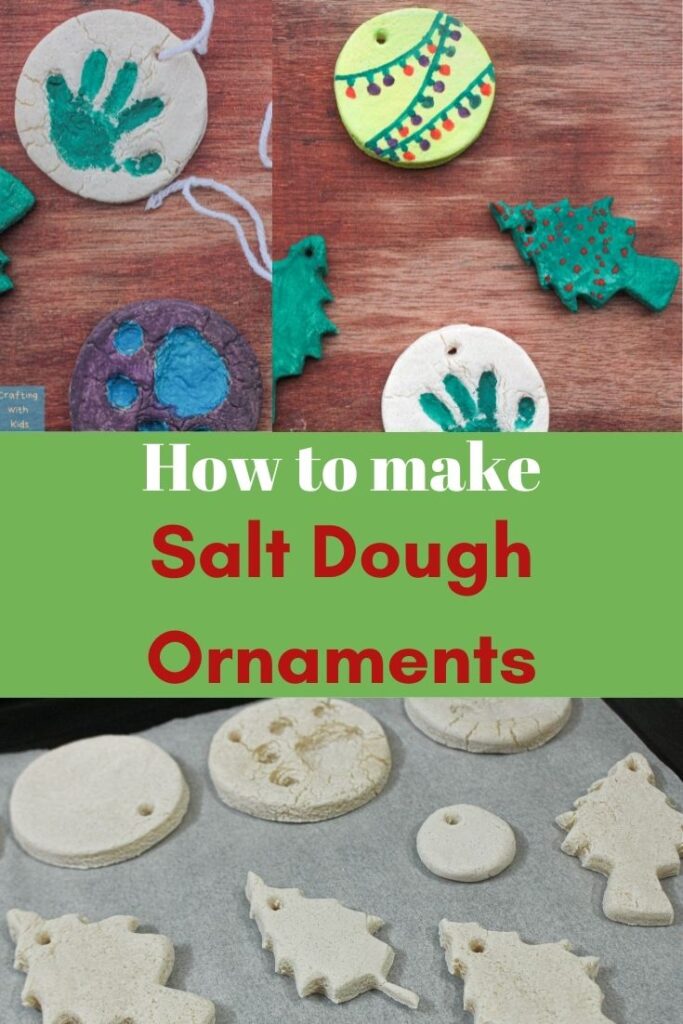
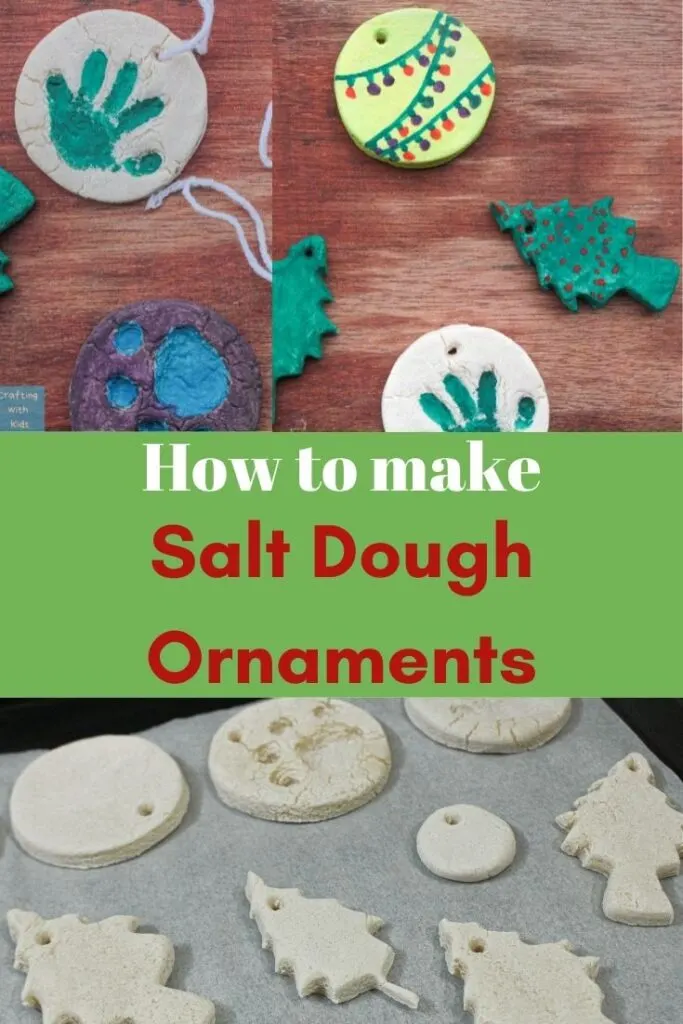
When the dough is rolled out to the desired thickness, use the cookie cutters to cut out the shapes you want. Here we used a circle shape and a spade shape but of course feel free to use any shape you want.
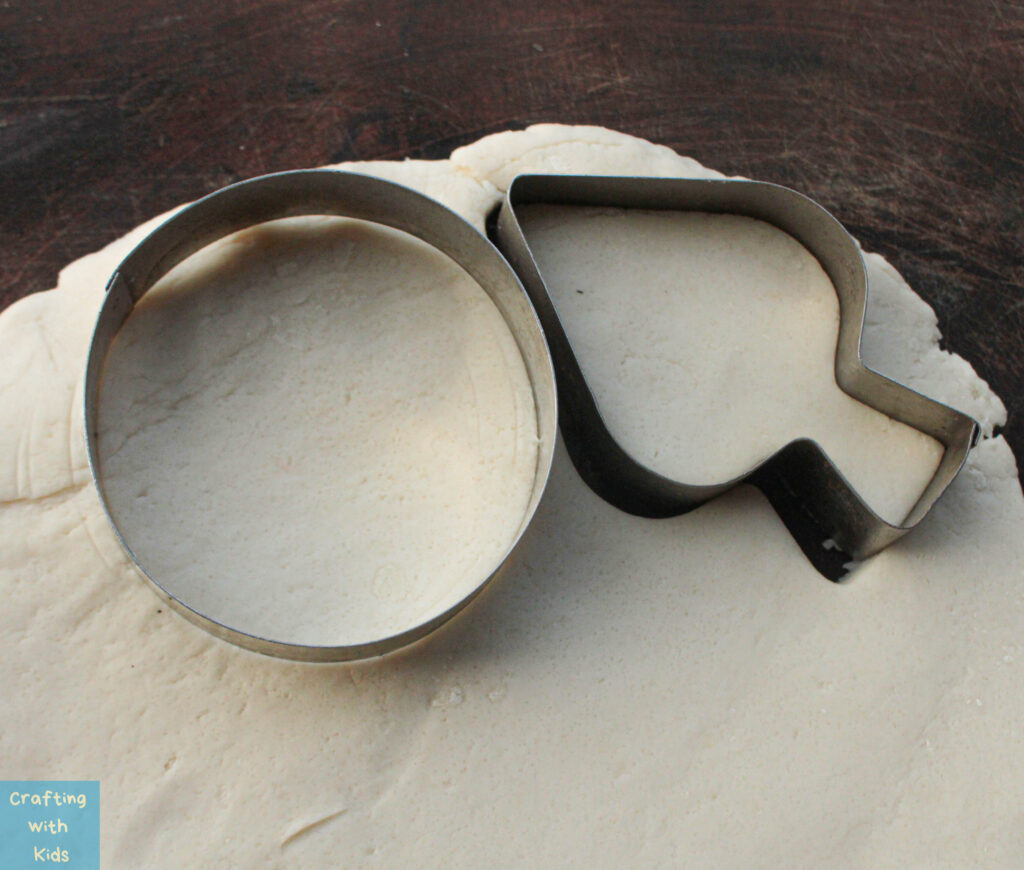
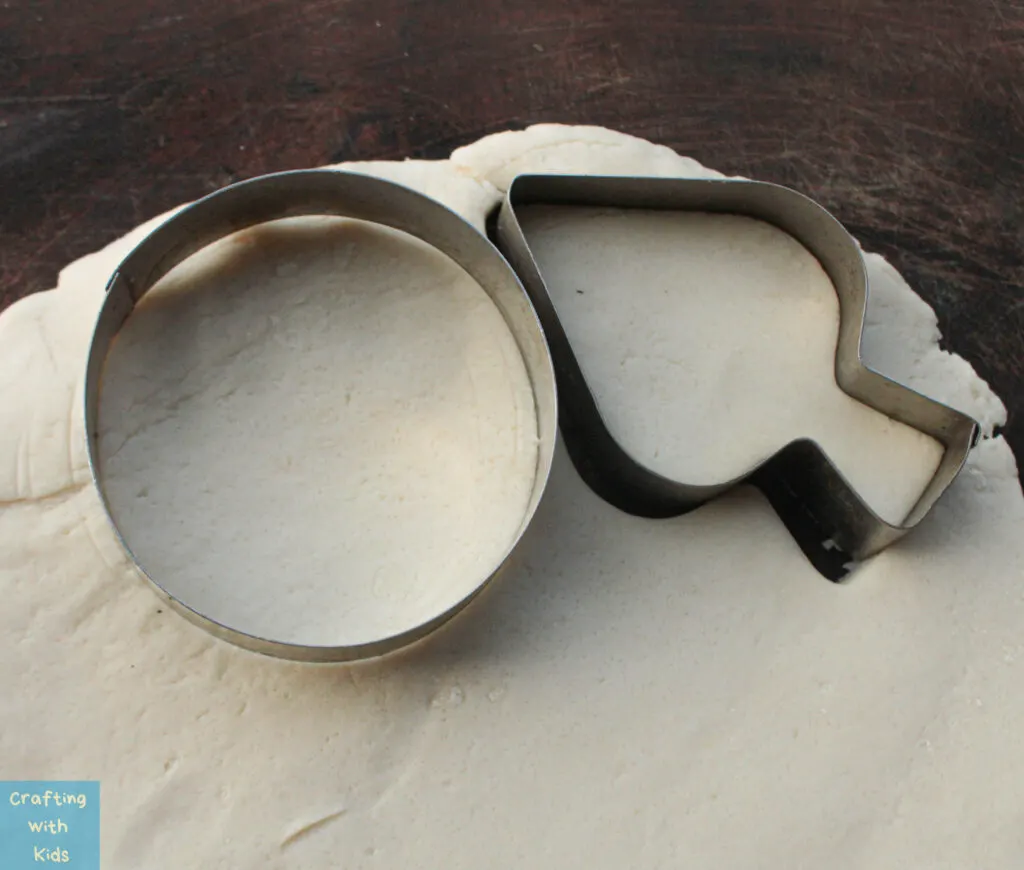
We also used the top corner of the spade shaped cookie cutter to turn them into Christmas trees.

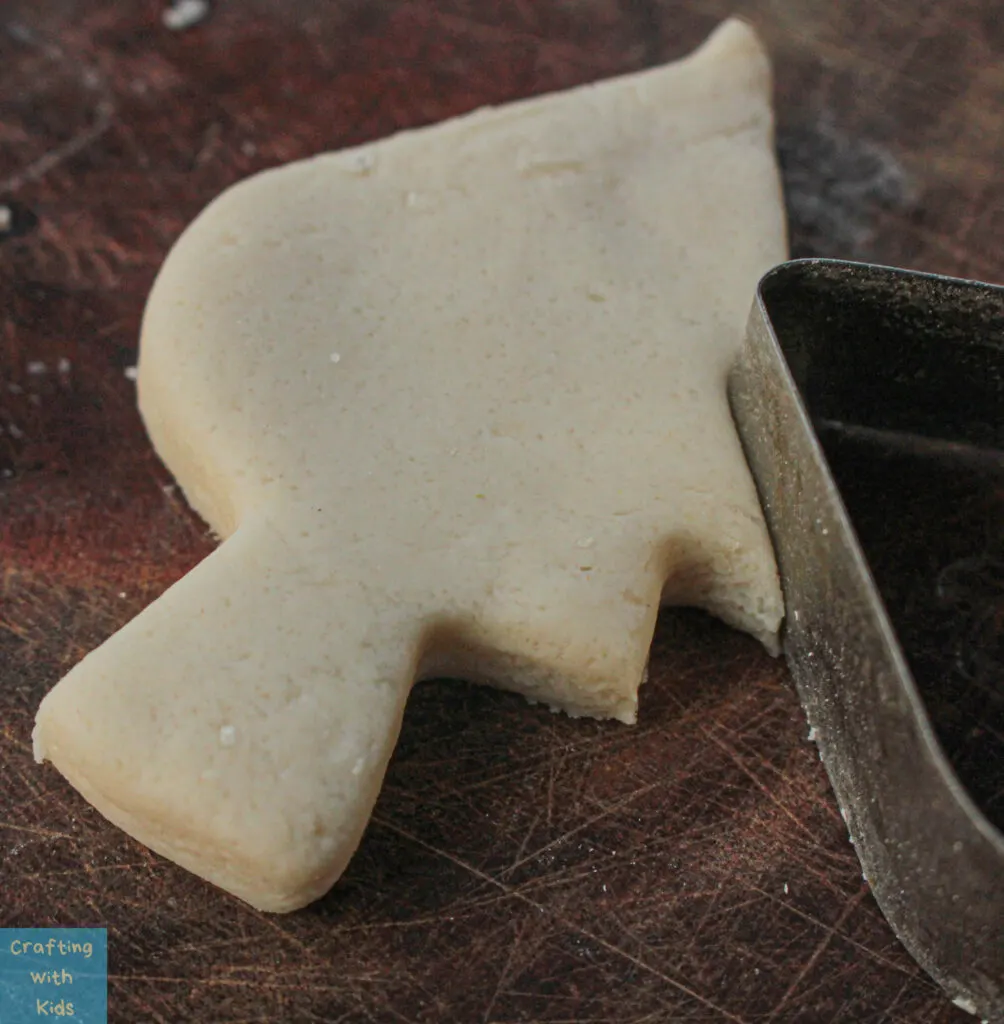
This amount of doughs creates roughly 8 ornaments.

If you want, you could also cut a larger circle that can be used for child’s handprint.
Step 5:
Preheat the oven to 250 degrees F and arrange a baking tray with parchment paper.
Step 6:
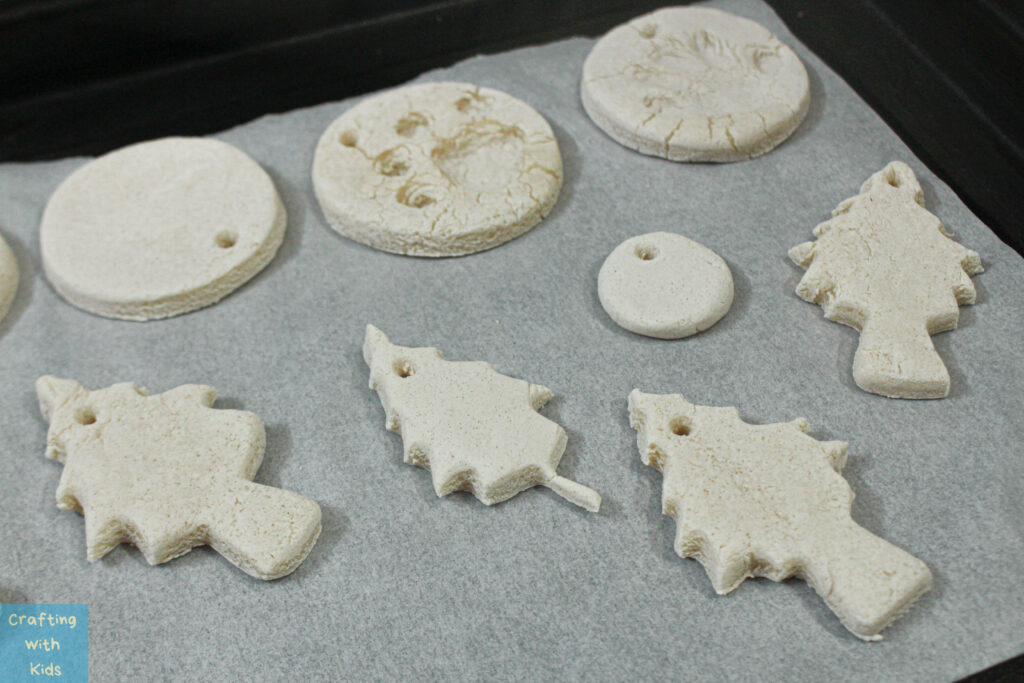
Create holes at the top, large enough to thread ribbons or strings through, so that they can be hung up.
Step 7:
Salt Dough Handprint Ornament
If you made large circles, let your child create handprints onto them now. You could also create paw prints on smaller circles. If your children are slightly grown up and you do not want the ornaments to be too large, just create a faux handprint using the back of a pen.


Step 8:
Place the ornaments onto the baking tray and bake for 1.5 to 2 hours. Make sure the dough doesn’t start to brown but also ensure that it is baked enough so it does not create dents when pressed.

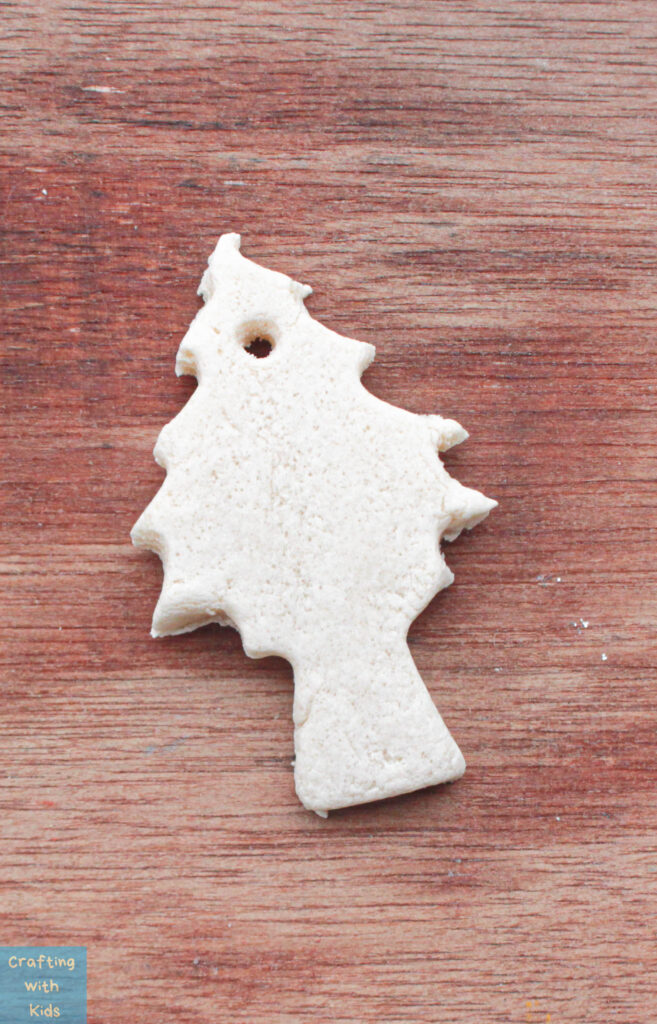
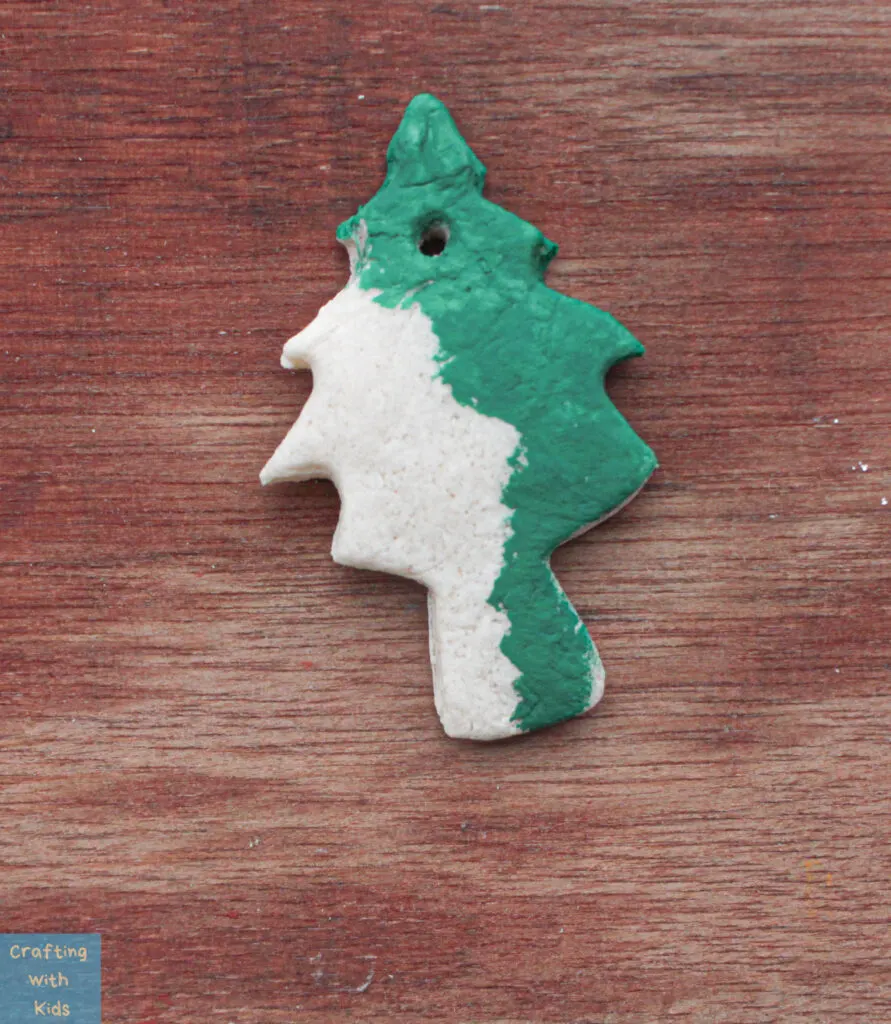
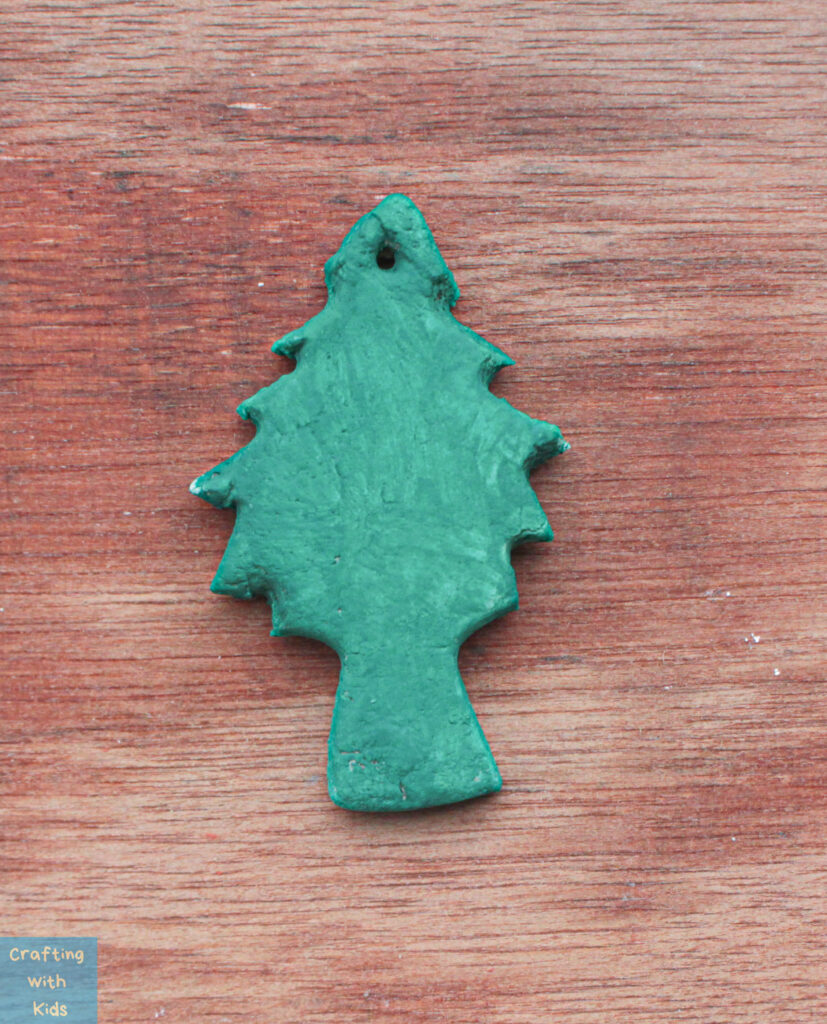
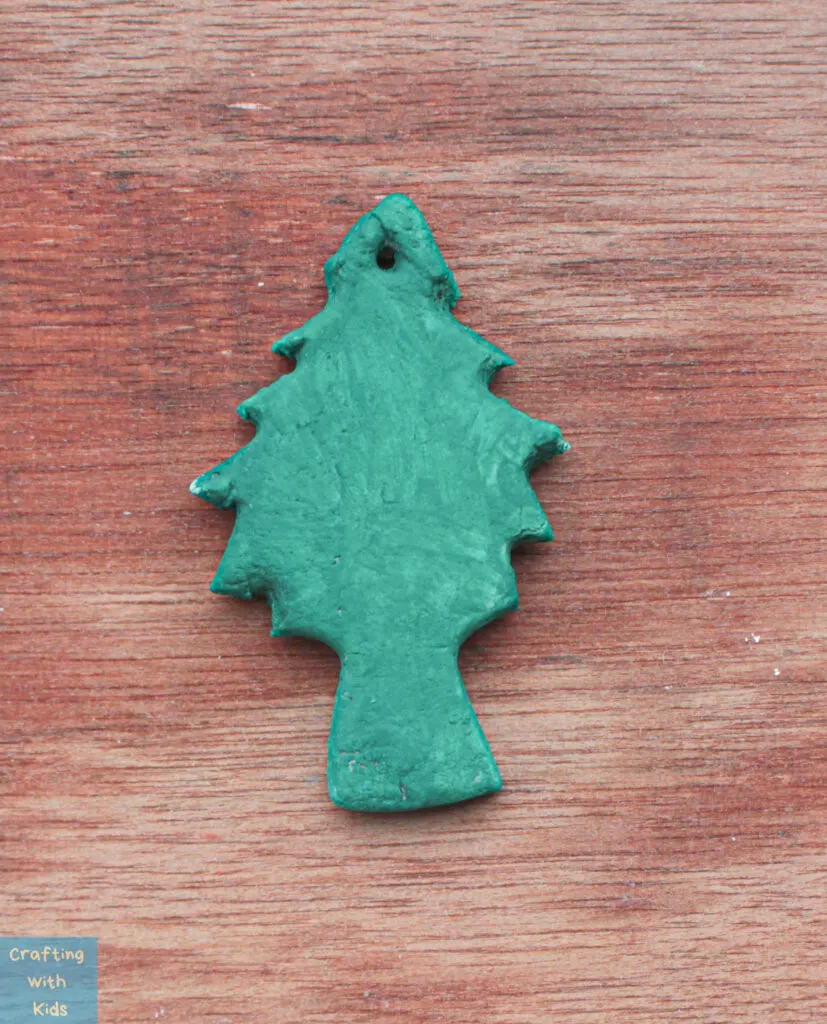
Step 9:
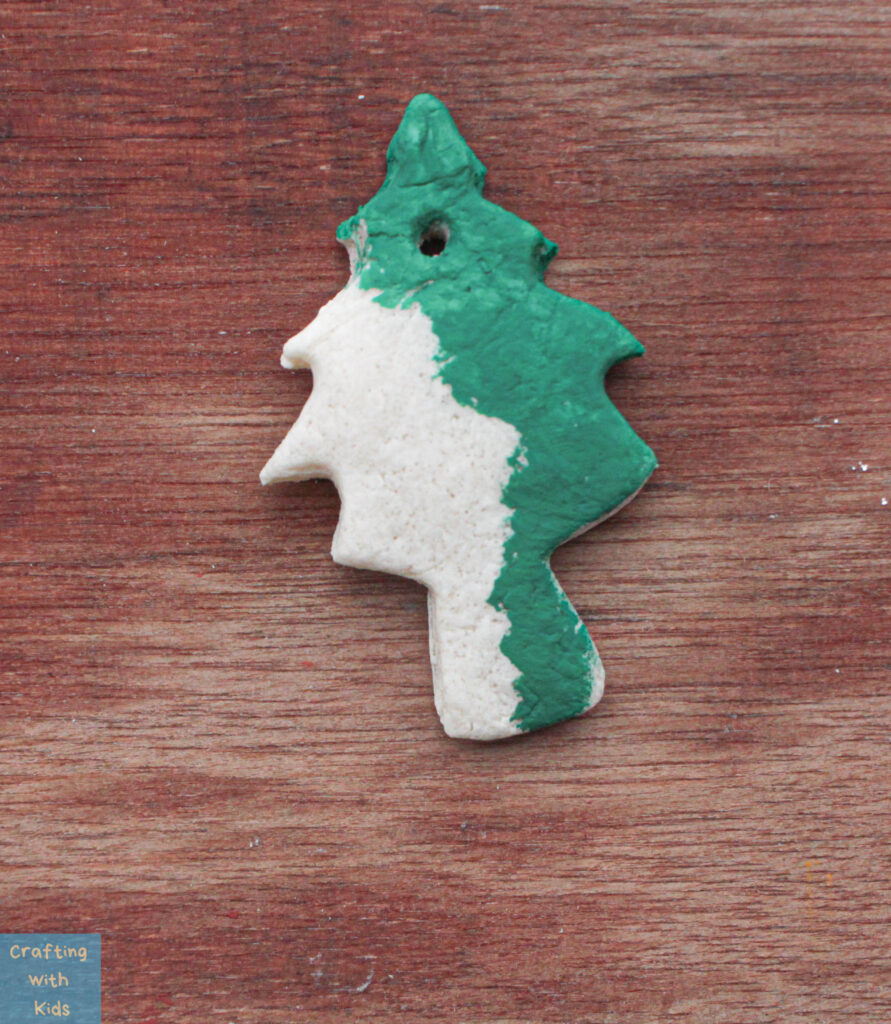
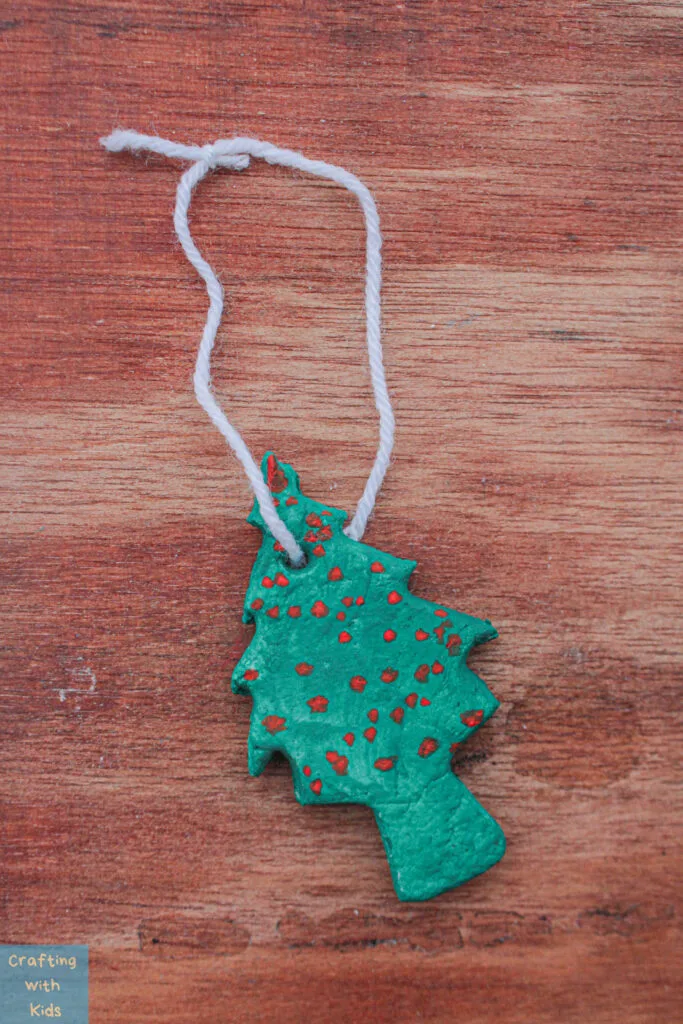
Once baked, let them cool and then go ahead and paint them however you want. Try to use a paint that won’t crack when dry.


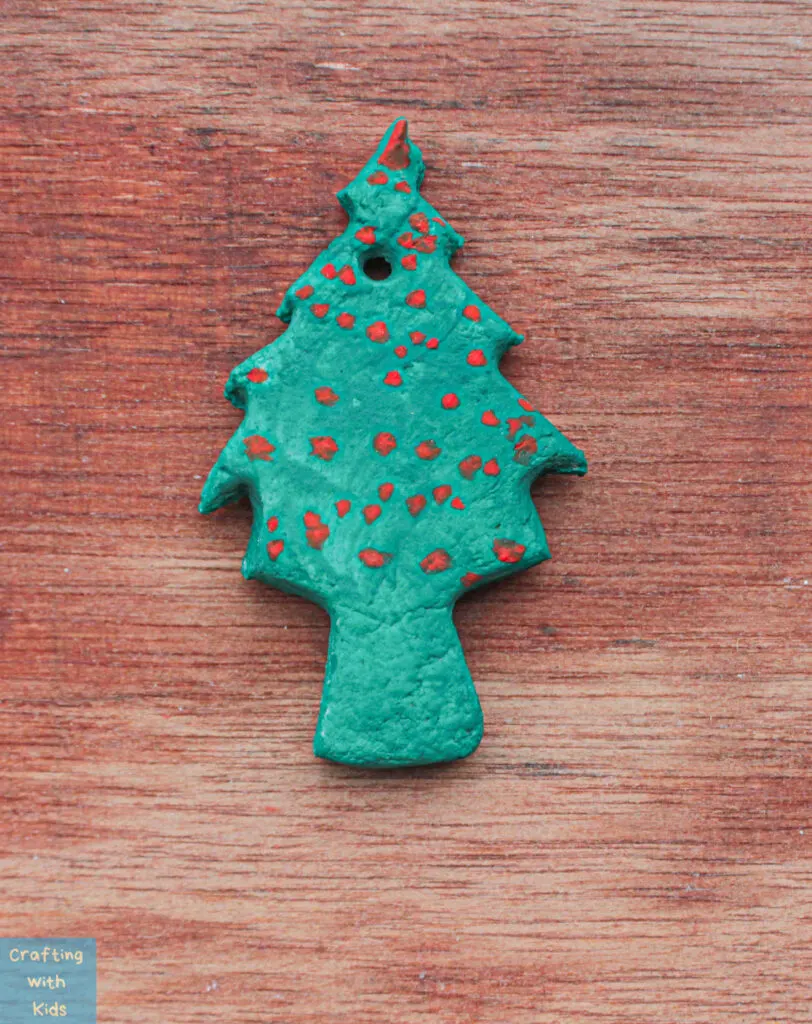
Step 10:
Thread a ribbon or string through the hole and you are done!


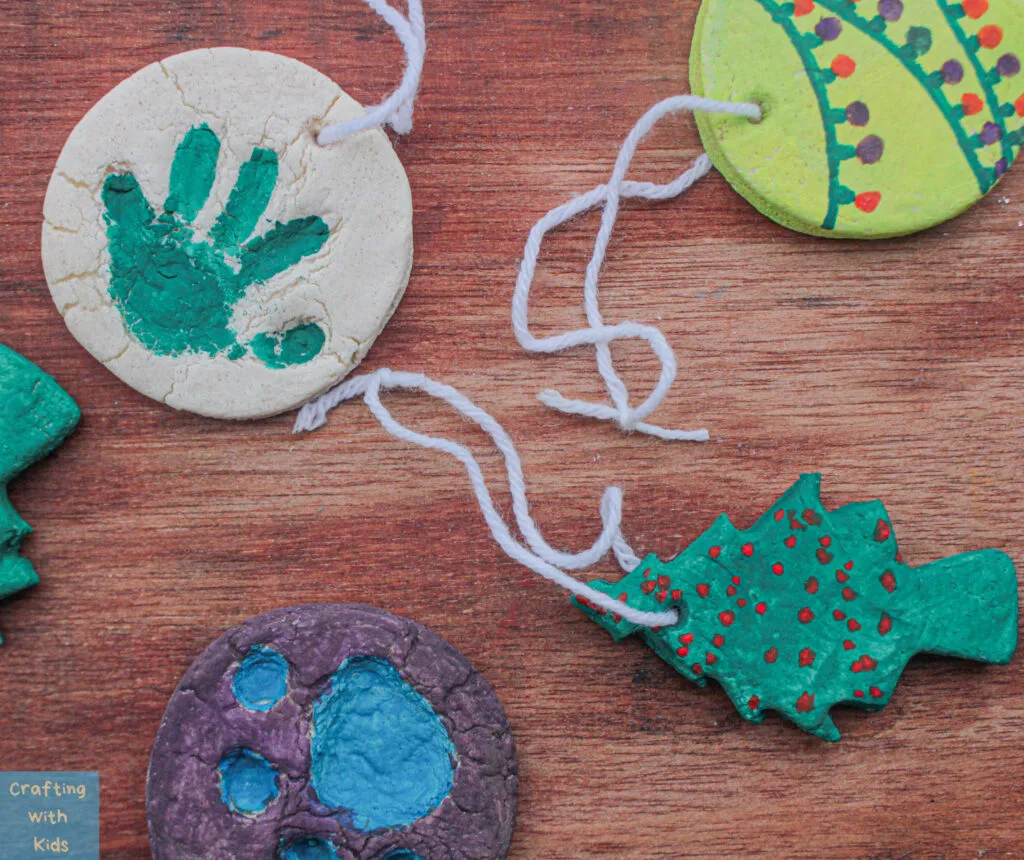

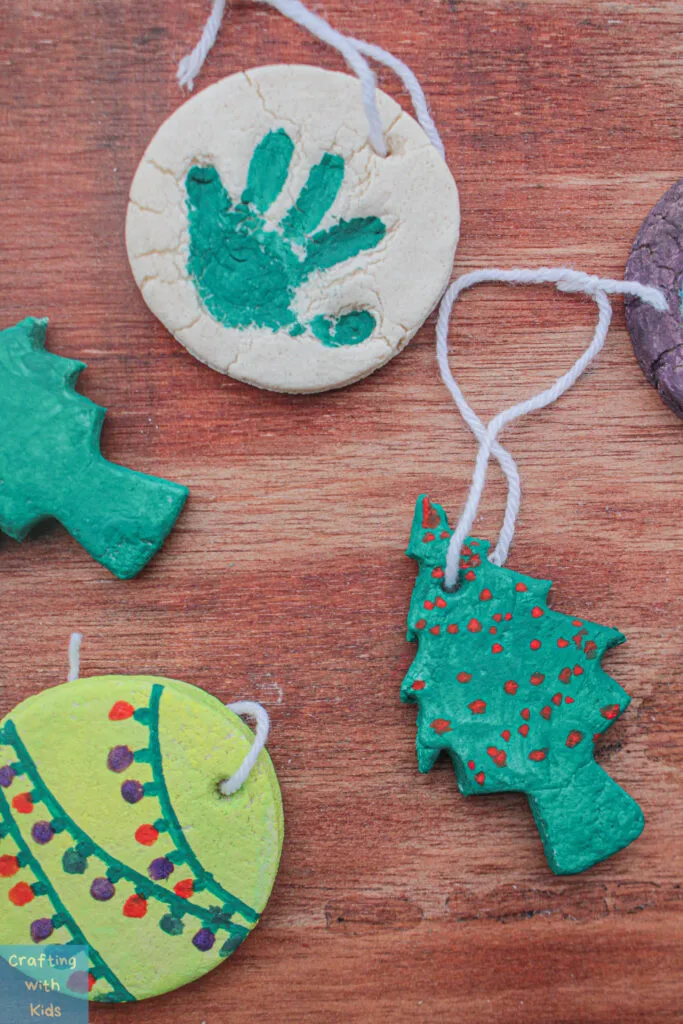

You now have a custom-made ornament to hang around the house. You could even go all out and create all kinds of shapes and sizes and use only these salt dough ornaments as décor this holiday!
P.S. If you aren’t in the mood to make your own ornaments, check out our list of 5 great Christmas ornament kits from Amazon.


Leave a comment