
Learn how to create an easy DIY photo ornaments or photo keepsakes with floor polish!
We live in an age of technology where we snap photos all the time. Our phones are full of random pictures from every holiday it seems. The question is, what do we do with all of those photos? I know some people print photo albums once a year while others don’t worry about ever printing or saving those photos to anything other than their phone. I’ve decided this year that I’m going to start creating my own DIY Photo ornament (or photo keepsake) of my kids so every year I’ll have a Christmas picture of them. I’m sure I will treasure this as they get old and move away (tears…).
If your kids are in school then you probably have lots of “school pictures” from every holiday (at least my kids do). Half the time I don’t know whether to order them or forgo. What do you do with all those extra pictures anyway? I’m not just talking about the holiday, I’m talking about sports pictures and dance pictures and that doesn’t even touch our phone pictures!

I hate to keep pictures stored away in a box or album somewhere.
Will my kids even want them when they get older?
That’s when I decided to start a little holiday tradition of creating my own personalized photo ornament or photo keepsake.
Now when I collect all those sports and dance pictures, I buy the “trading card” size so I can create an ornament. My plan is to keep them all together in a box so we can enjoy them for many years!
I hope this will be a fun tradition of pulling out the old ornaments and “remembering the times.”
For this post I’ll share a simple photo keepsake I created. The method used to create a DIY photo ornament will be the exact same.
Disclosure; this post contains affiliate links. As an Amazon Associate I earn from qualifying purchases. This does not affect the price you pay. This disclosure statement refers to the rest of the Amazon links in this post. See my disclosure post for more details.
Table of Contents
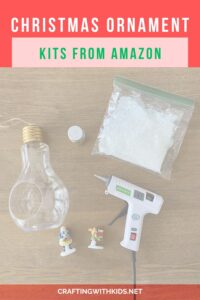
Materials used to create DIY photo ornaments or photo keepsake:
- Floor polish (make sure you get the clear stuff)
- Clear photo ornament or photo keepsake bottle (these are just examples)
- Paintbrush
- Extra cup (to pour excess floor polish in)
- Filler materials – this can be glitter or candy or anything. Be creative!
- Picture – find a picture that will fit FLAT on the surface of the container
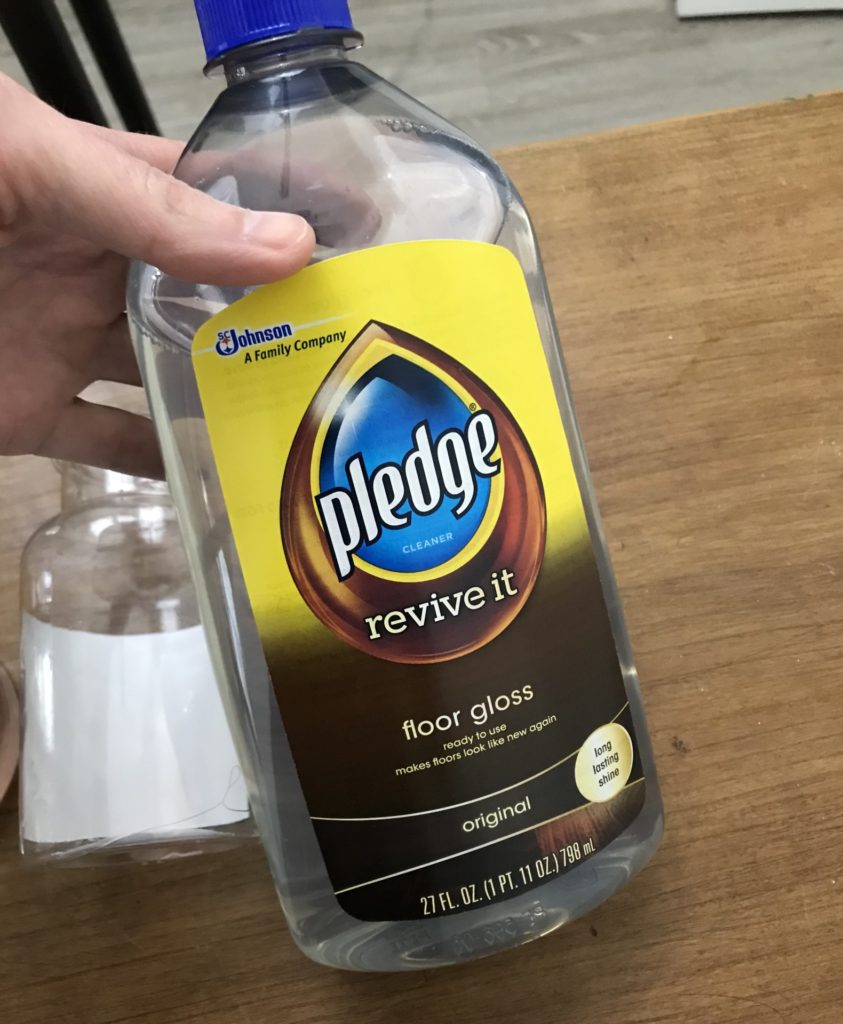

This is the floor polish I used. Any floor polish or floor gloss will work, just make sure it’s clear.
How to create DIY photo ornaments or photo keepsake
- After you gather the supplies, remove the top off of the ornament or keepsake
- Pour a little floor polish into the container
- Gently roll the picture and slip it into the container
- Roll the picture around in the polish
- After a few minutes of soaking your photo in the polish Use your paintbrush to press the picture on the surface
- Pour the excess polish out of the container into another cup
- Let it sit for about 10 minutes to dry
- Make sure the photo is situated exactly where you want it
- Pour the “filler” material into the container
- Enjoy your new photo ornament or photo keepsake!
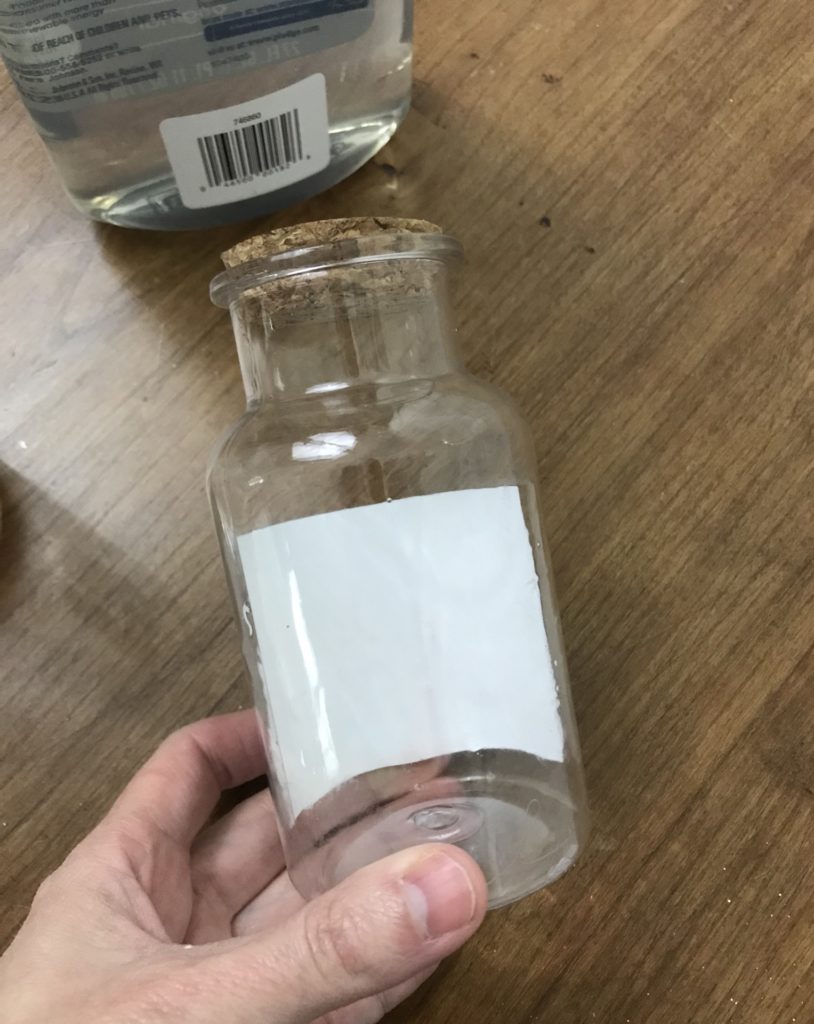

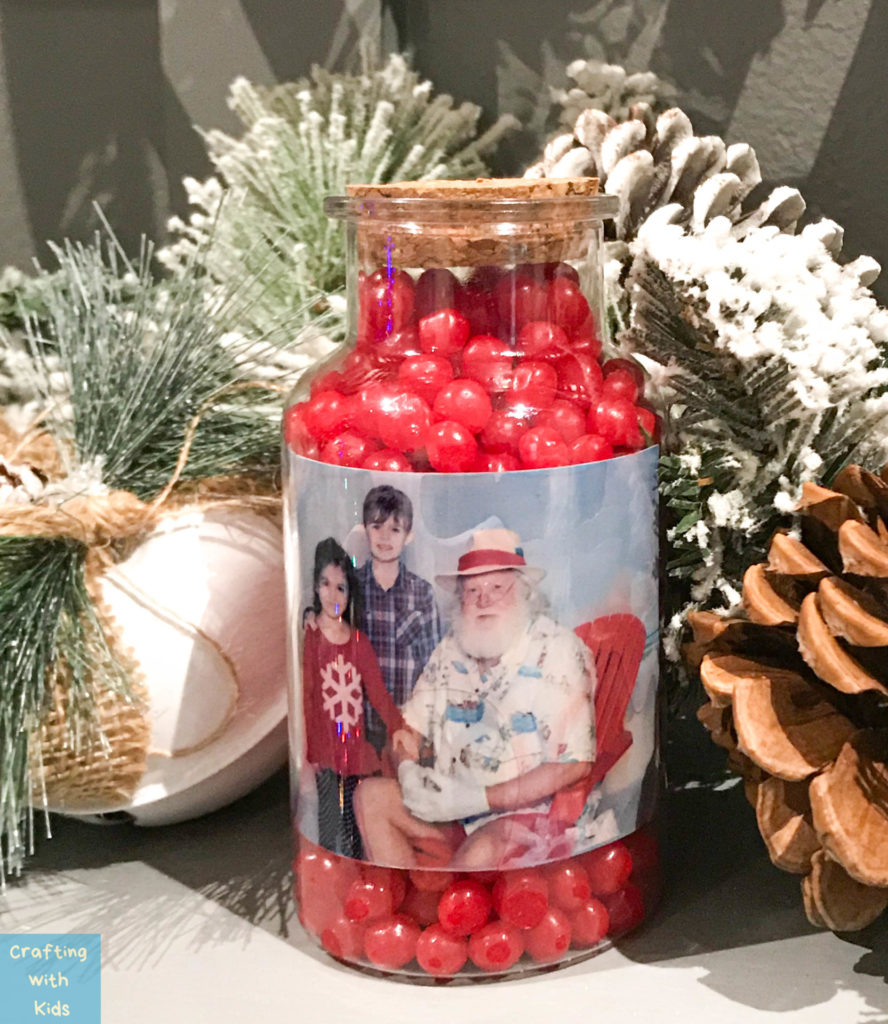
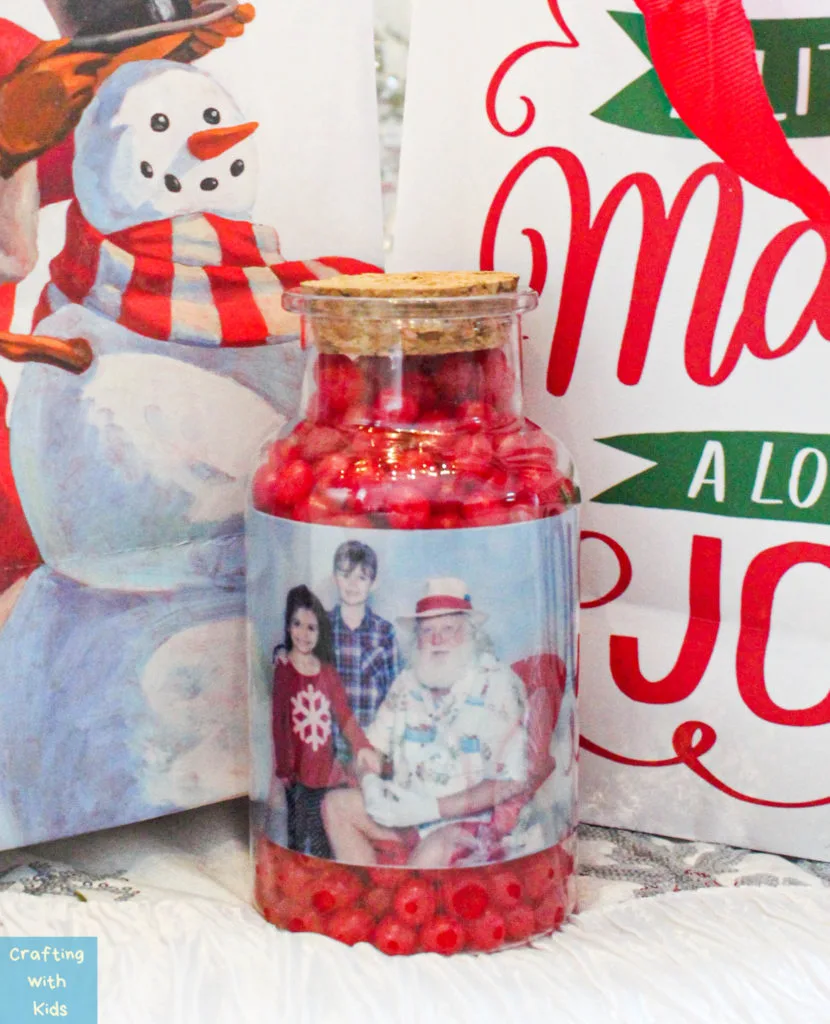
This is the “keepsake” I’m using to transfer my kids photo to. I forgot to take a before picture with it, so you can see the picture on the other side.
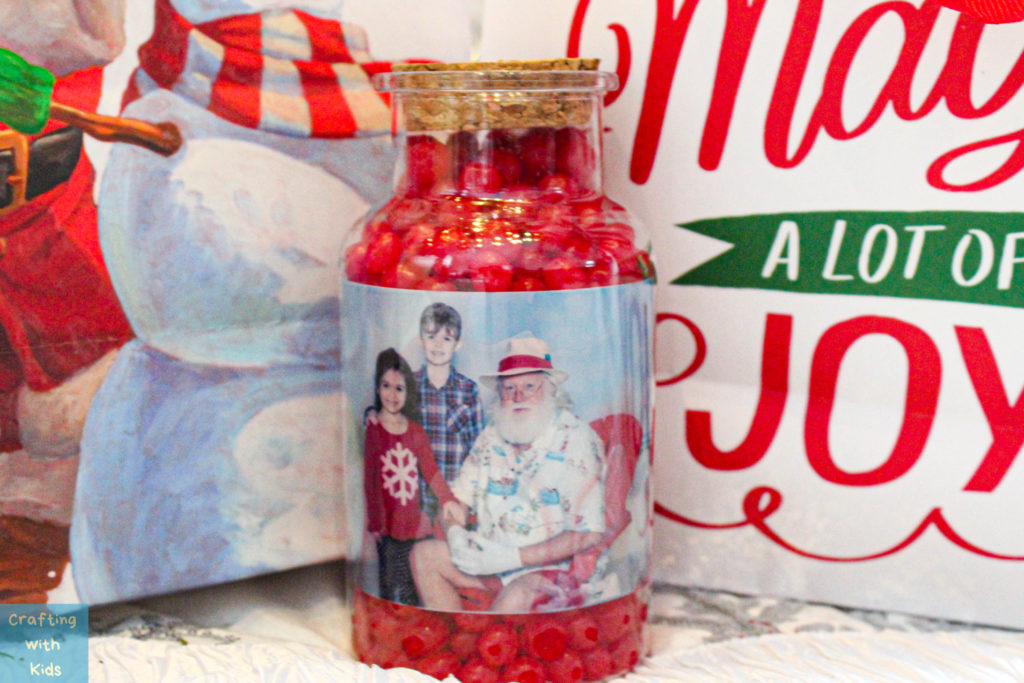
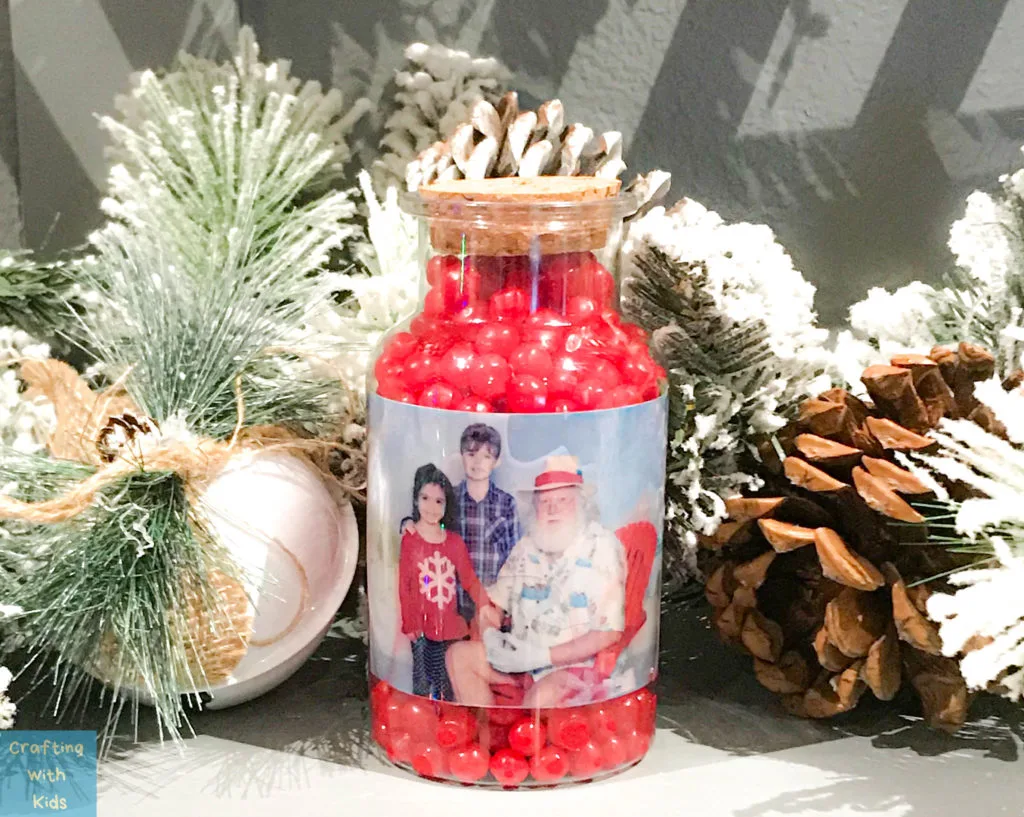
Now that the picture is attached you can add your filler! I used a bag of the red cinnamon candies you see around Christmas time. Since this is a big bottle, I needed something bigger than glitter to fill the space.
How to transfer a photo to an ornament or a keepsake
Wasn’t that simple? I wish I had more of these to show you, but this is just the beginning of my personalized photo keepsake collection! Speaking of collections, I found a fun way to create a DIY personalized Disney memory book here!


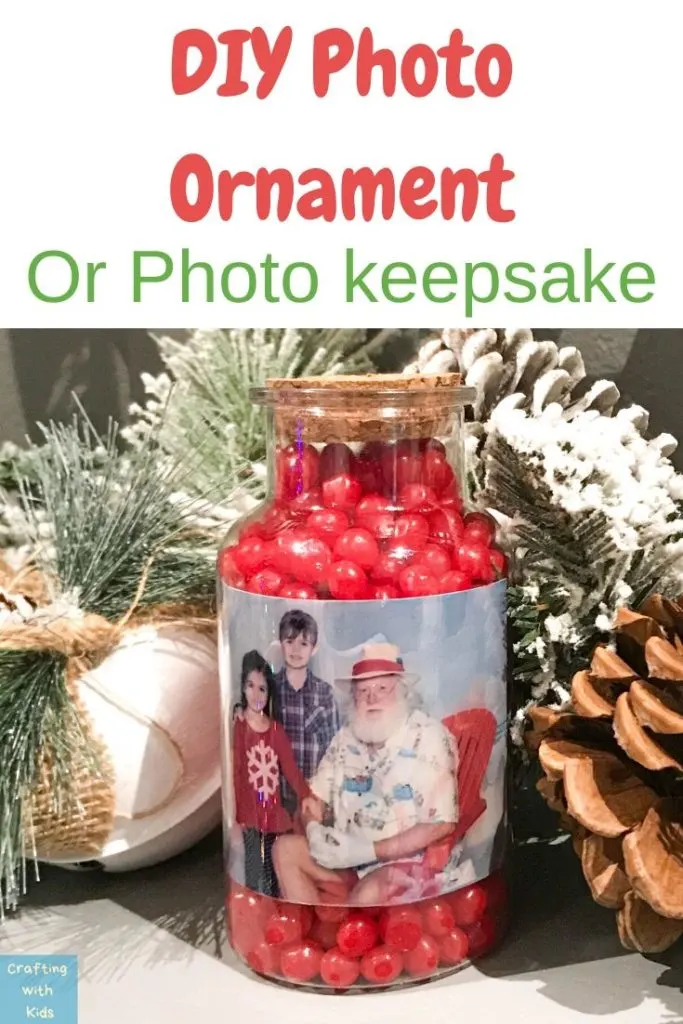
DIY PHOTO ORNAMENT OR PHOTO KEEPSAKE


Learn how to create personalized DIY photo ornaments or photo keepsakes with just a few supplies.
Materials
- Floor polish (make sure you get the clear stuff)
- Clear photo ornament or photo keepsake bottle (these are just examples)
- Paintbrush
- Extra cup (to pour excess floor polish in)
- Filler materials - this can be glitter or candy or anything. Be creative!
- Picture - find a picture that will fit FLAT on the surface of the container
Instructions
- After you gather the supplies, remove the top off of the ornament or keepsake
- Pour a little floor polish into the container
- Gently roll the picture and slip it into the container
- Roll the picture around in the polish
- After a few minutes of soaking your photo in the polish Use your paintbrush to press the picture on the surface
- Pour the excess polish out of the container into another cup
- Let it sit for about 10 minutes to dry
- Make sure the photo is situated exactly where you want it
- Pour the "filler" material into the container
- Enjoy your new photo ornament or photo keepsake!
I’m so pleased to start a personalized holiday collection of pictures! Want to join me?
Grab your box of old sports pictures and let’s make something!
P.S. If you don’t want to make a DIY ornament with your own supplies, check out our list of Awesome Christmas ornament kits that come with all the supplies.

Happy Crafting friends!
Leave a comment