Learn about paper chromatography with this fun summer craft where kids make a coffee filter butterfly.
Besides letting you make coffee easily, coffee filters can also be used for many fun crafts. The next time you wonder what to do for a little arts and crafts project, or if you have some spare coffee filters in hand, try making this coffee filter butterfly craft with the kids. Since this involves coloring and spreading those colors, all the butterflies will turn out unique just like the real ones are!
This is a great summer craft for a bored hot summer day. Since all you need are a few supplies that you probably already have on hand, this shouldn’t take any time or money to get started.
This fun kid craft will also discuss the effects of color chromatography. Kids will love seeing the colors blend and change just by adding water! First let’s discuss the details about what it is.
What is chromatography?
Chromatography is one of the simplest ways to separate a mixture- or in this case a group of colors from a marker. This happens because when water soaks into the paper, the different colors travel through the paper at different rates. This is because the individual colors are made of lots of different sized molecules and the larger molecules travel slower than the smaller ones. This is also knows as paper chromatography.
You can see more about this phenomenon in our Walking Rainbow experiment where you see all the colors of a rainbow blend into one another and “walk” up and down different cups of water.
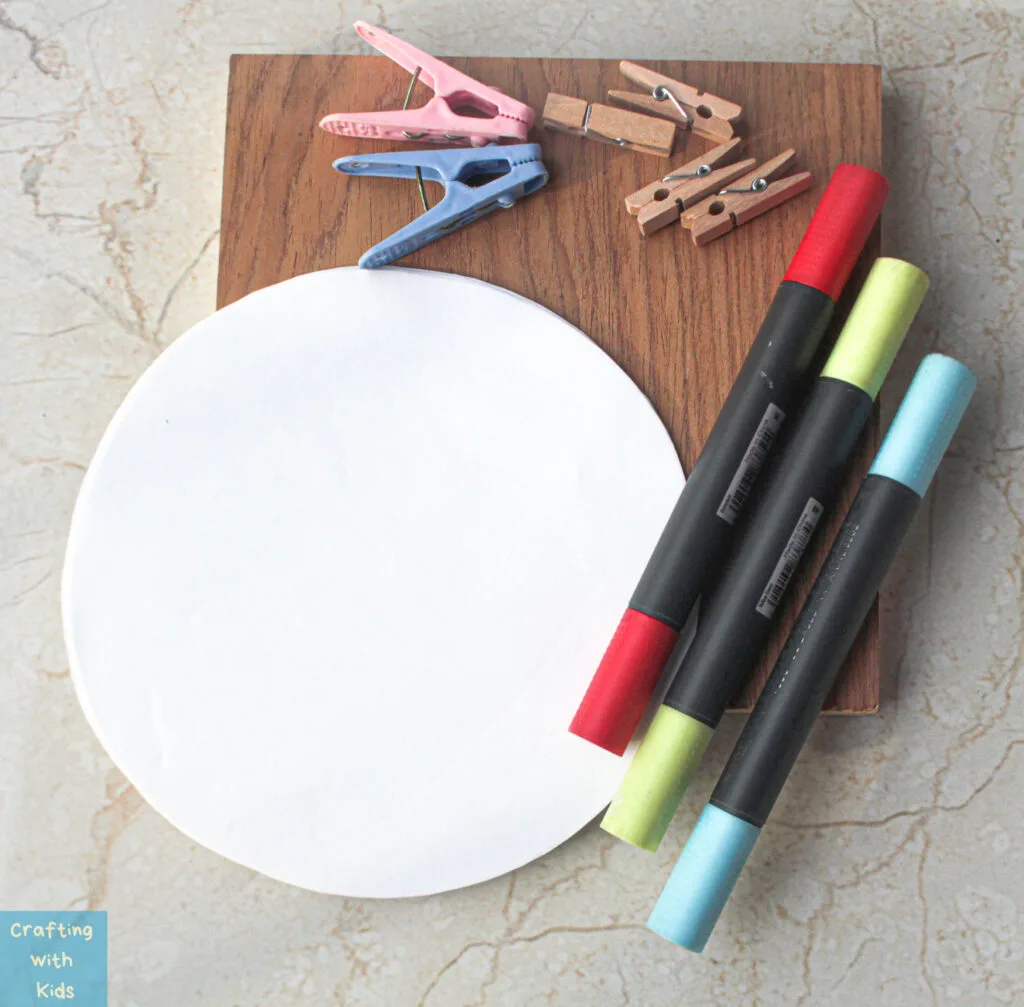
Let’s get back to making coffee filter butterflies. Below you will find materials needed:
- Coffee filters
- Water based markers
- Water
- Clothespins
- Strips of paper or pipe cleaners
- Googly eyes (optional)
How to make a coffee filter Butterfly craft
Step 1:
Take the coffee filter papers and if they are not the flat type, flatten them out while maintaining the circle shape.
Step 2:
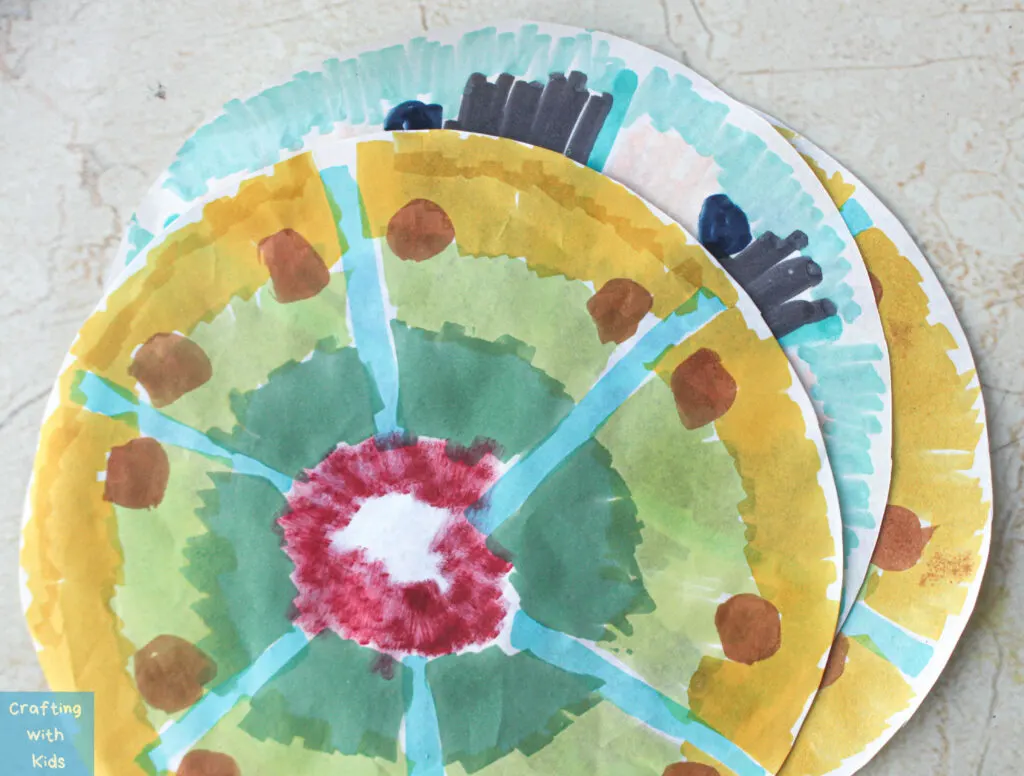
Using markers, draw different patterns of shades and shapes onto the filter papers. Use many different colors to create a vibrant butterfly.
For this step it is essential that you use water-based markers. Other markers like alcohol-based ones will not spread with water and will not achieve the desired effect for the Butterfly chromatography.
Step 3:
Lightly sprinkle water onto some parts of the colored filter paper. To do this you could fill a spray bottle or a dropper with water. You could also dampen your hands and sprinkle water on it but this should be done very carefully so that the entire paper does not become dripping wet.
For a nicer effect, target the places where two different colors meet. You can leave the papers laying flat or you can sit a small portion of one side of the filters in a tiny bit of water and watch them climb up the filter.
Make sure not to apply too much water as this could make the papers weak and eventually tear up.
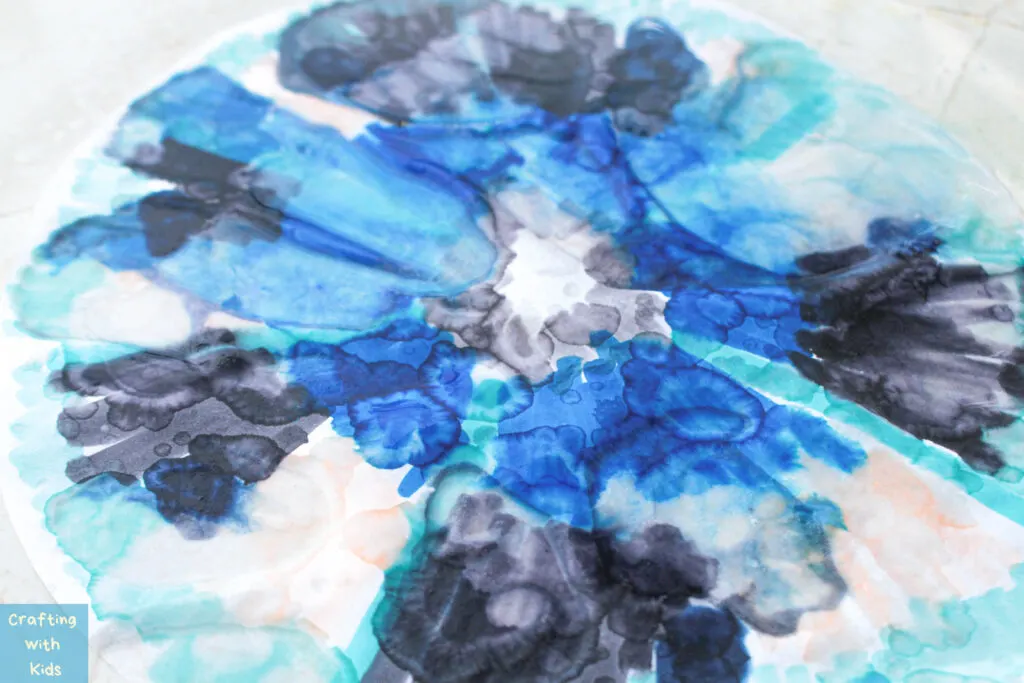
If you’ve accidentally used too much water, do not touch the paper until it is completely dry to prevent it from tearing.
Step 4:
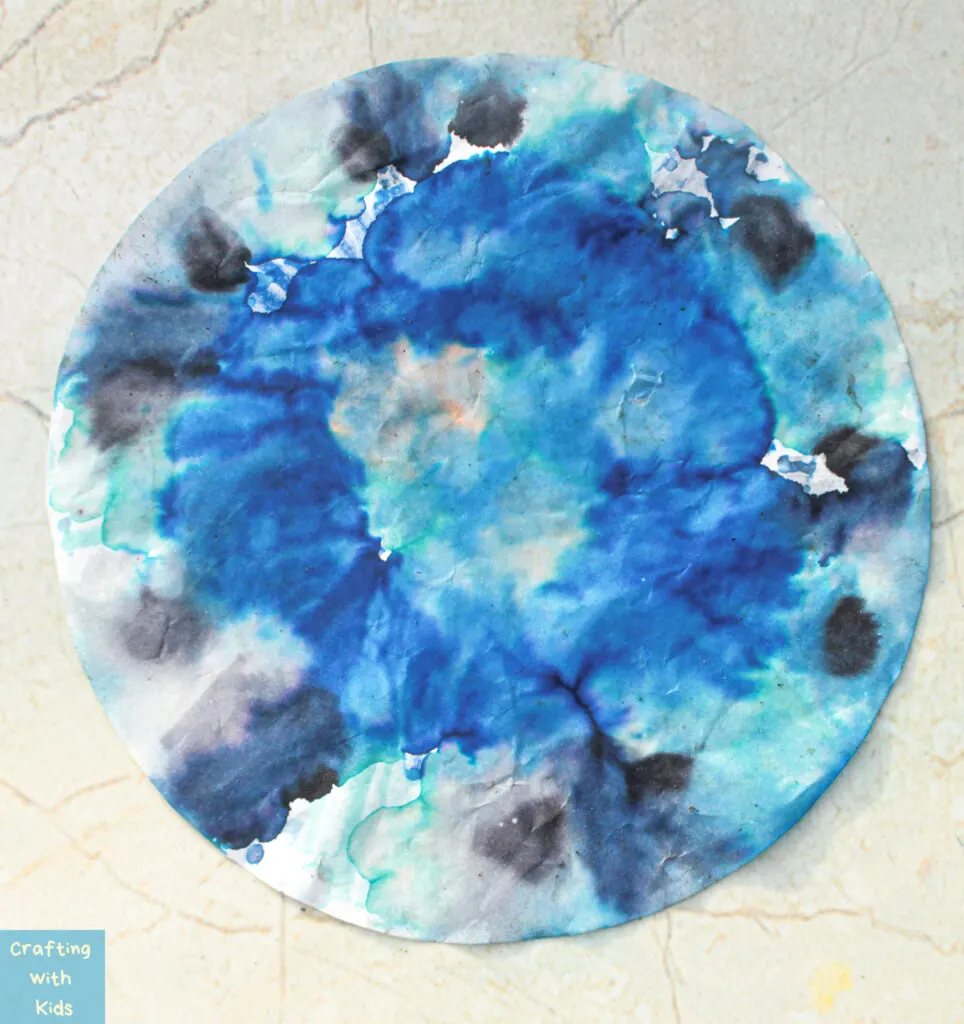
Allow the papers to dry and watch how the colors blend. It should not take more than 5 to 10 minutes if you used water only lightly.
Step 5:
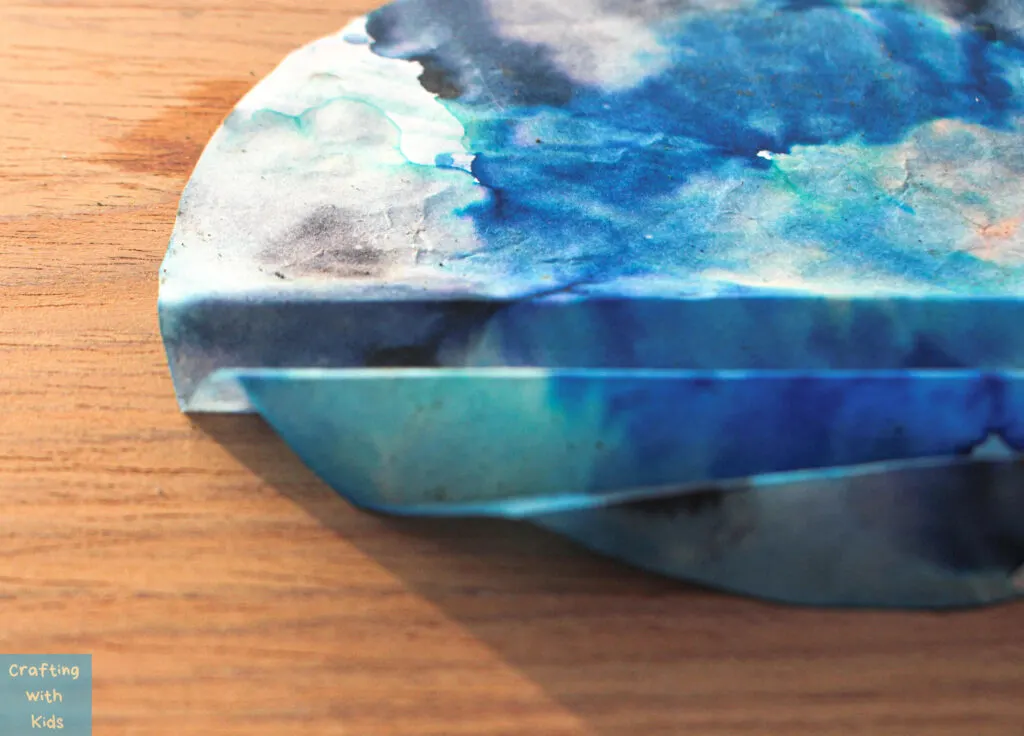
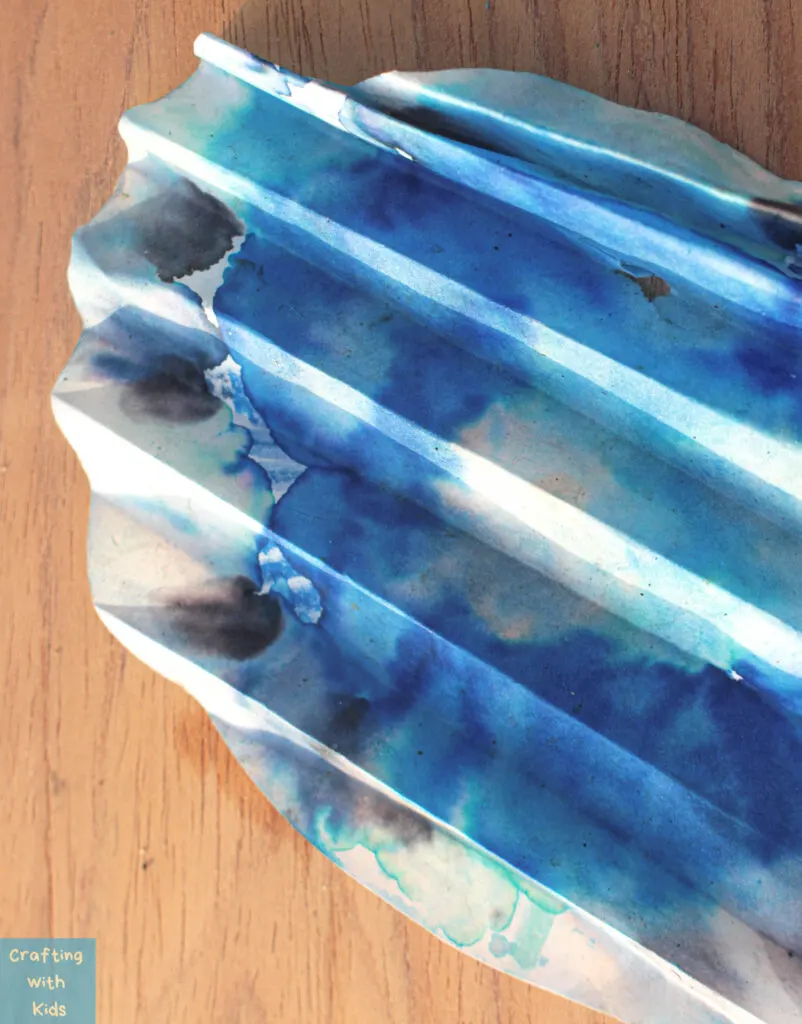
Fold the dried filter paper in a zigzag pattern as shown. Do not make the folds too wide or too narrow. Do this with the entire paper. It will look like a fan when you’re done.
Step 6:
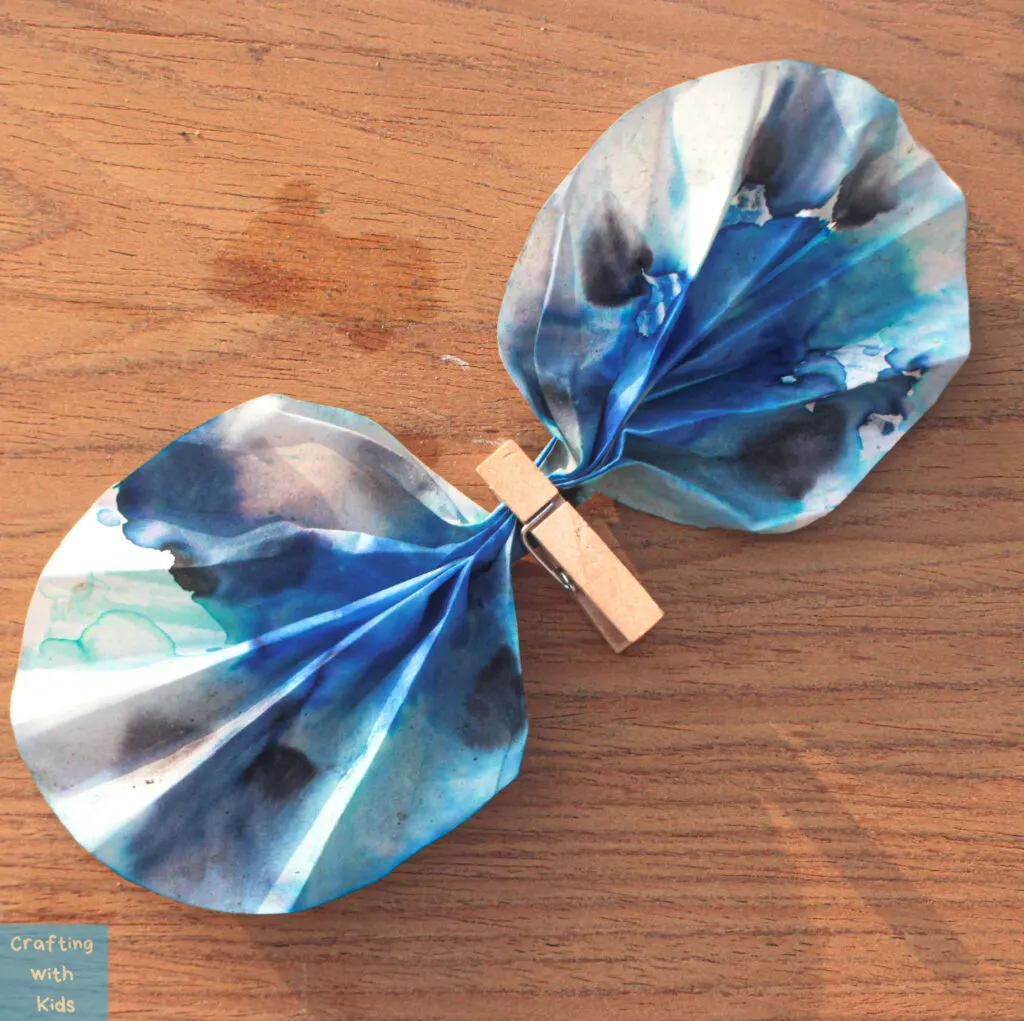
Once the entire paper is folded in the zigzag pattern, clip along the center using the clothespin. If the folds were too wide you might need to fold the paper once more along the center to make it fit into the clothespin. Once the pin is set in the middle, flatten the folds slightly to create the effect of the wings.
Step 7:
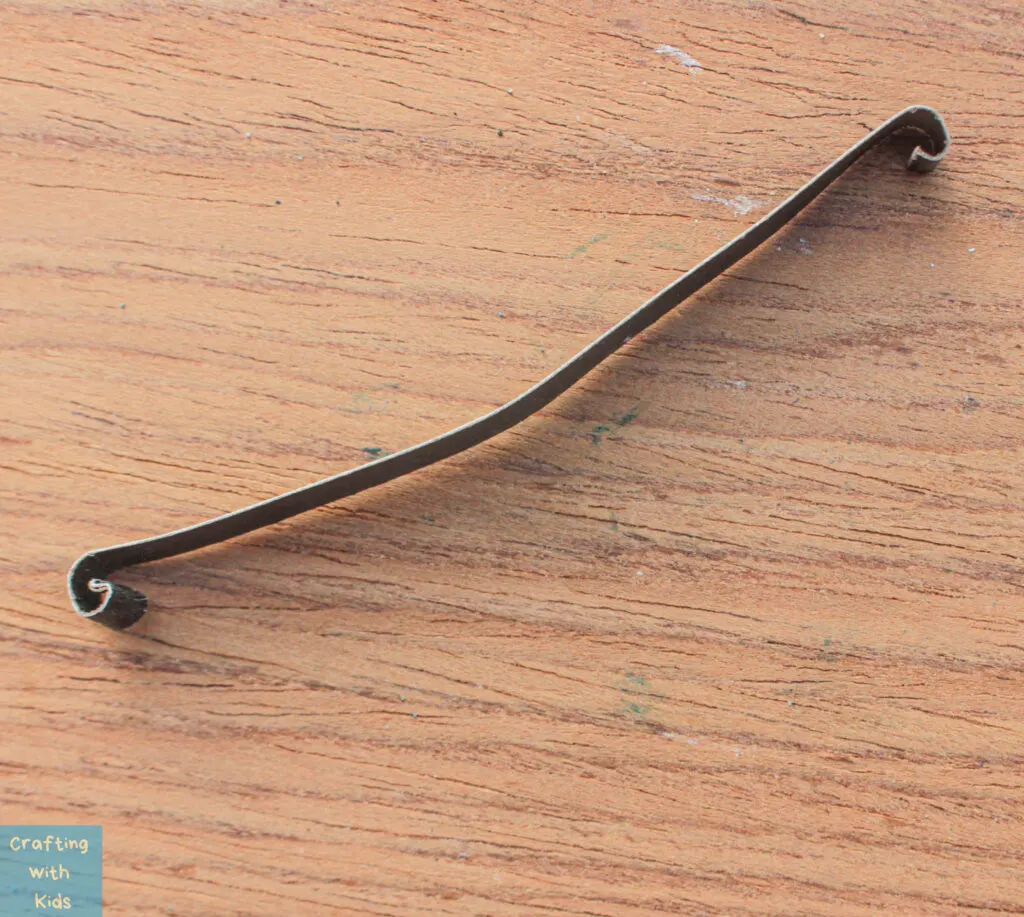
Use a thin strip of card stock paper or a pipe cleaner, and roll both the ends to form coil like shapes. Make a slight bend at the middle and insert it into the clothespin. This will be the “antenna” of the butterflies.
Step 8:
Attach the googly eyes onto the top edge of the clothespin. If you do not have google eyes, just draw the eyes on with black markers.
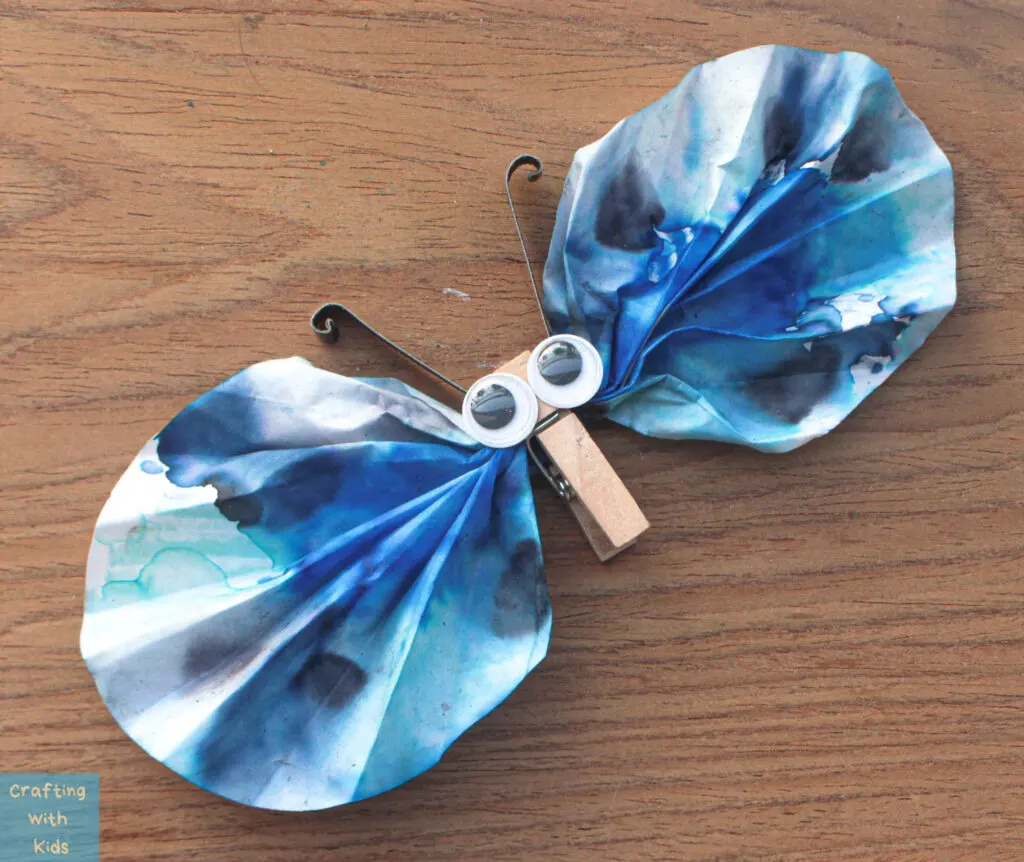
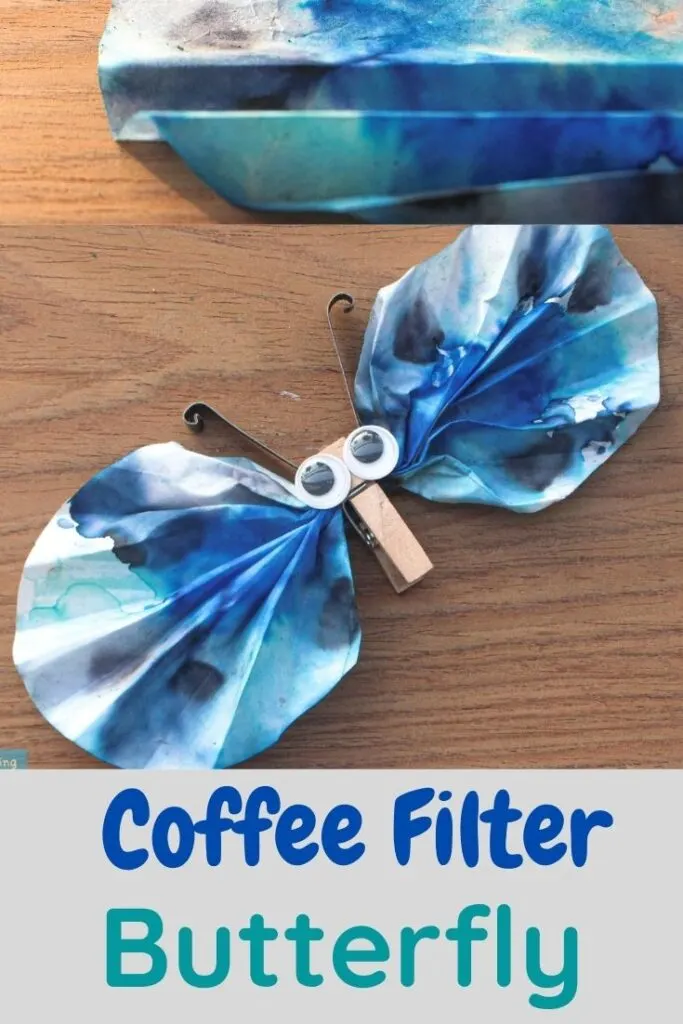
And there you have it! Adorable butterfly made from coffee filter paper. Aside from being super easy to make, the process of coloring and spreading the colors using water with paper chromatography is also very entertaining for little ones. Now you can go ahead and let them create their very own unique collection of paper butterflies.
Until next time,
Happy Crafting!
Leave a comment