
Looking for a great way to make your Halloween night (or any fall night) extra special? These DIY Halloween bag tags are a fun project that will help personalize and identify each bag. Using a simple printable template, you can create these Halloween treat bags tags that are perfect for party favors, handing out Halloween goodies on your front porch, or even to surprising friends. The best part? It’s so easy, and you’ll have much fun putting them together.
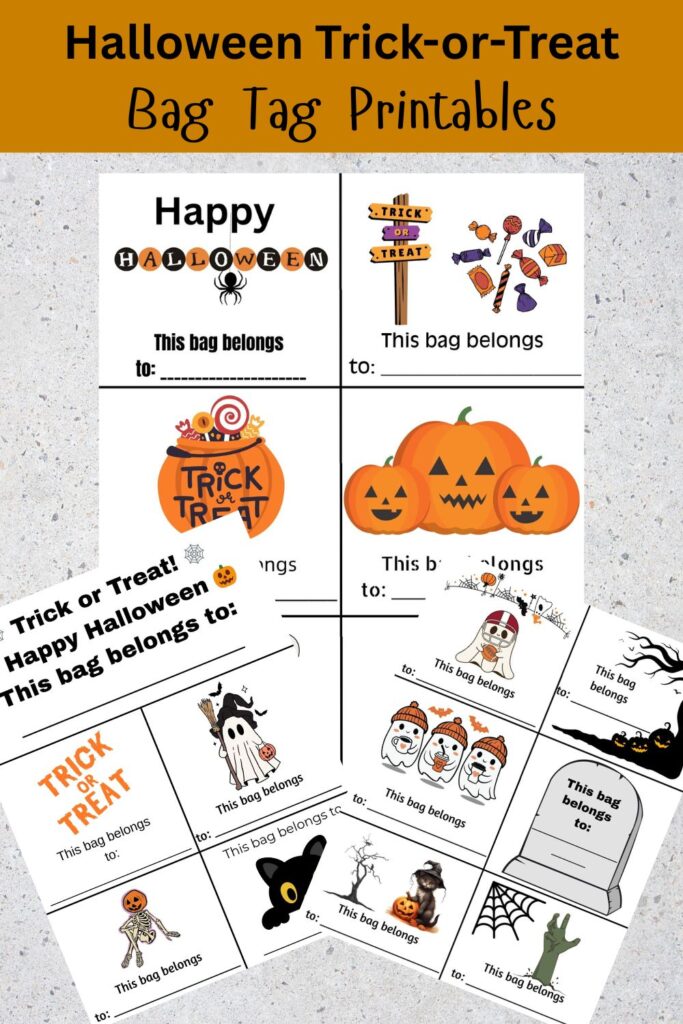

Start by printing your treat bag topper or Halloween tags. Once you’ve cut along the black lines, you’ll be ready to assemble your bag. Whether you’re using fabric for a reusable option or a cellophane bag with these quick gift bag tags, the process is simple and customizable.
DIY Halloween Treat Bag Tag Tutorial


Materials You’ll Need
- Printable template for treat bag toppers or Halloween tags
- Printer & cardstock (for sturdier toppers)
- Scissors (to cut along the black lines)
- Tape or stapler
- Candy, toys, or other Halloween goodies for filling
Step 1: Print and Cut
Download your printable template and print it on heavy paper. Cut carefully along the black lines to create your treat bag topper or tags. These are for personal use, but you can make as many as you need for Halloween parties or trick-or-treaters on your front porch.
Step 2: Grab a bag
Grab a canvas bag, paper or a cellophane bag used to fill with treats!
Step 3: Fill with Halloween Treats
Add candy, stickers, or small toys to your bag. These personalized Halloween bags make perfect party favors and are a great way to keep Halloween treats separate and organized if you are trick or treating with multiple kids.
Step 4: Add the Topper
Secure the free printable with tape or a stapler. This simple step instantly transforms plain bags into fun Halloween treat bags that look custom-made.
Step 5: Share and Enjoy!
Hand out your own treat bags at Halloween parties or leave them ready on your front porch for trick-or-treaters. Your guests will love the thoughtful touch, and you’ll have much fun making them.
You can also create these bags and fill them with candy AFTER adding the bag tag to it!