
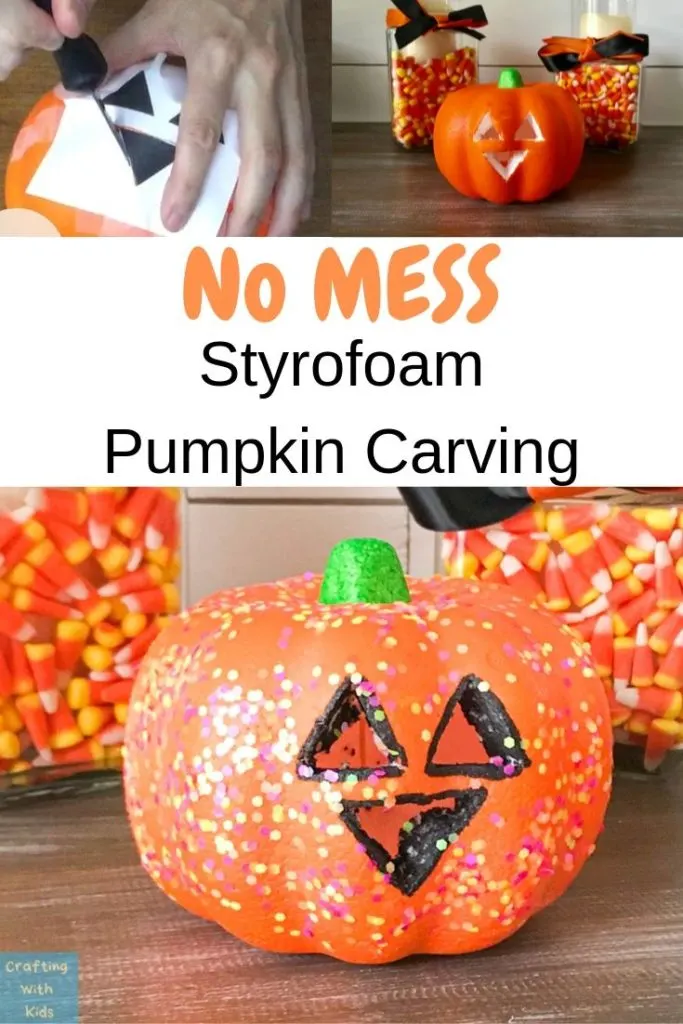
Learn how to carve a NO MESS pumpkin with a few tips on carving a styrofoam pumpkin. I’ve also included a few free pumpkin carving stencils.
I LOVE Halloween and all the holiday festivities. I’ve been in a real Halloween crafty mood lately creating Halloween snowman snacks and Halloween handprint crafts. My kids LOVE Halloween and all the holiday festivities too, especially the messy ones. Although I do love to carve a real pumpkin and create a mess everywhere, sometimes it’s nice to have some good clean (no mess) pumpkin carving fun with a styrofoam pumpkin!

Disclosure; this post contains affiliate links. This means that I make a small commission from a purchase from these links.
The kids and I were gathering up Halloween supplies at my favorite store for budget holiday decor, The Dollar Tree! I found the cutest styrofoam pumpkins. Yes, they are only one dollar! I couldn’t find a link from the Dollar Tree for these specific pumpkins, but I will share a very similar one from Amazon below (I know not everyone has a Dollar Tree nearby).
A small note about these pumpkin carving stencils; I created them to fit perfectly for the Dollar Tree pumpkins, so they are rather small. Feel free to use the image and enlarge it if your pumpkin is bigger!
Part of this craft is for adults and part of it is for kids. Unless your kiddos are older, I would not suggest letting them carve the pumpkin. When it comes to decorating the pumpkin, that’s their job but leave the knives and carving tools for the adults (I know this seems like a no brainer).
My kids are normally ok with letting me do part of a craft as long as they get to be involved too.


Table of Contents
Materials needed to carve your styrofoam pumpkin
- Styrofoam pumpkin
- Pumpkin carving tool – I used a small kitchen knife
- Pumpkin carving stencil – Free printable stencils below!
- Tape
- Scissors
Before I get too involved in this craft, I wanted to share a few things I’ve learned about carving pumpkins.


Pumpkin Carving Tips
- It’s a lot easier to carve a straight line than it is to carve a curve. Keep that in mind when choosing what you will carve.
- If you are carving a lot of details or curves, you need a tool like a Dremel, not a knife.
- You don’t have to carve all the way through the foam. Instead, you can carve through “layers” and create depth and images by doing this. THIS is a great website that shares how to do this in detail.
- DON’T use real candles (duh). Instead use battery powered lights.
- When decorating the foam pumpkins, don’t use spray paint, as it sometimes dissolves the foam.
Free Downloadable simple Pumpkin Carving Stencils to fit a small pumpkin
You can access all the stencils through a drop box link HERE.
After you download the folder to your computer, you can adjust the size to whatever suits you!


Carving and decorating a faux pumpkin
You can watch the video below on how I carved a super simple stencil on a foam pumpkin in under two minutes. Like I said before, straight lines are your friend if you want to create a simple but lovely pumpkin.
Once the carving is done, it’s time to involve the kids.
This is where it’s time to be creative. As far as decorating your pumpkin, the sky is the limit. There are not real rules to this, just steer clear of anything that would “eat away” at styrofoam.
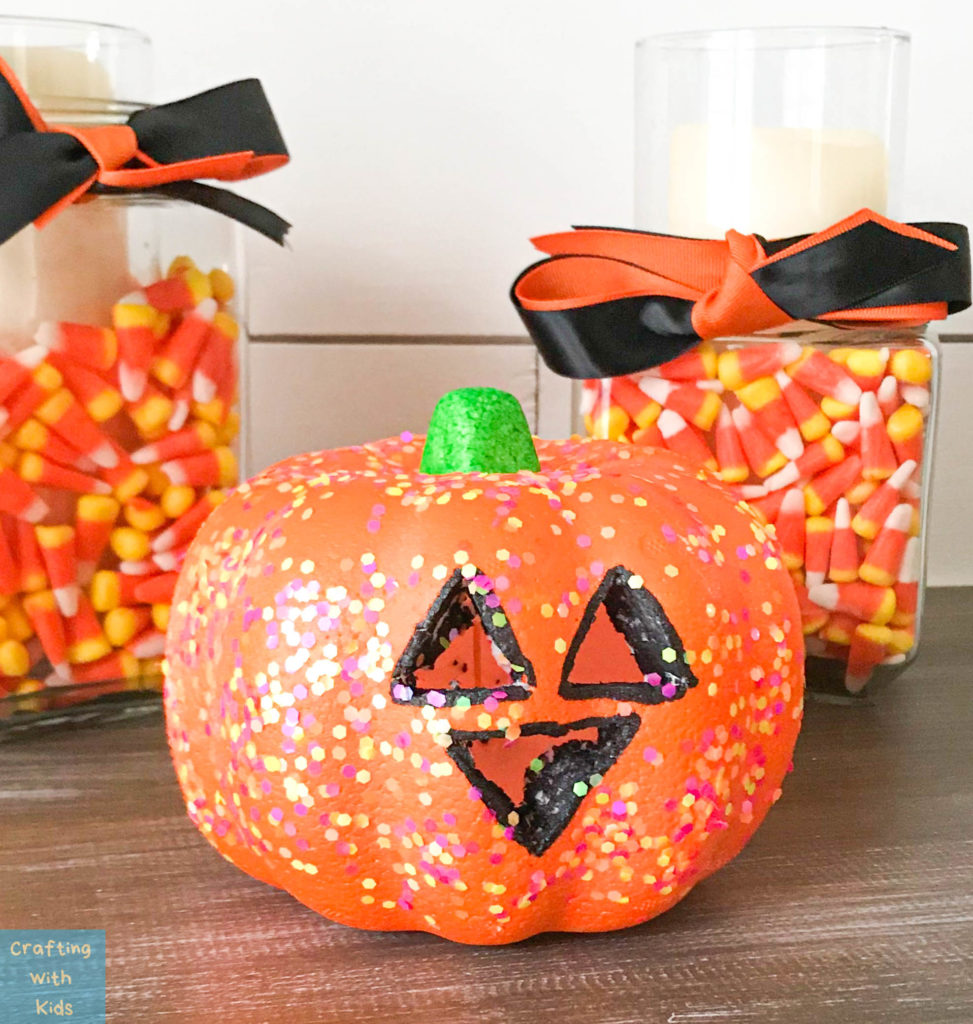
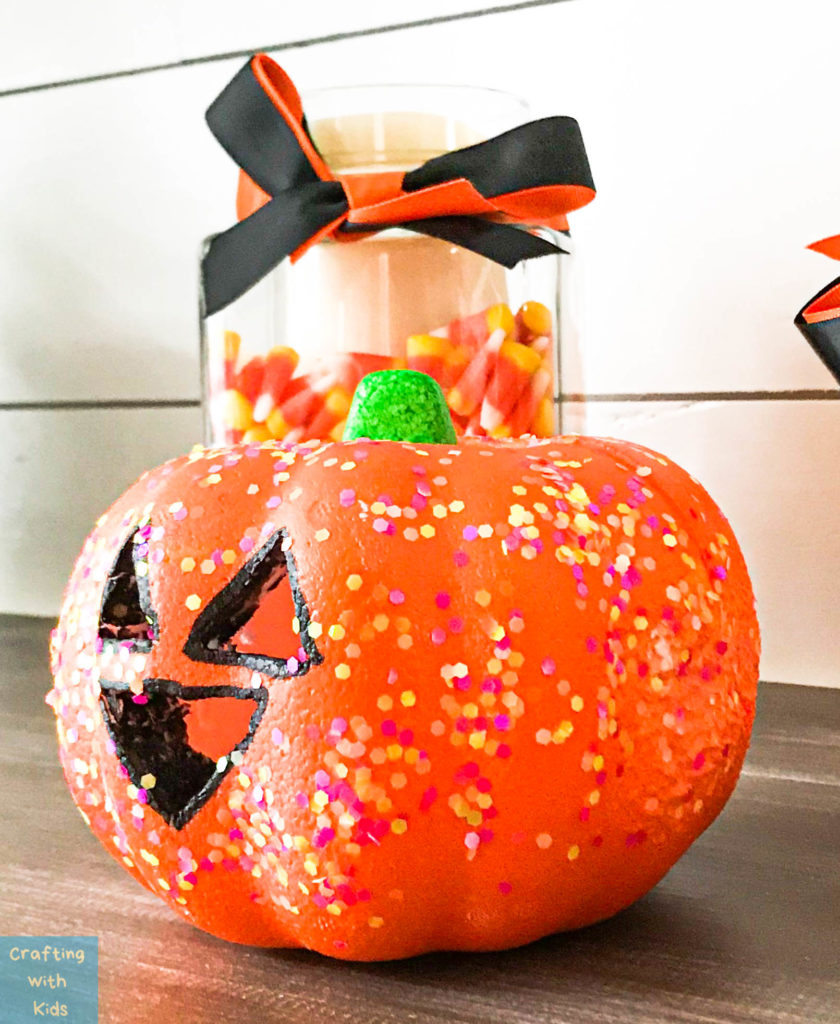
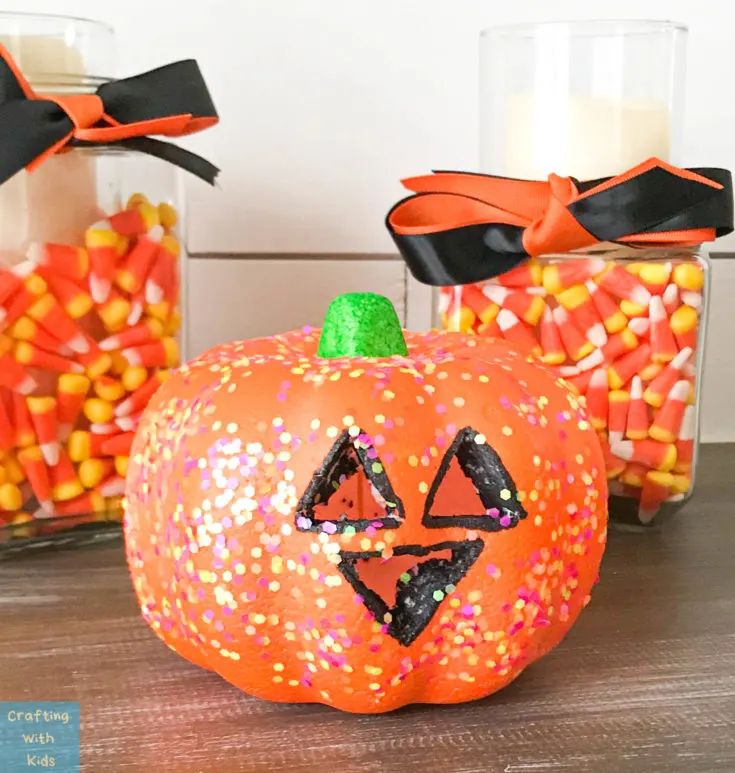
My carved and decorated styrofoam pumpkin

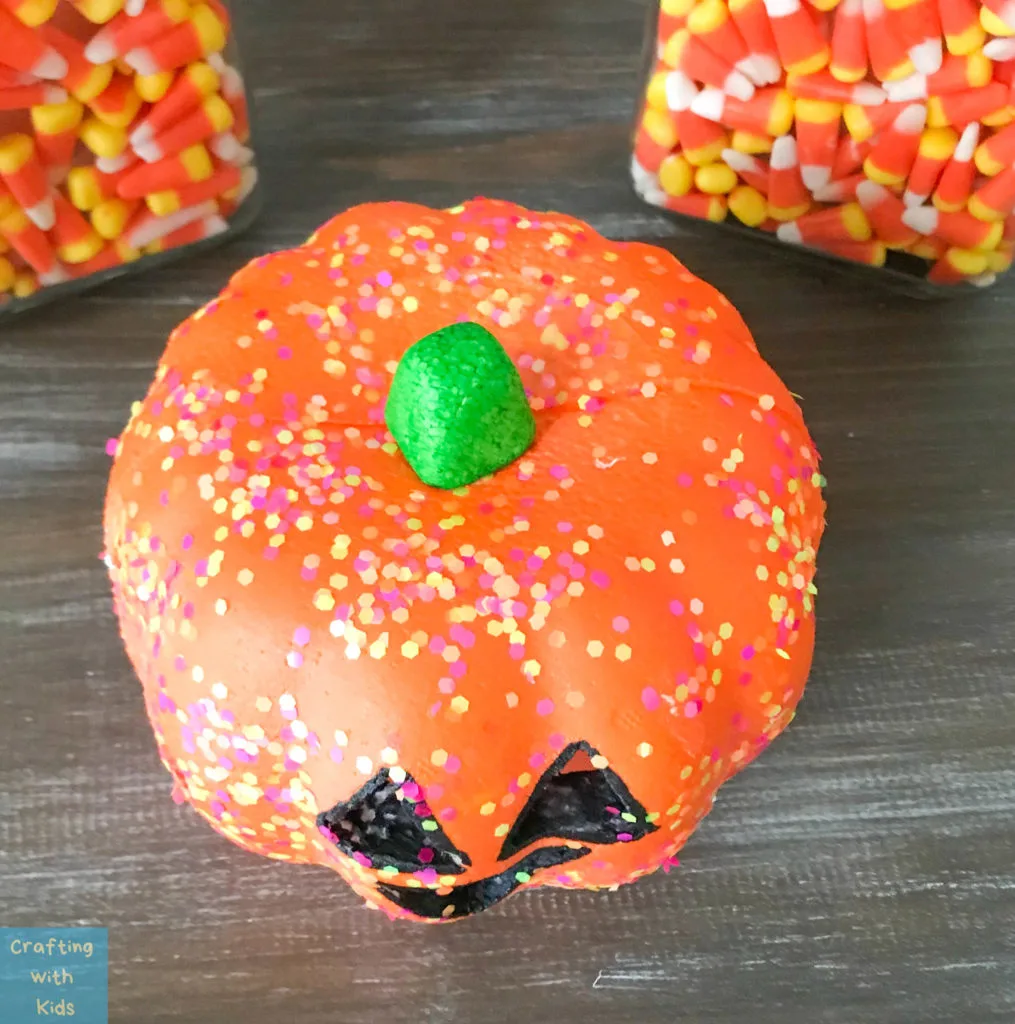


If you look close, you can see the styrofoam is very uneven inside. If you wanted to remove that, that is where a Dremel tool would come in handy.
No mess styrofoam pumpkin carving

Learn how to carve a NO MESS pumpkin with a few tips on carving a styrofoam pumpkin. I've also included a few free pumpkin carving stencils.
Materials
- Styrofoam pumpkin
- Pumpkin carving tool
- Pumpkin carving stencil
- Tape
- Scissors
Tools
- Pumpkin carving set
Instructions
- Tape the pumpkin carving stencil (or printout) on the pumpkin
- Use a knife or pumpkin carving tool to slowly cut out the styrofoam by tracing the pattern from the stencil
- Get creative and decorate the pumpkin however you wish!
Notes
- It's a lot easier to carve a straight line than it is to carve a curve. Keep that in mind when choosing what you will carve.
- If you are carving a lot of details or curves, you need a tool like a Dremel, not a knife.
- You don't have to carve all the way through the foam. Instead, you can carve through "layers" and create depth and images by doing this. THIS is a great website that shares how to do this in detail.
- DON'T use real candles (duh). Instead use battery powered lights.
- When decorating the foam pumpkins, don't use spray paint, as it sometimes dissolves the foam.
I hope you’ve found inspiration in this post! Thanks for stopping by.
Happy Crafting!
Leave a comment